Restoration of a carpenters axe forged by Per Nordlöw

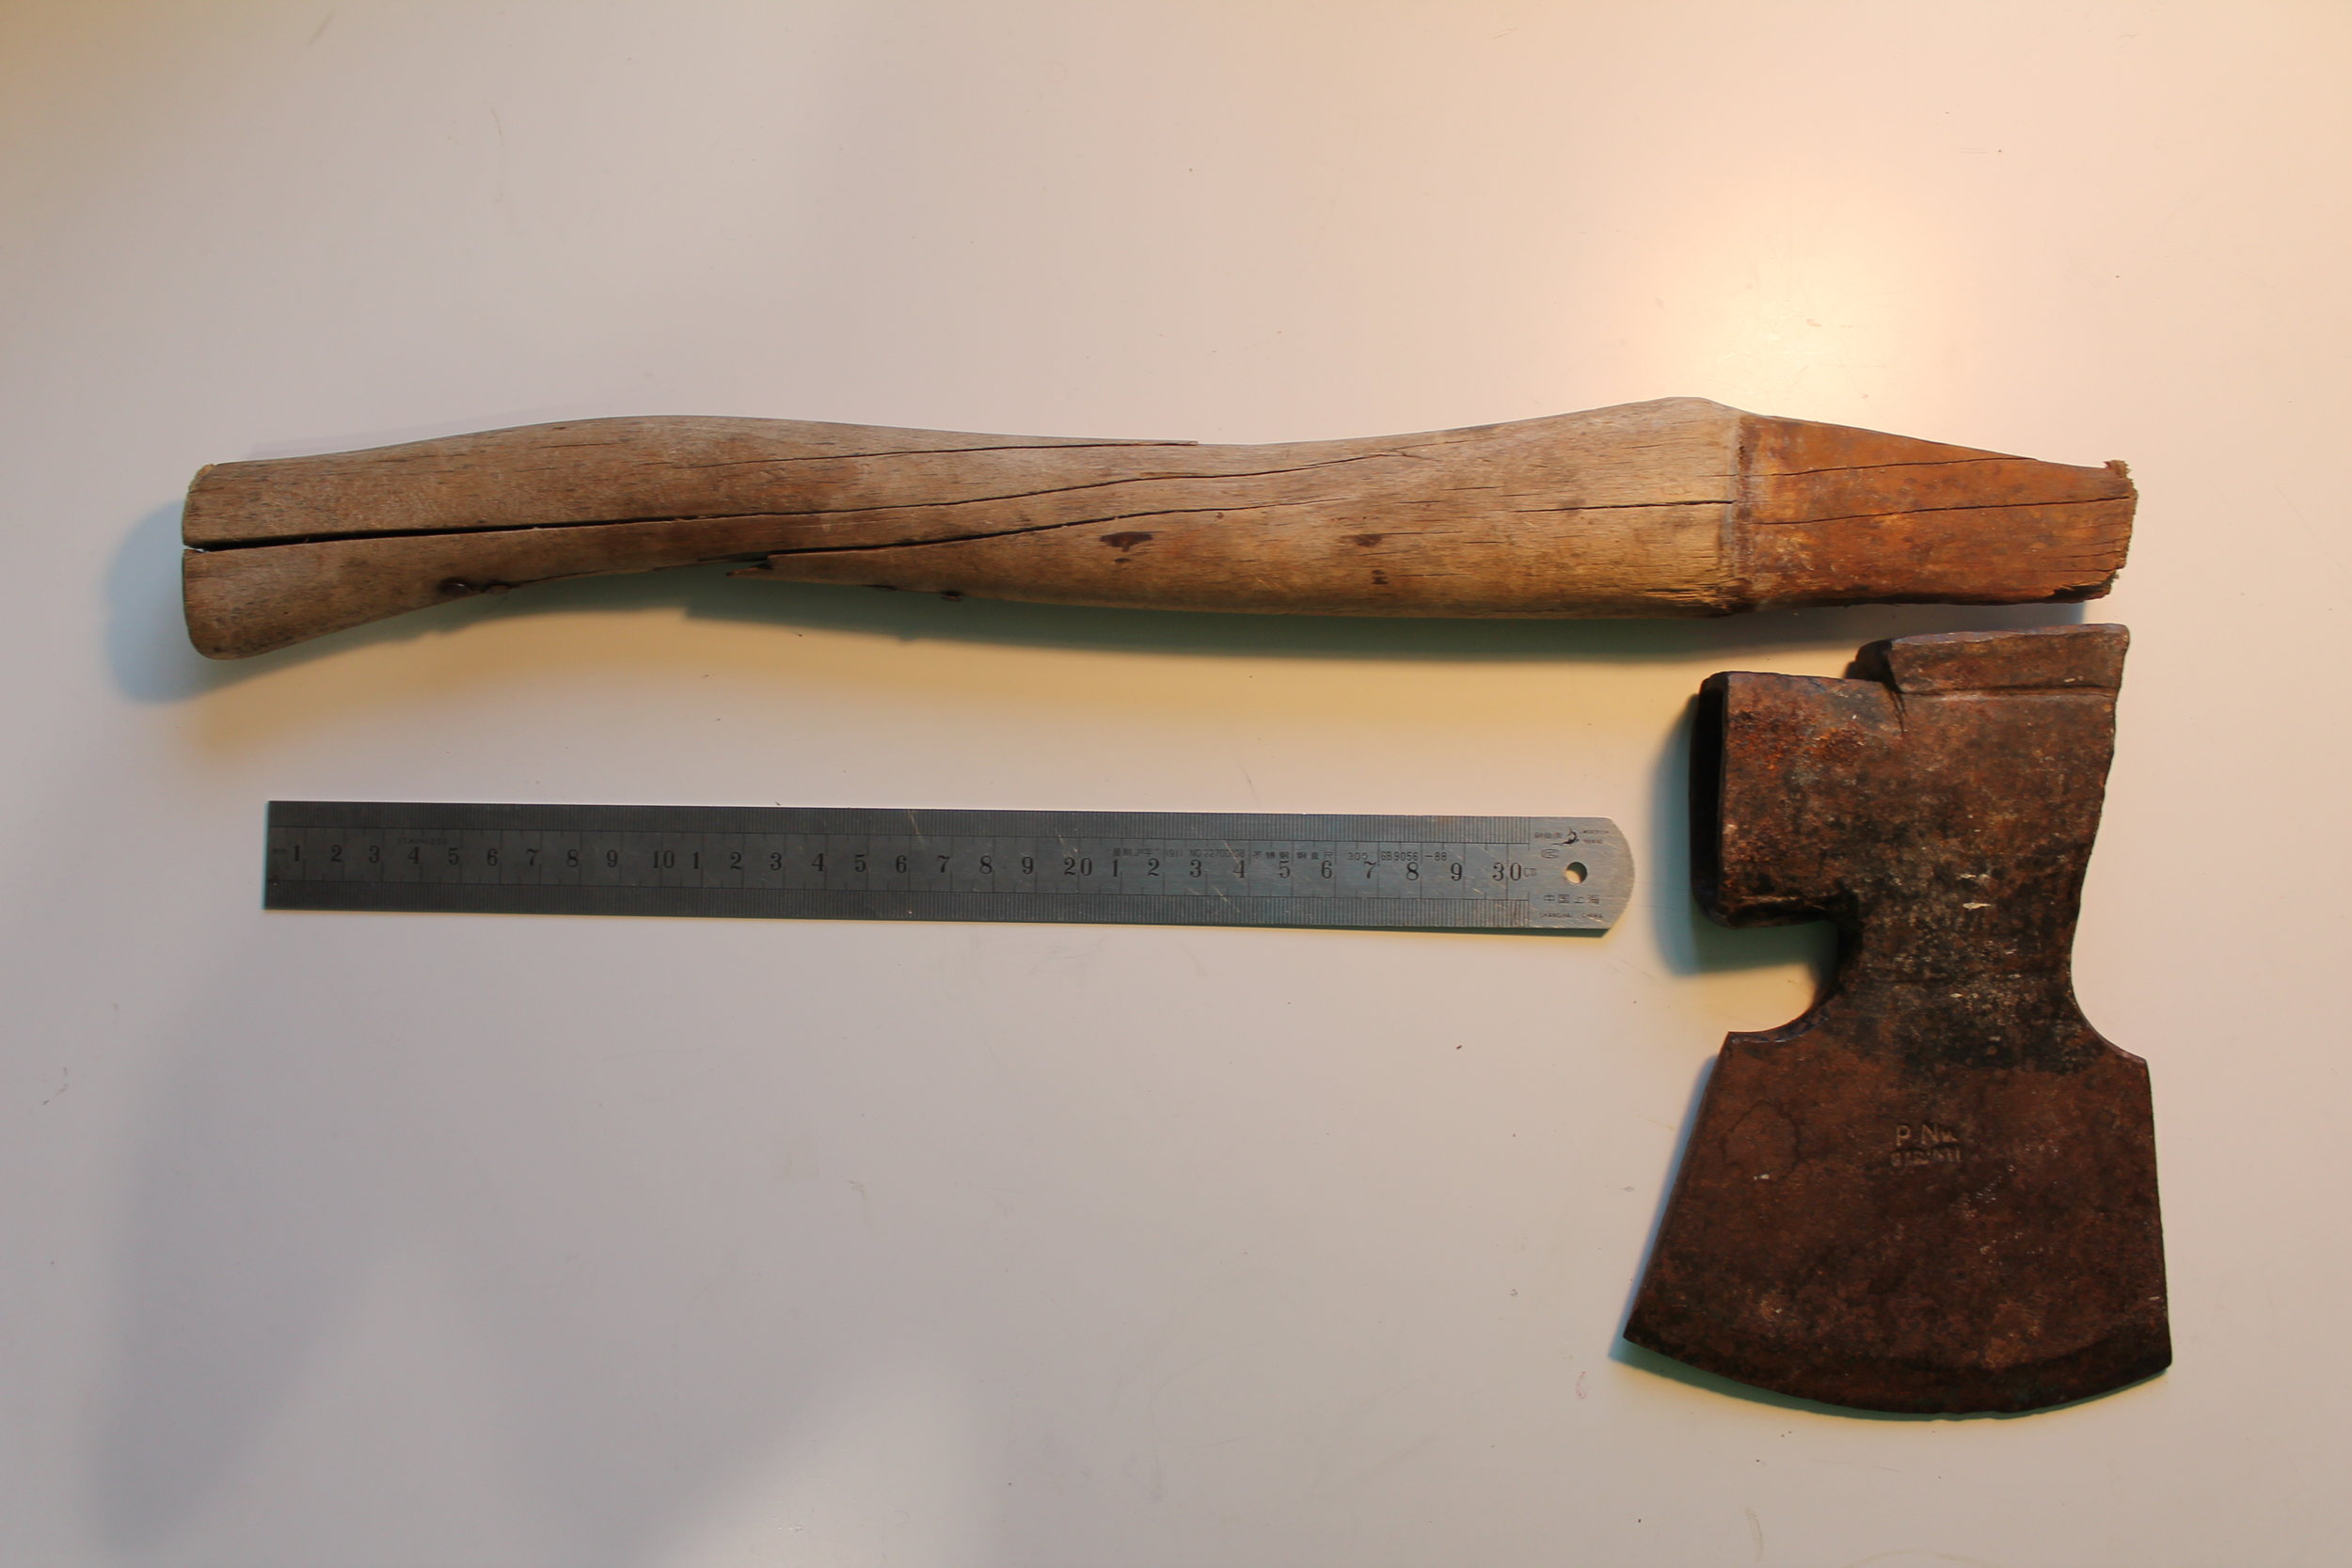
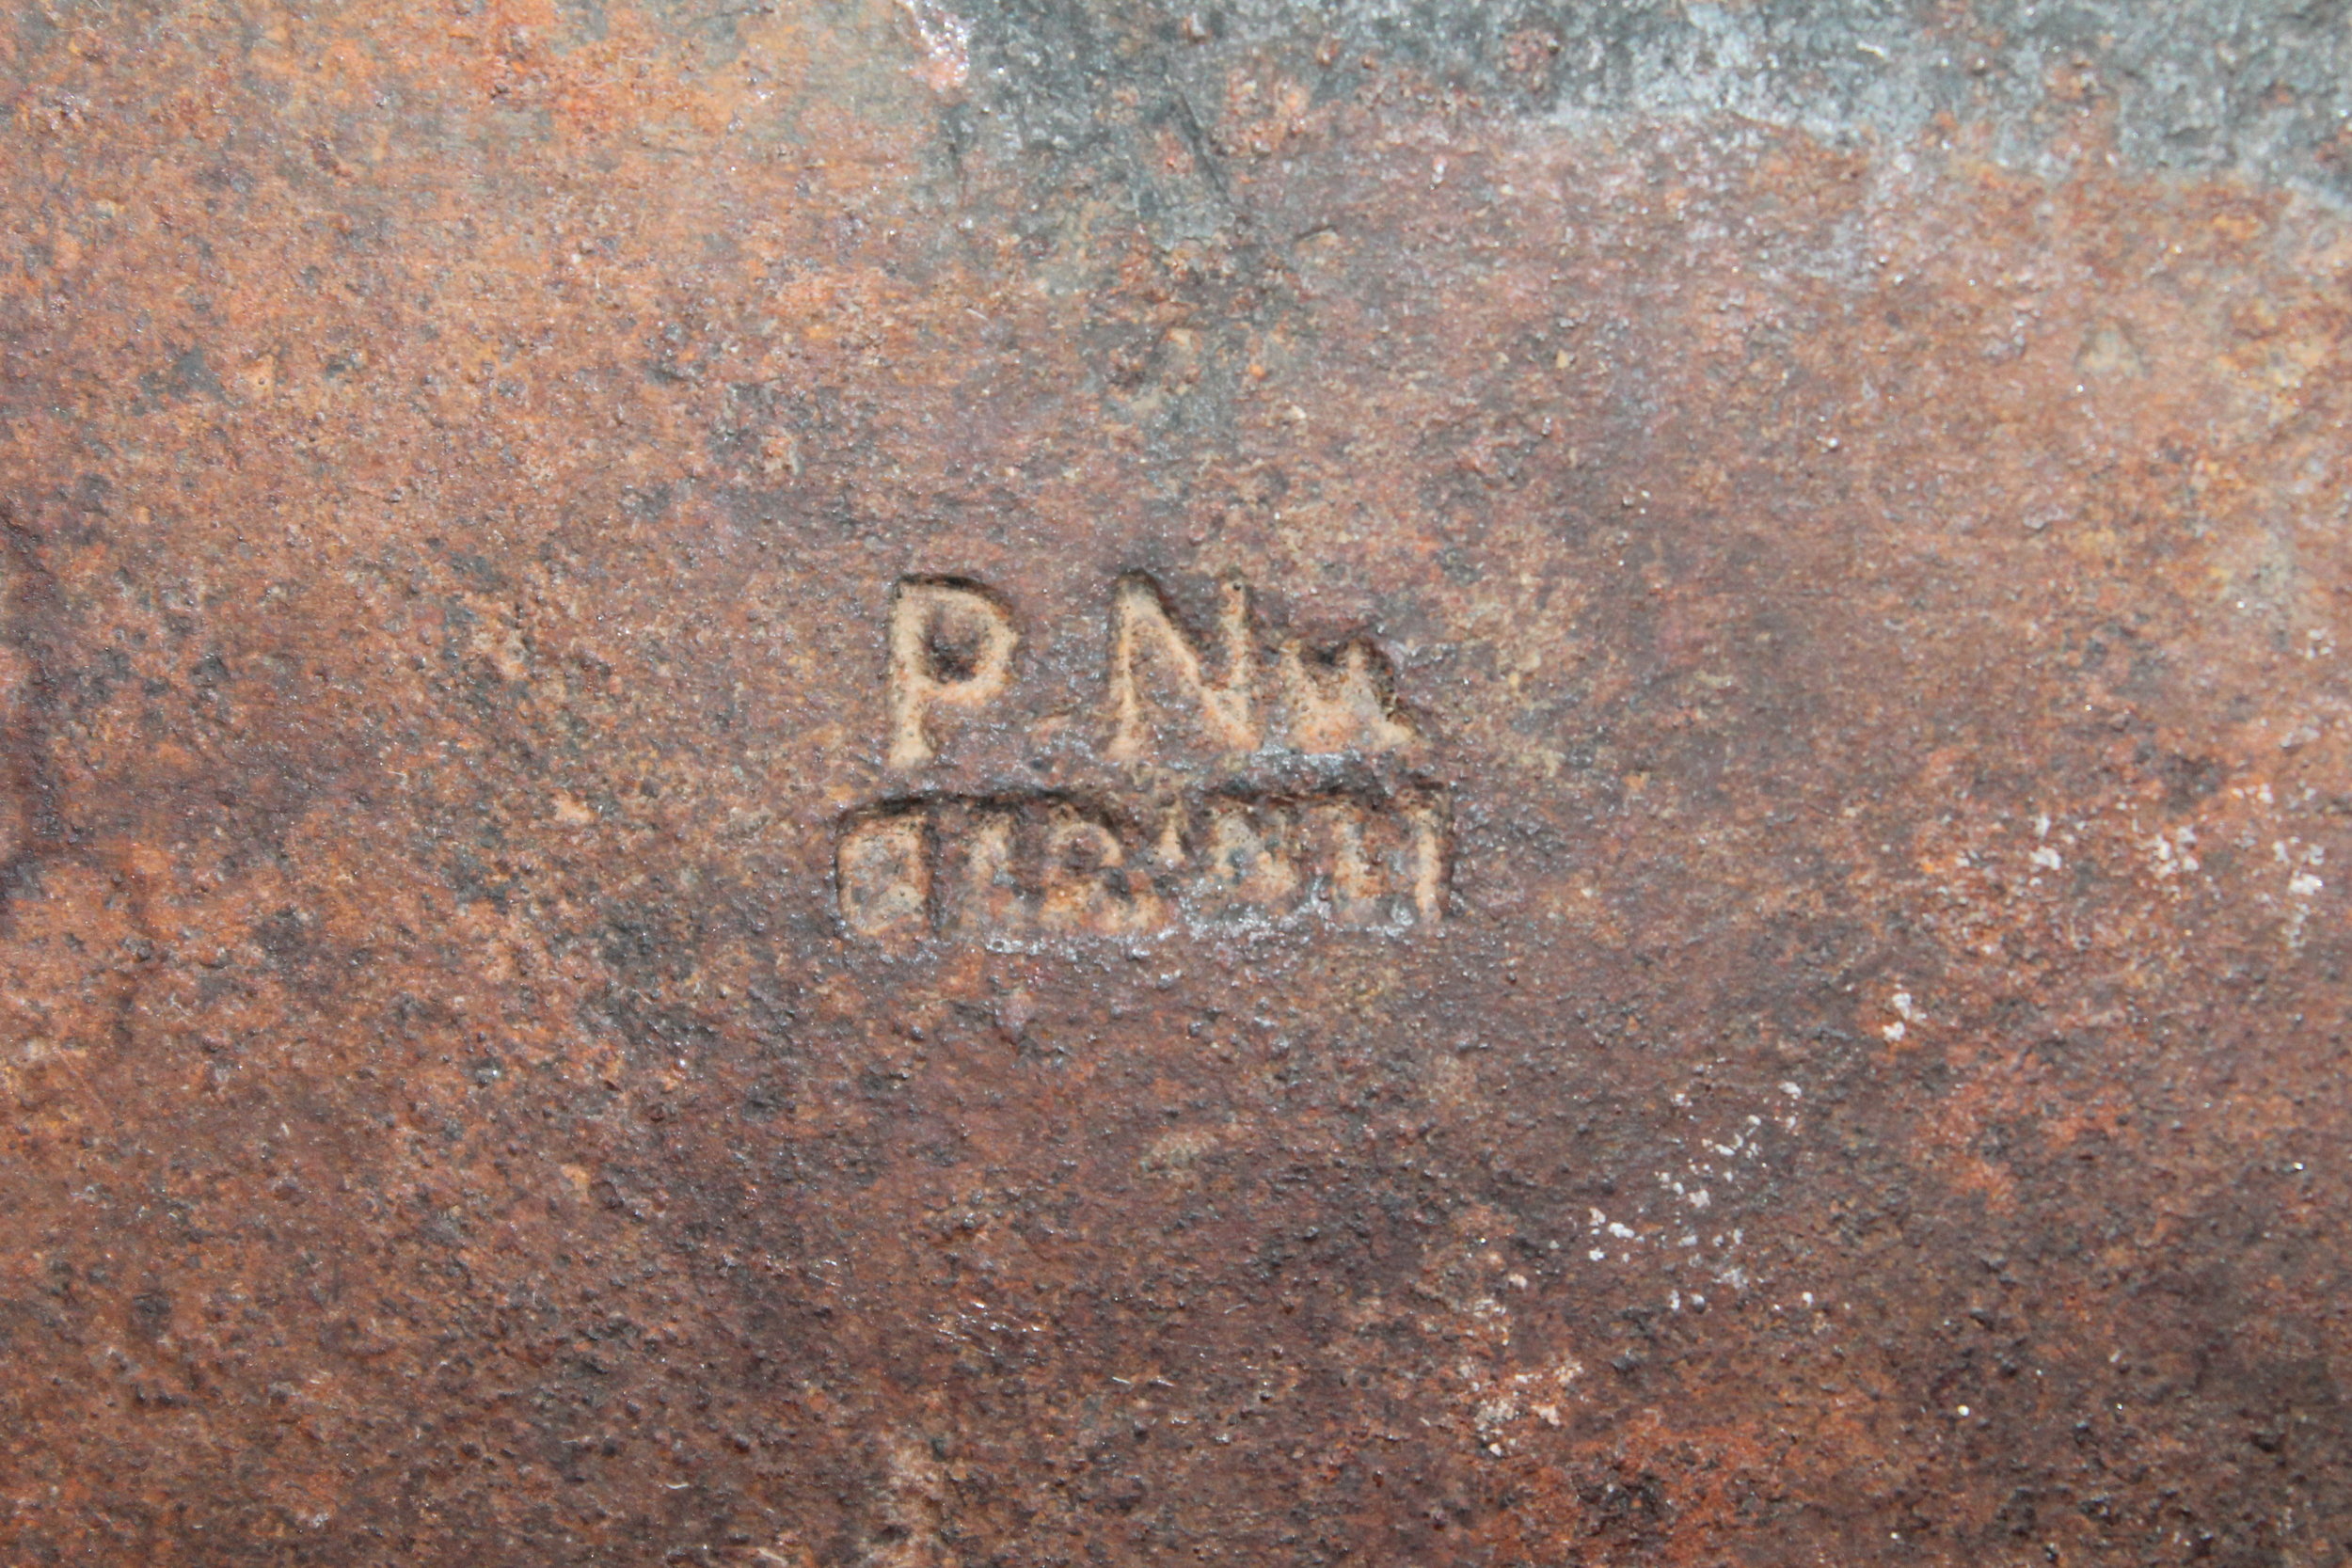
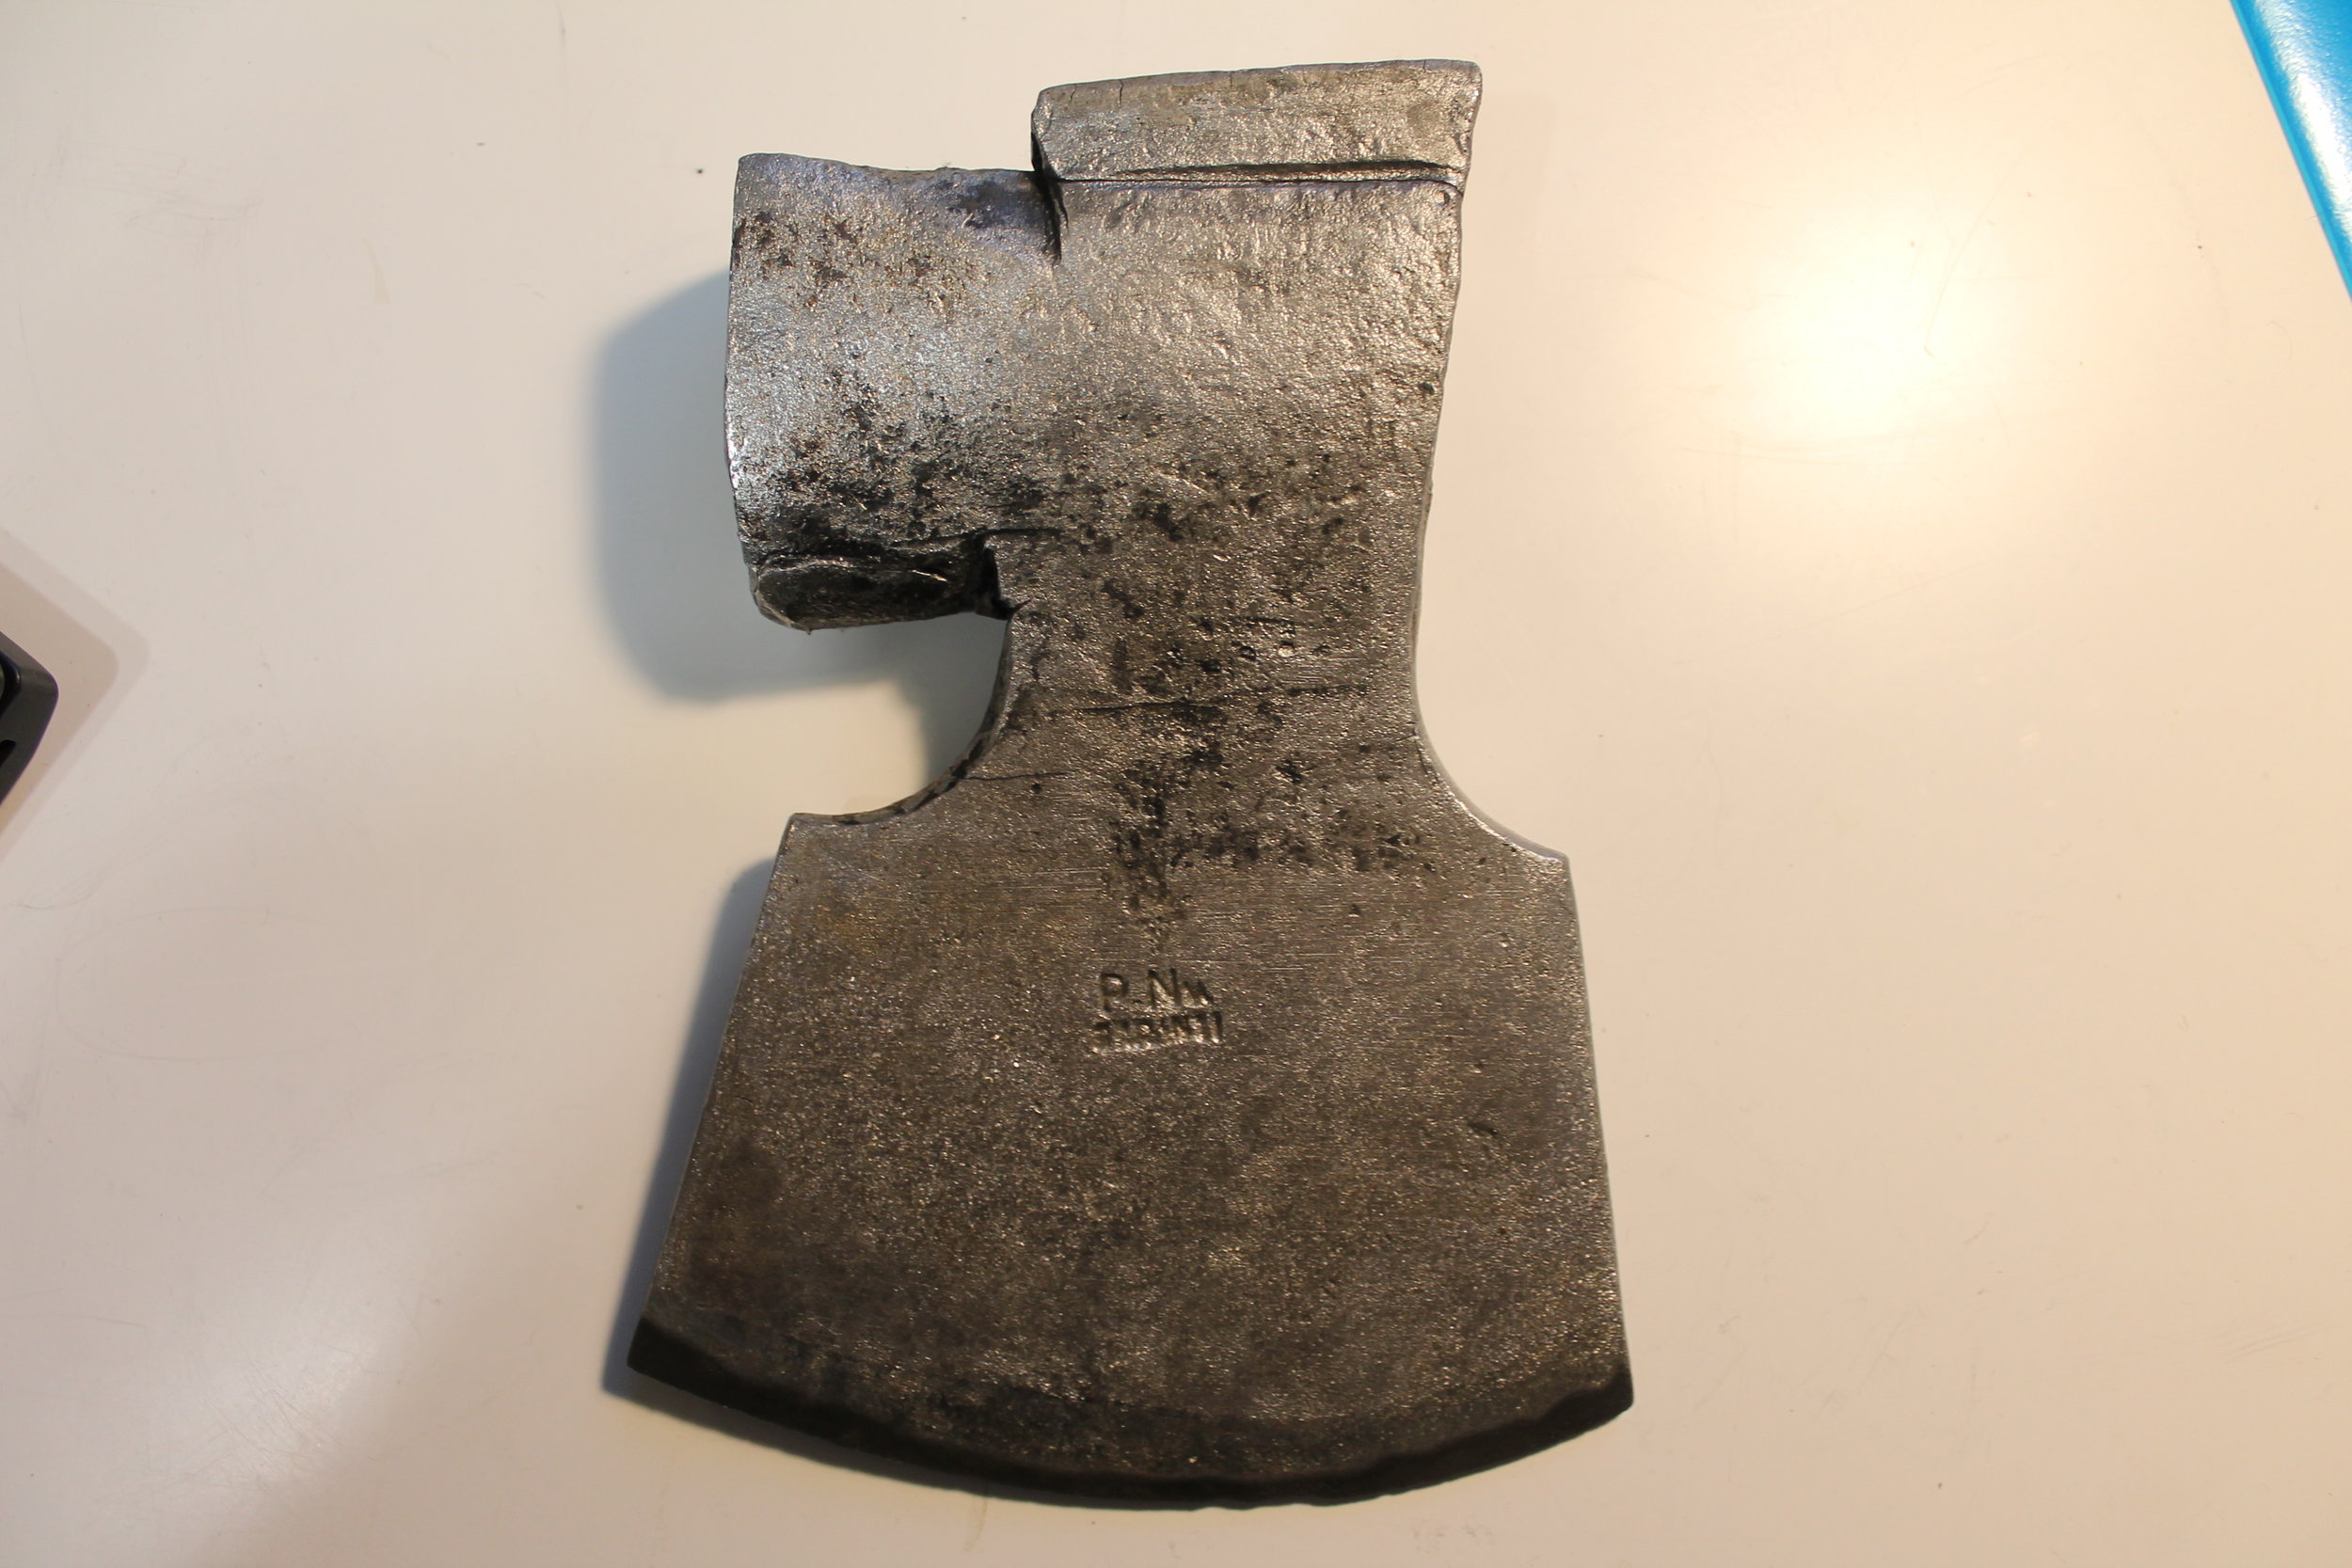
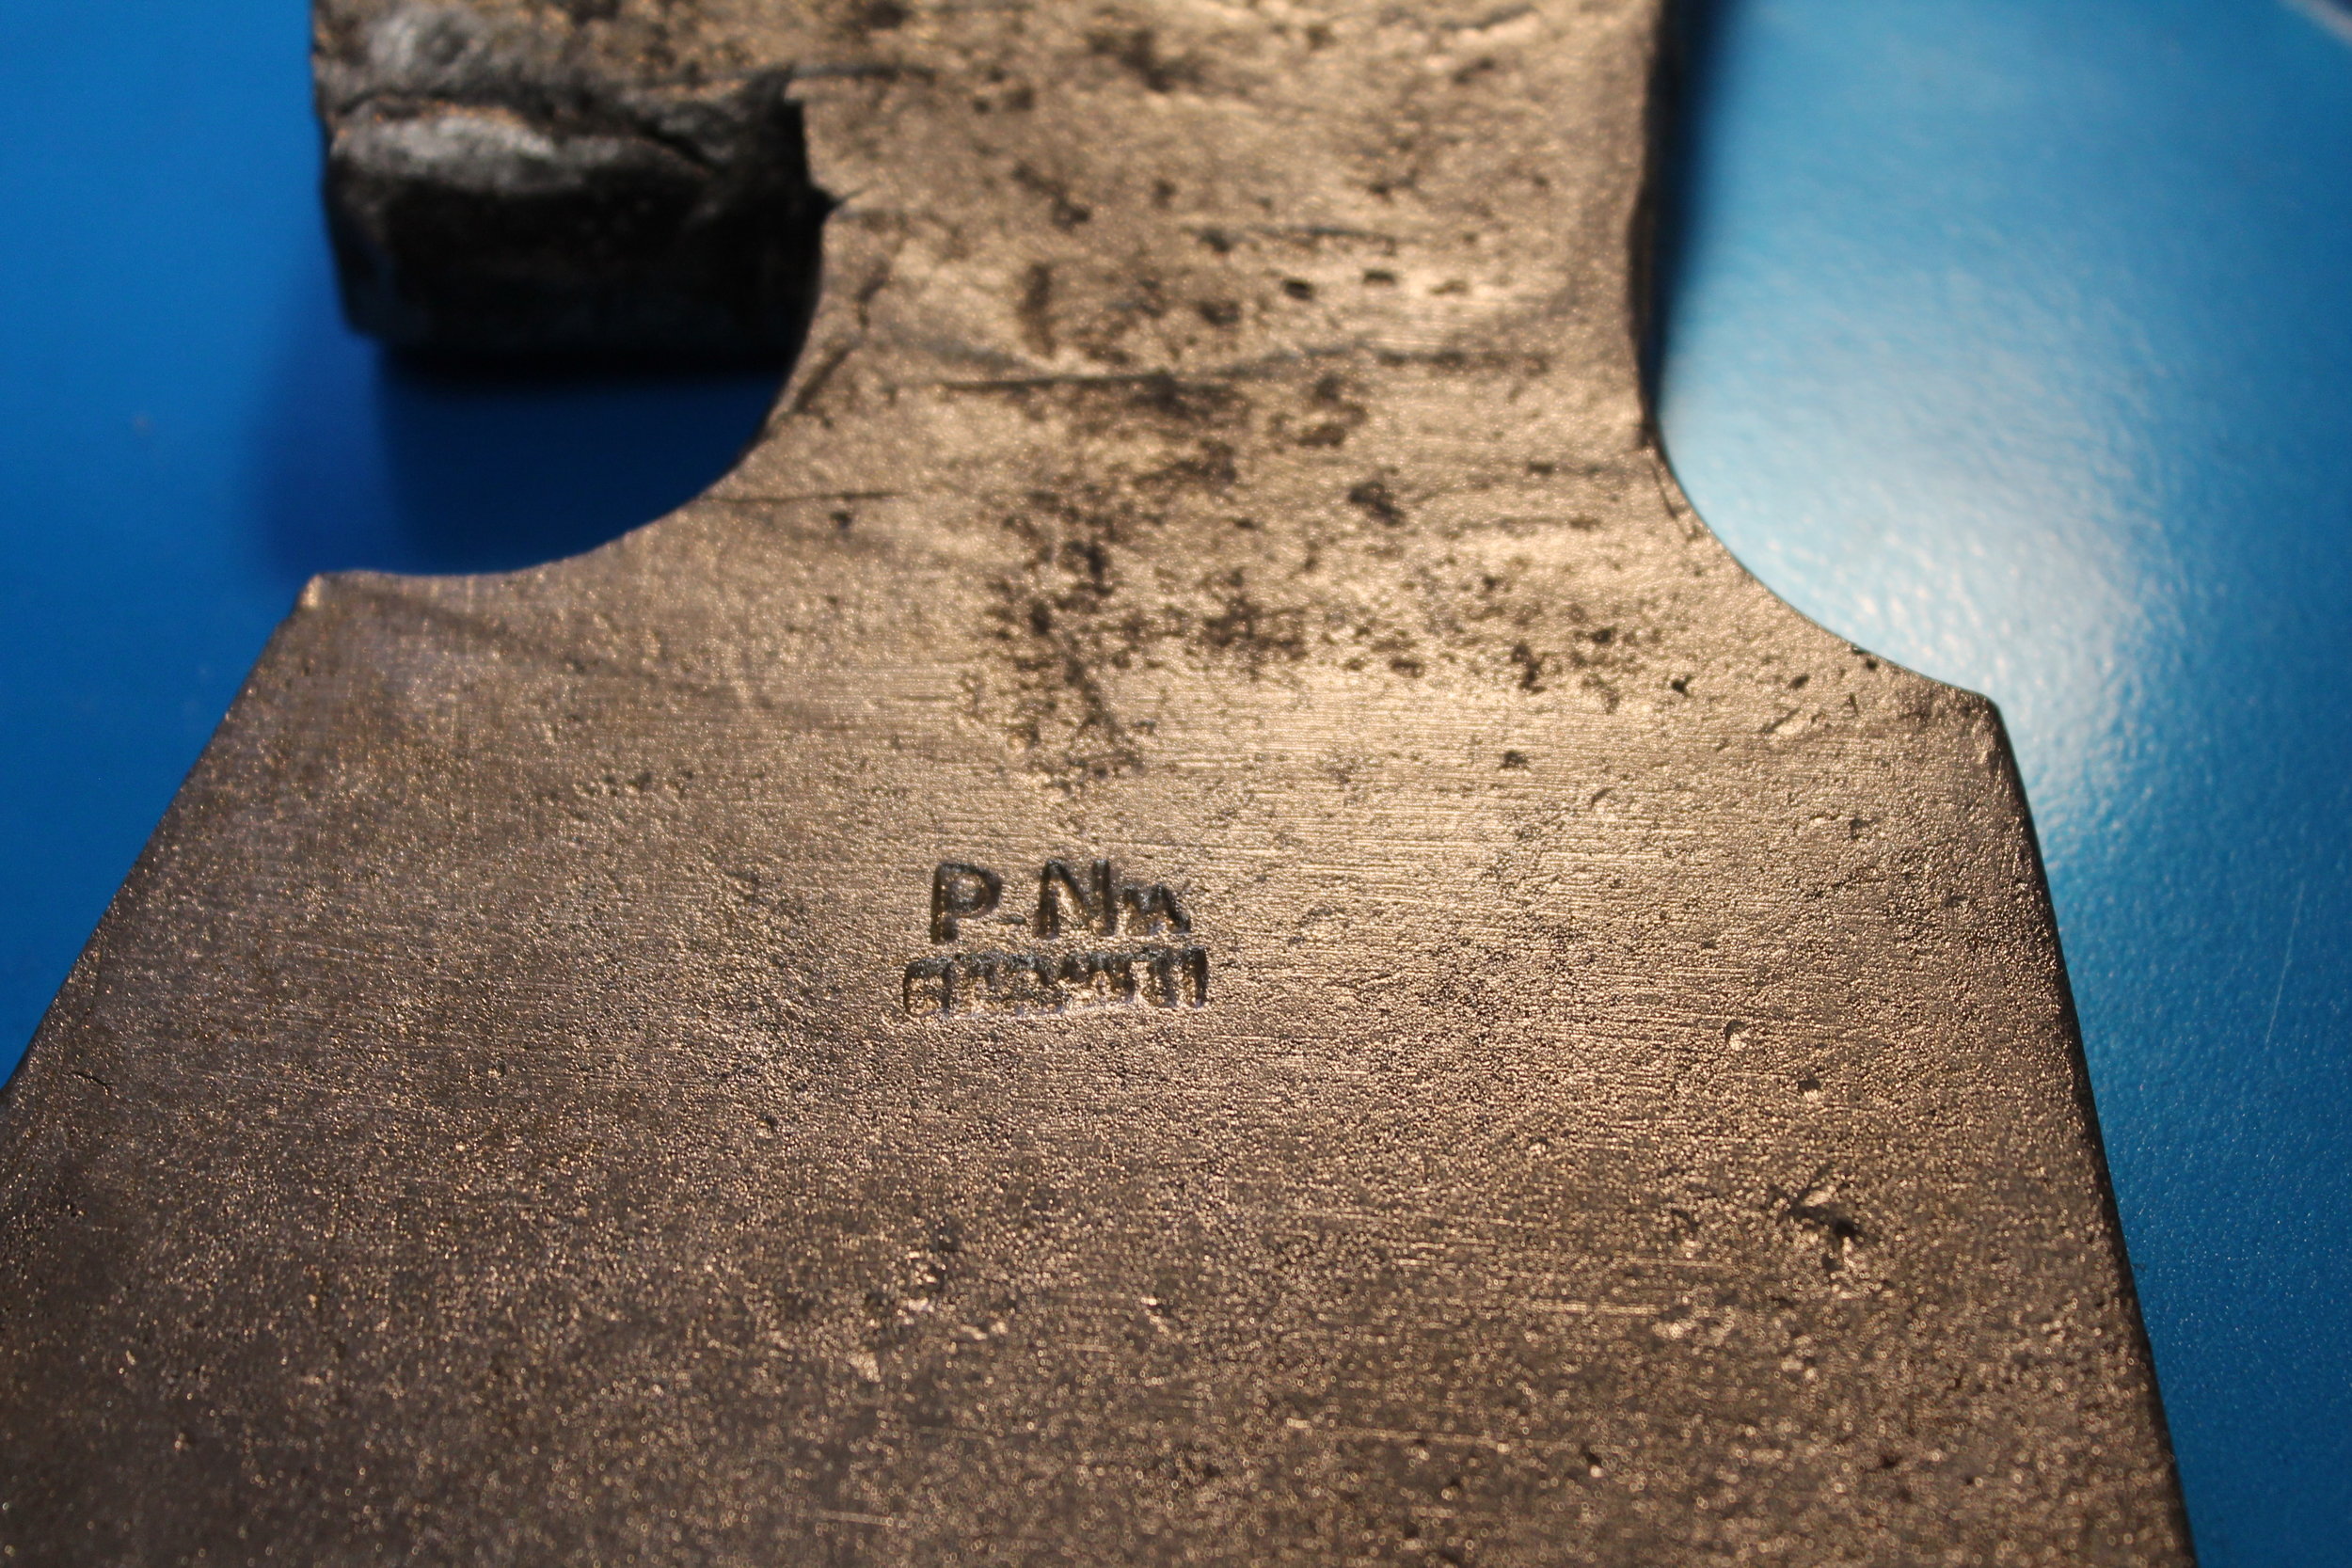
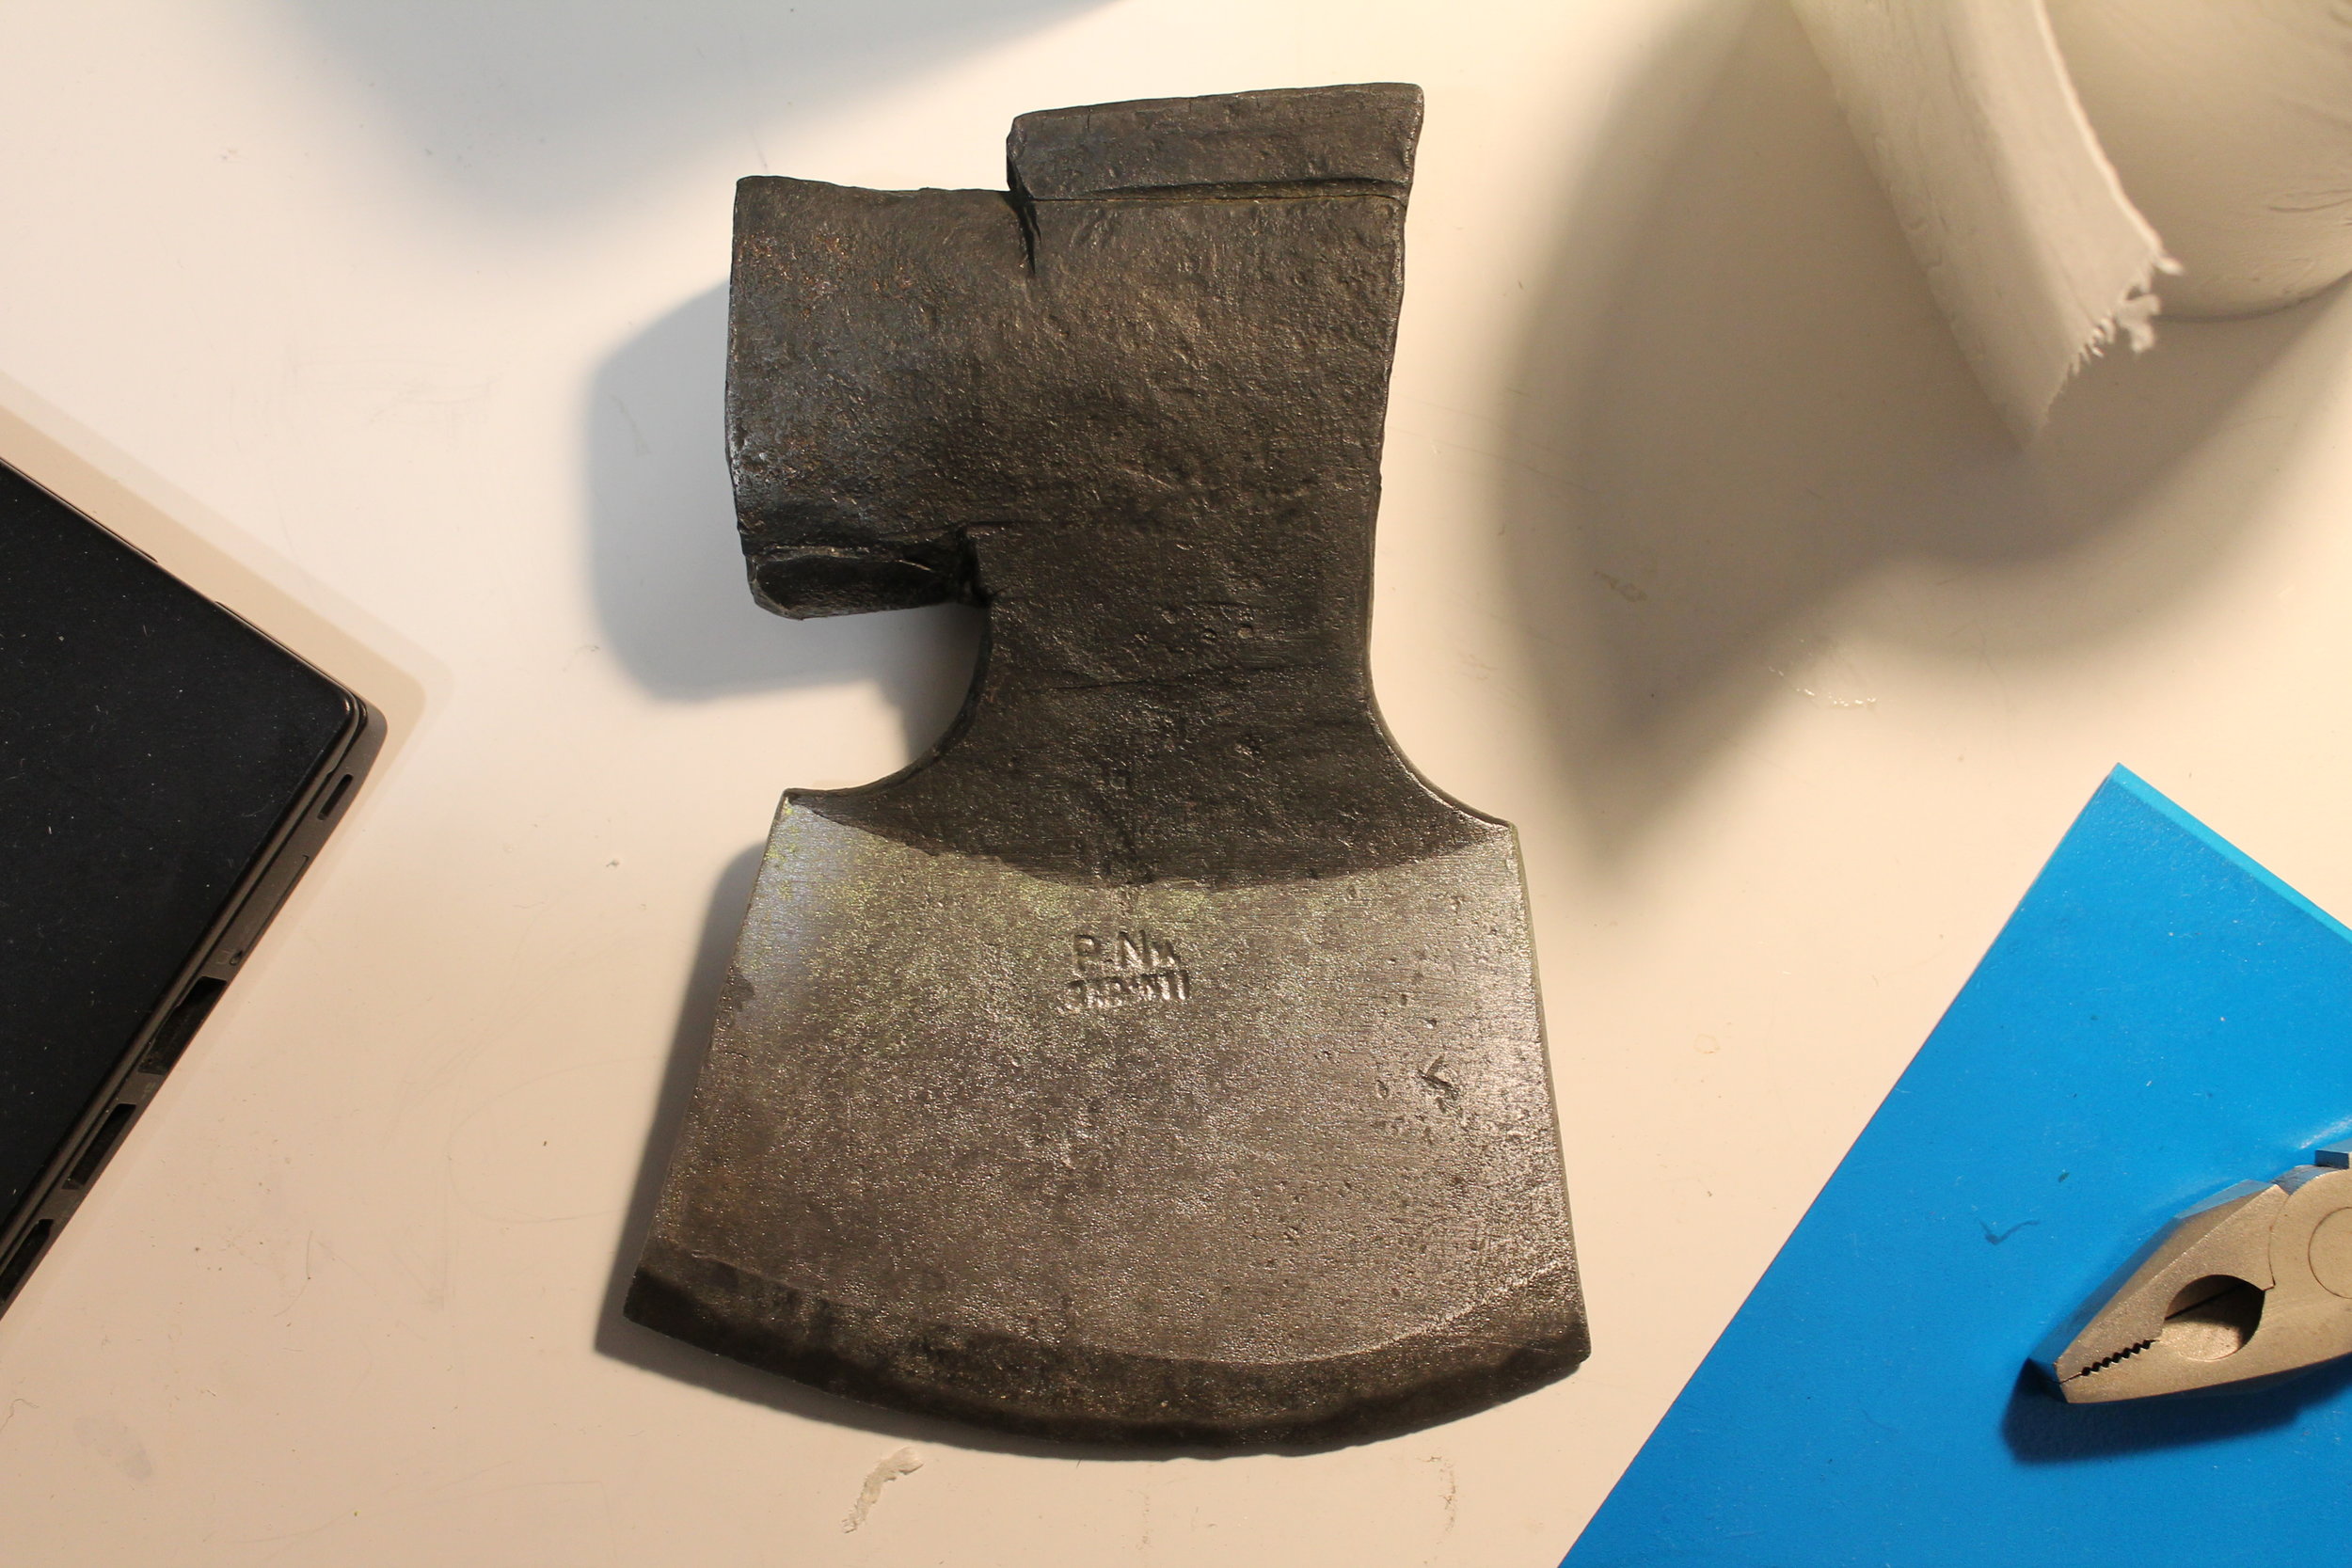
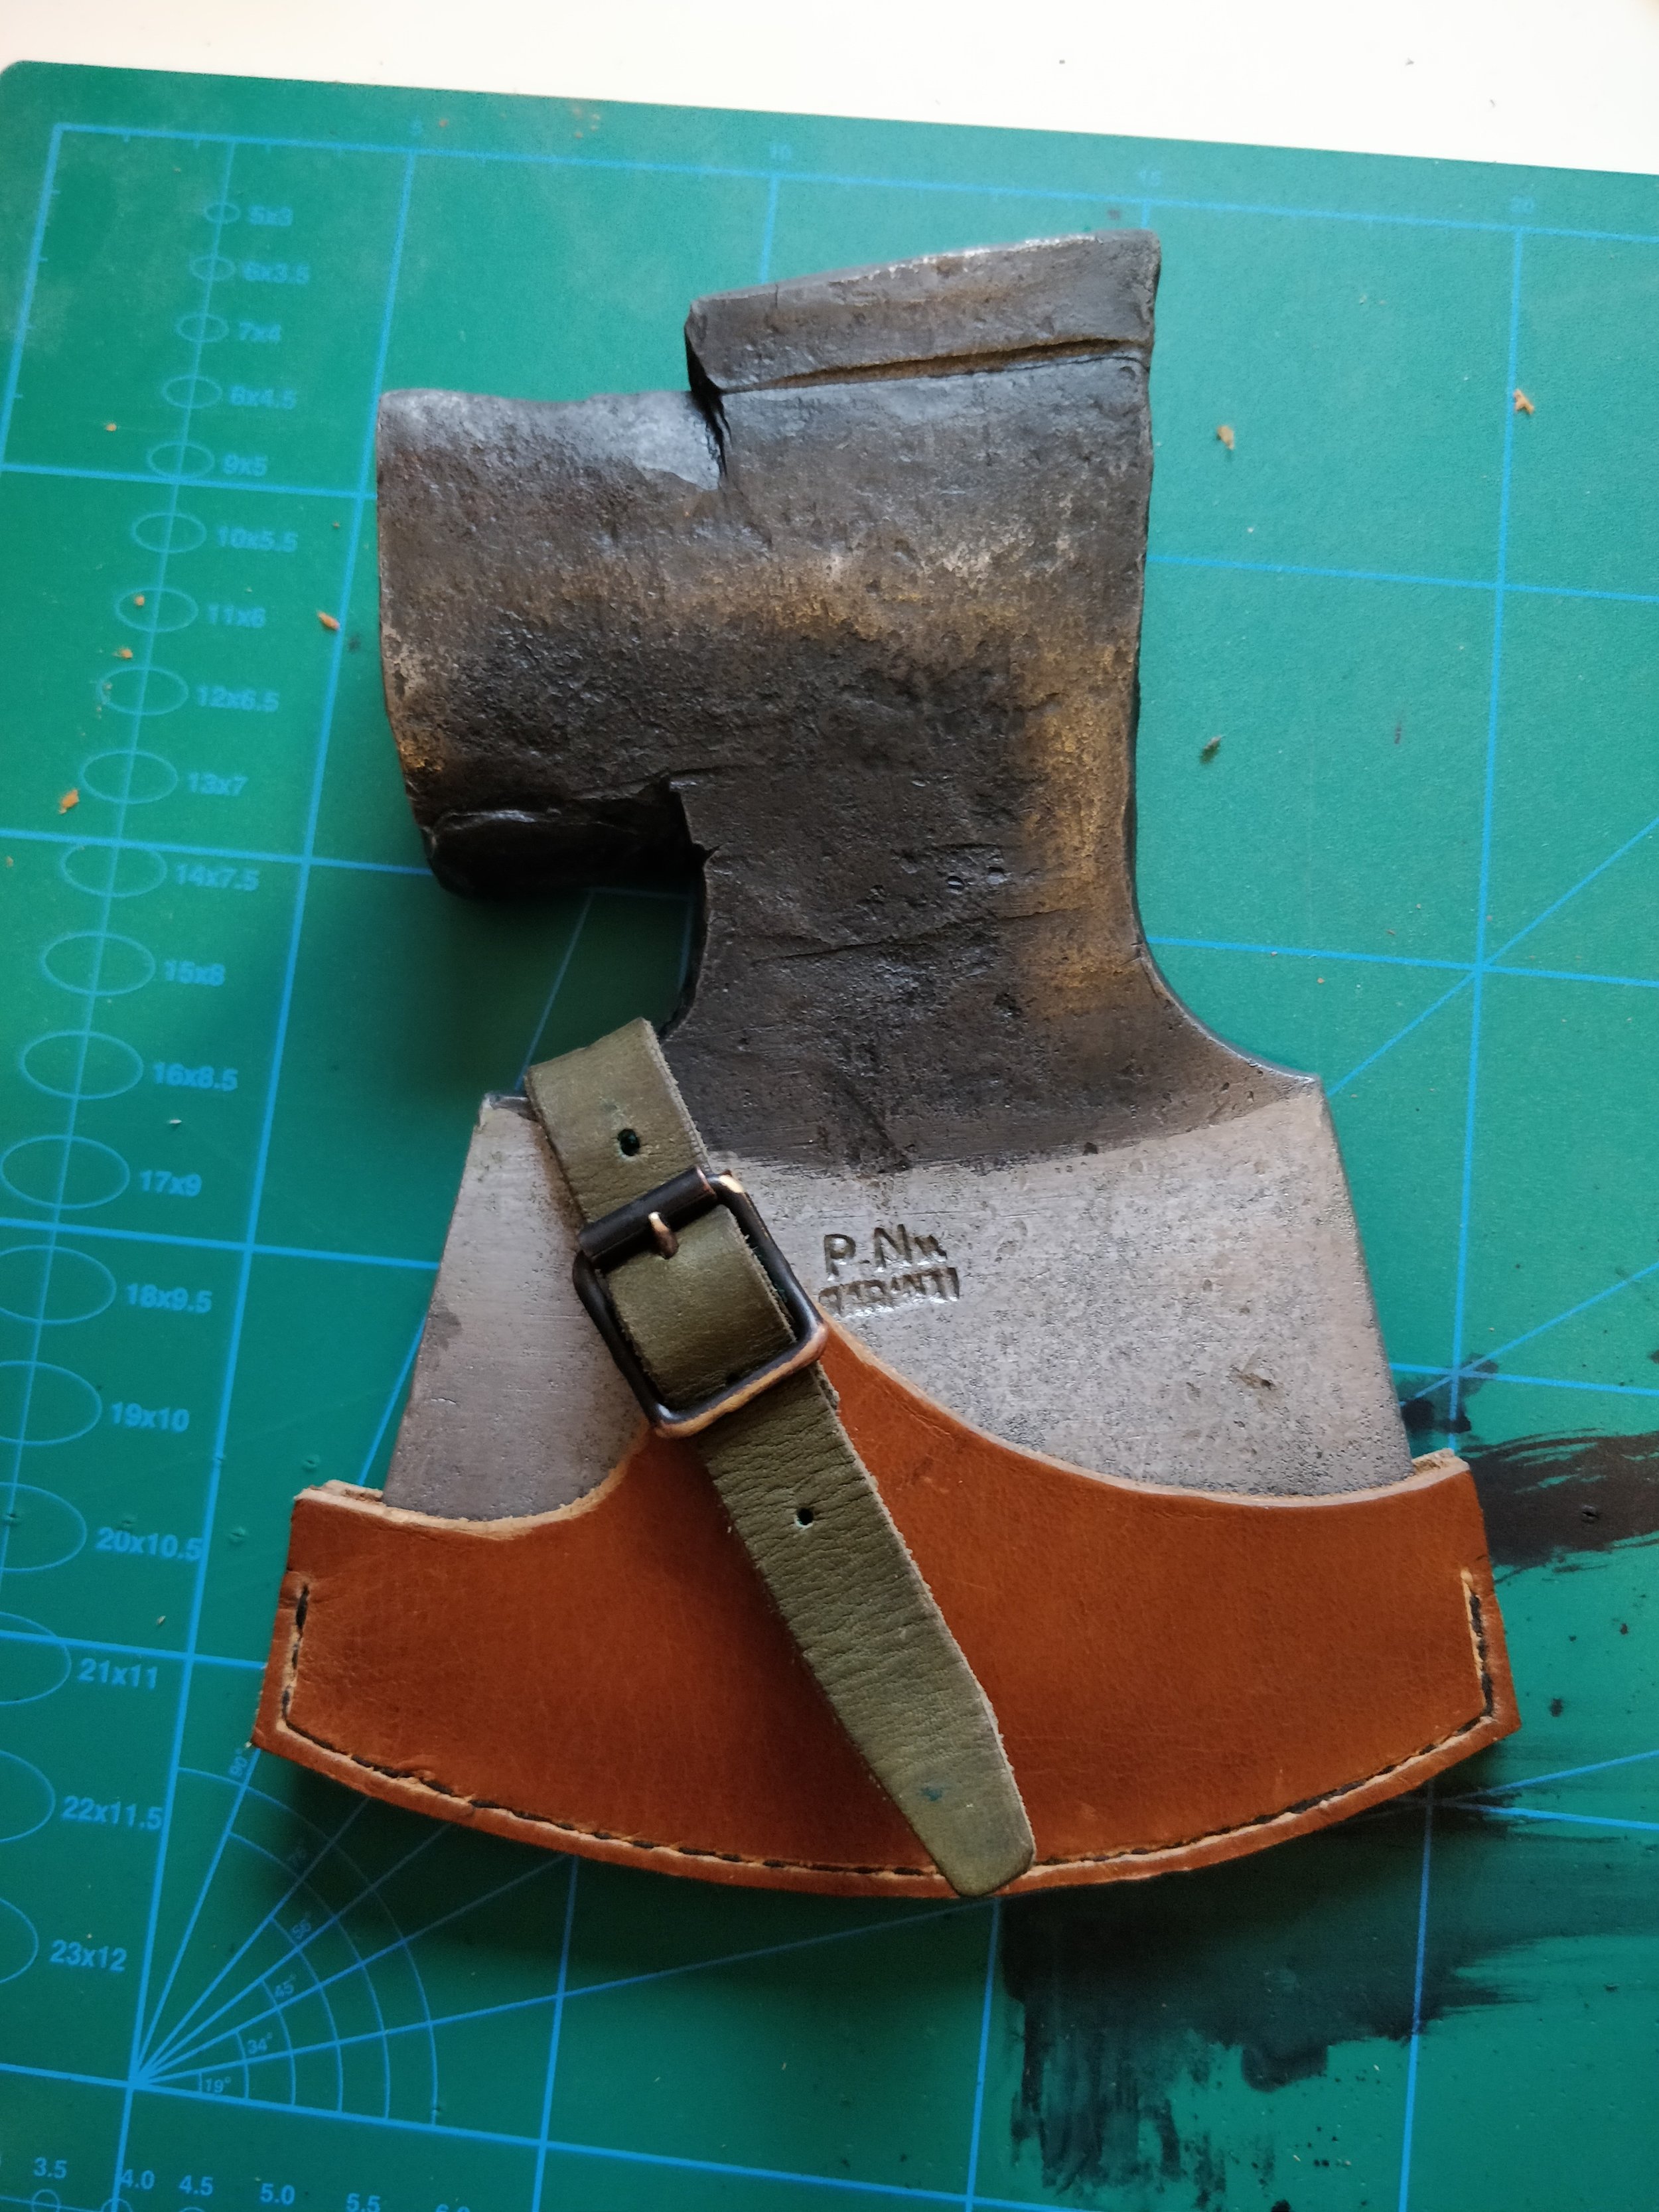
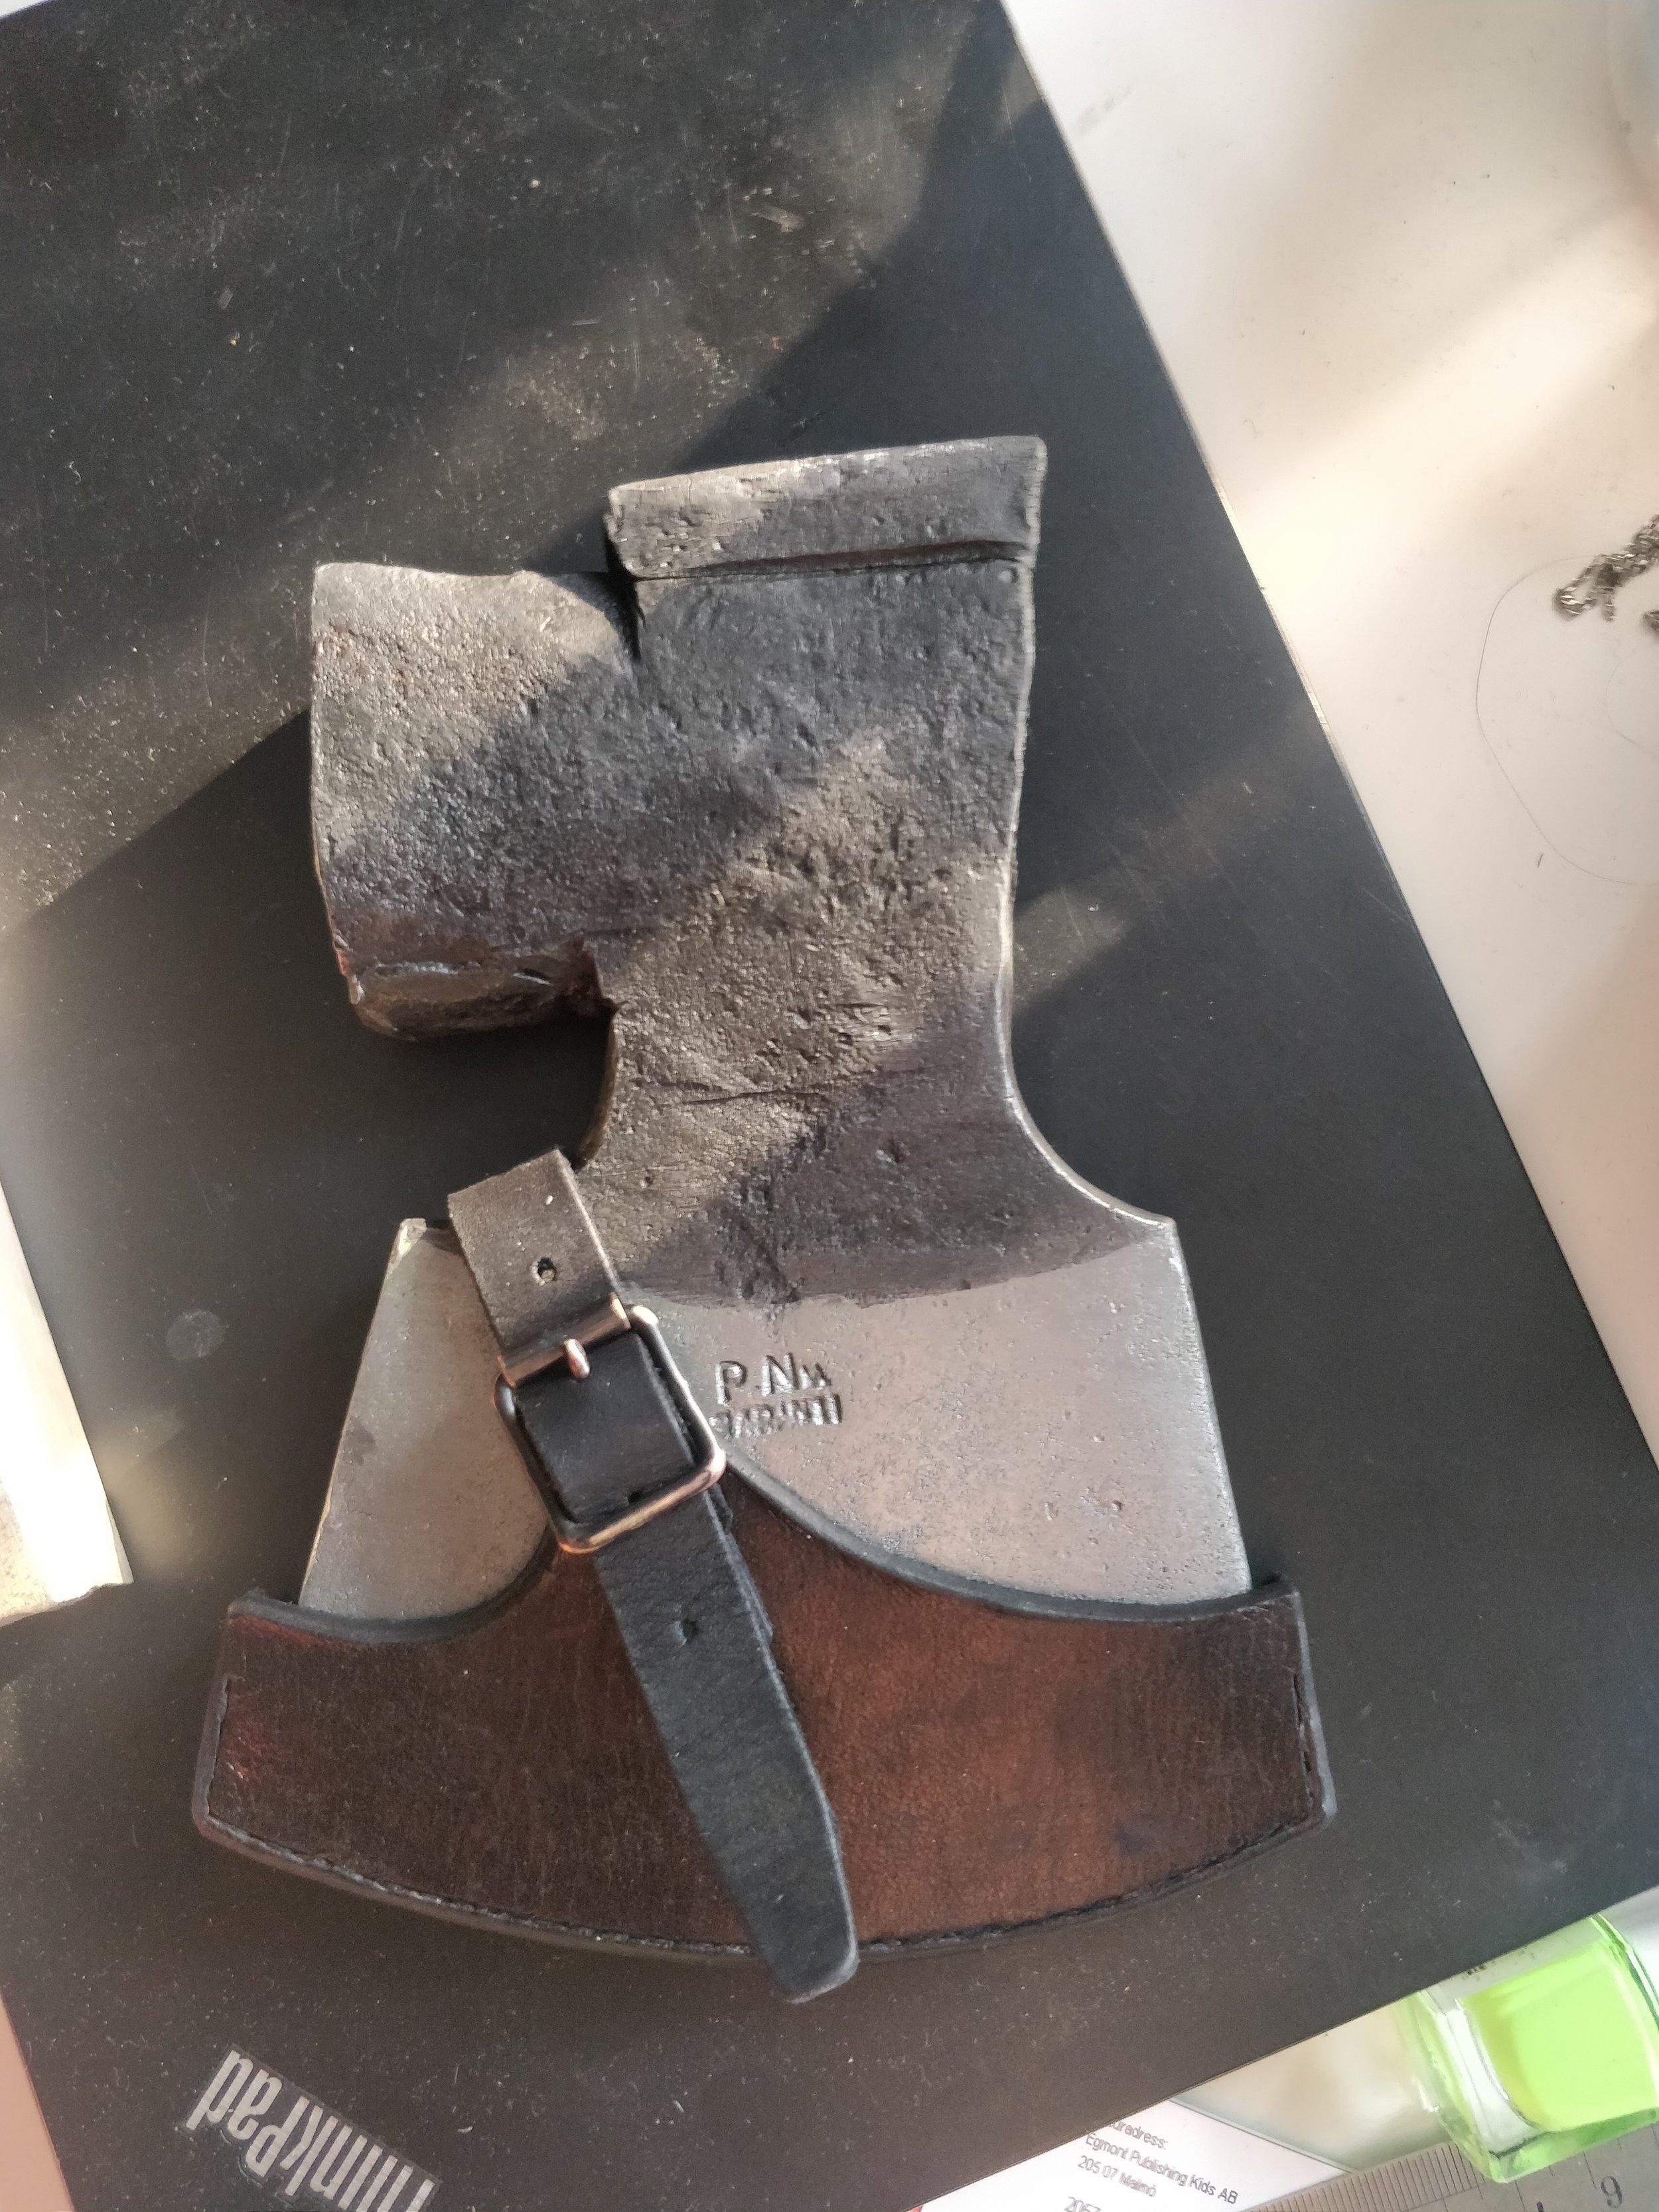
A couple of weeks ago I got hold of this ax from Tradera. The ax is marked P NL Garanti, which was the blacksmith stamp Per Nordlöw used. He was born in 1845 in Enånger, and moved in 1883 to Tallåsen, and later died in 1923. The Nordlöw family has had many blacksmiths. I also found a photo of him at Sundsvall's museum.
The Nordlöws originates from a family from Boda village in Enånger, Hälsingland. In total, the fourteen blacksmiths cover six generations backwards. The first blacksmith was Eric Ericsson, born 1736, blacksmith in Grängsjö, Enånger. (Sweden's family register)
The first time the name Nordlöw occurs is with Eric Ericsson's son, Lars Ericsson Nordlöw, born in 1765, who was a parish smith in Haga (Tytterön). The name Nordlöw then follows with all the blacksmiths who come later. Of Lars Ericsson Nordlöw's eight children, two were blacksmiths; Eric Nordlöw, 1798-1869, and Anders Nordlöw, 1810-1868. These were parish smiths in v. Tosätter and Haga, Enånger. The blacksmith craft is brought from them further through three of Eric's sons; Lars Nordlöw, 1835-1912, Anders Nordlöw b.1840, and Per Nordlöw b. 1845. Lars was a blacksmith in v. Tosätter, while Anders and Per moved to Trönö (1867 and 1871). Lars had a son who took over the smithy profession; Hjalmar Ferdinand Nordlöw (Hjalmar), b. 1870. Per moved from Trönö to Tallåsen (1883) and there four of his sons learned from him; Allan Lambert Nordlöw (Allan), 1897-1971, Erik Artur Nordlöw (Artur), b. 1883, Maurits Nordlöw and Einar Nordlöw- A Hard Slöjd Life

Per Nordlöw b. 1845, smith with his own business in Enånger. Built the first power plant in Hälsingland, Bäckeboström. The company produced tools for forestry. Eu Åke Nordlöw. The brother Eric Nordlöw in 1837, 5/9 1875, had photo studio in the "corner of Gamla Kyrkogatan and Nygränd, Sundsvall" for 10 years.
- https://digitaltmuseum.org/011014655964/per-nordlow-f-1845-smed-med-egen-verksamhet-i-enanger-byggde-forsta-kraftverket
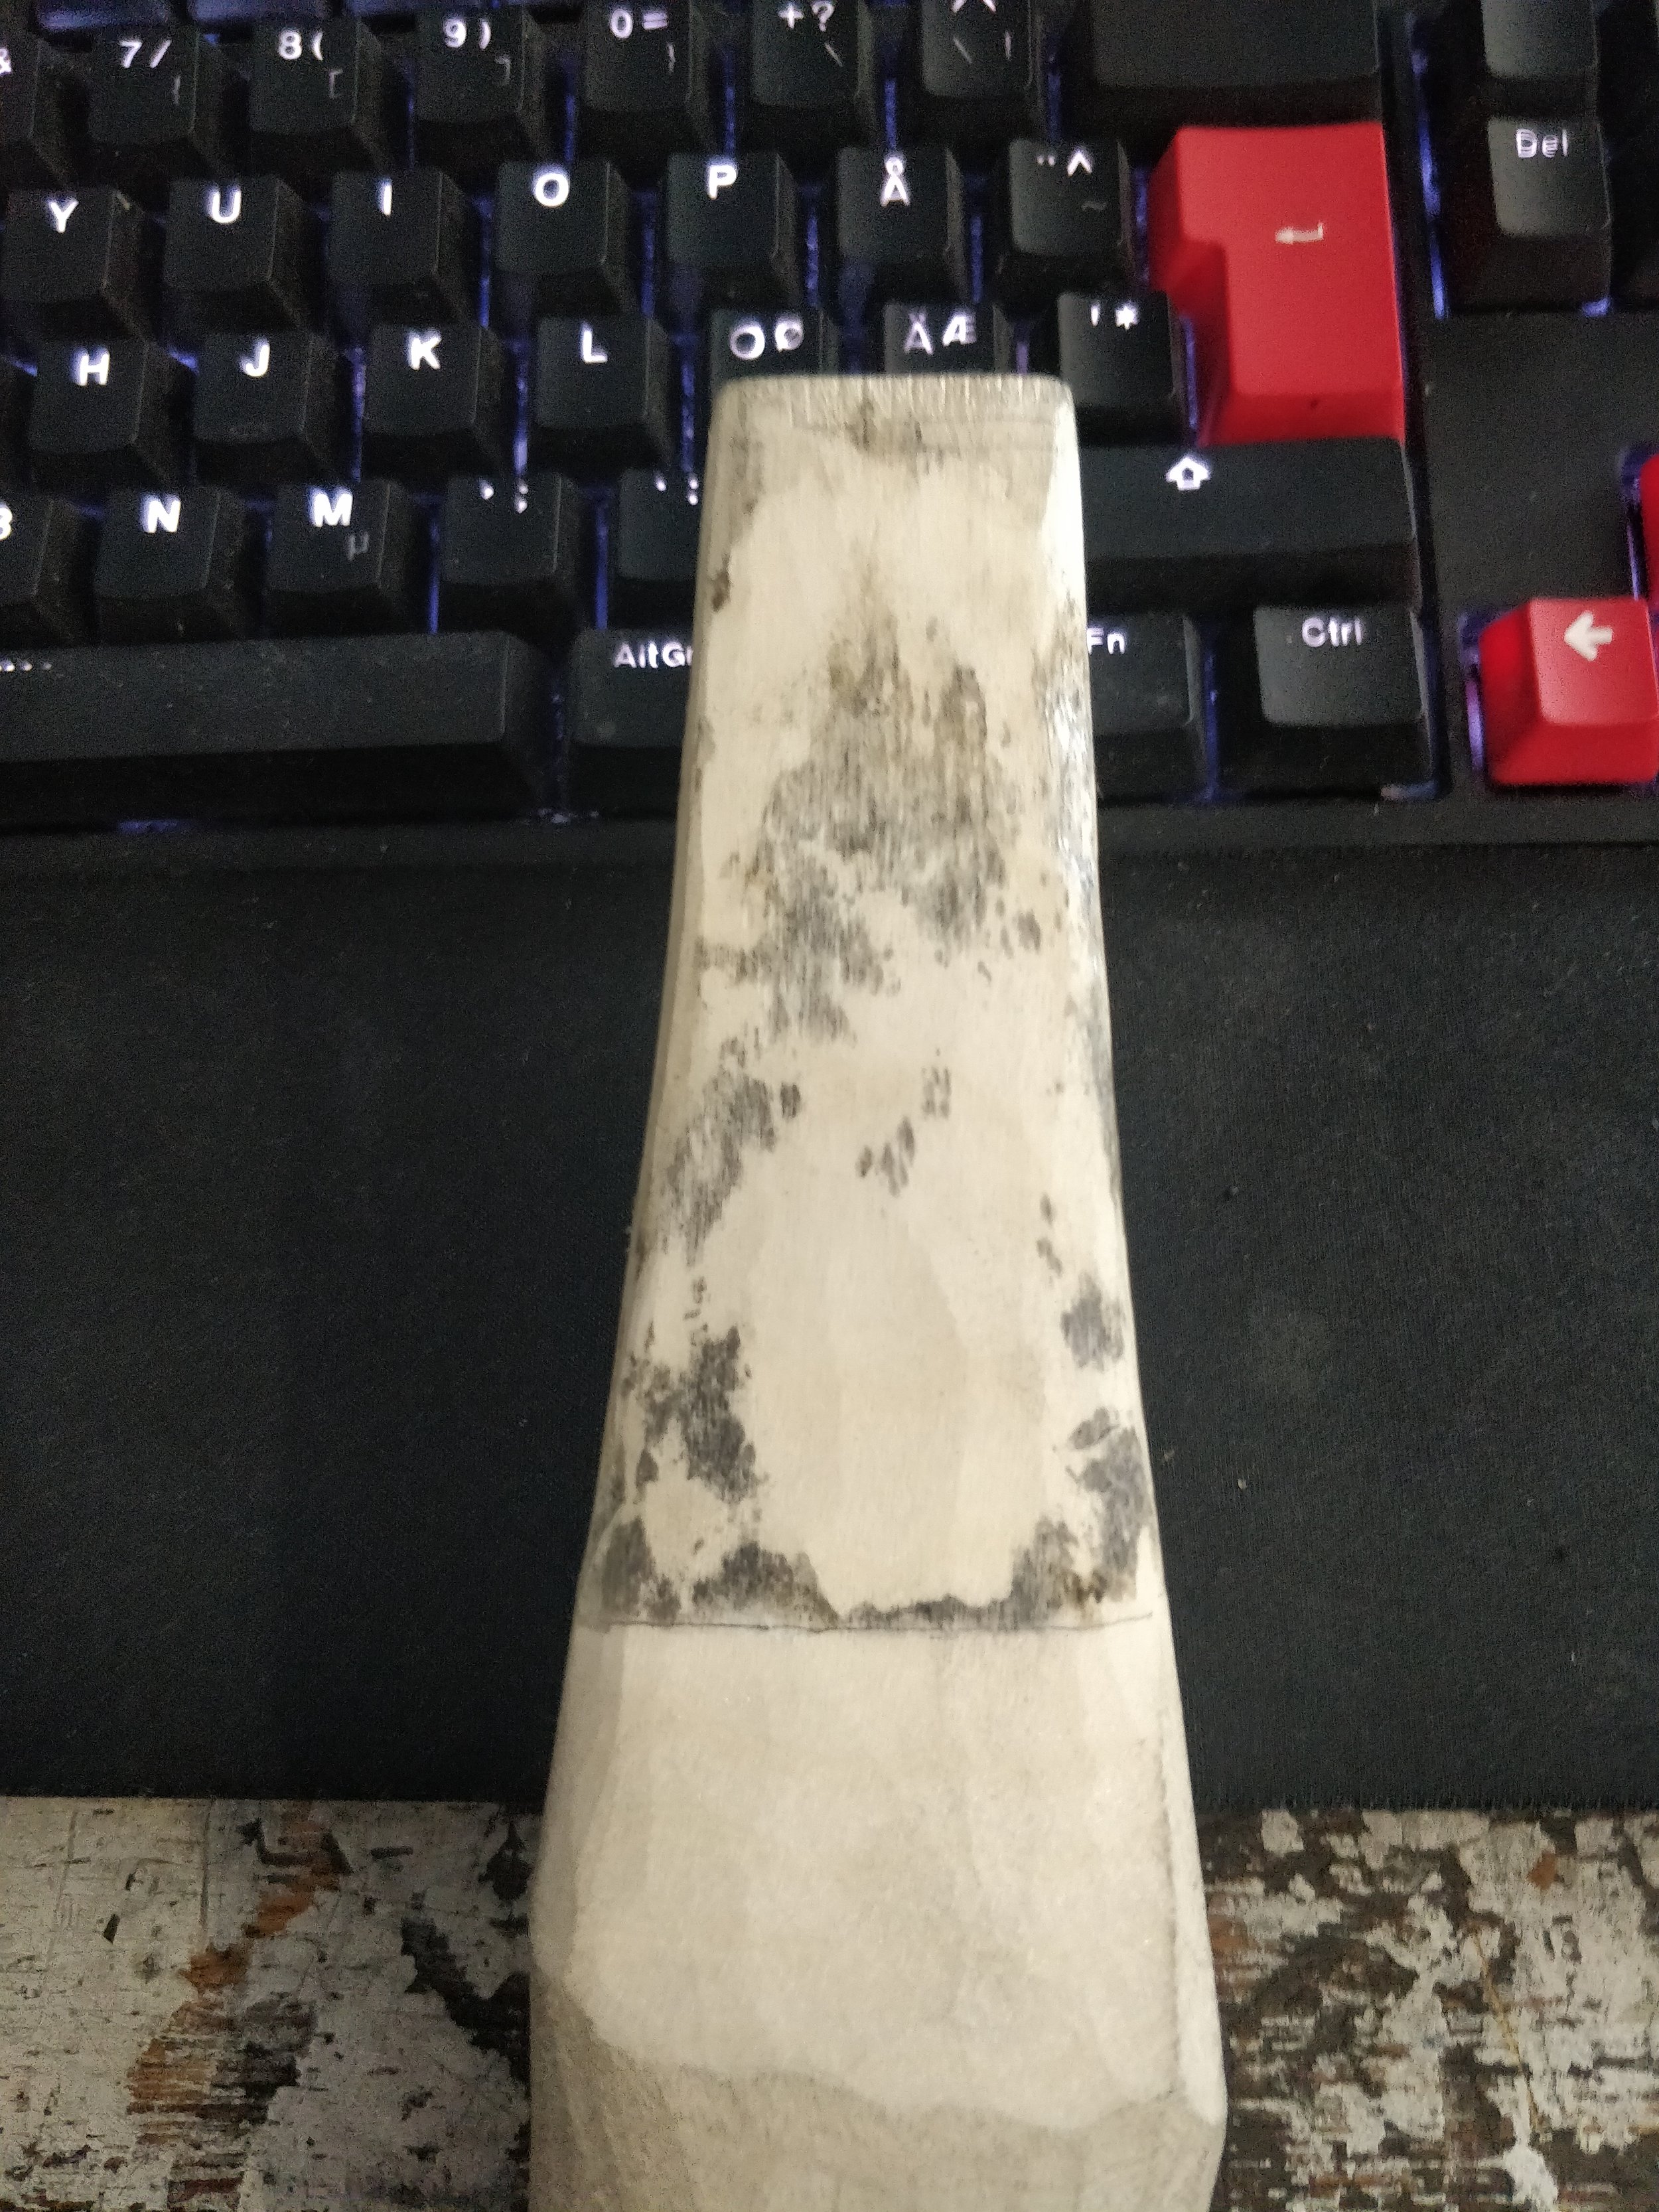
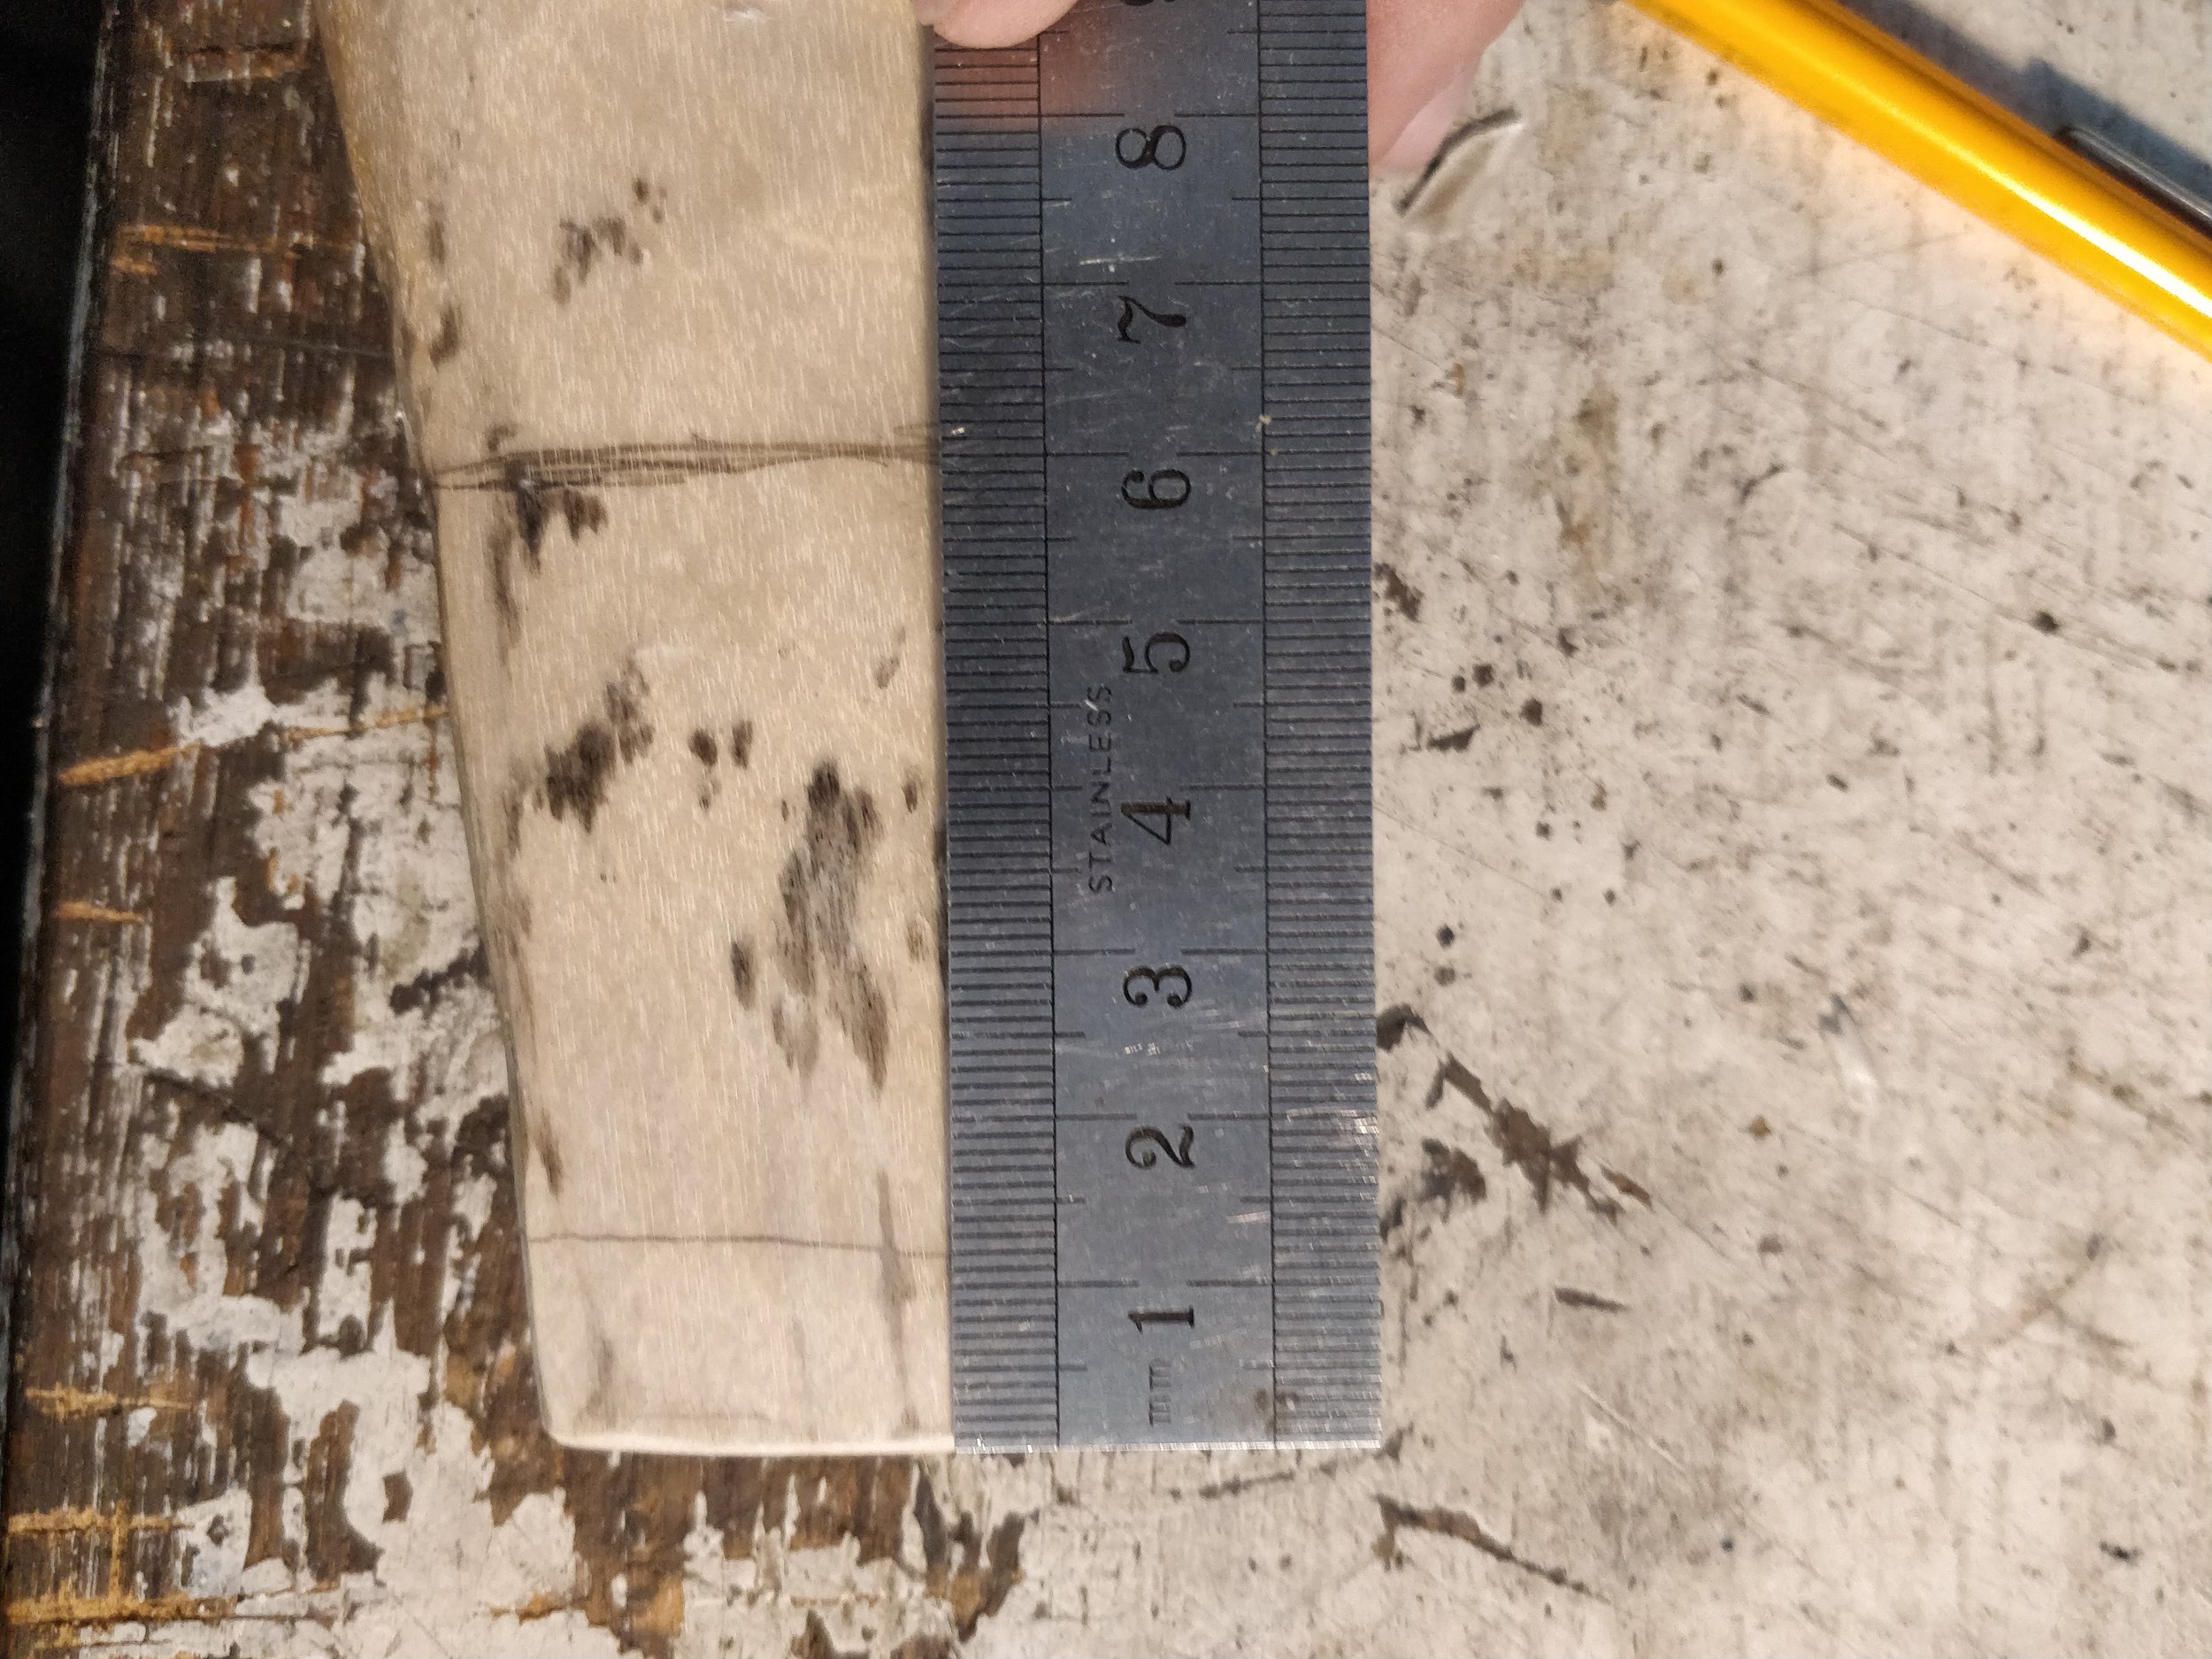
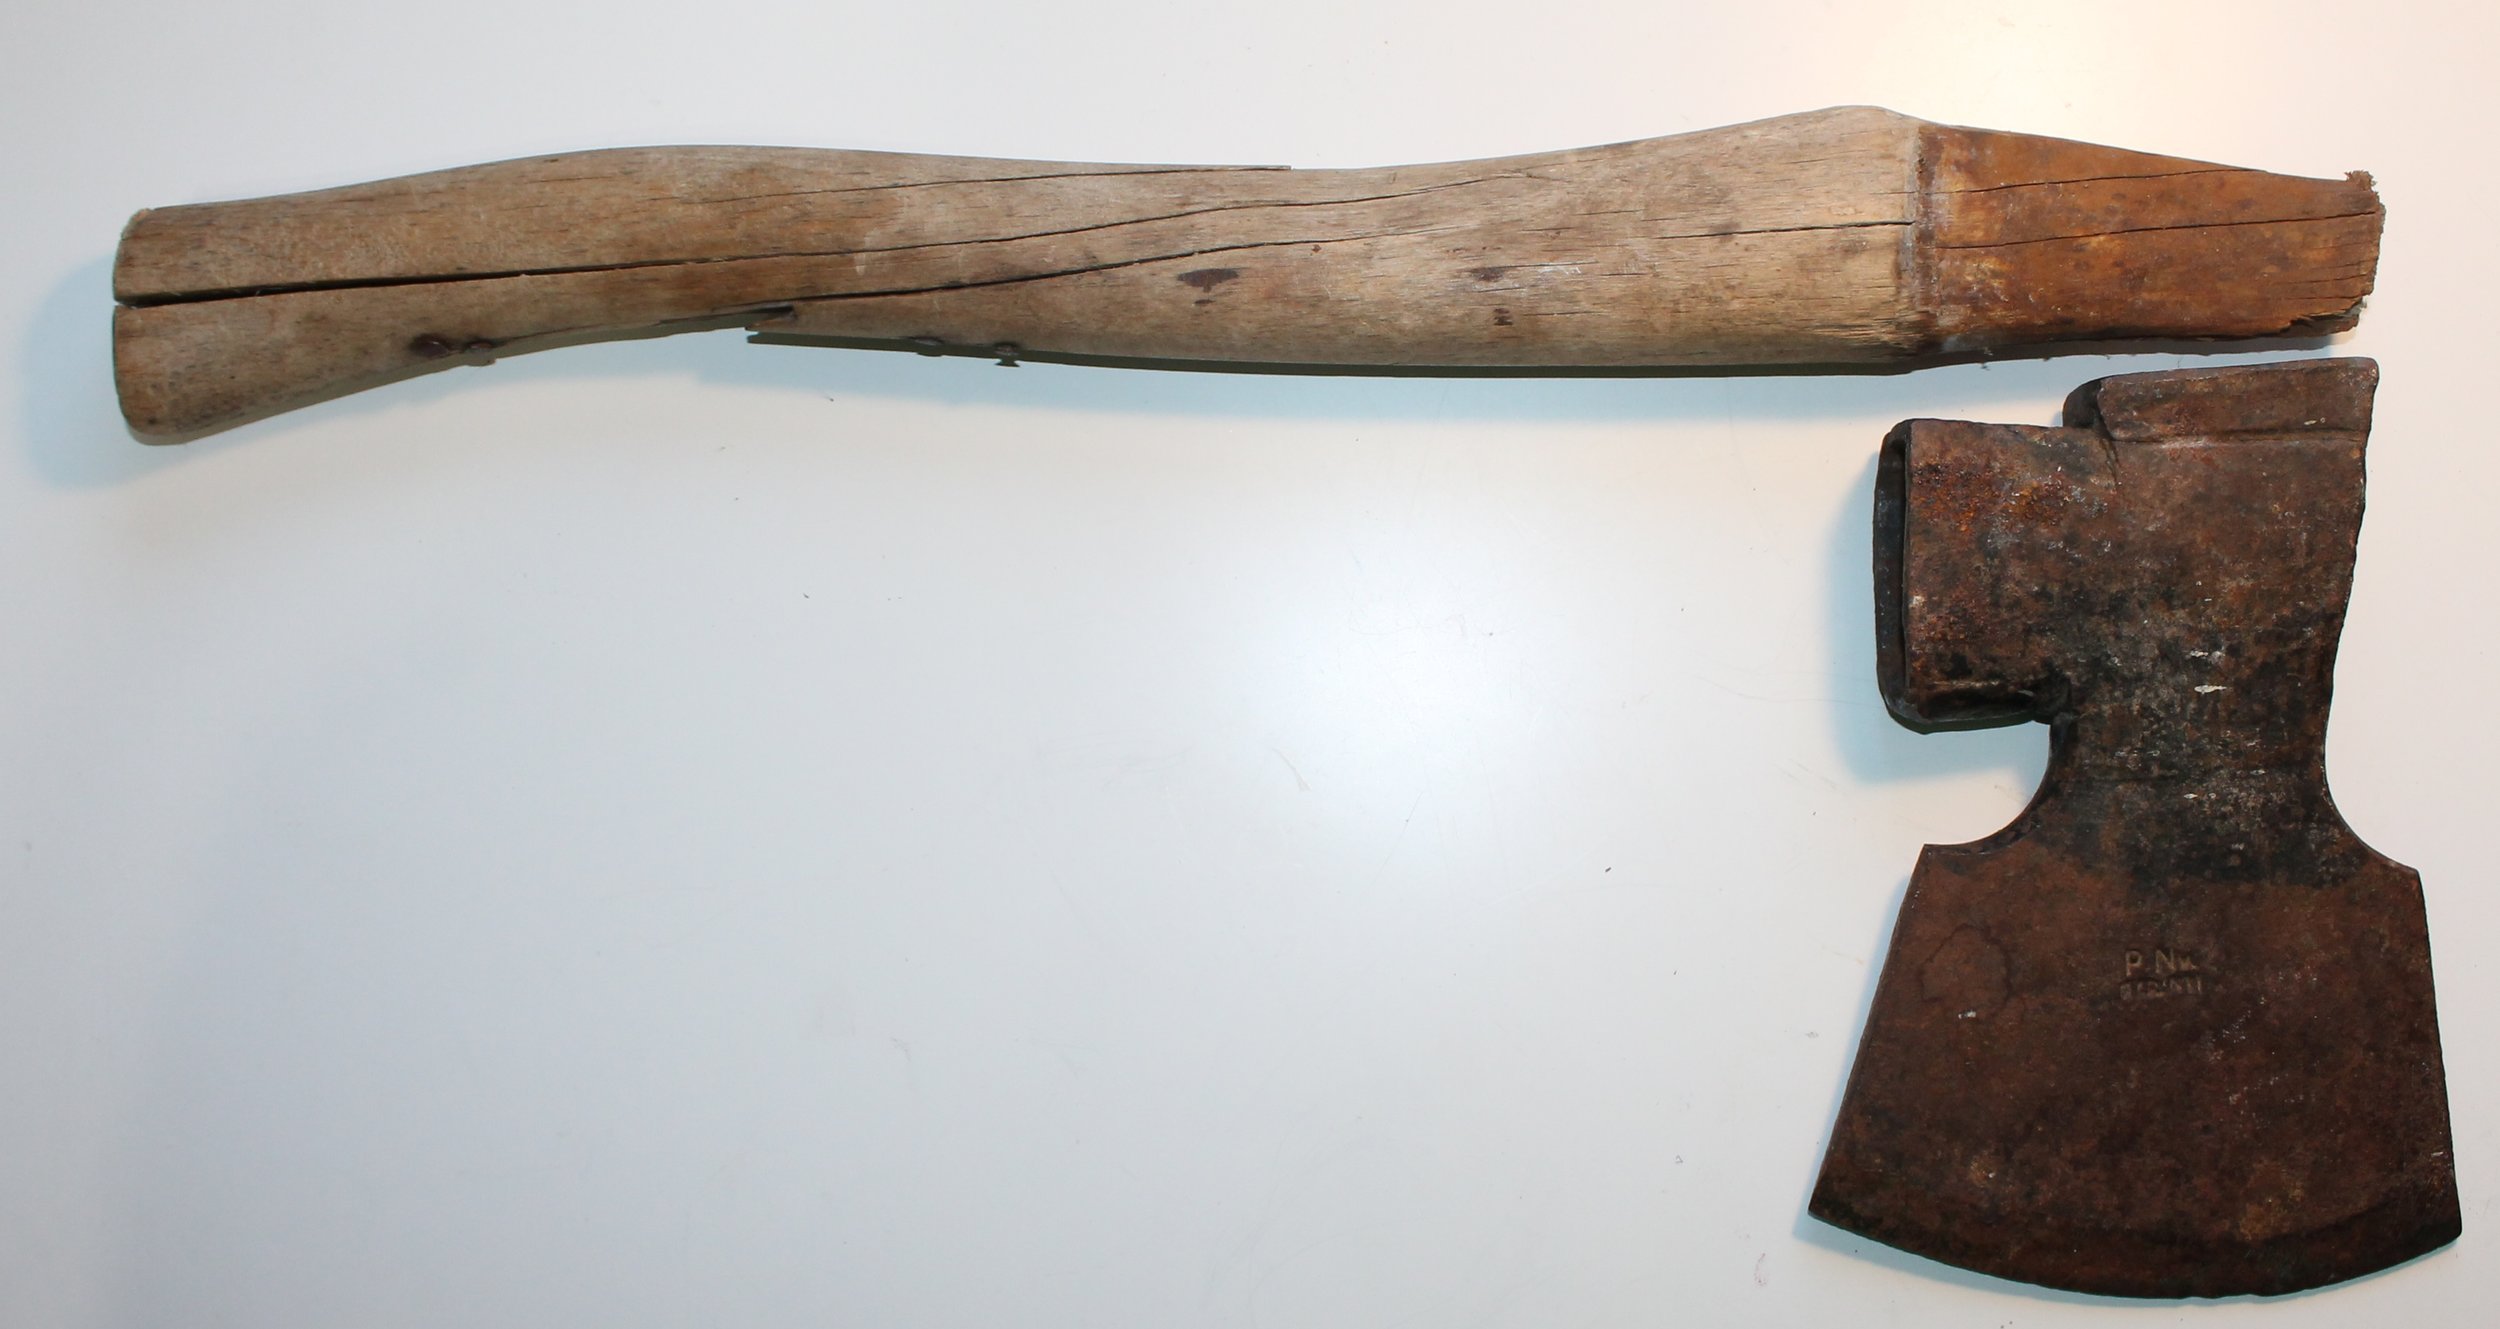
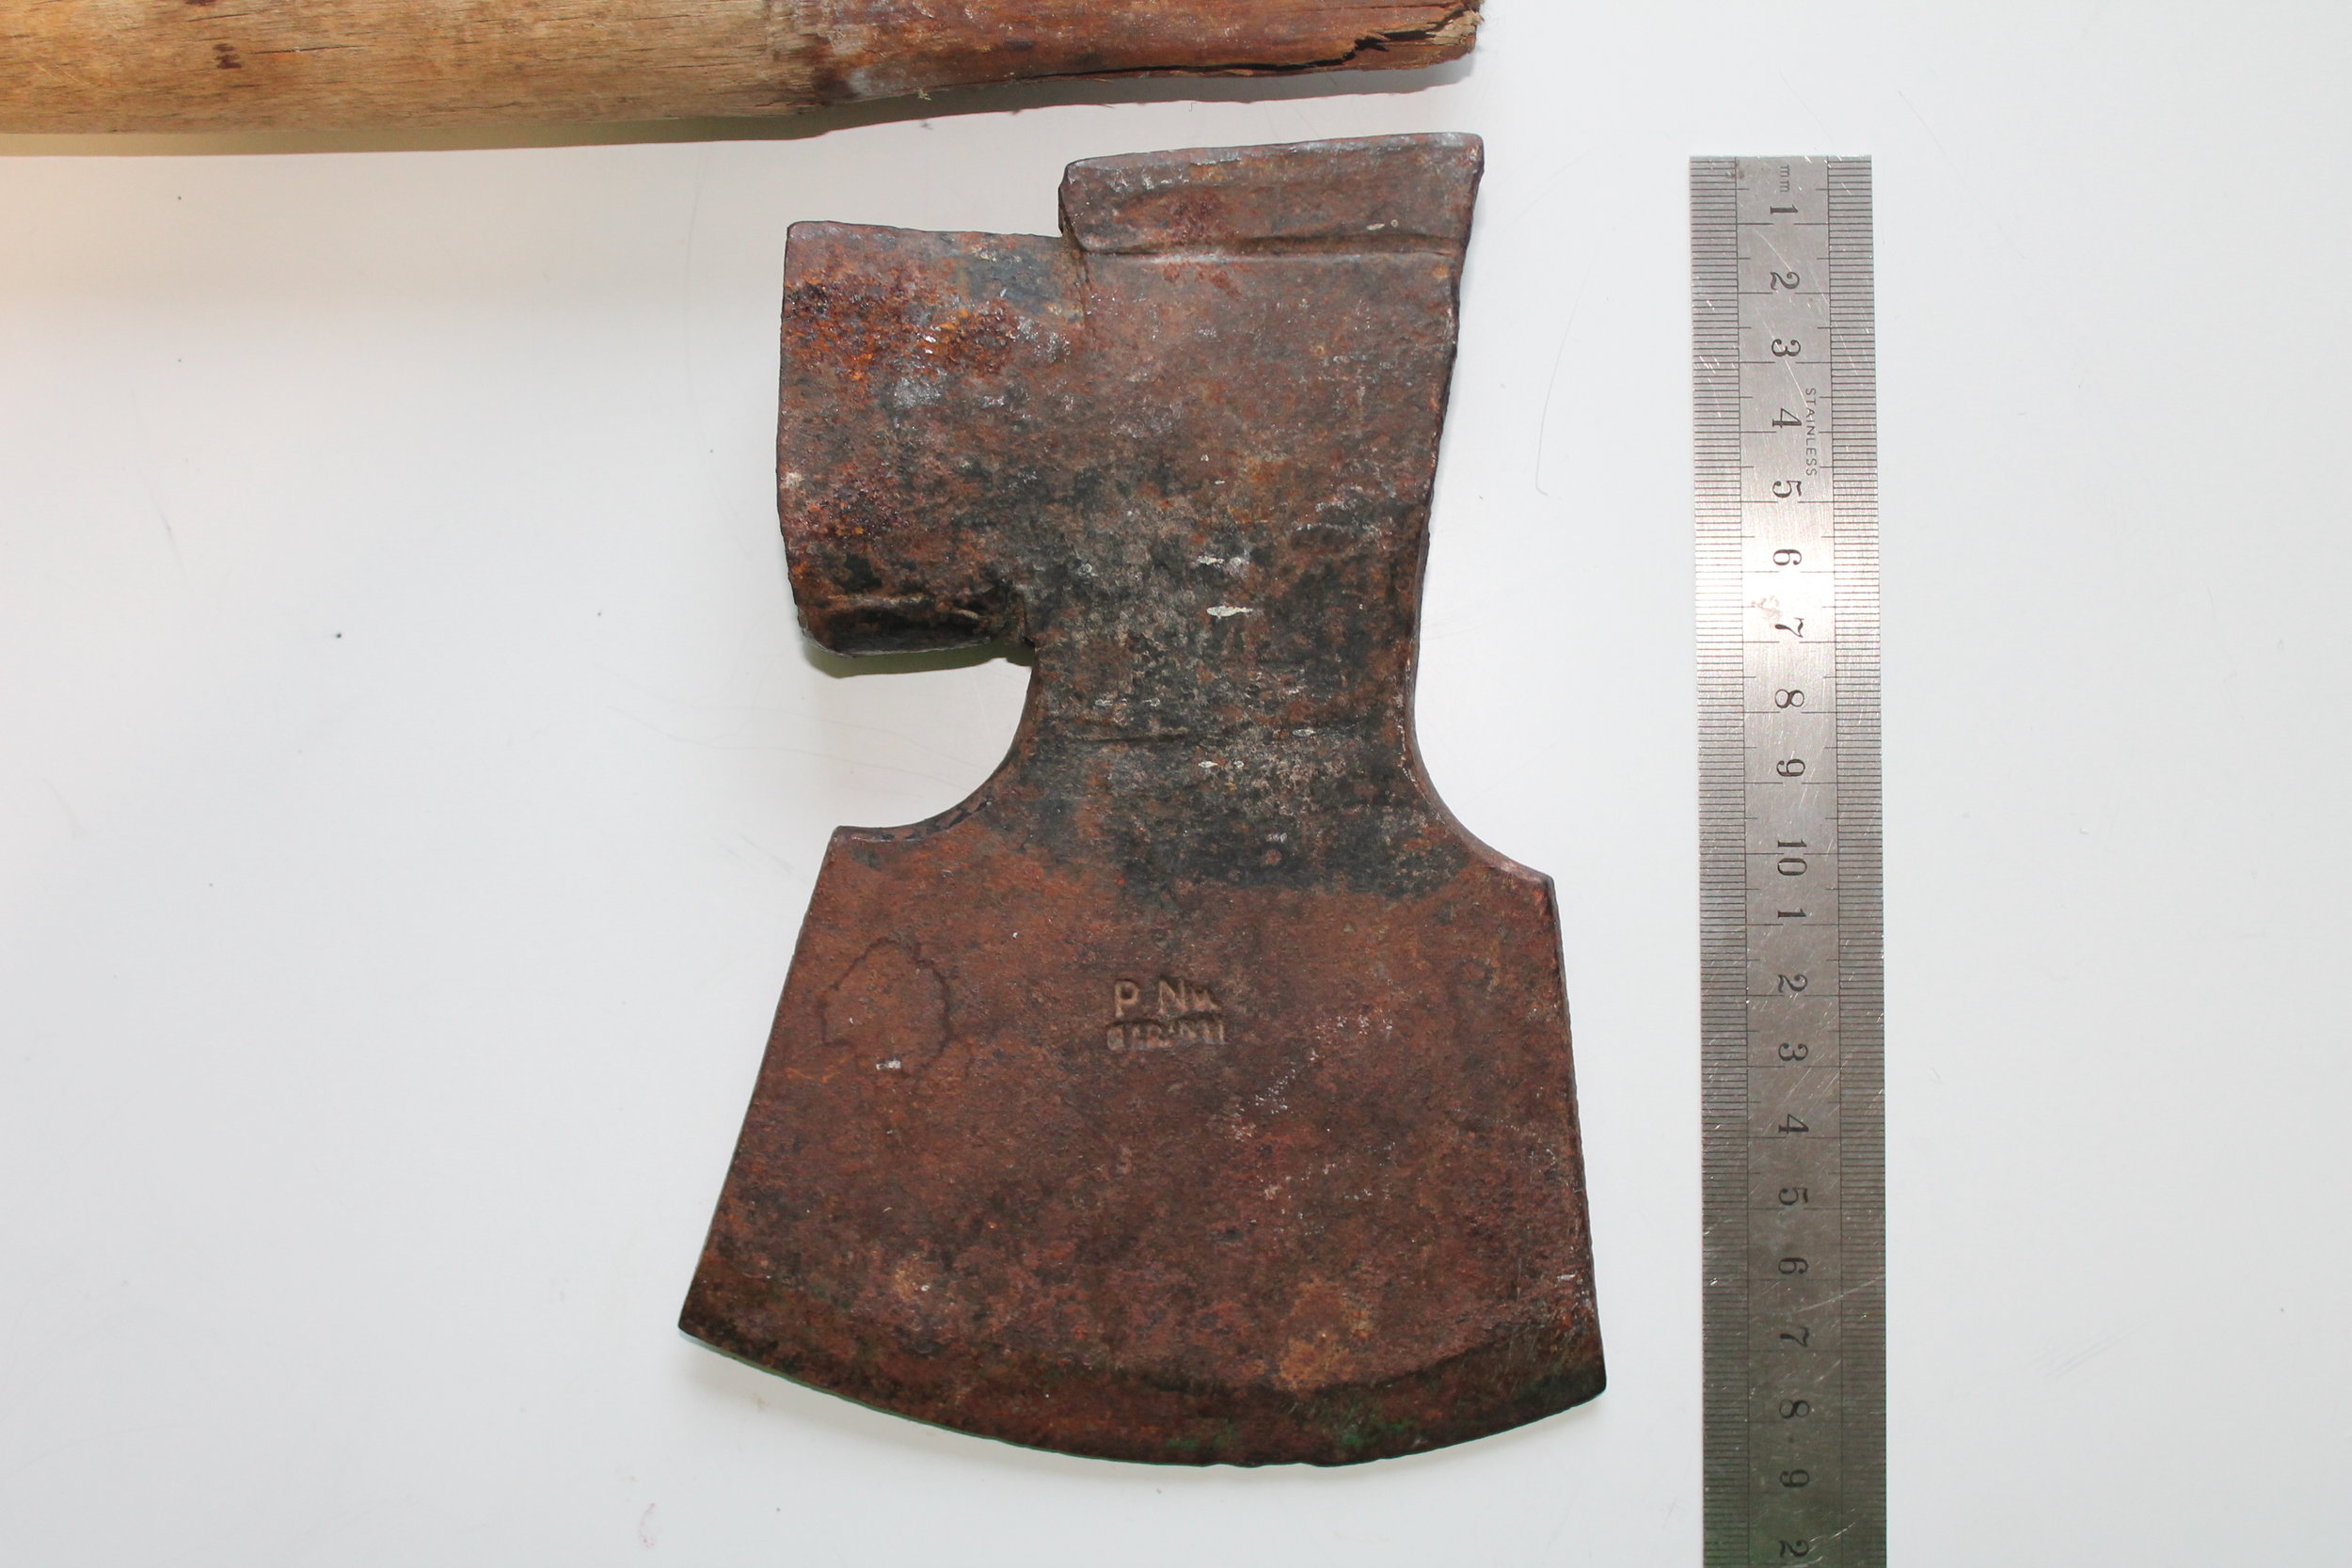
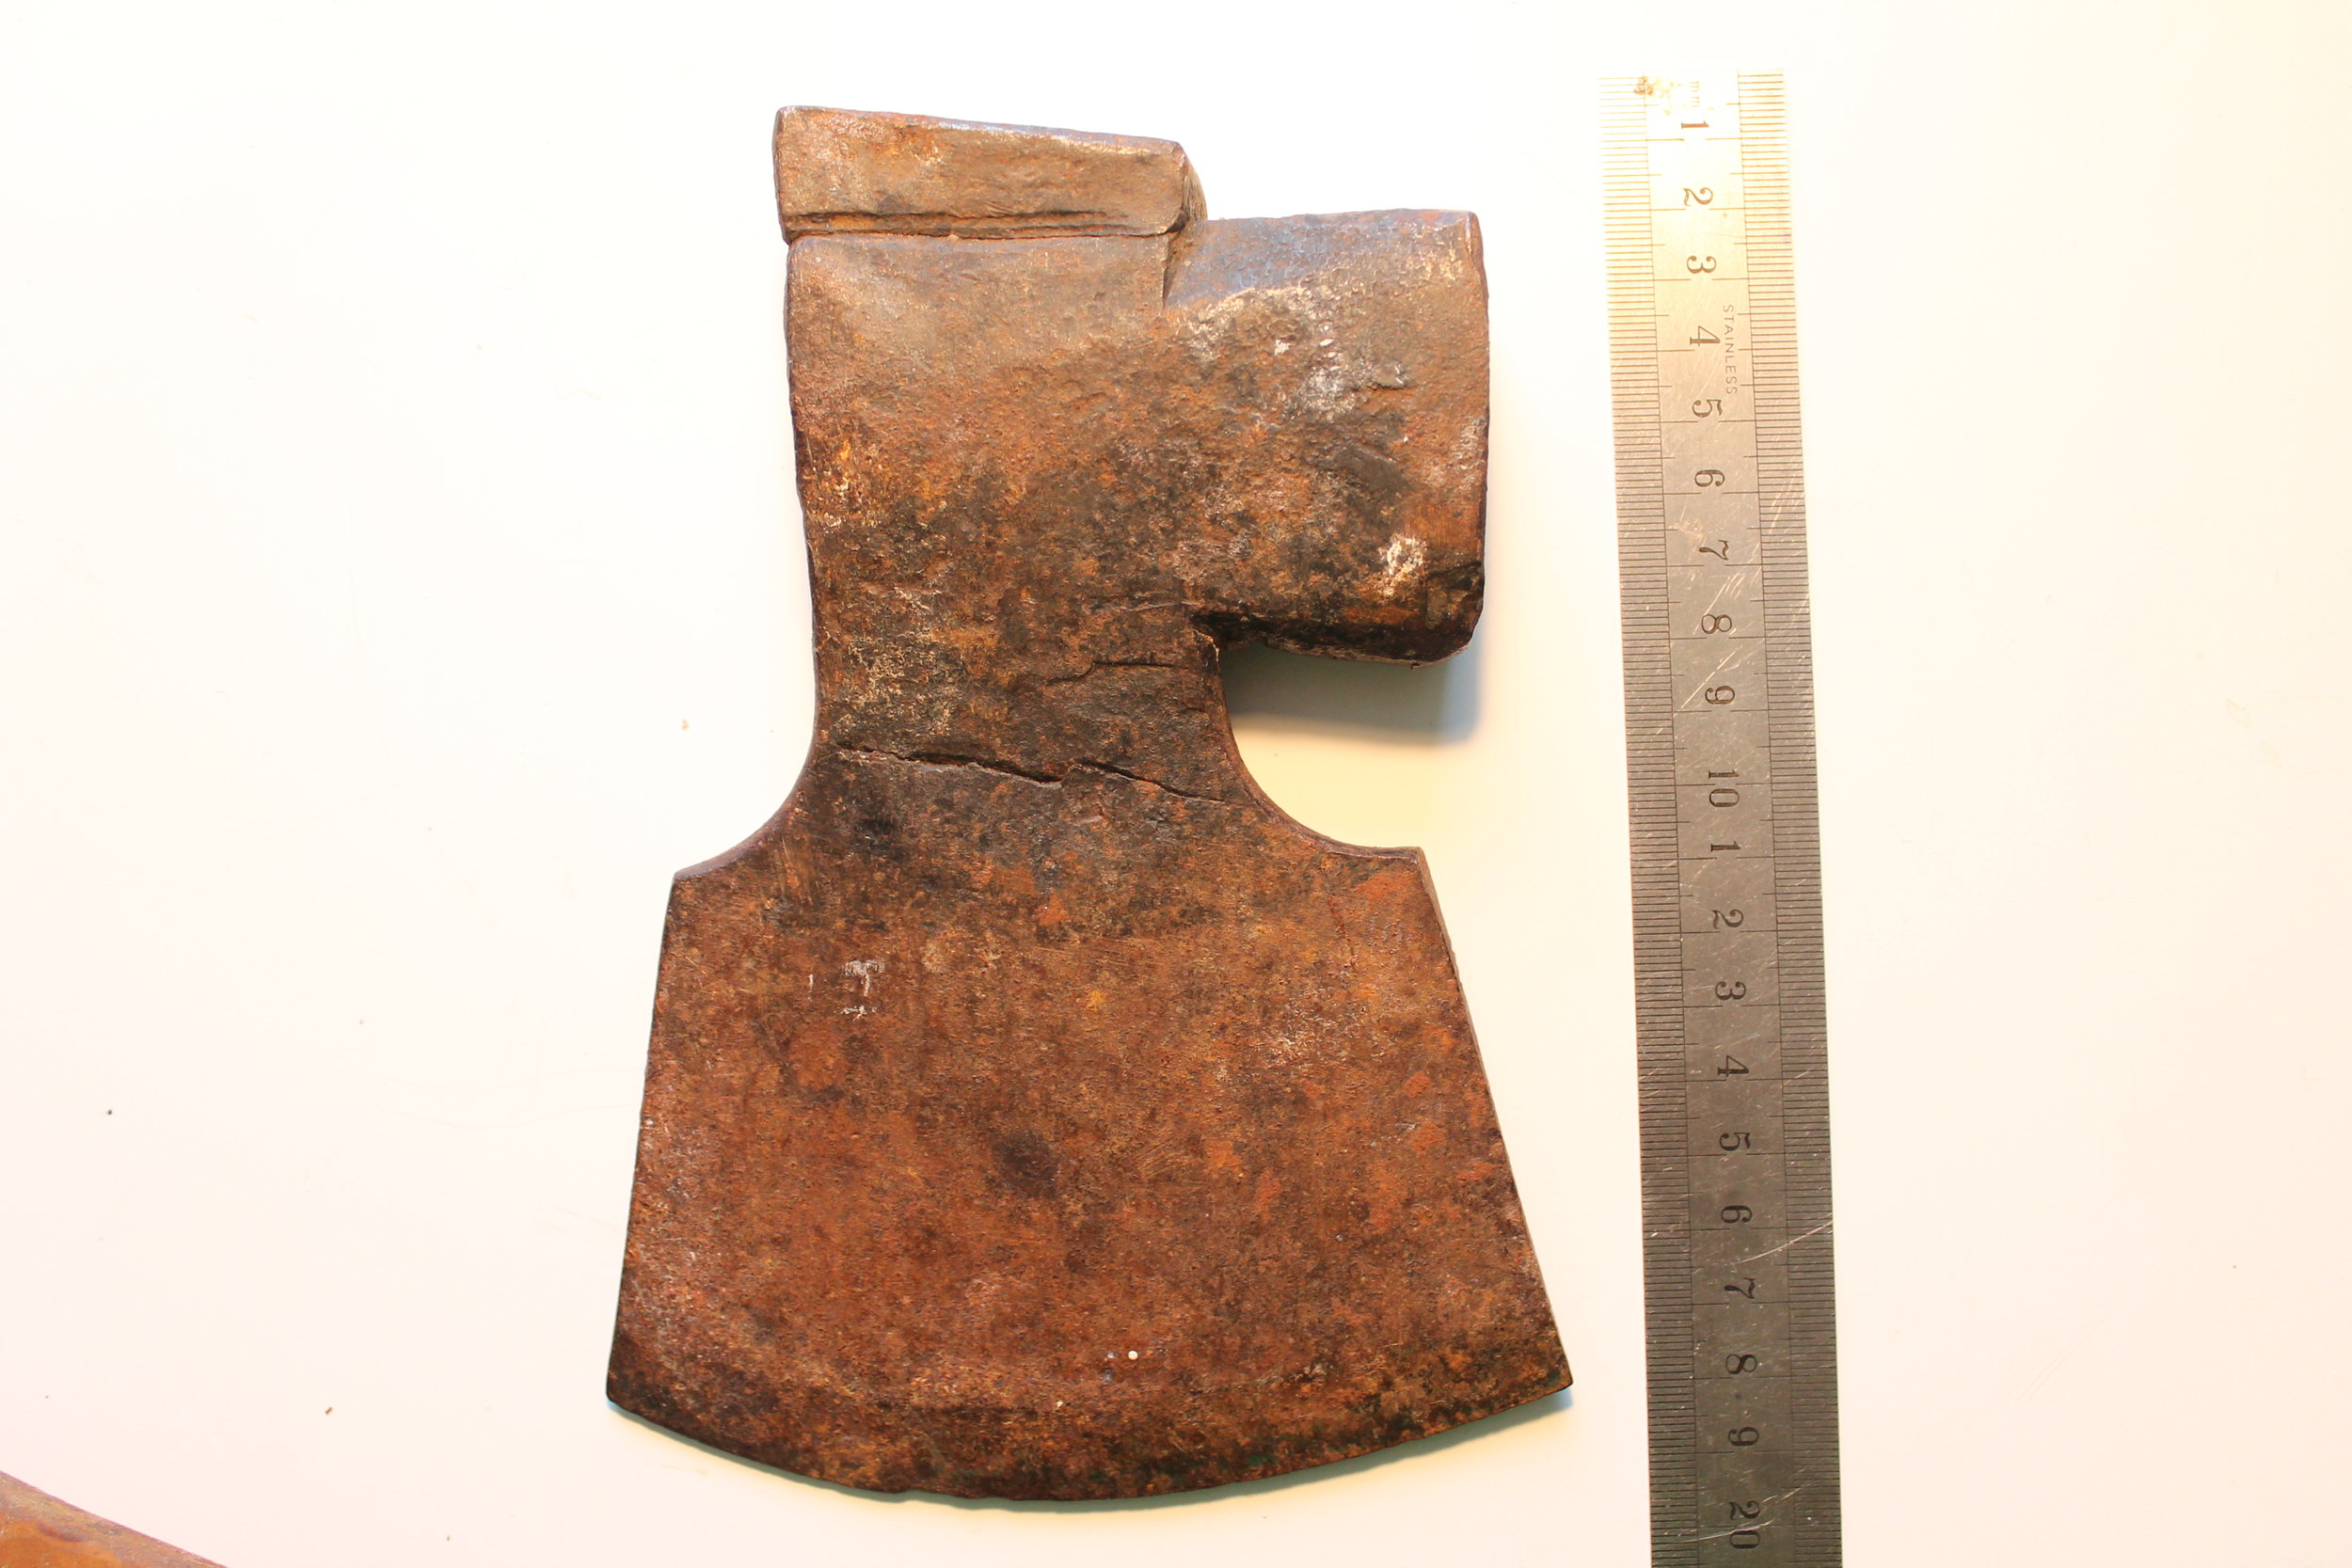
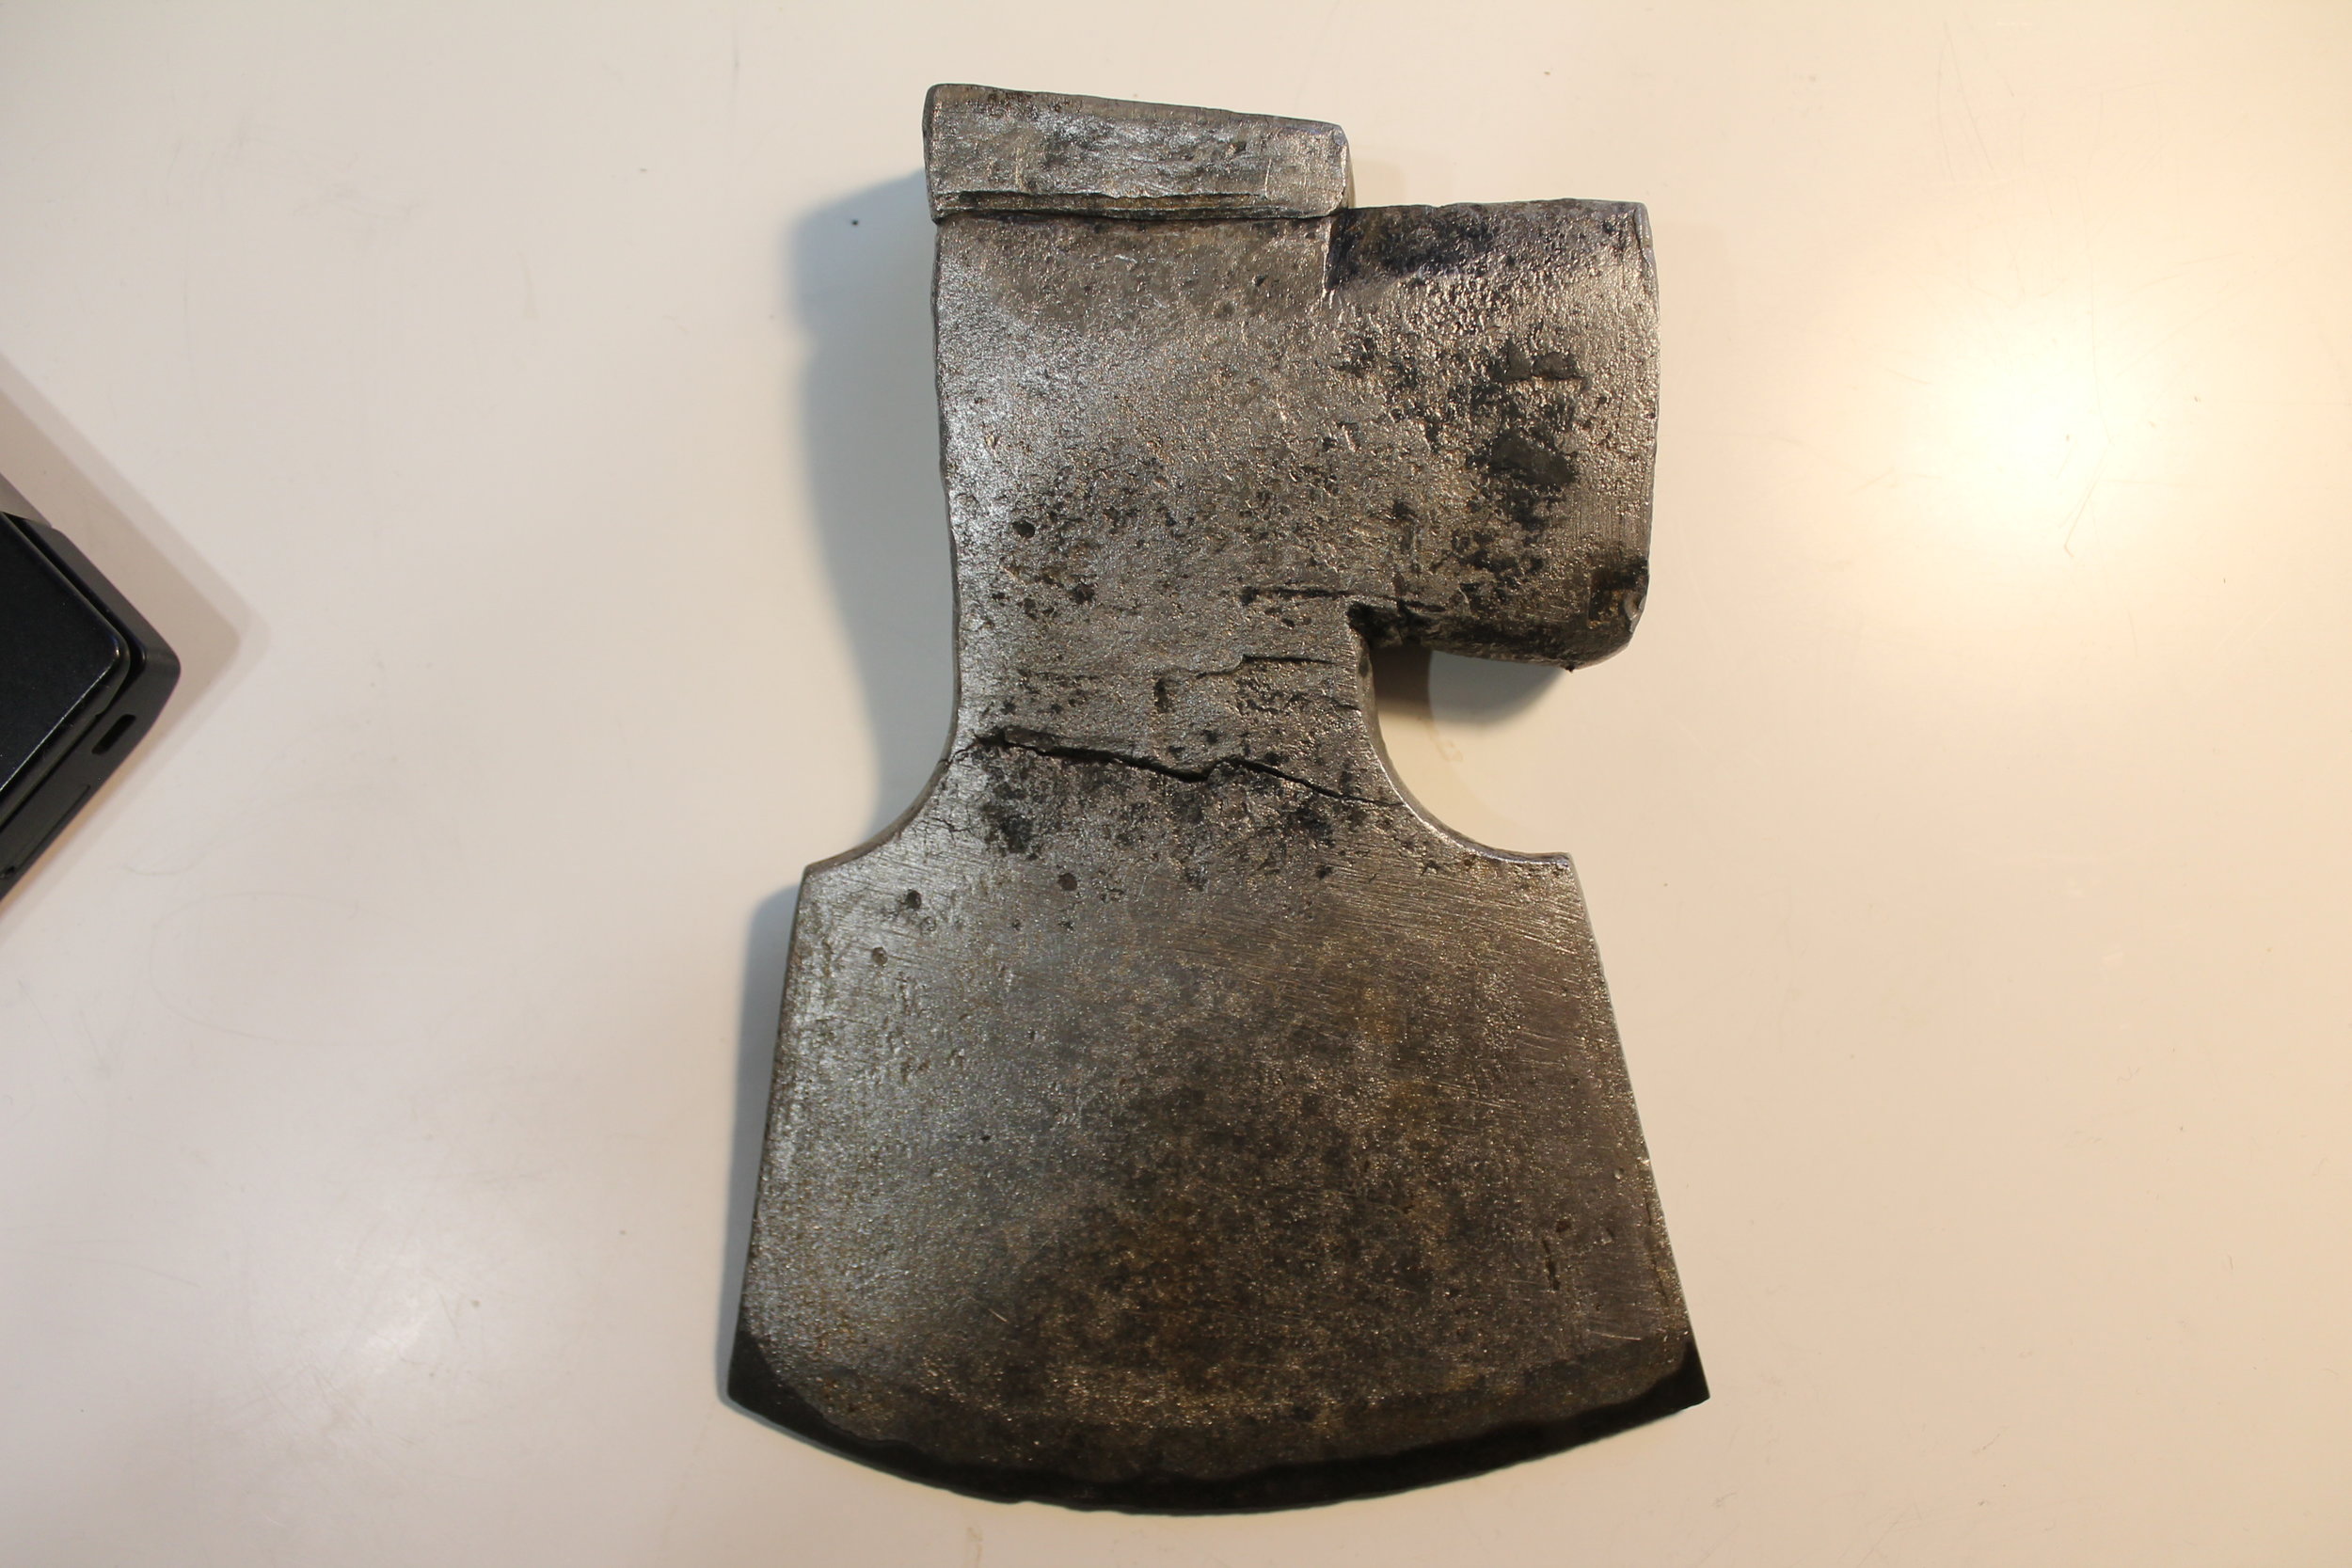
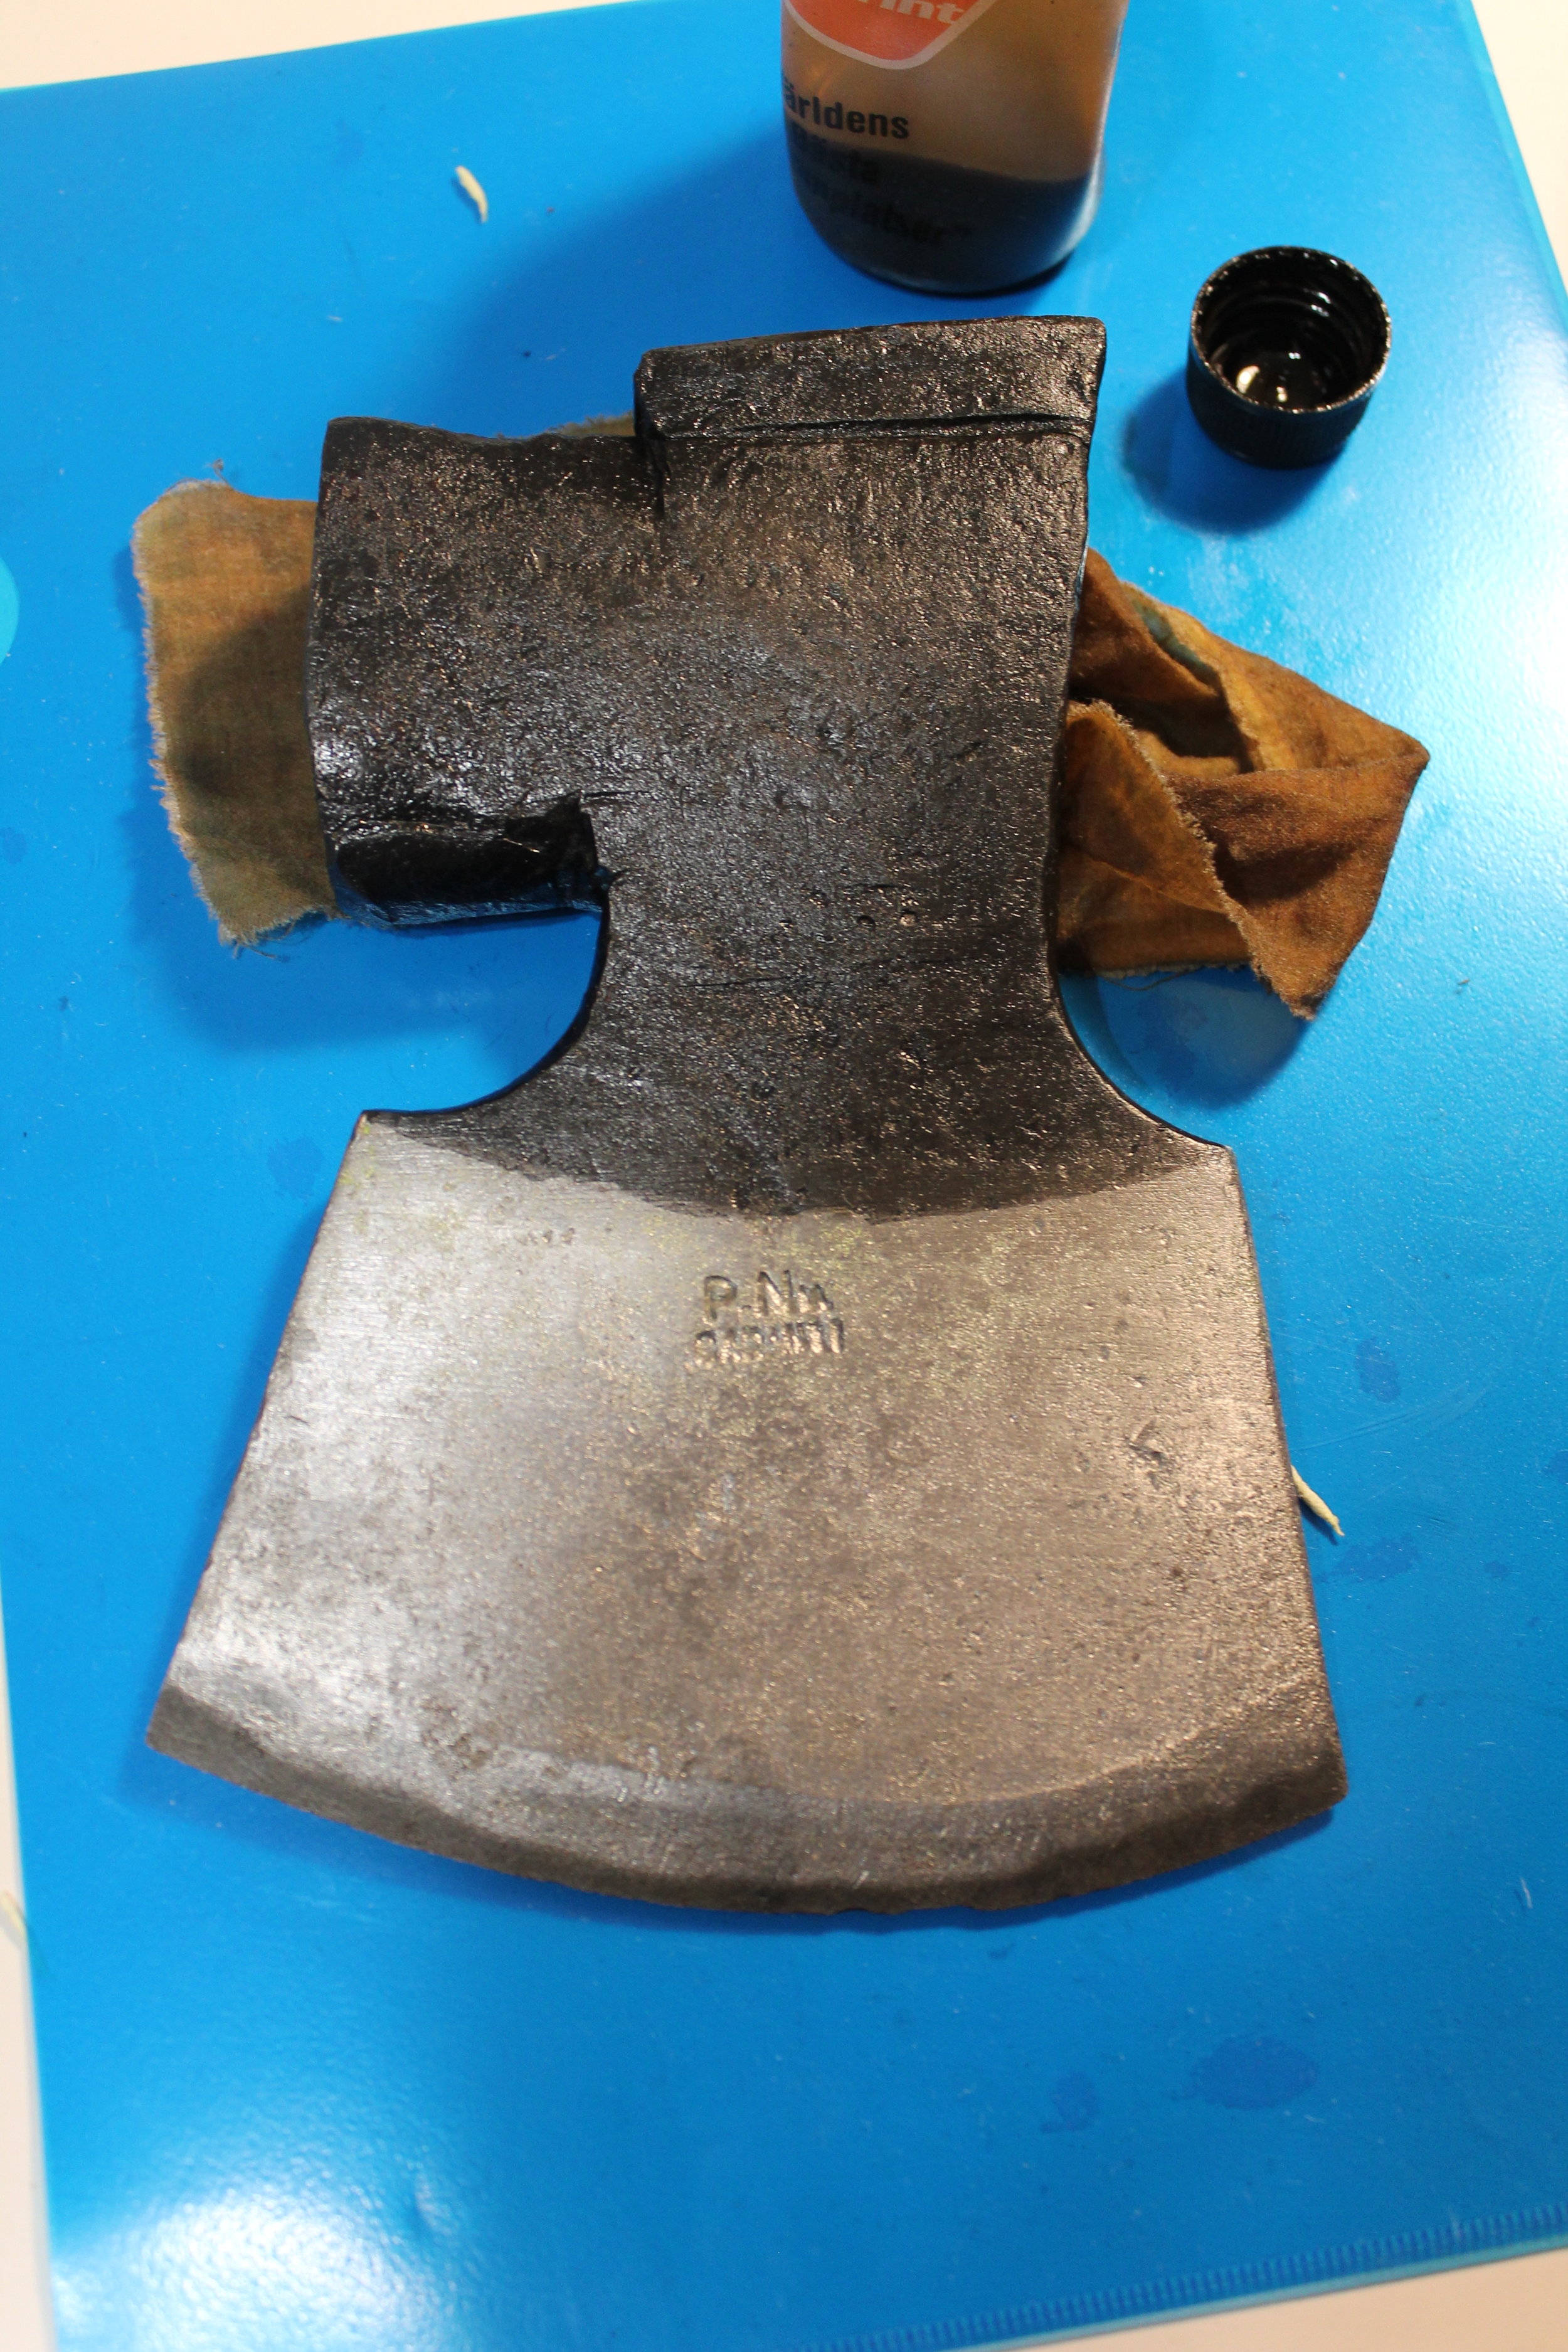
I started by photographing and documenting the original condition of the axe.

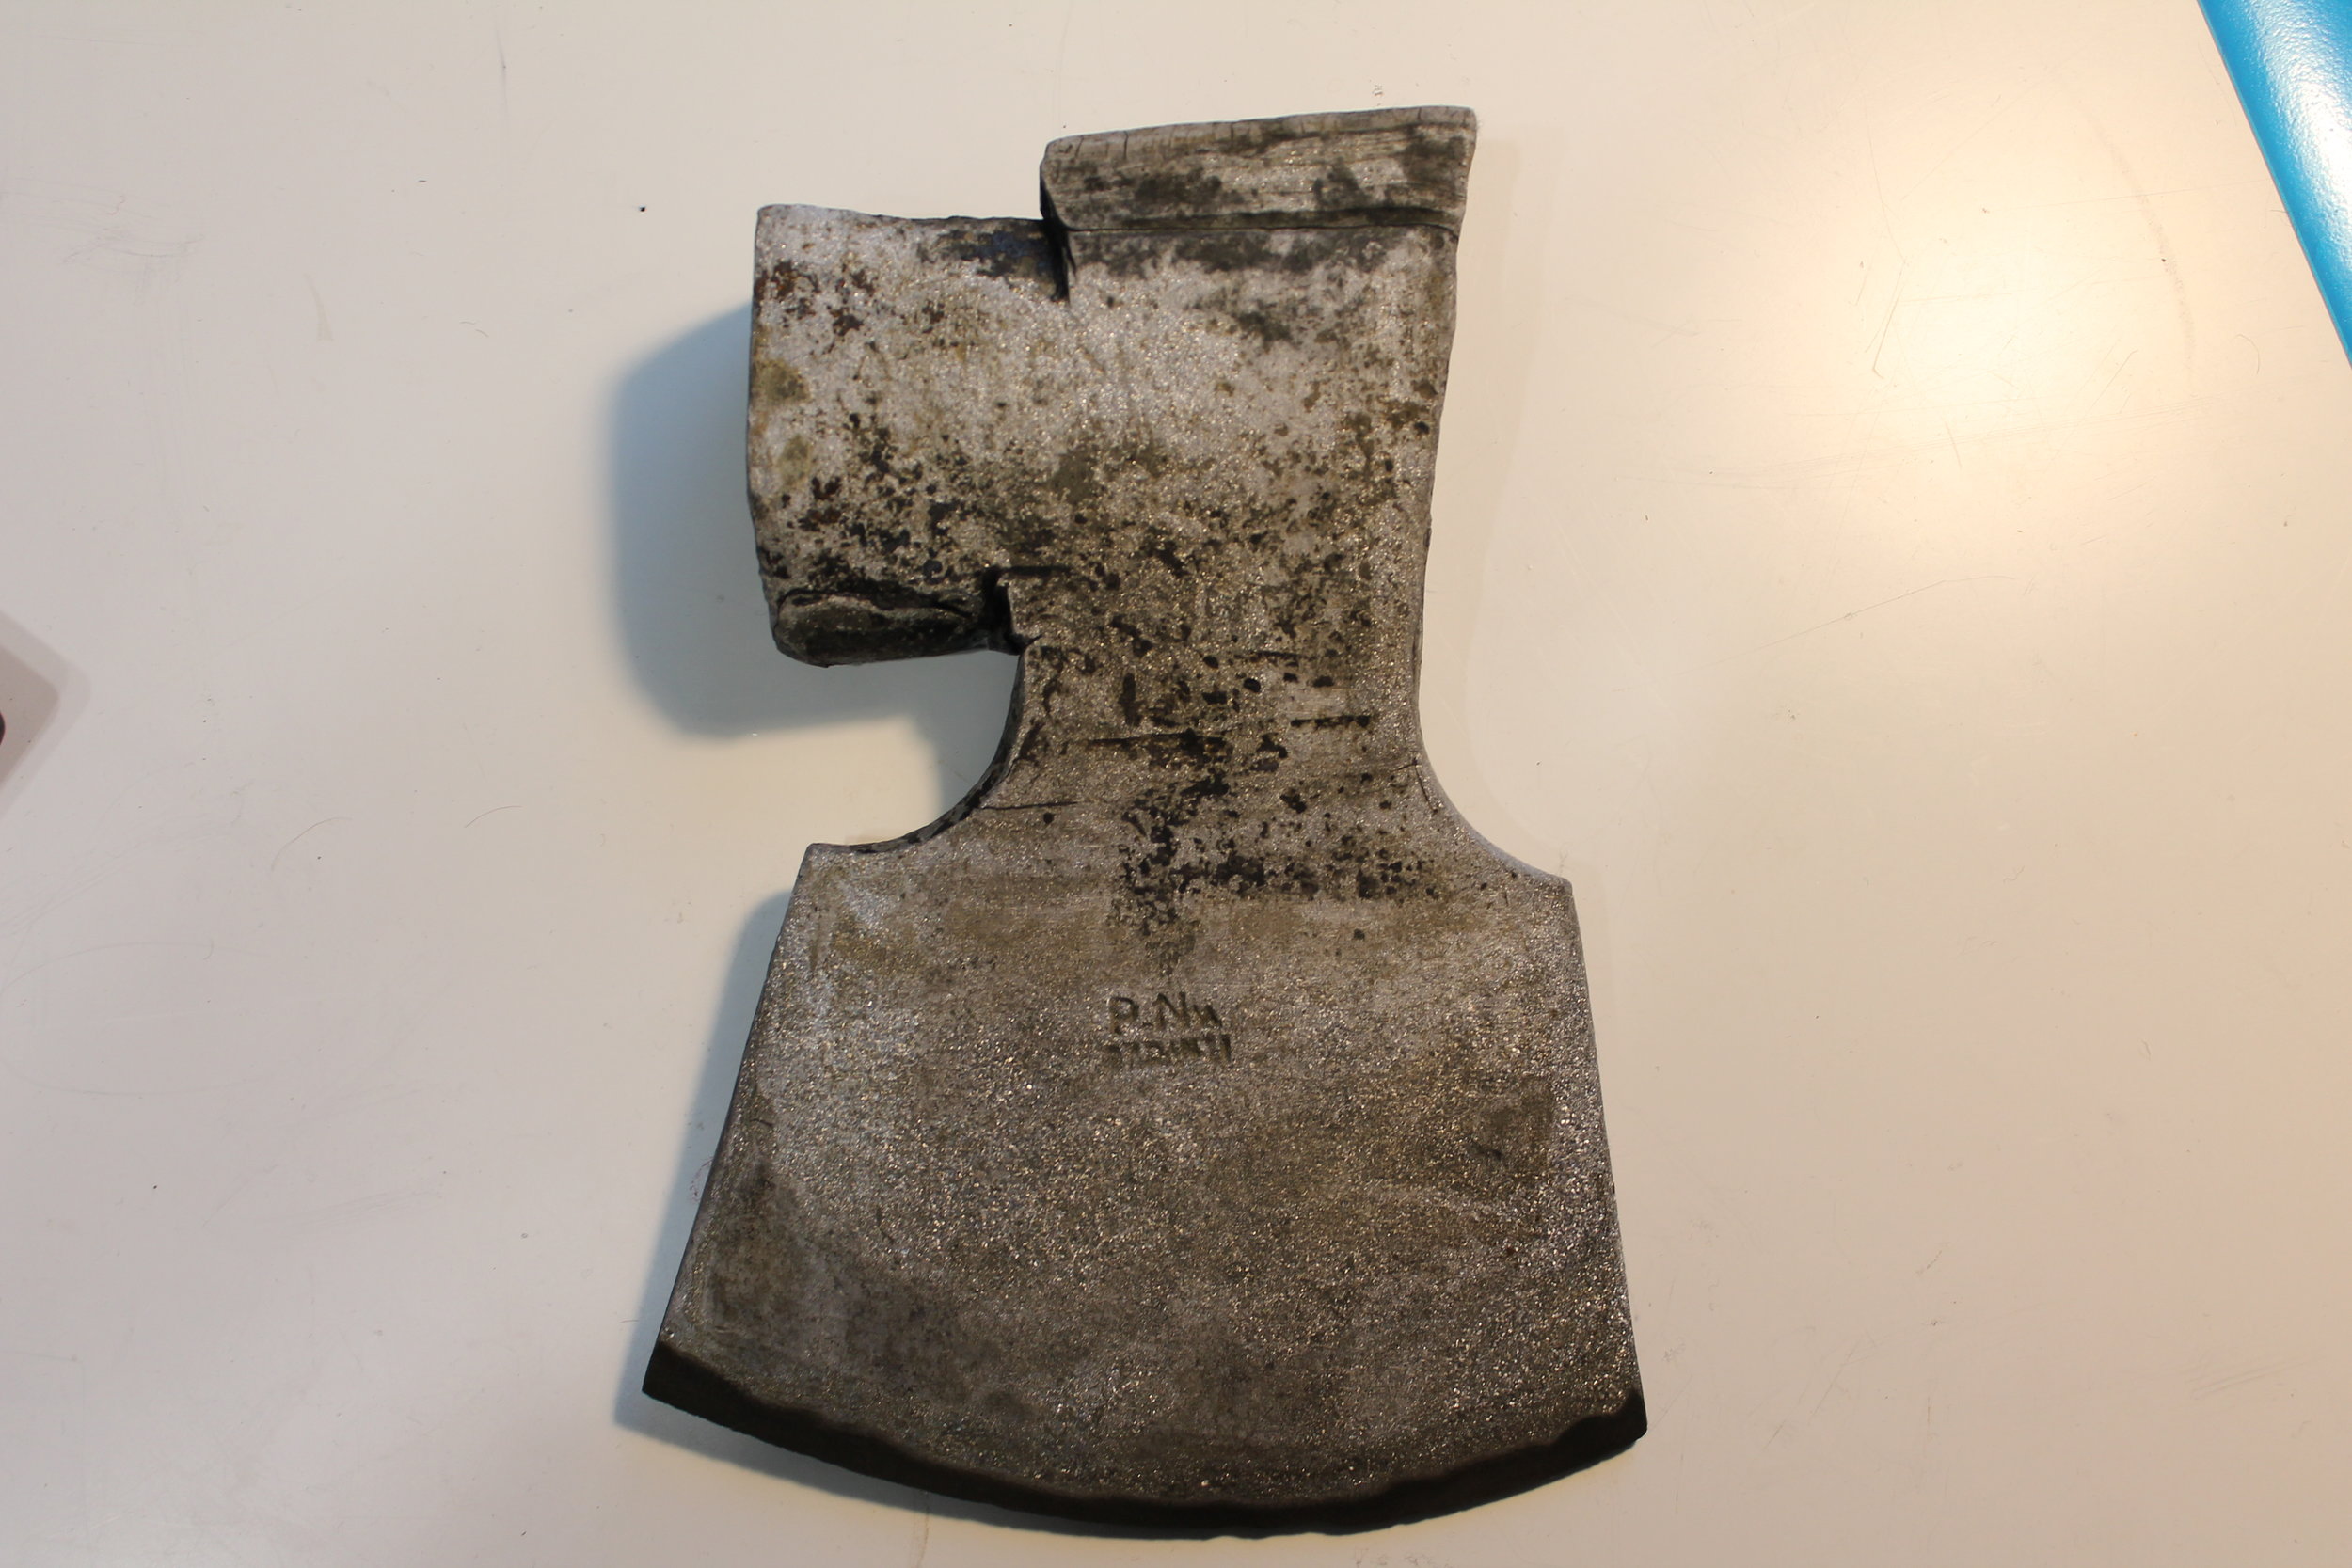
Then, rust removal followed. Because I got pretty good results with Frost's Rust Remover on the two Wira axes , I decided to use it also on this restoration.
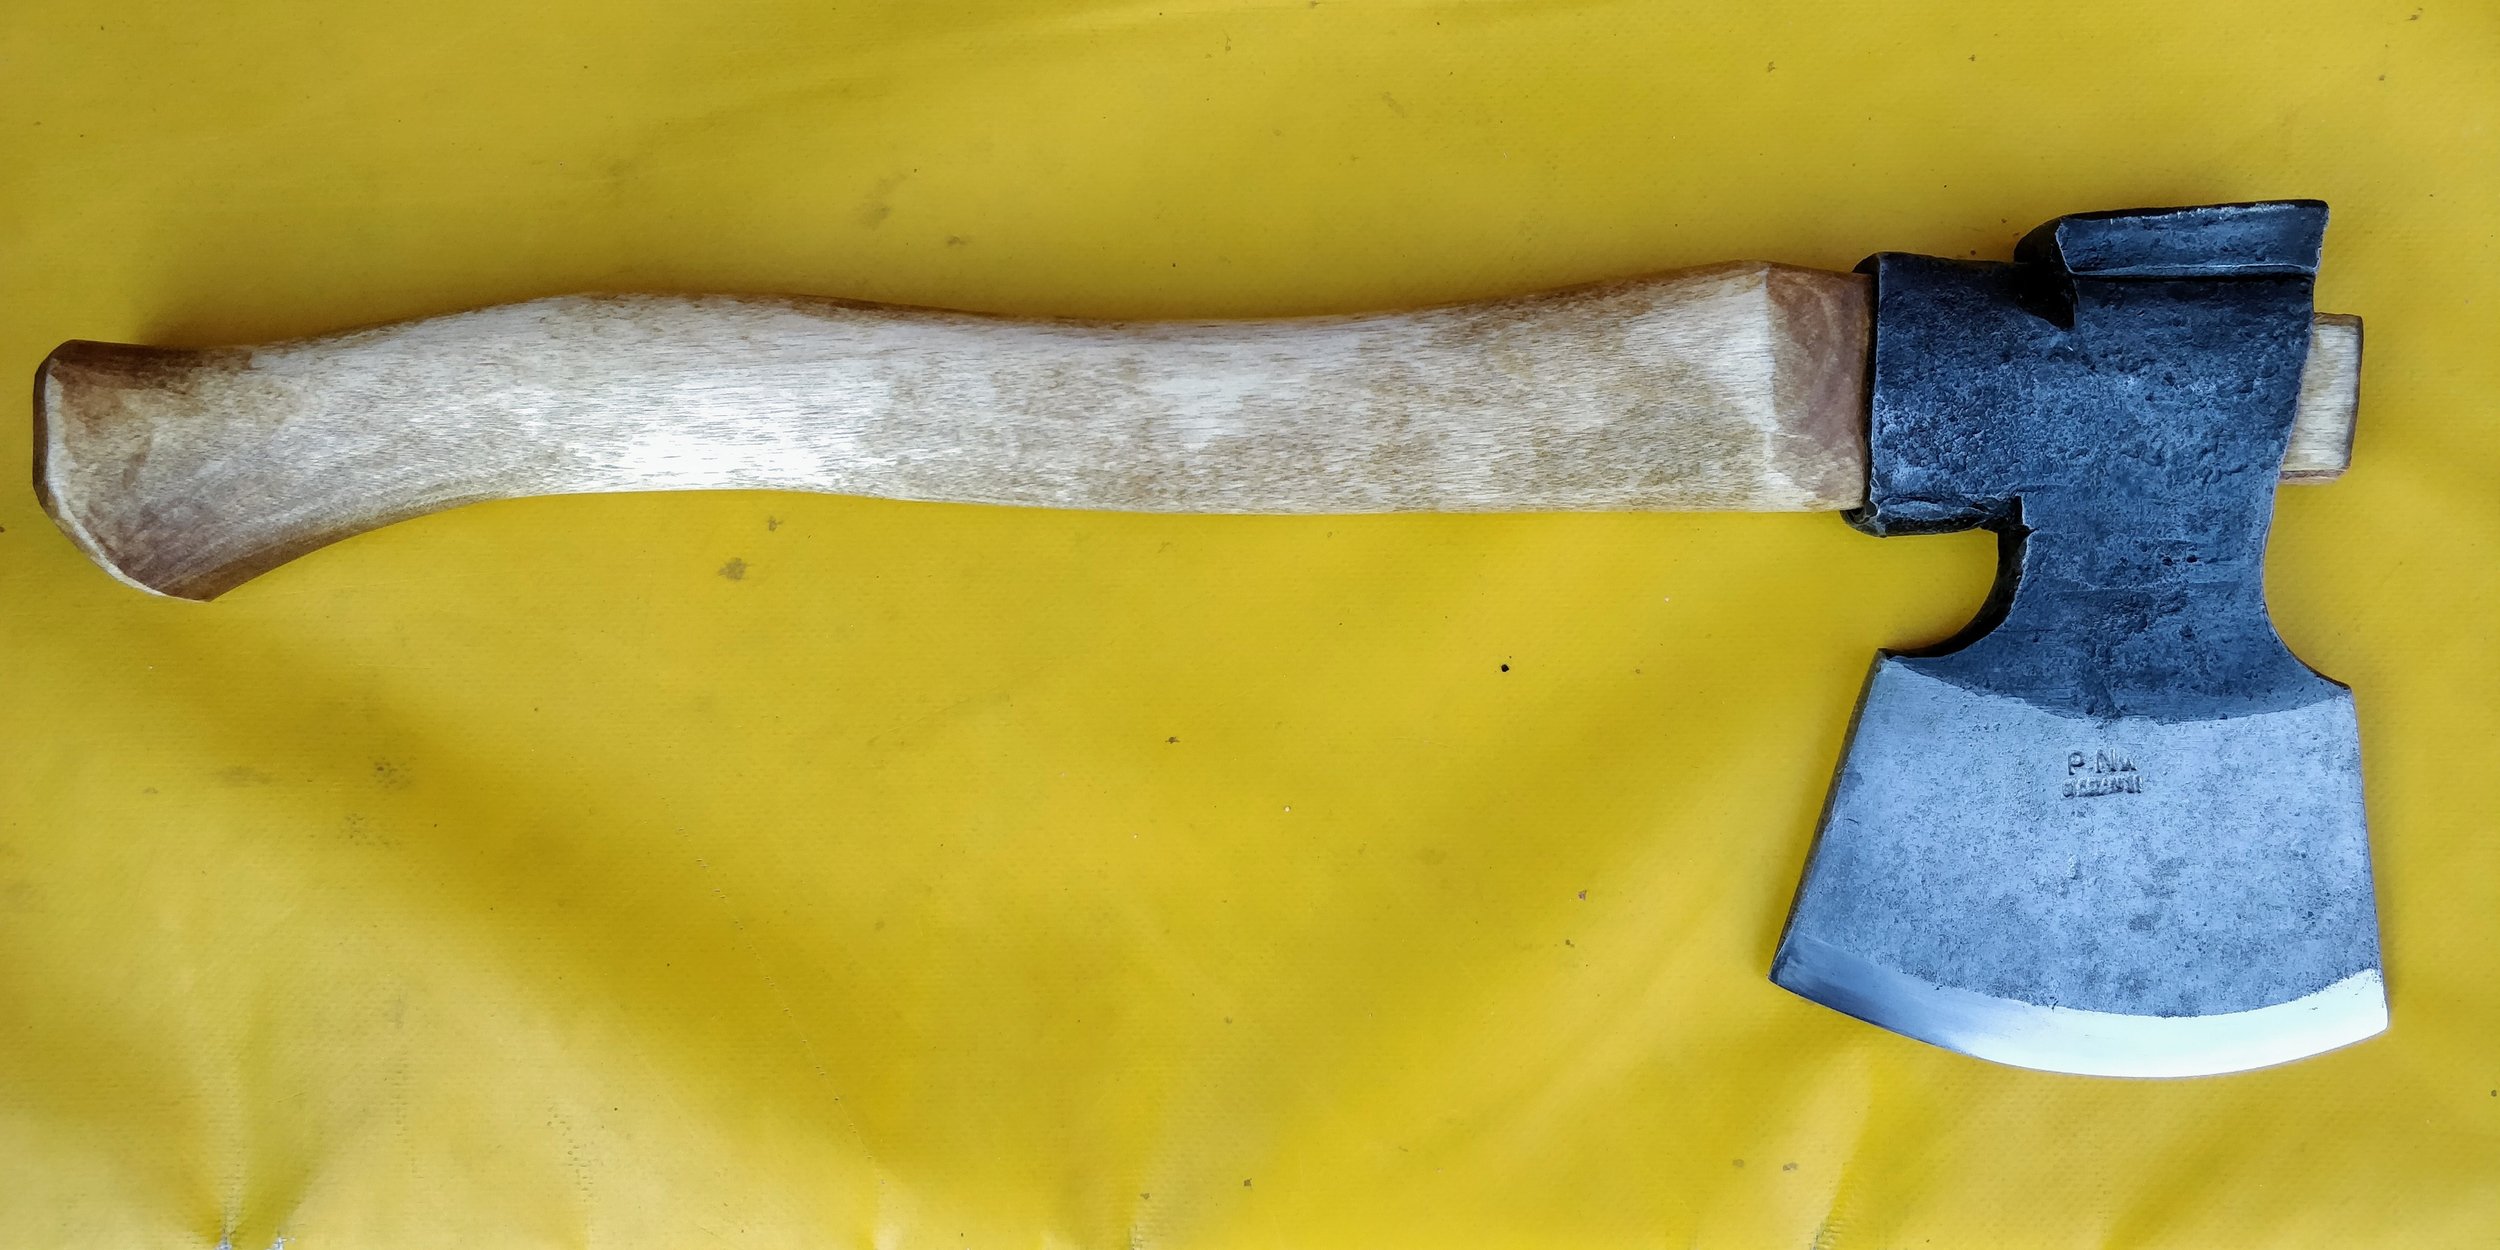
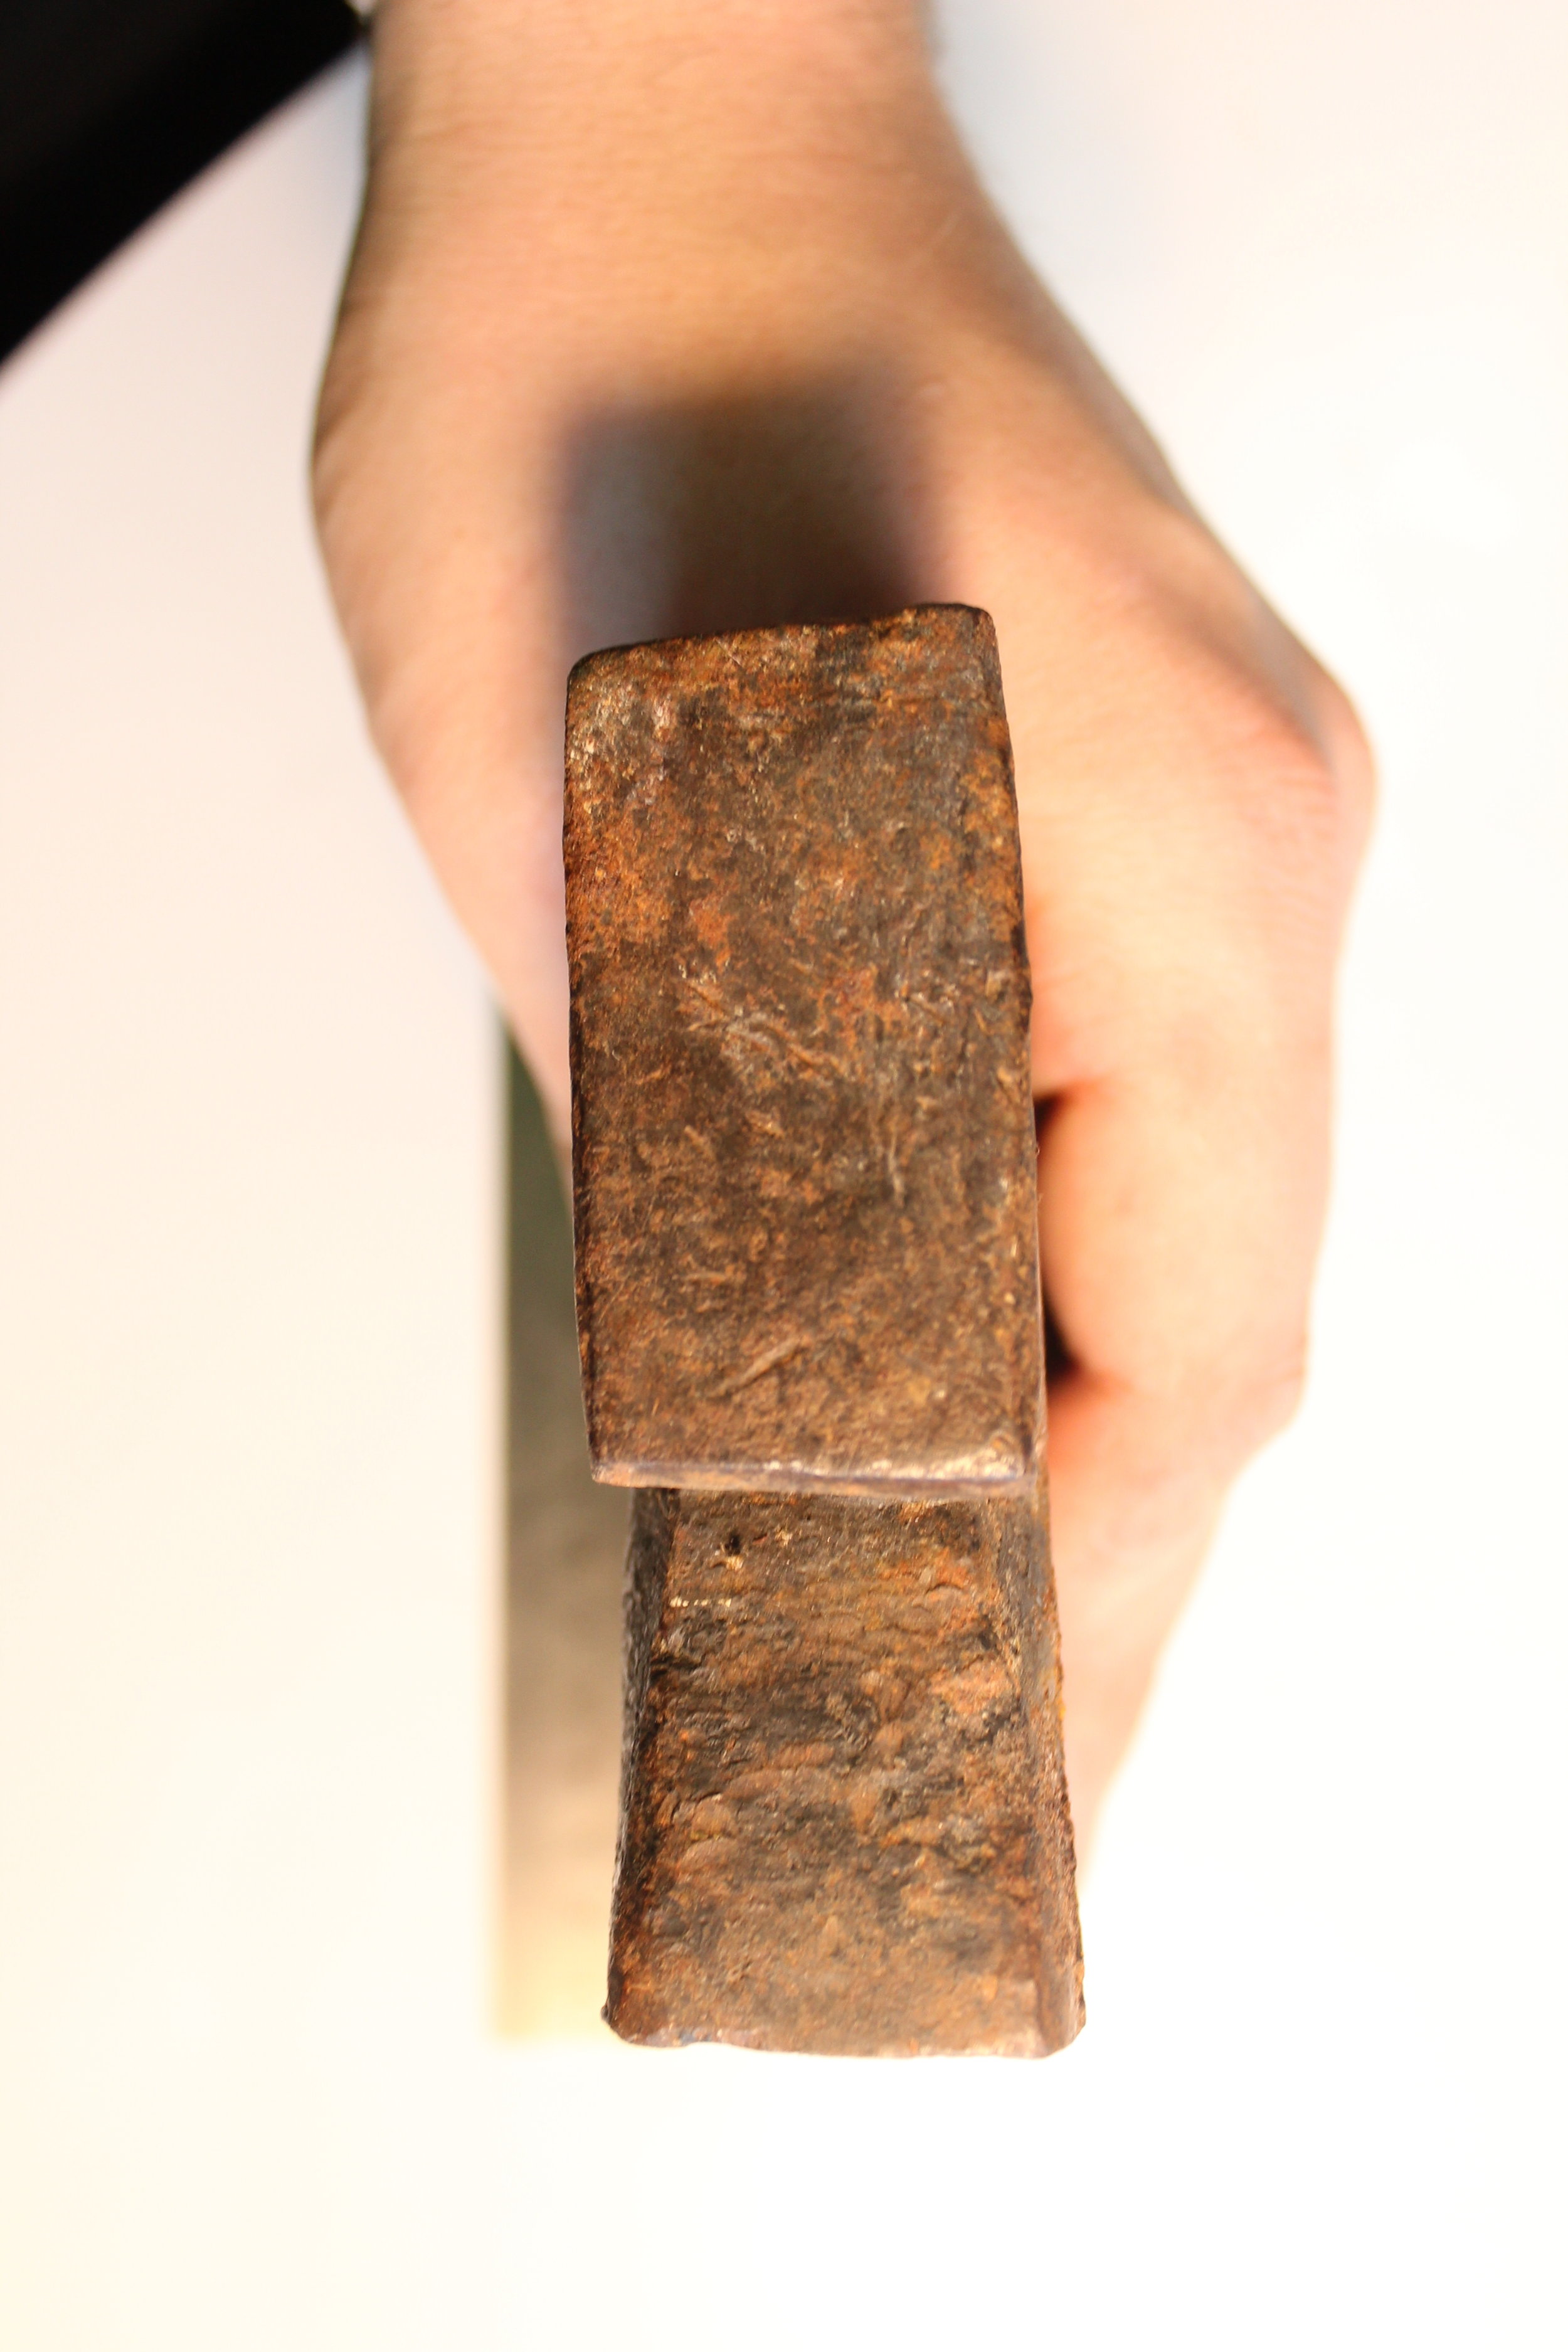
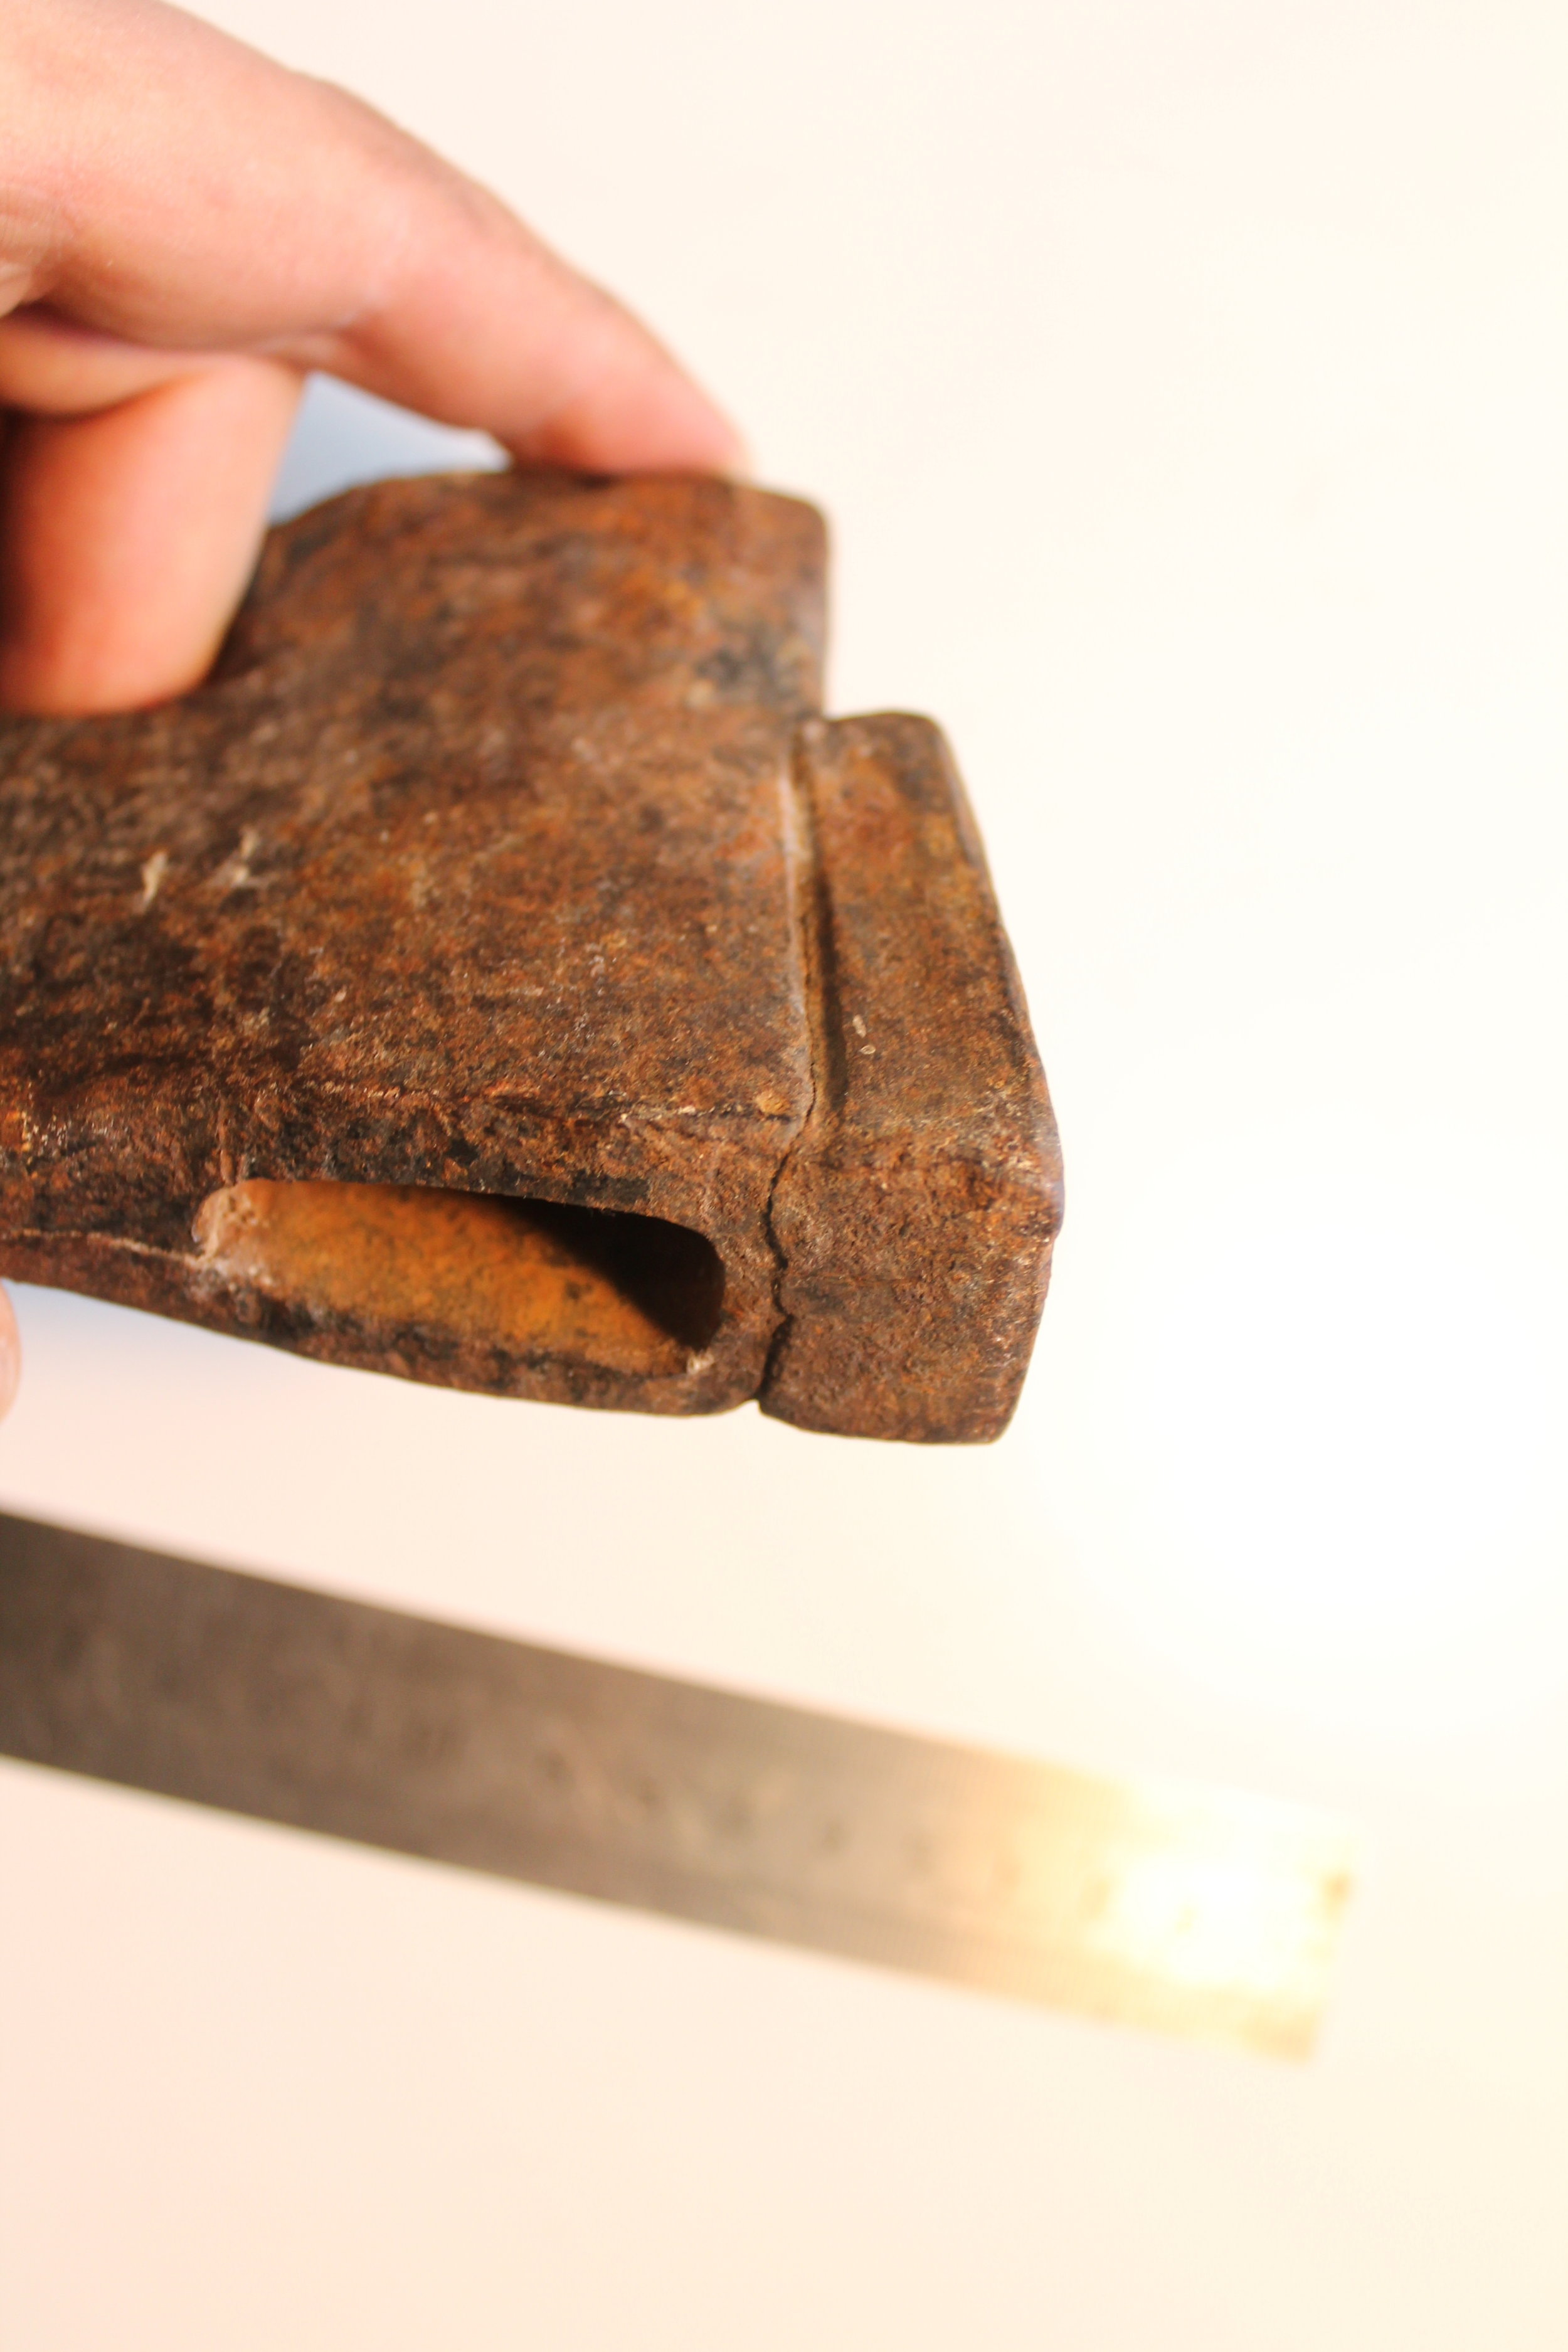
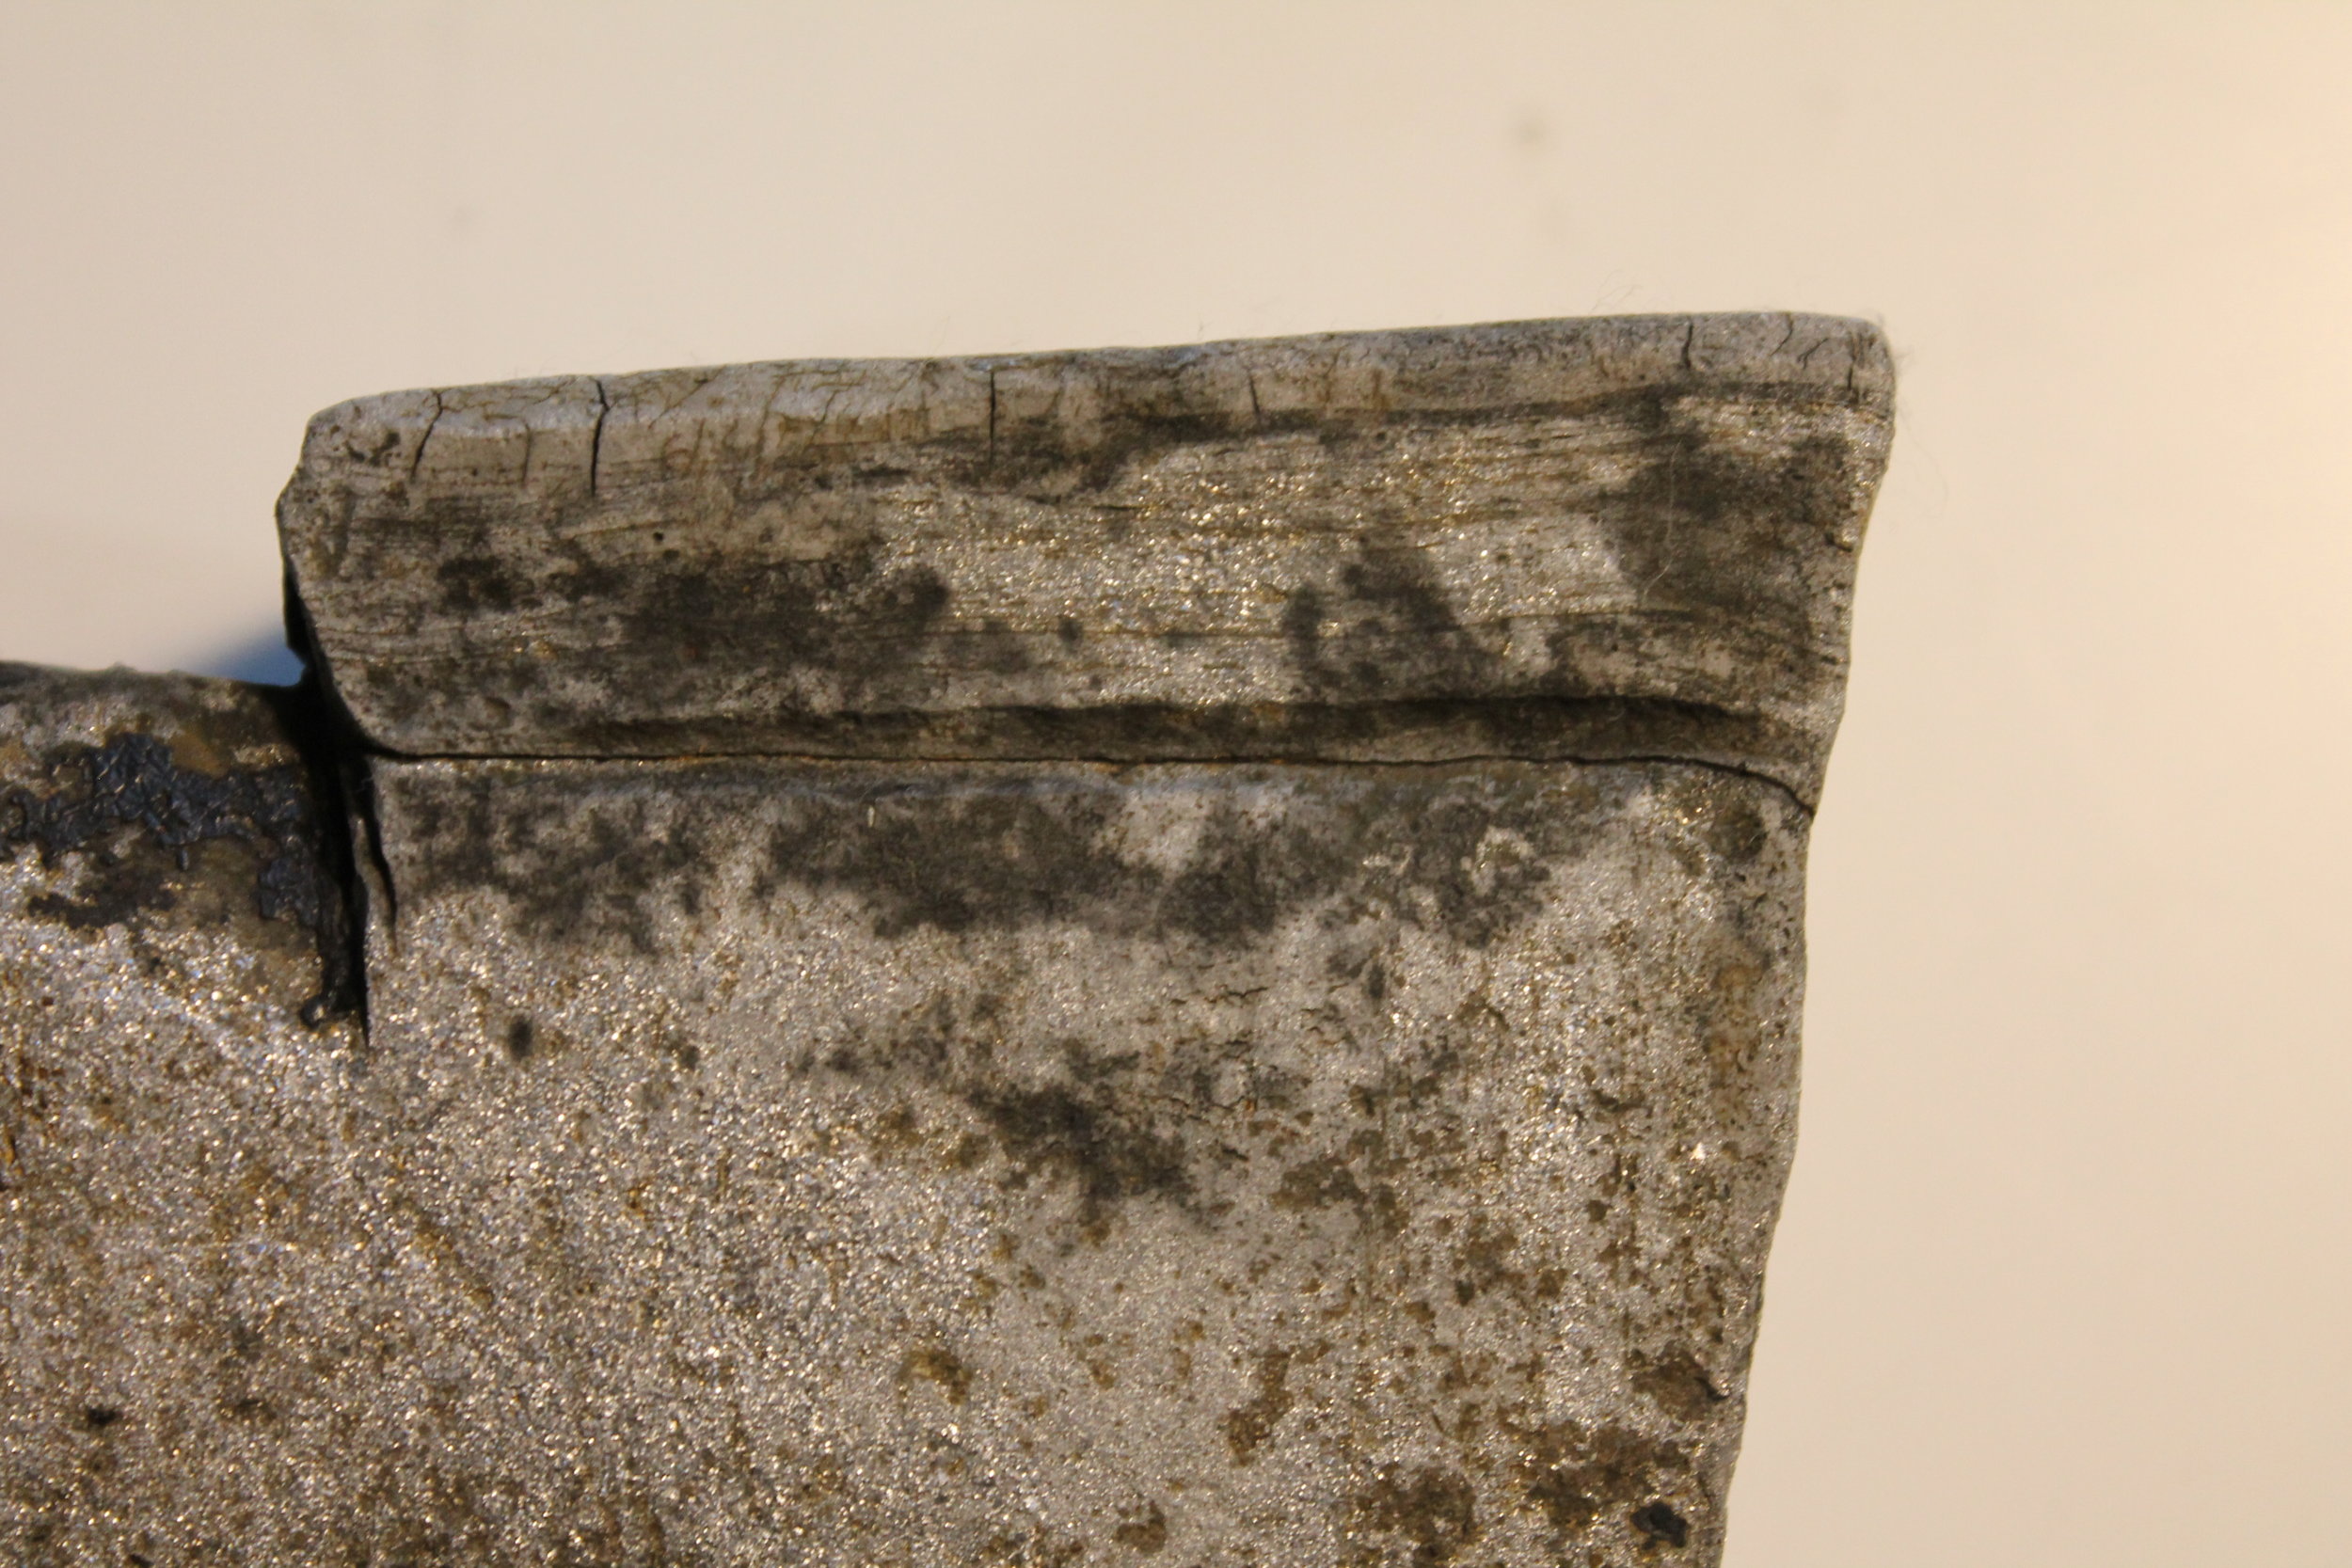
The solution made it very clear where all the weld joints were, as well as the welded, high-carbon steel used for the edge. The surface after the solution has been rinsed off is not so beautiful, but with a little brushing with a steel brush I get about the same surface as when I use electrolysis.
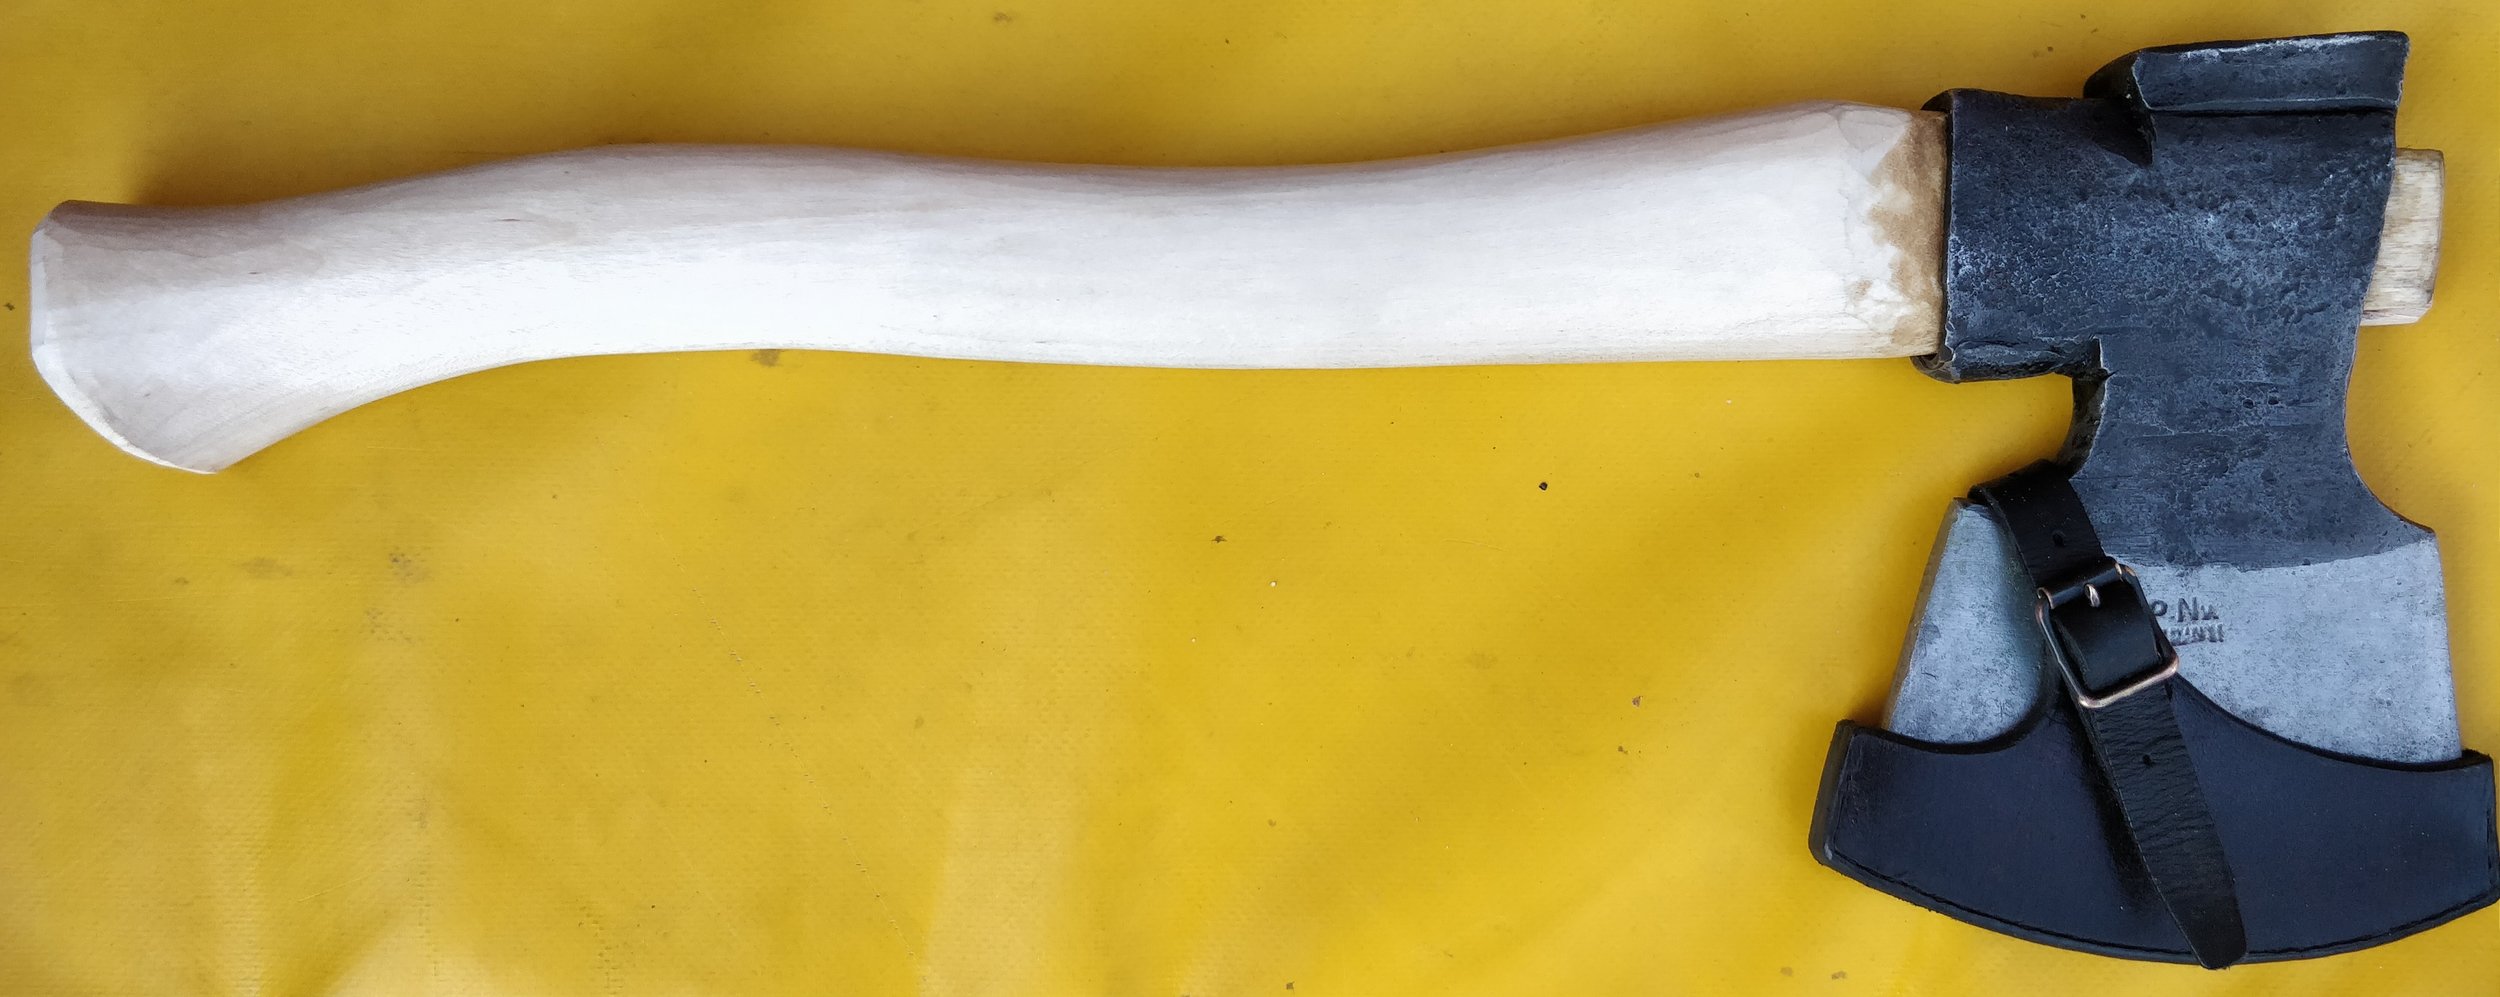
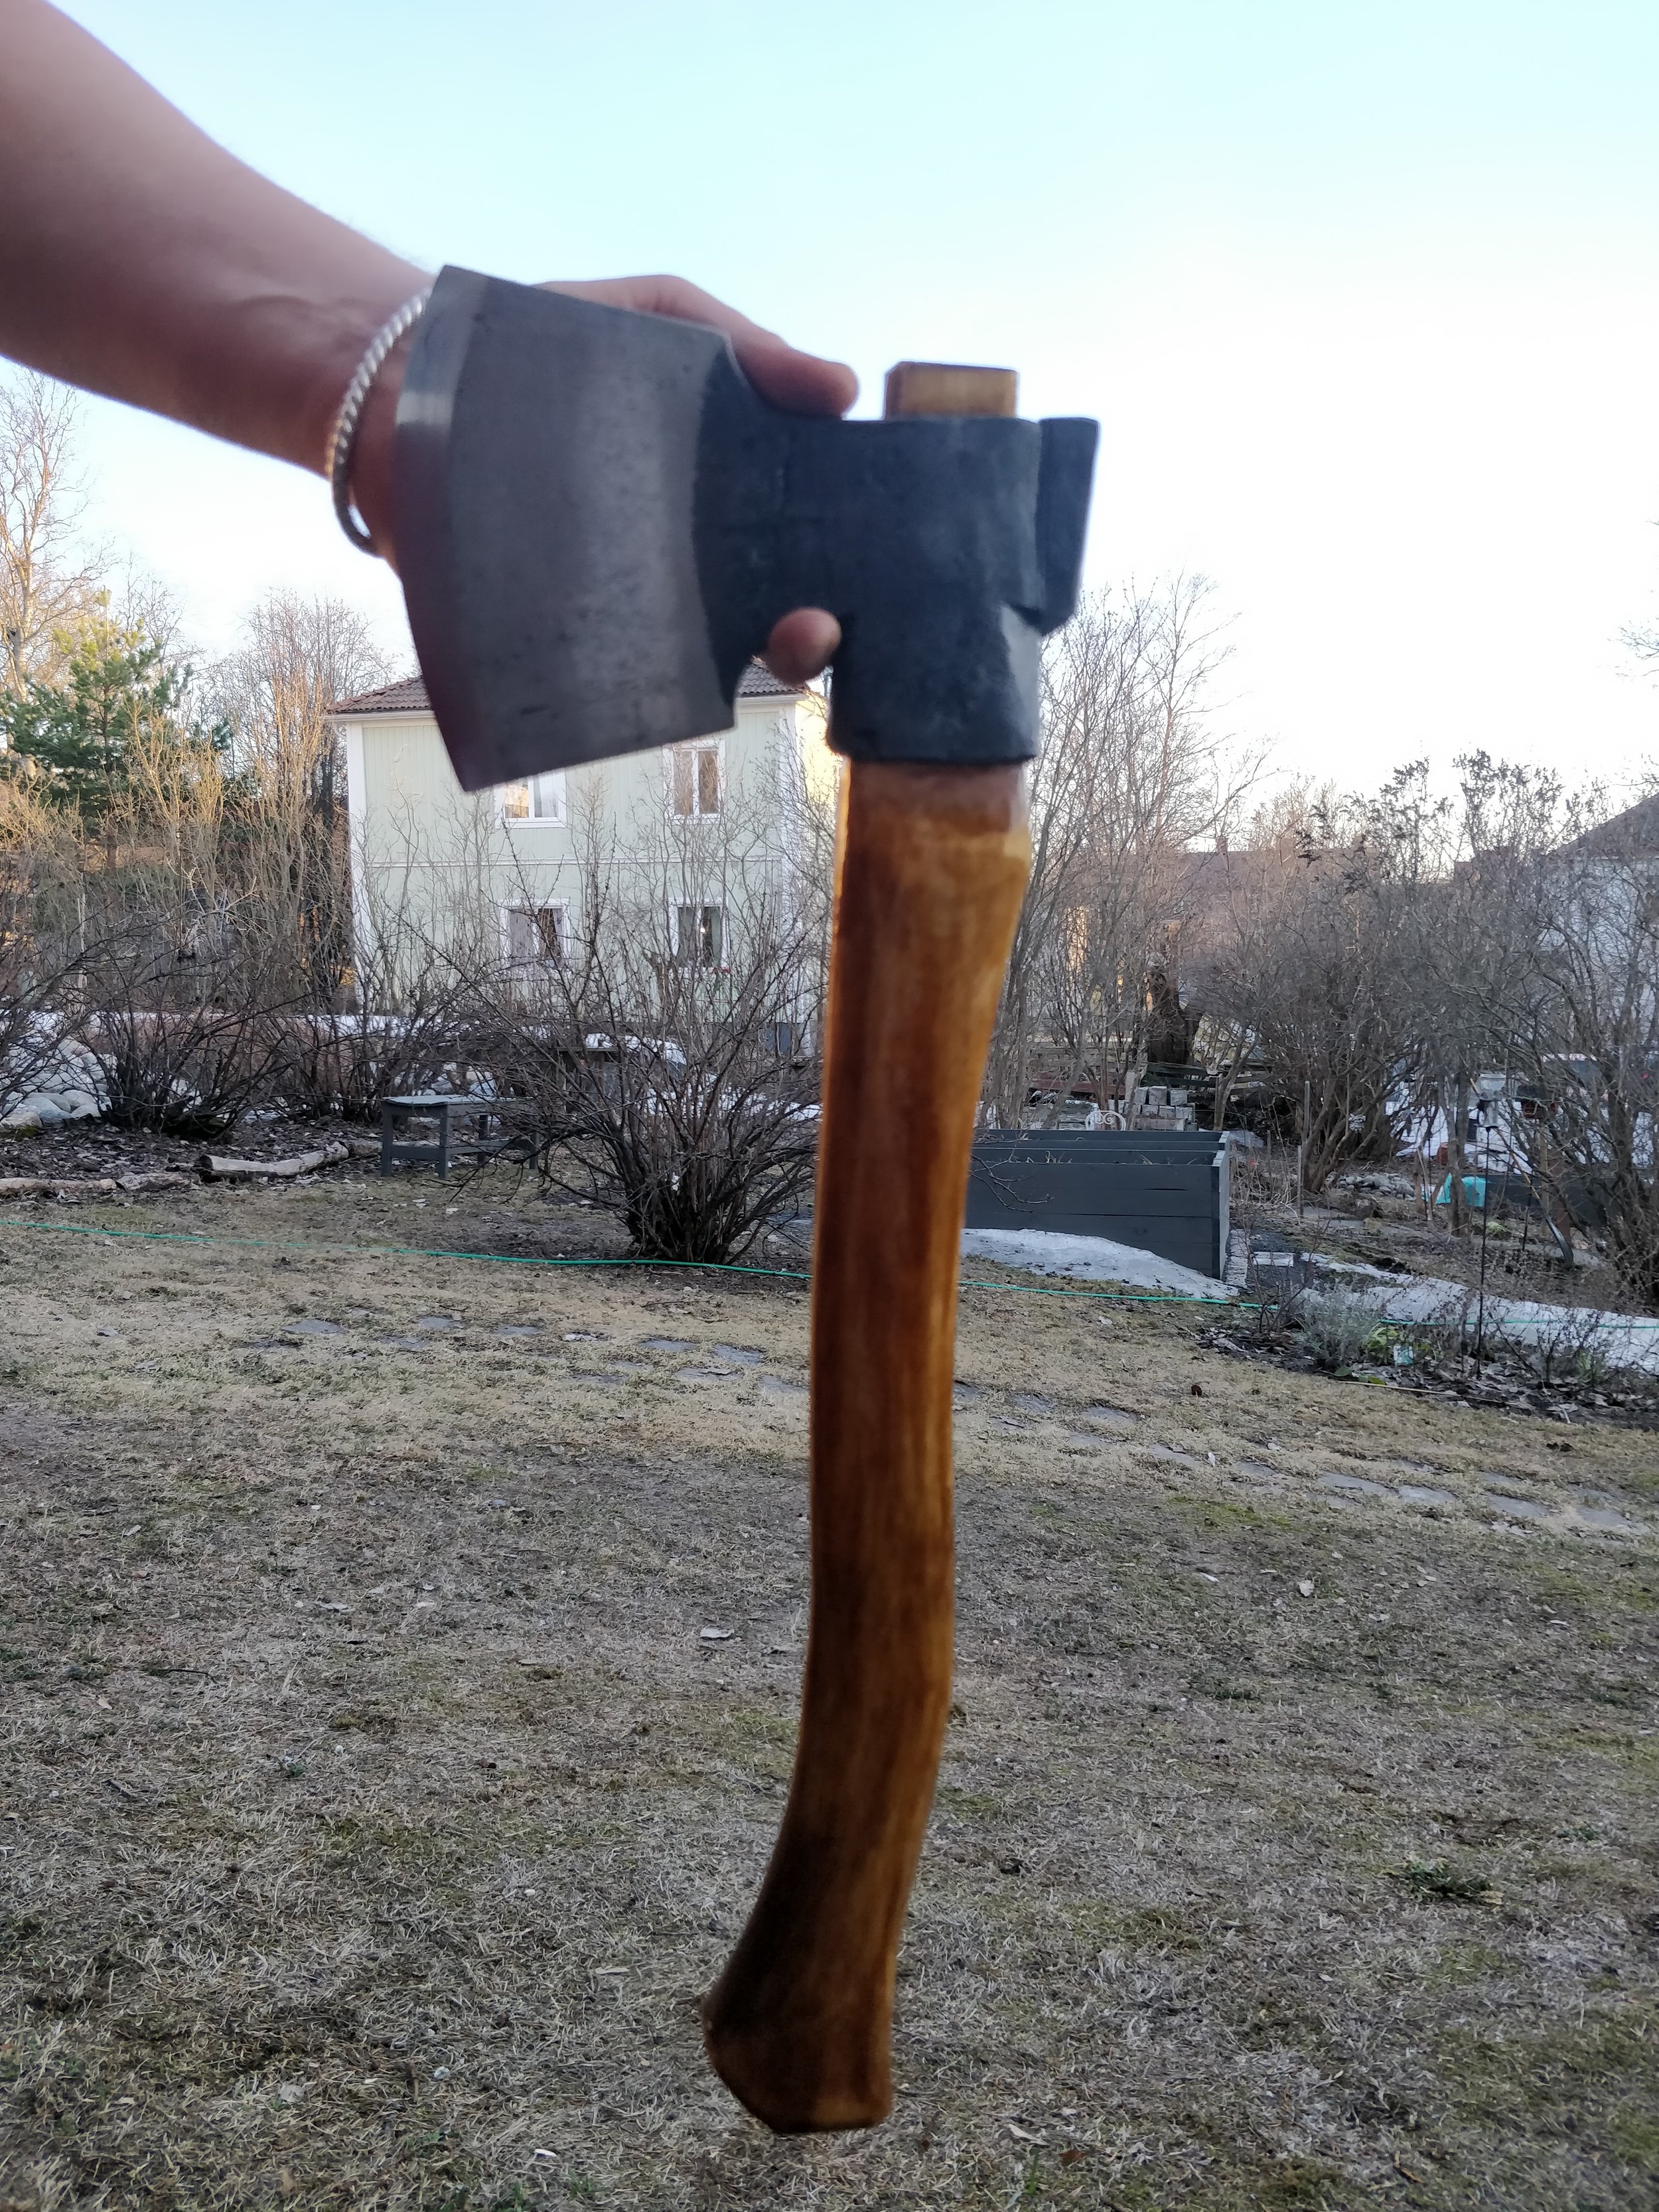
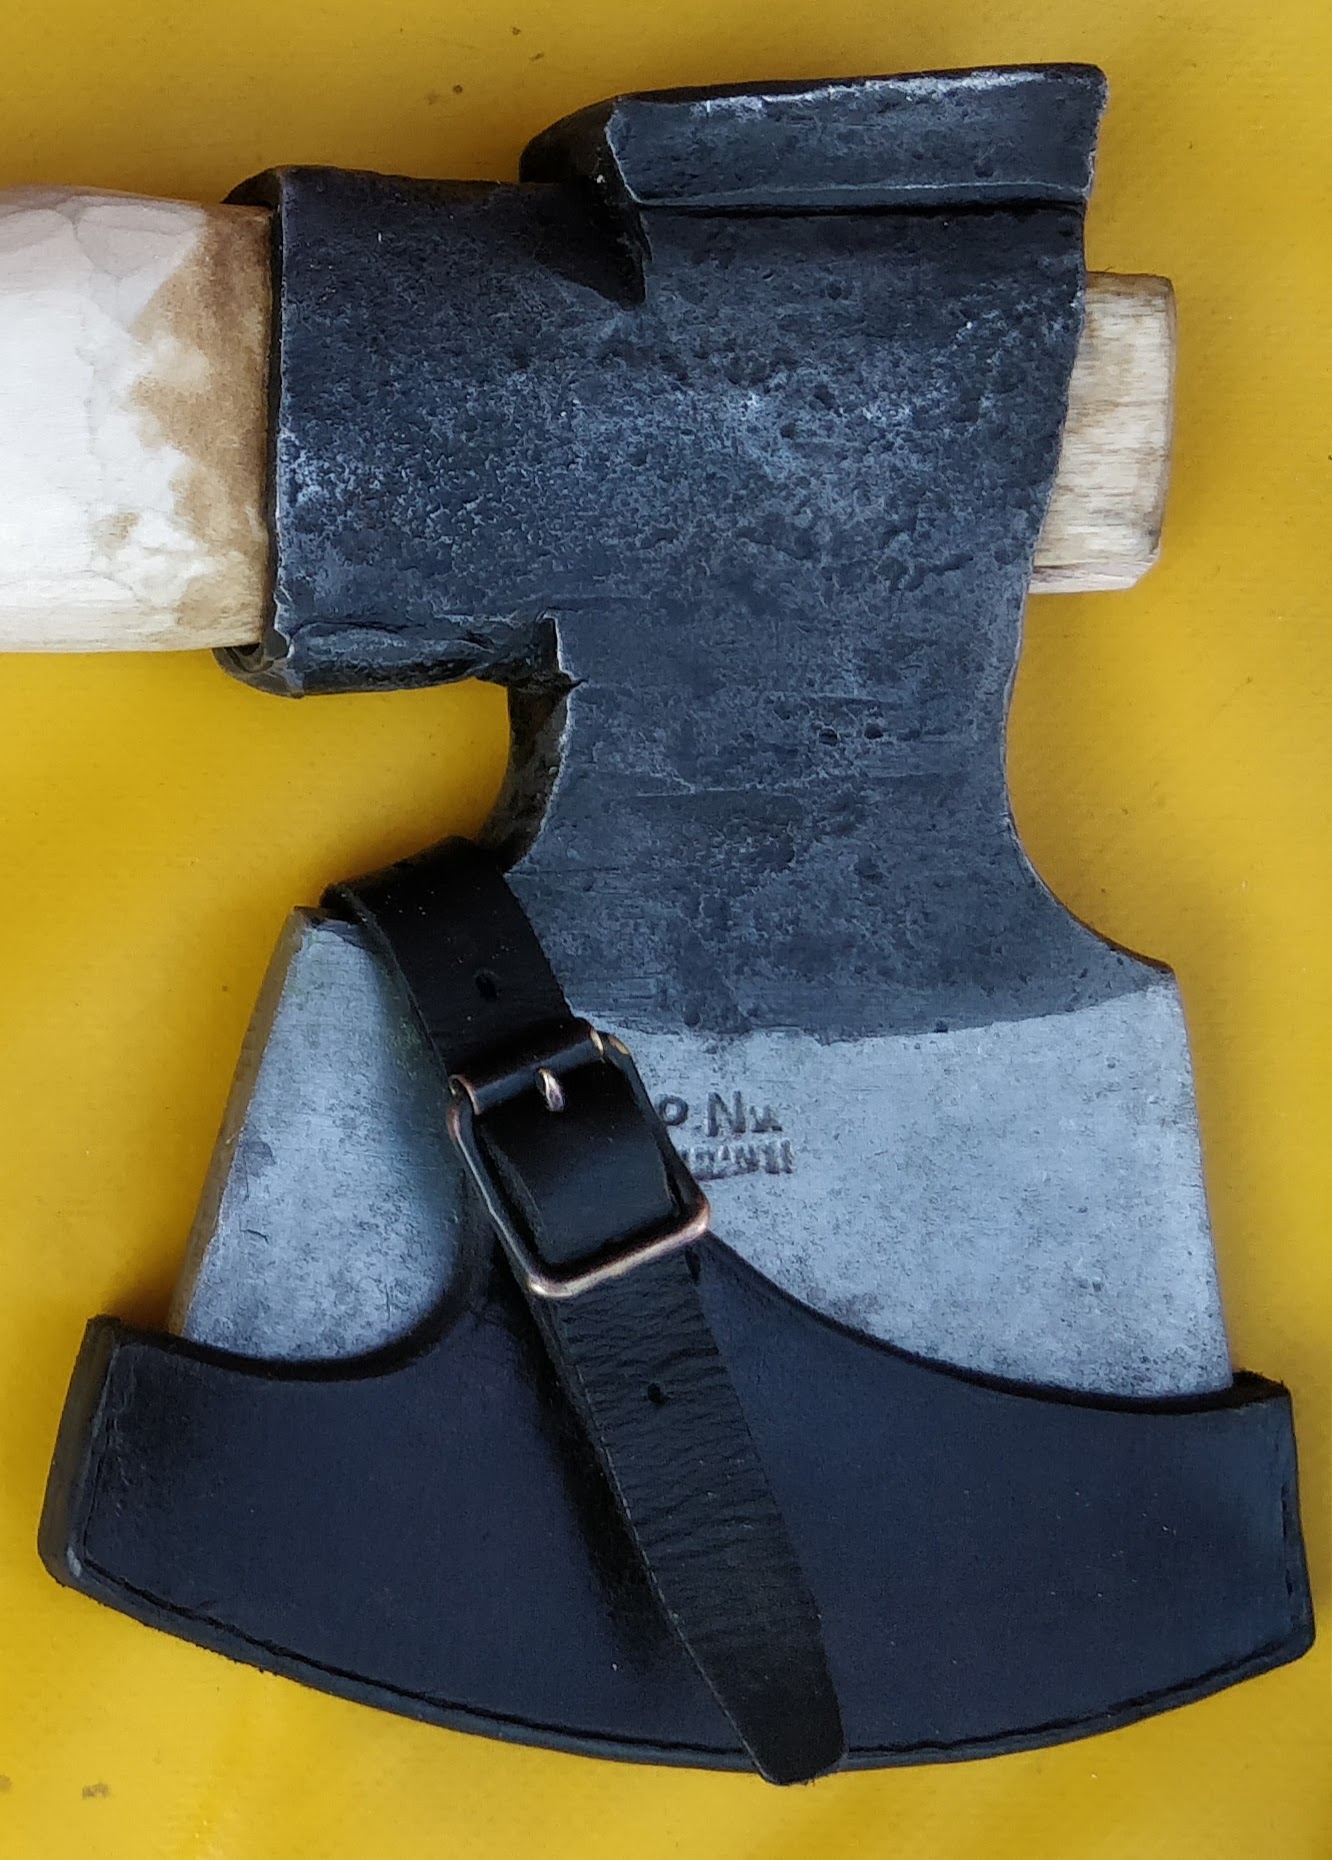
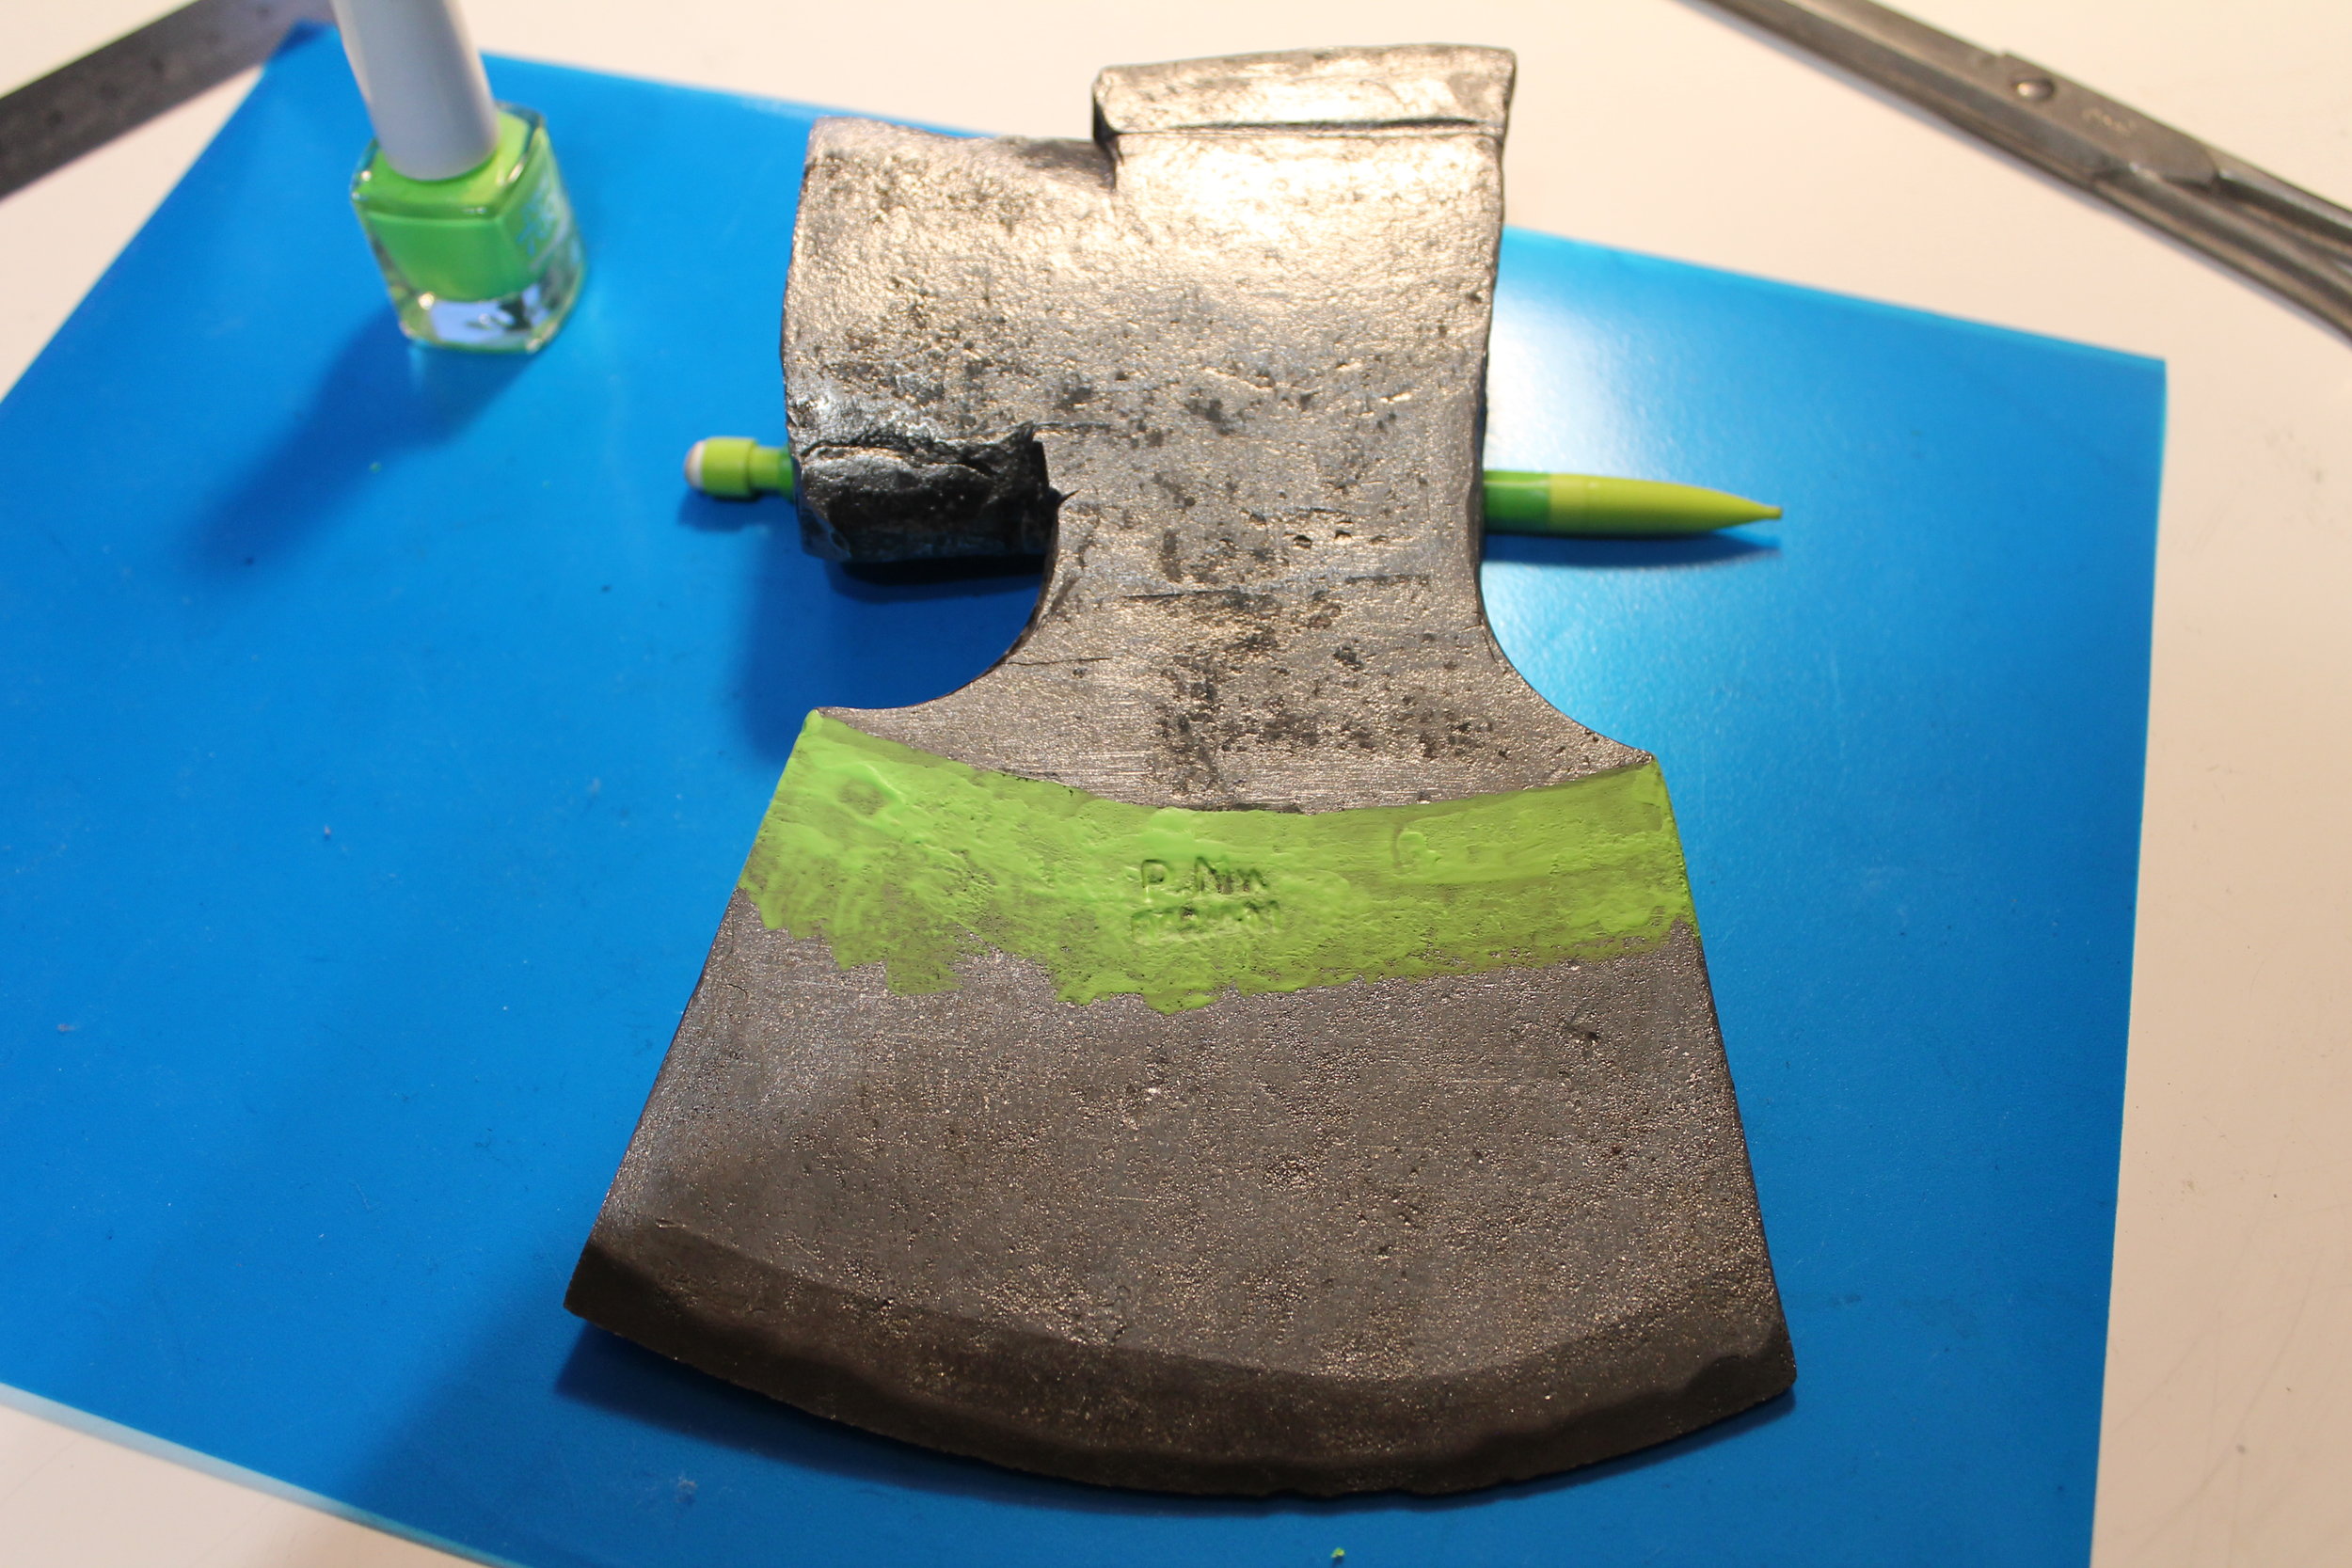
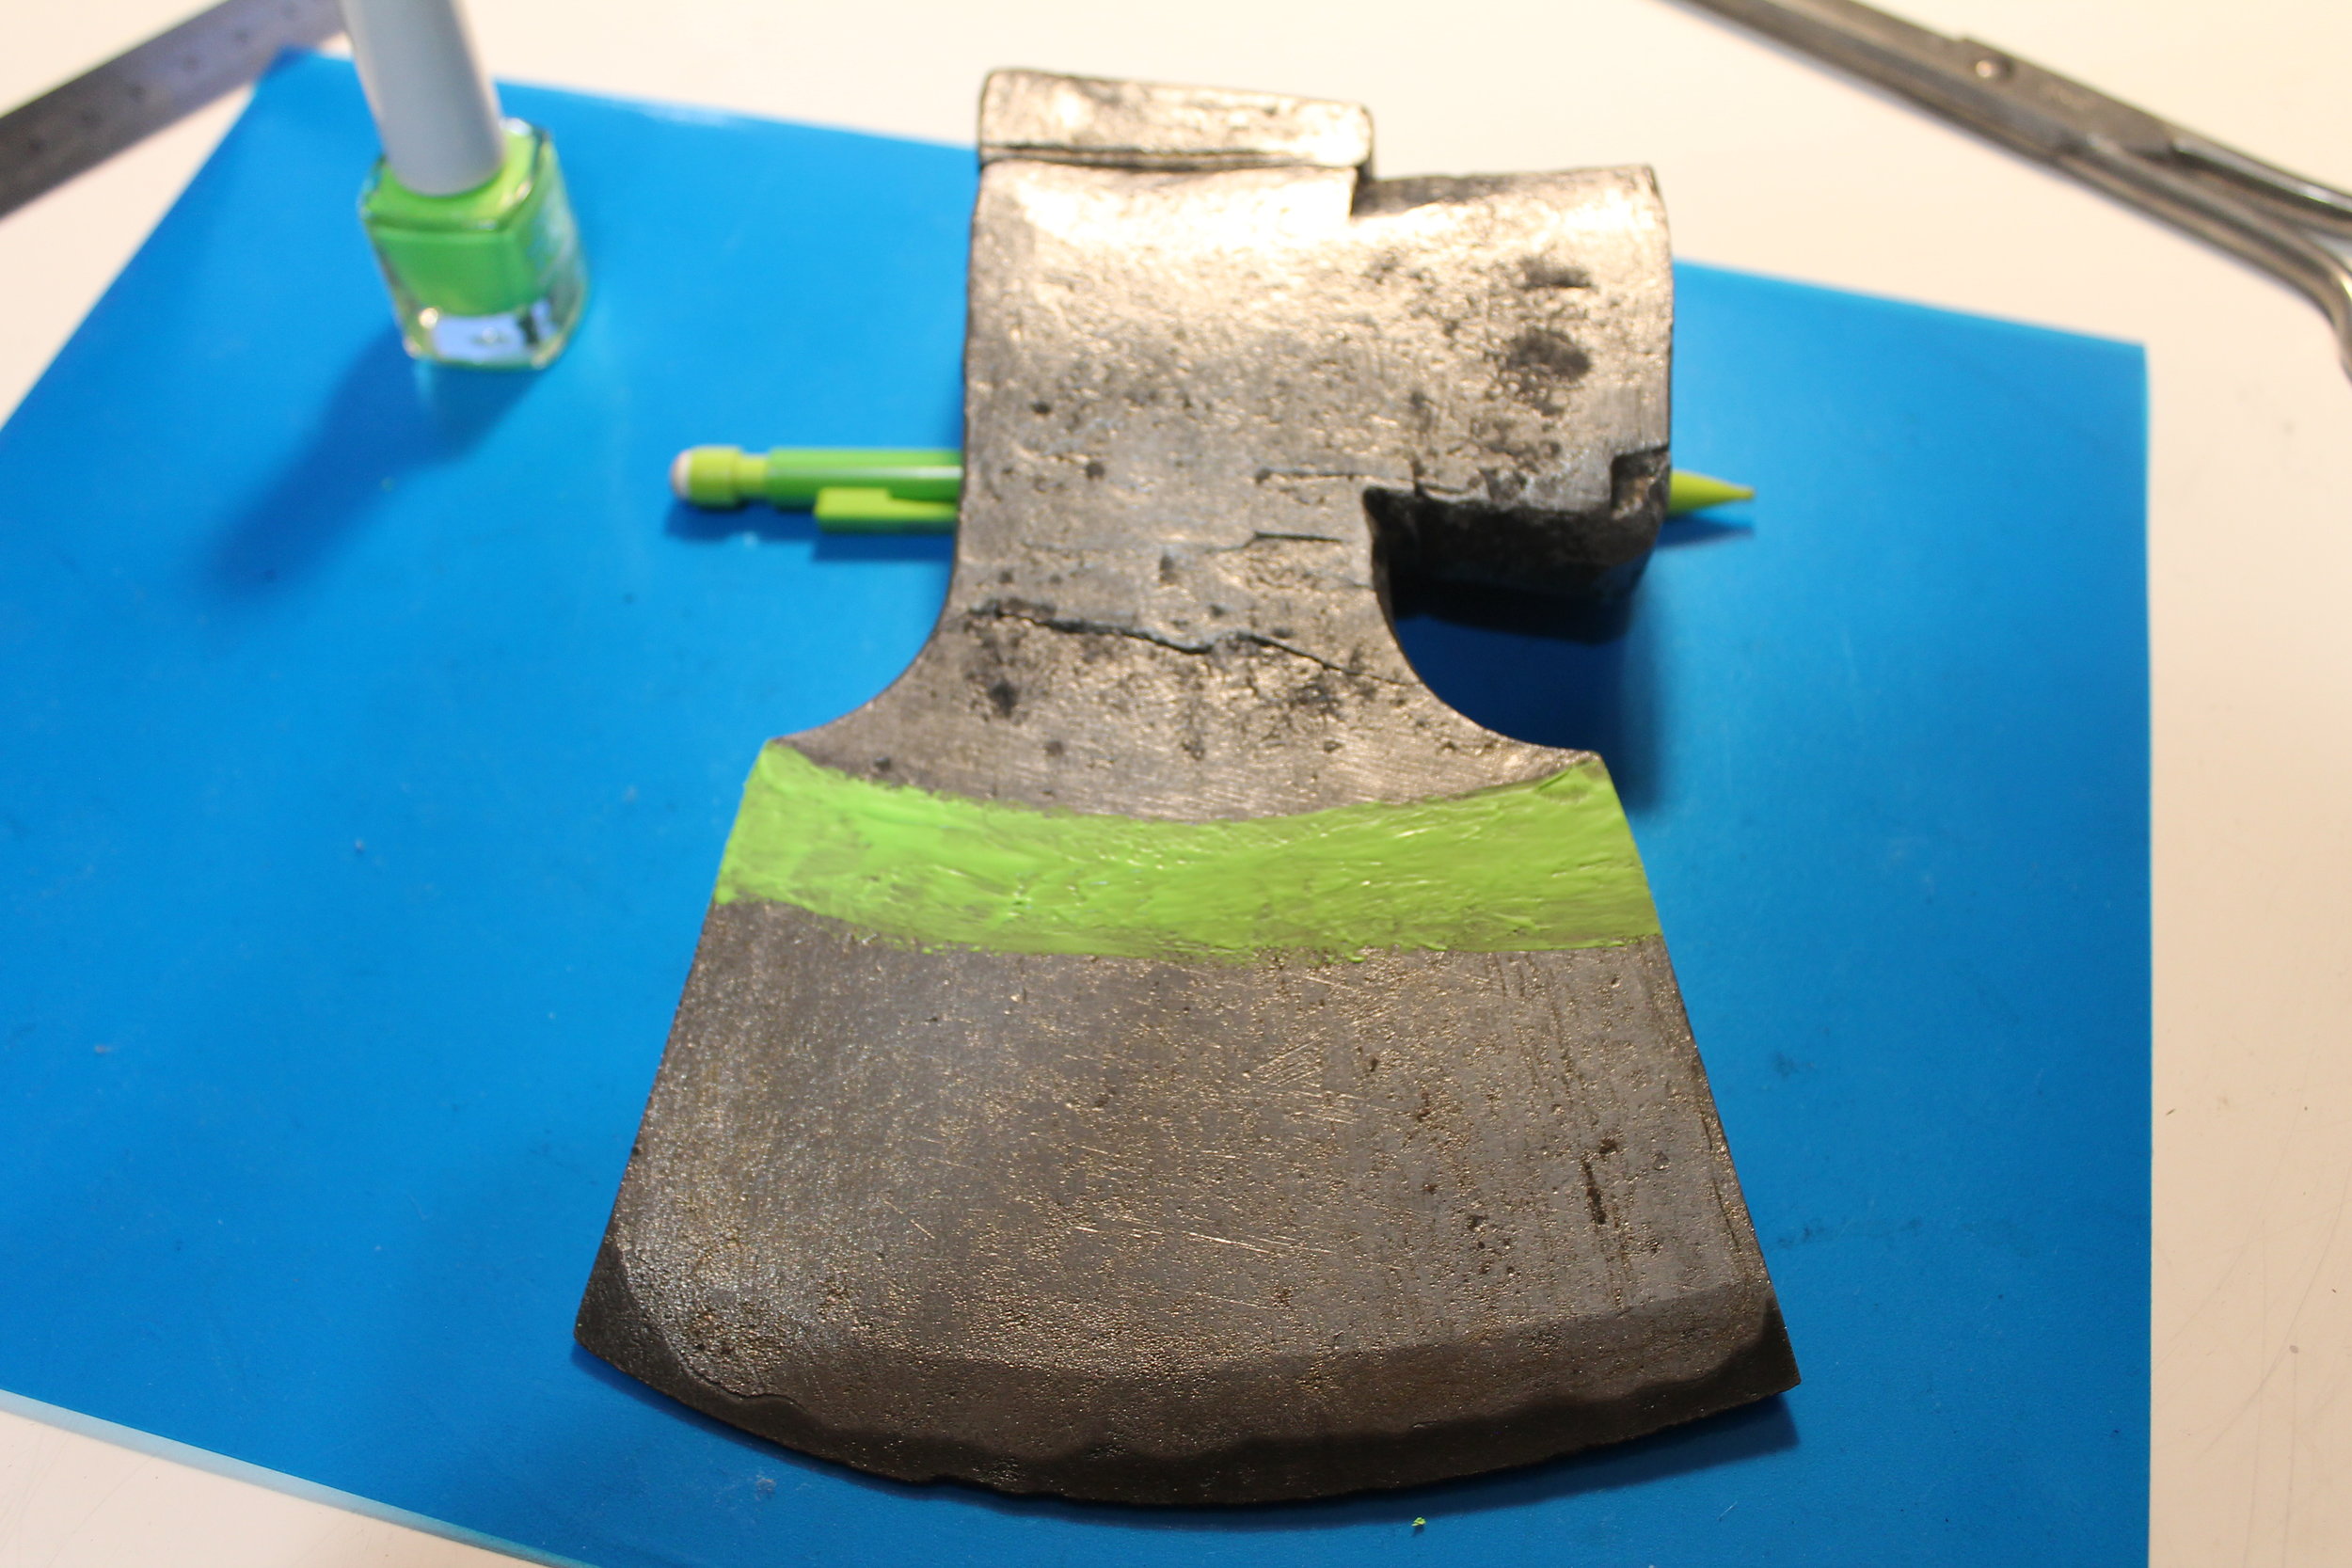
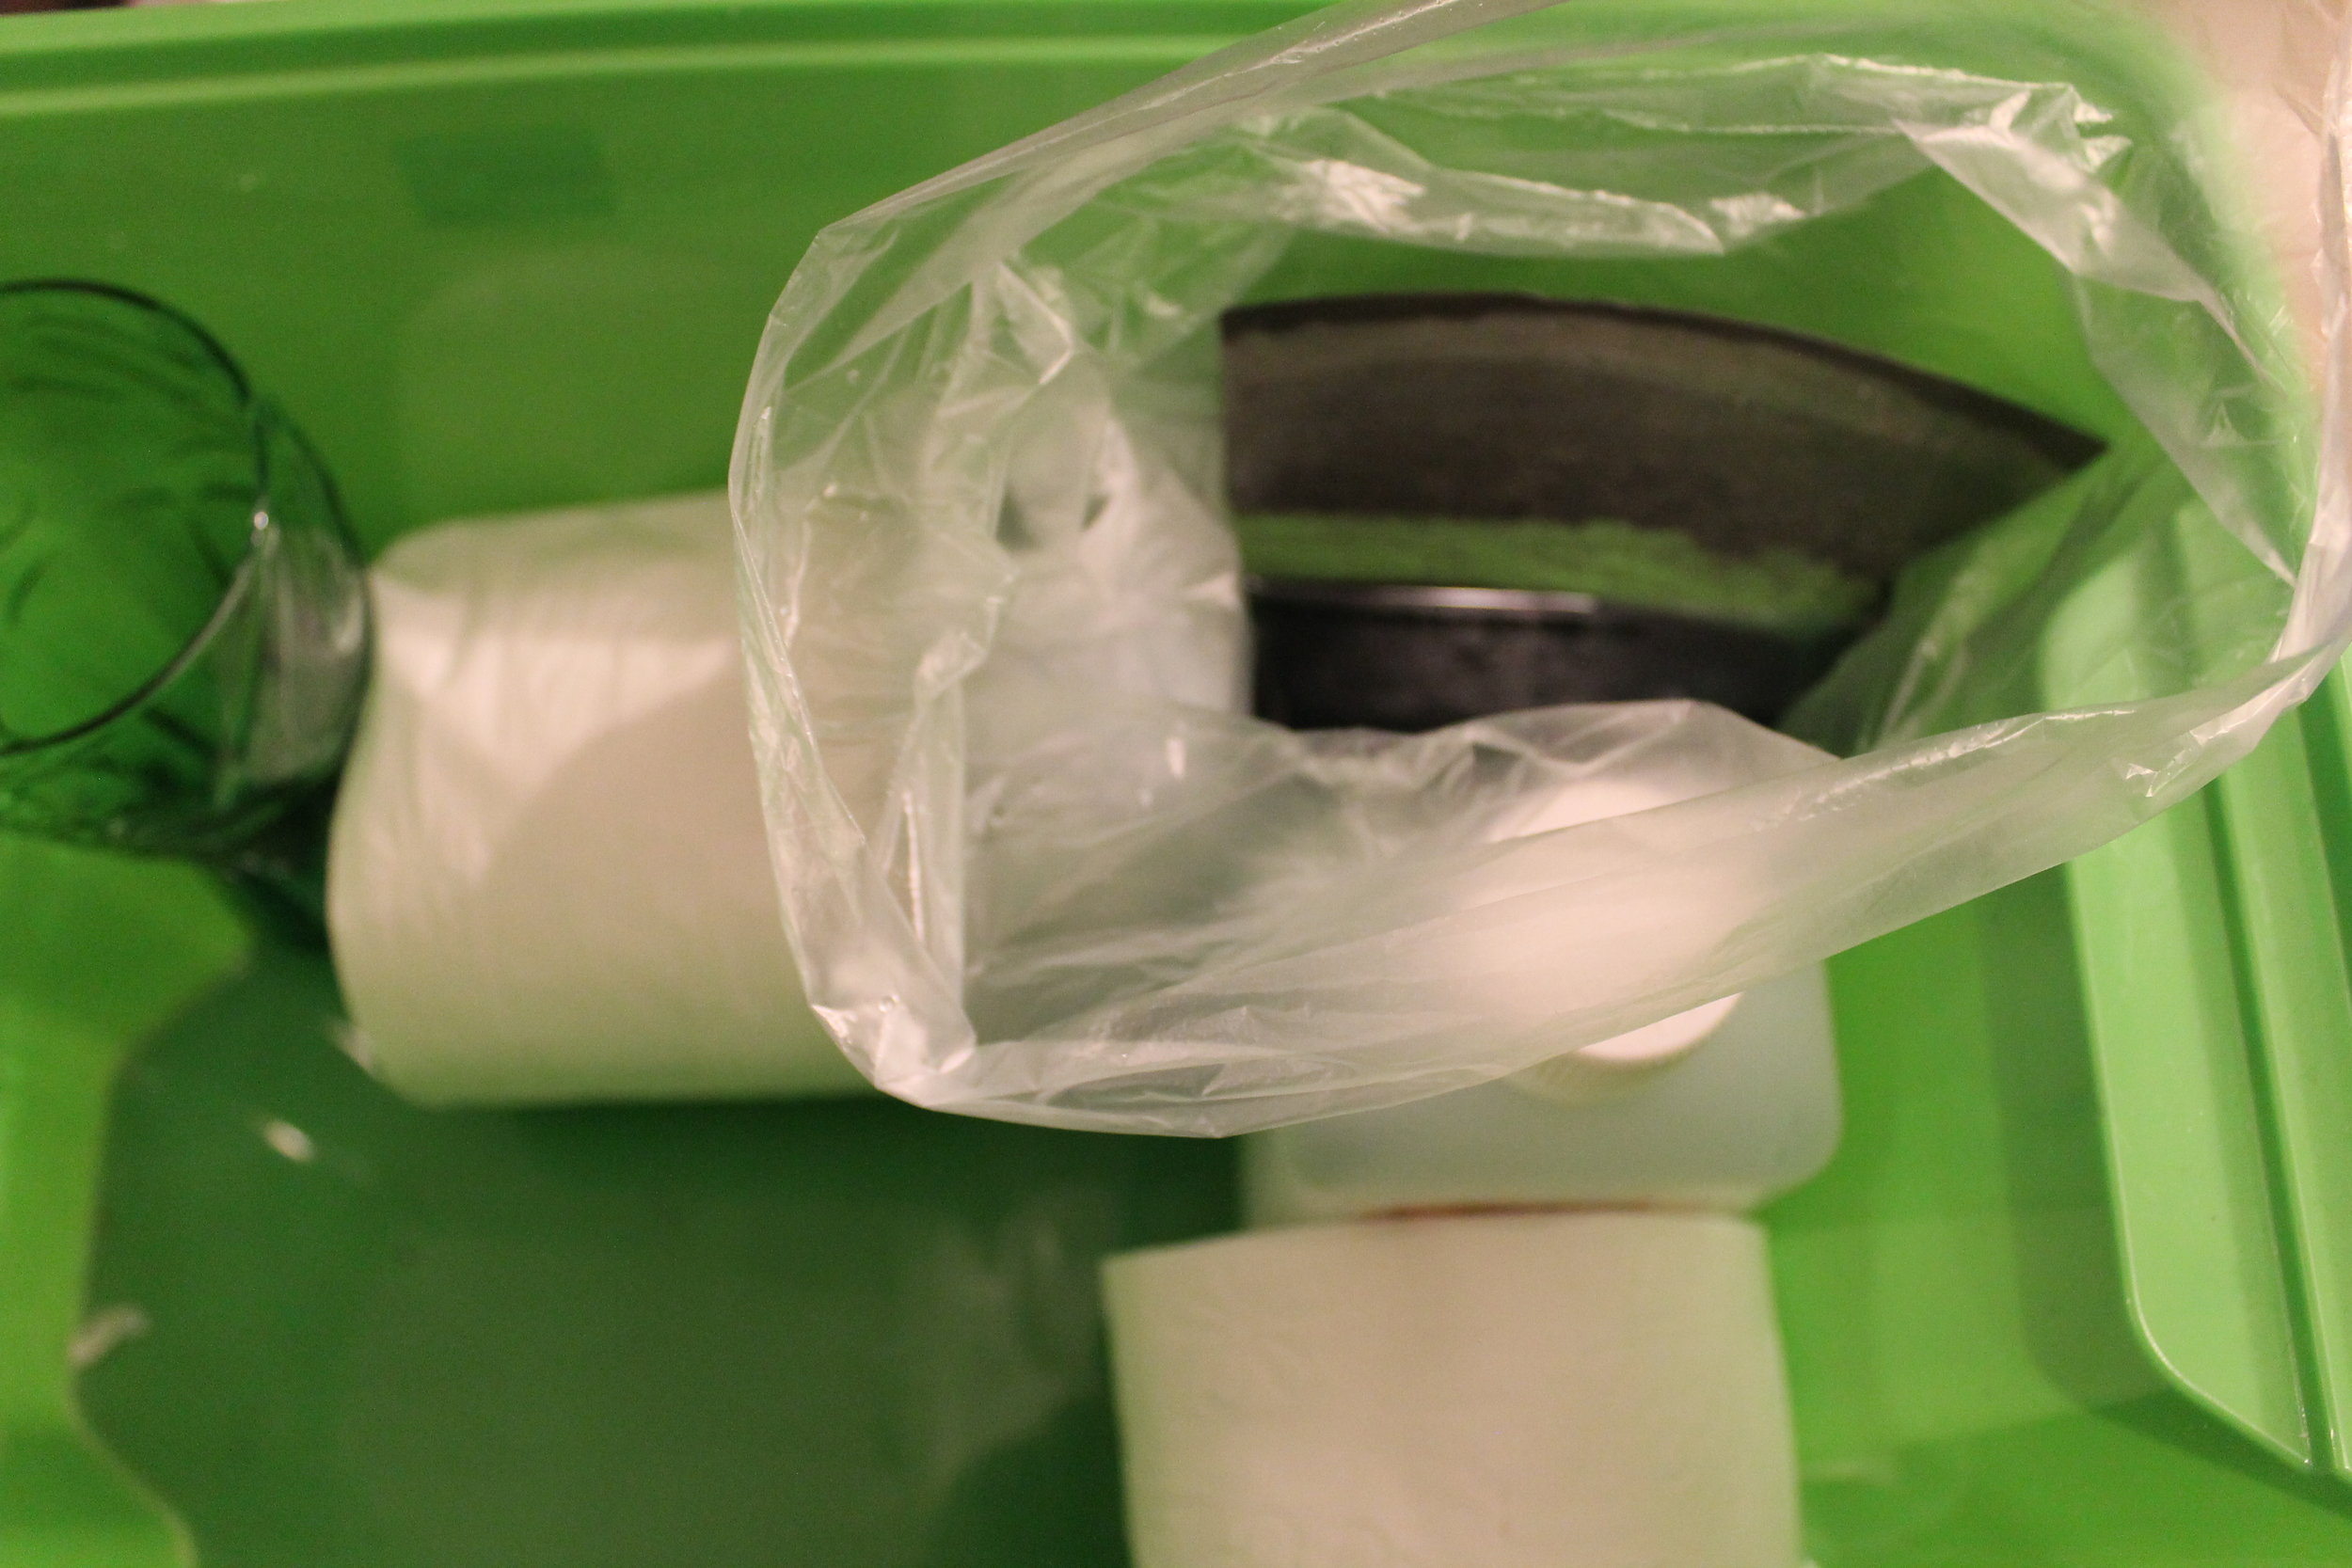
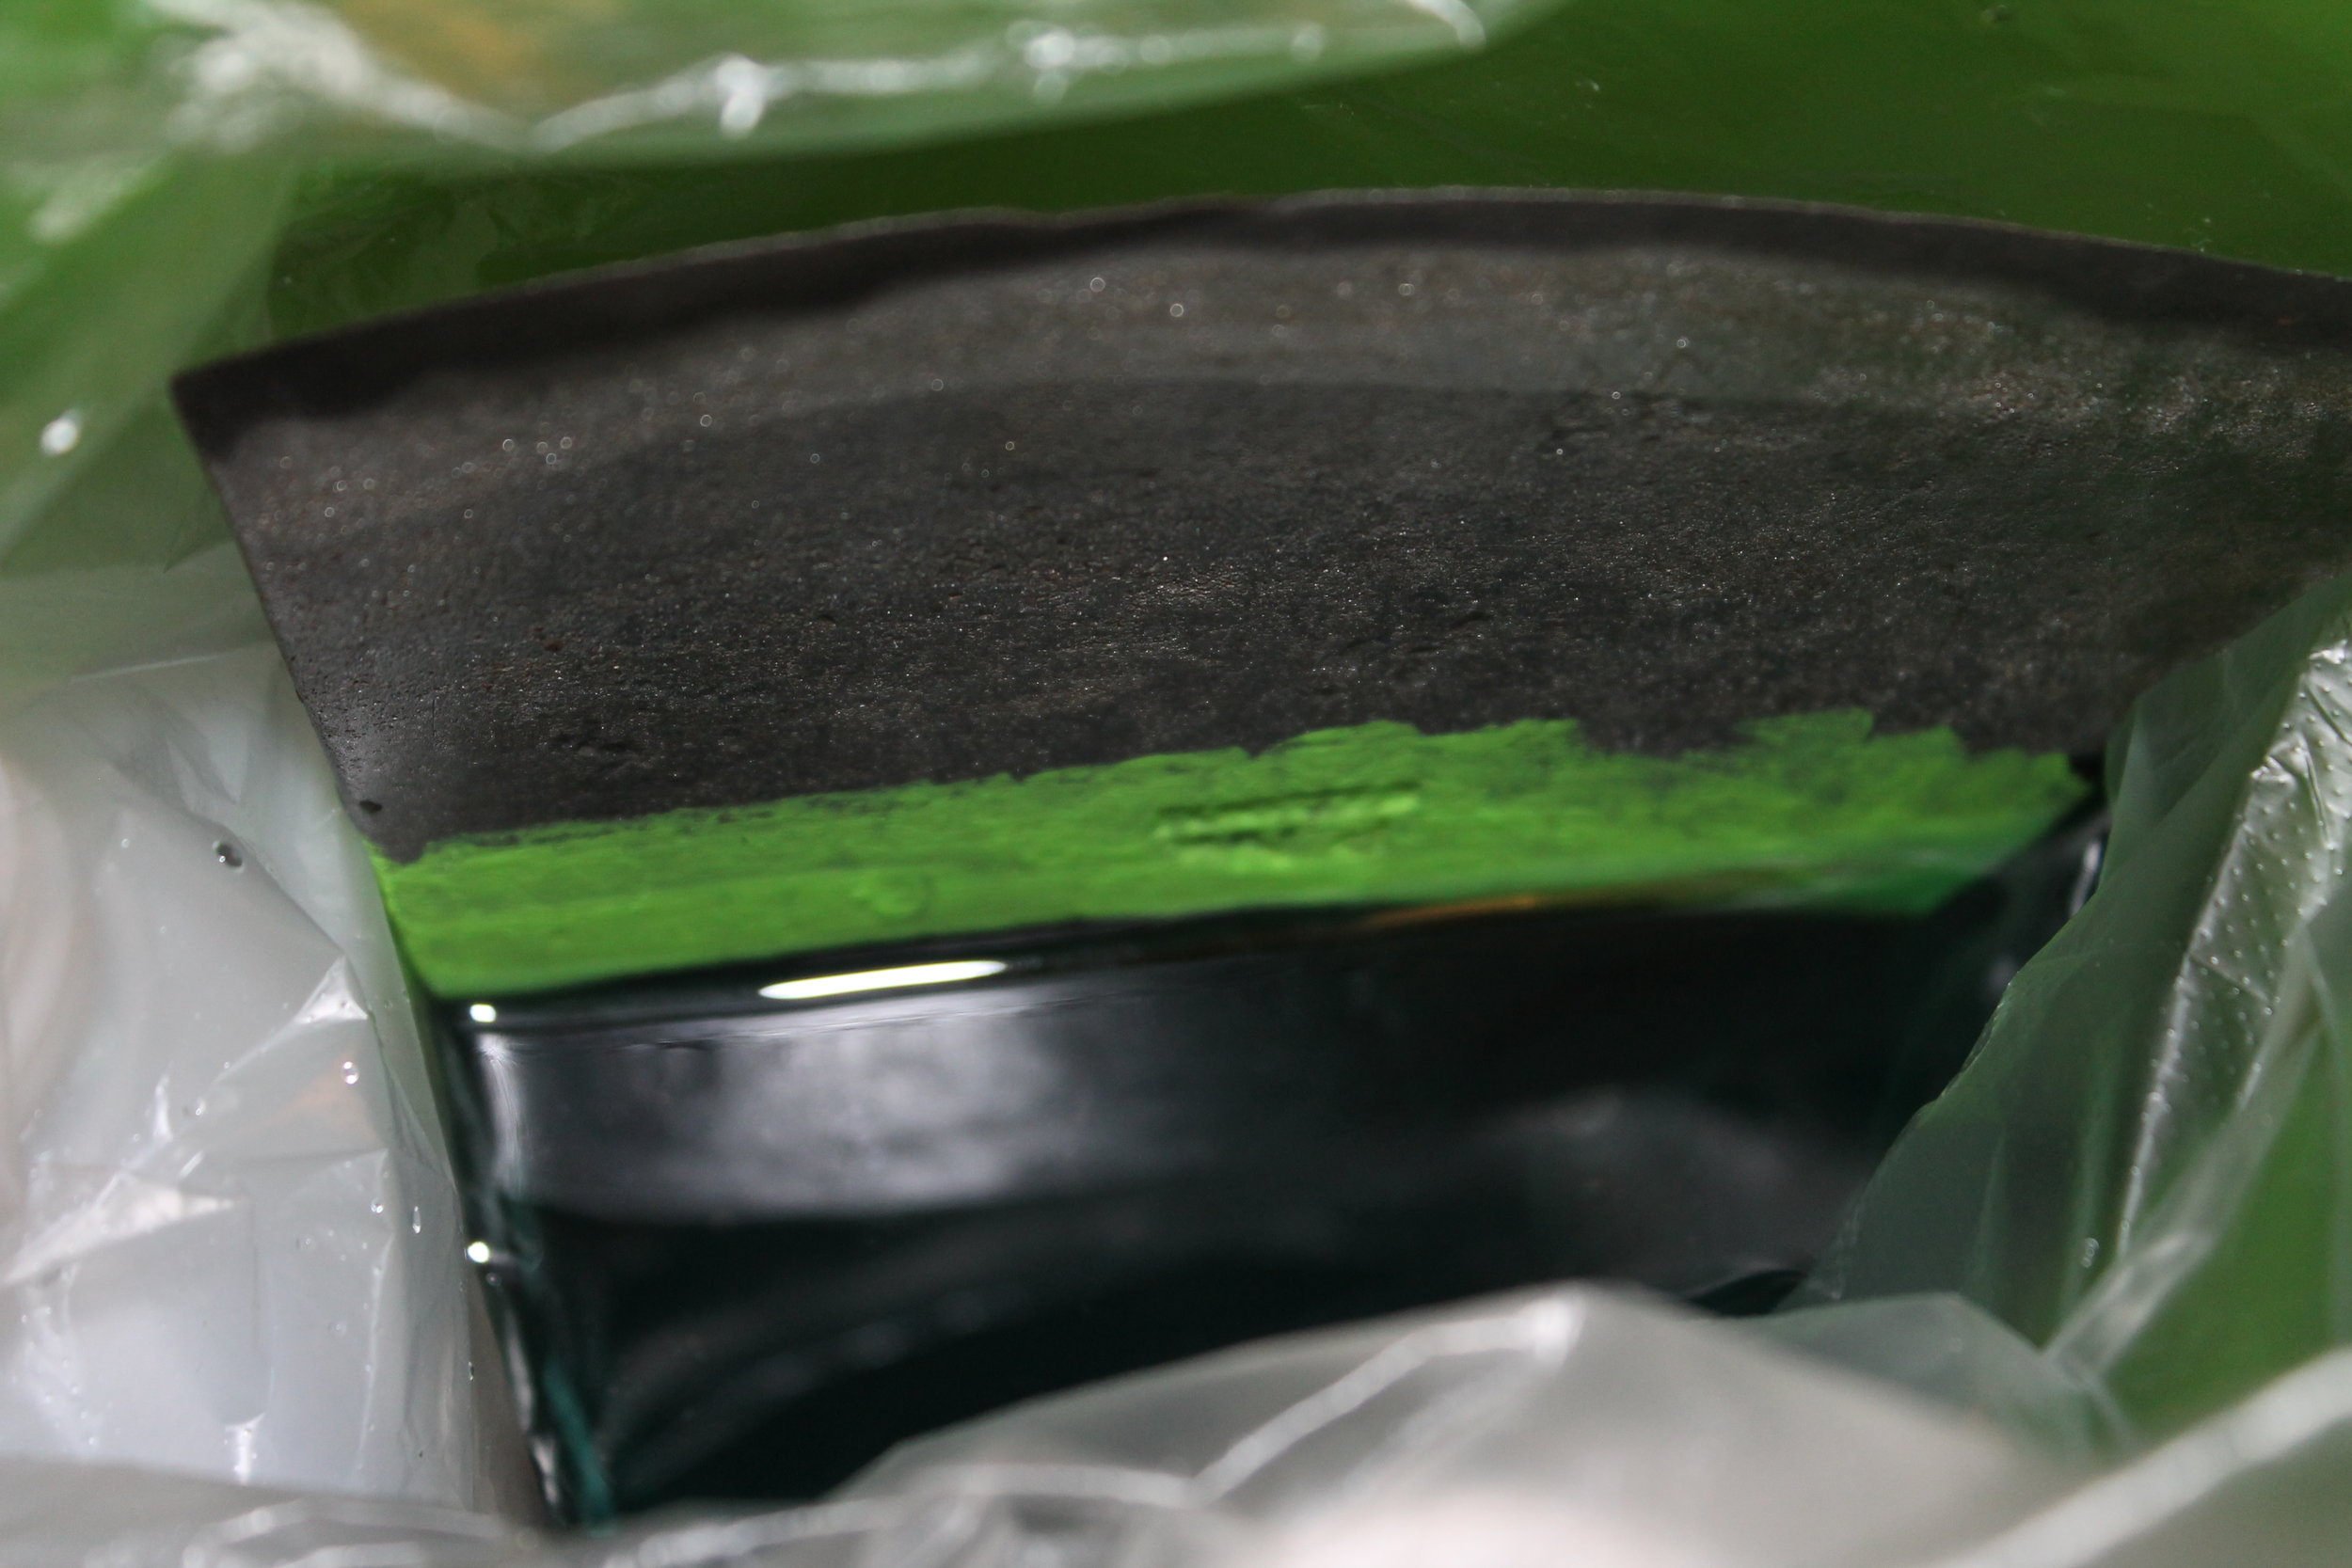
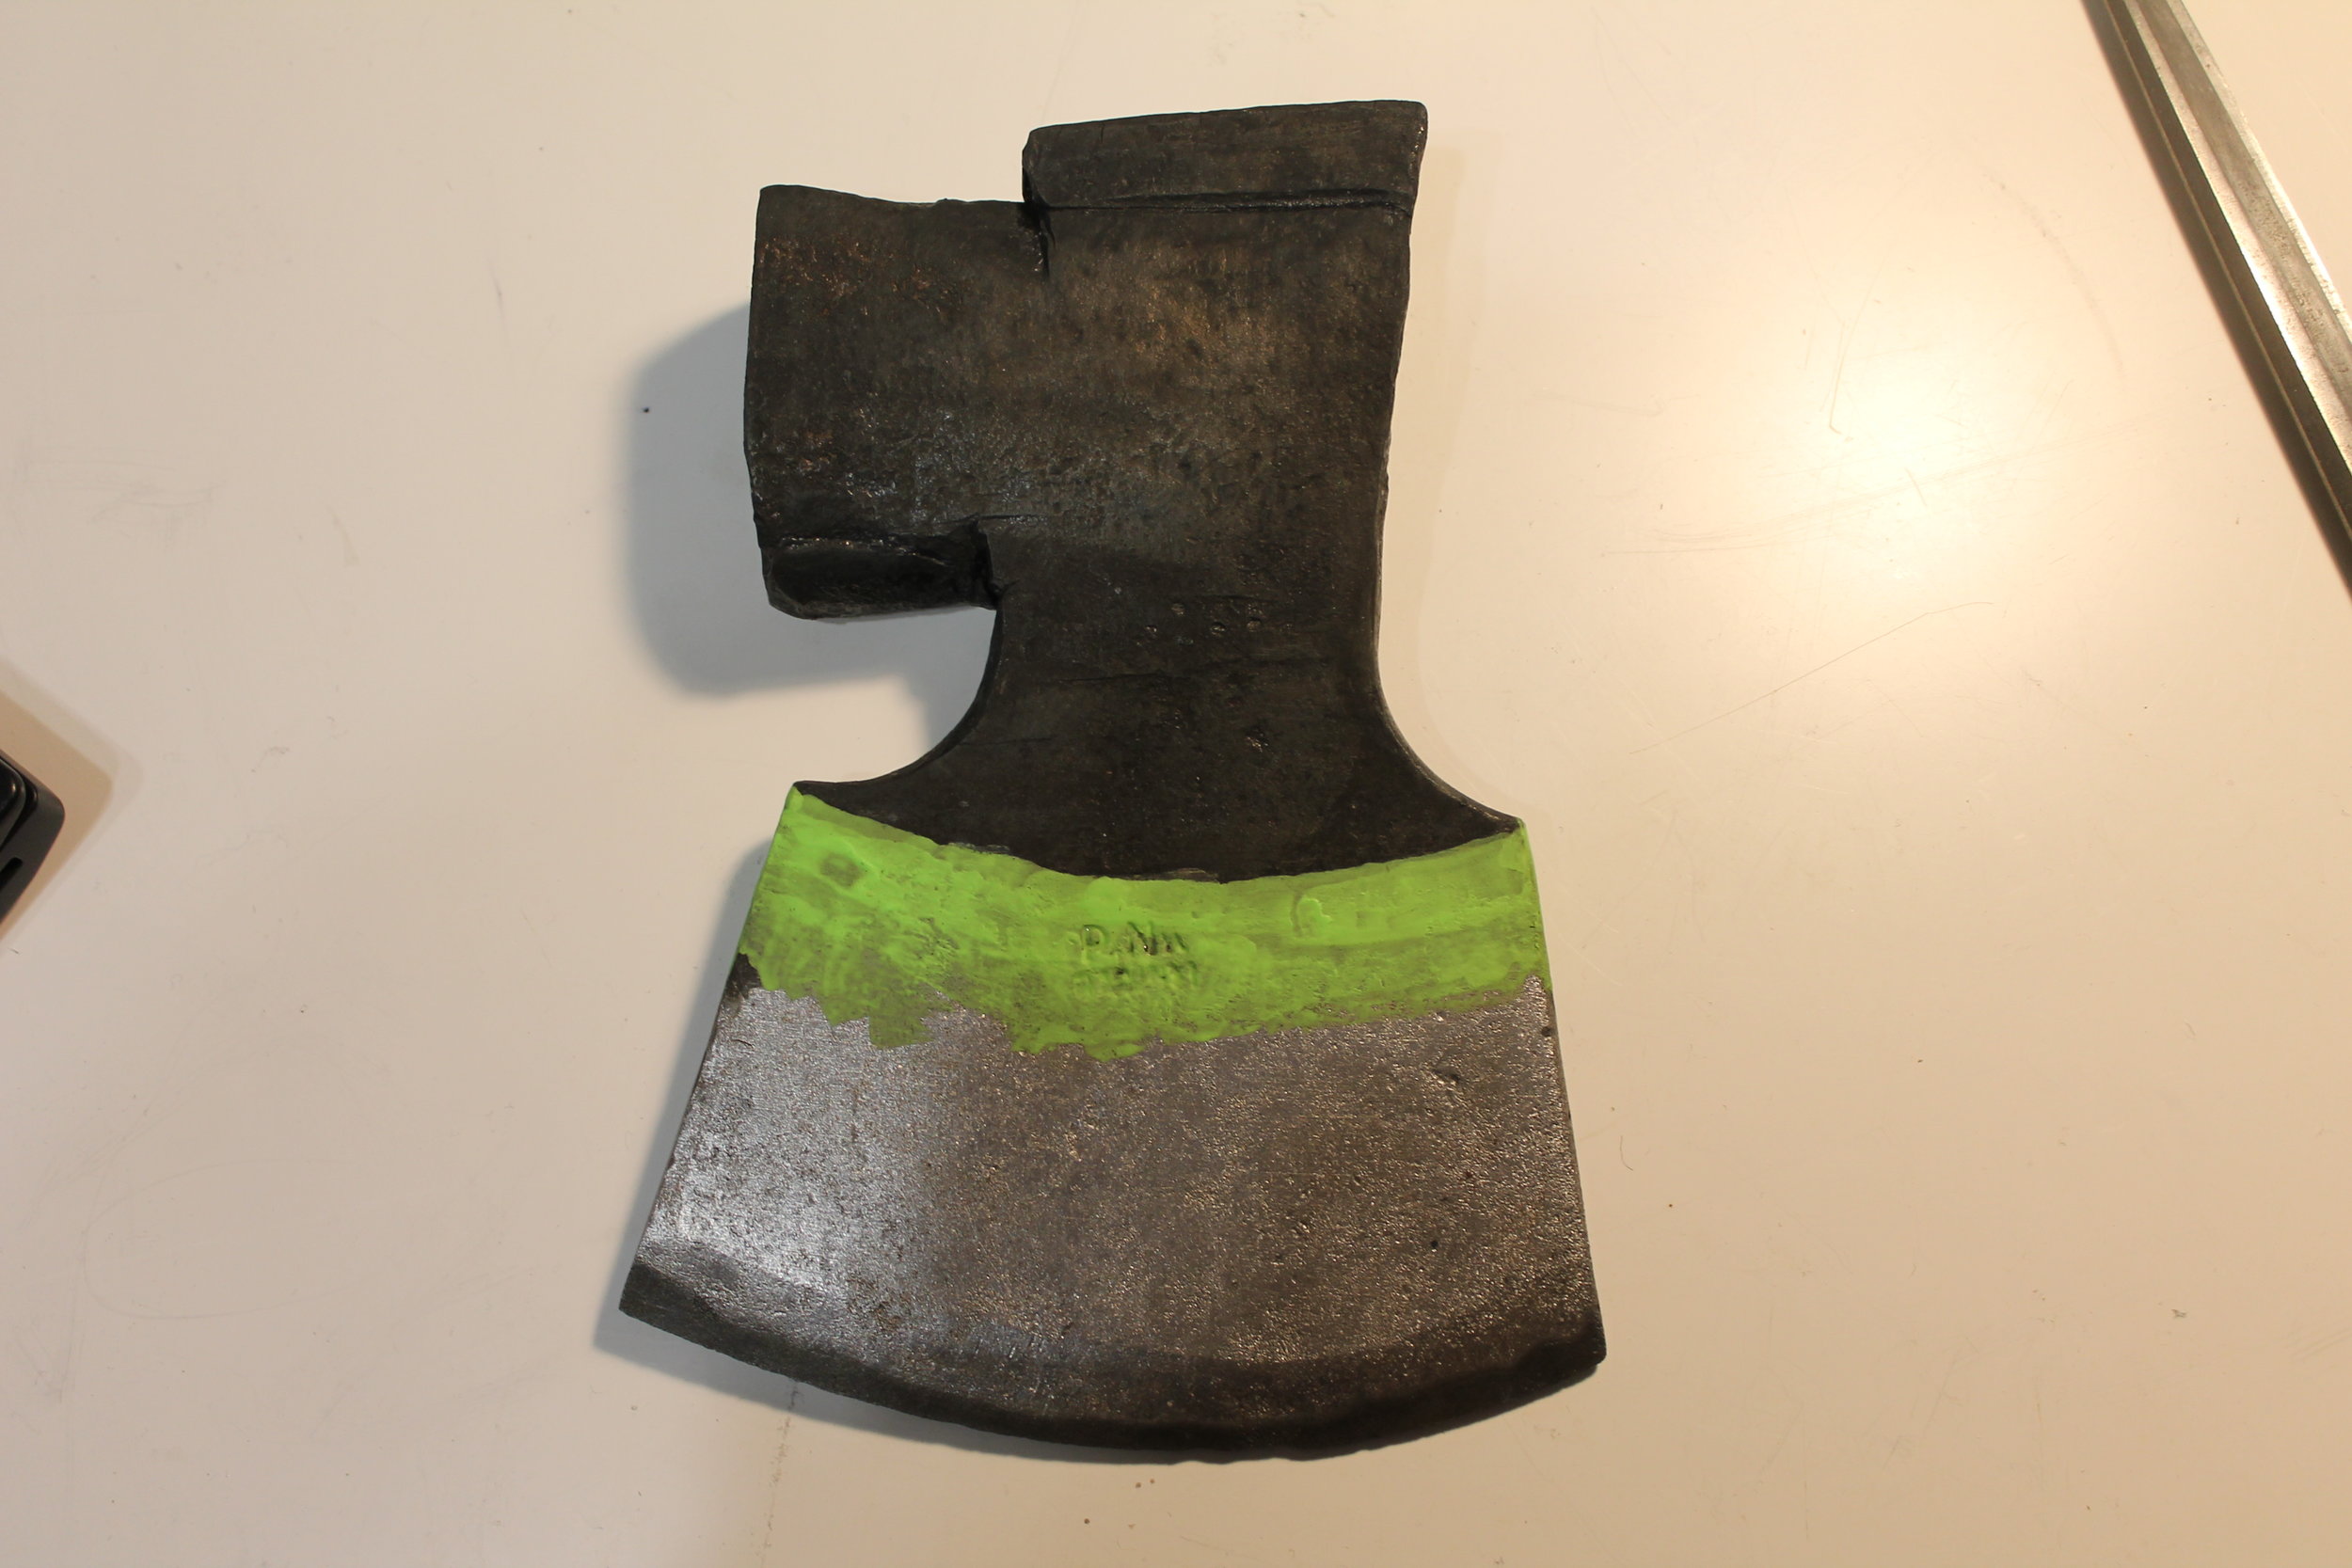
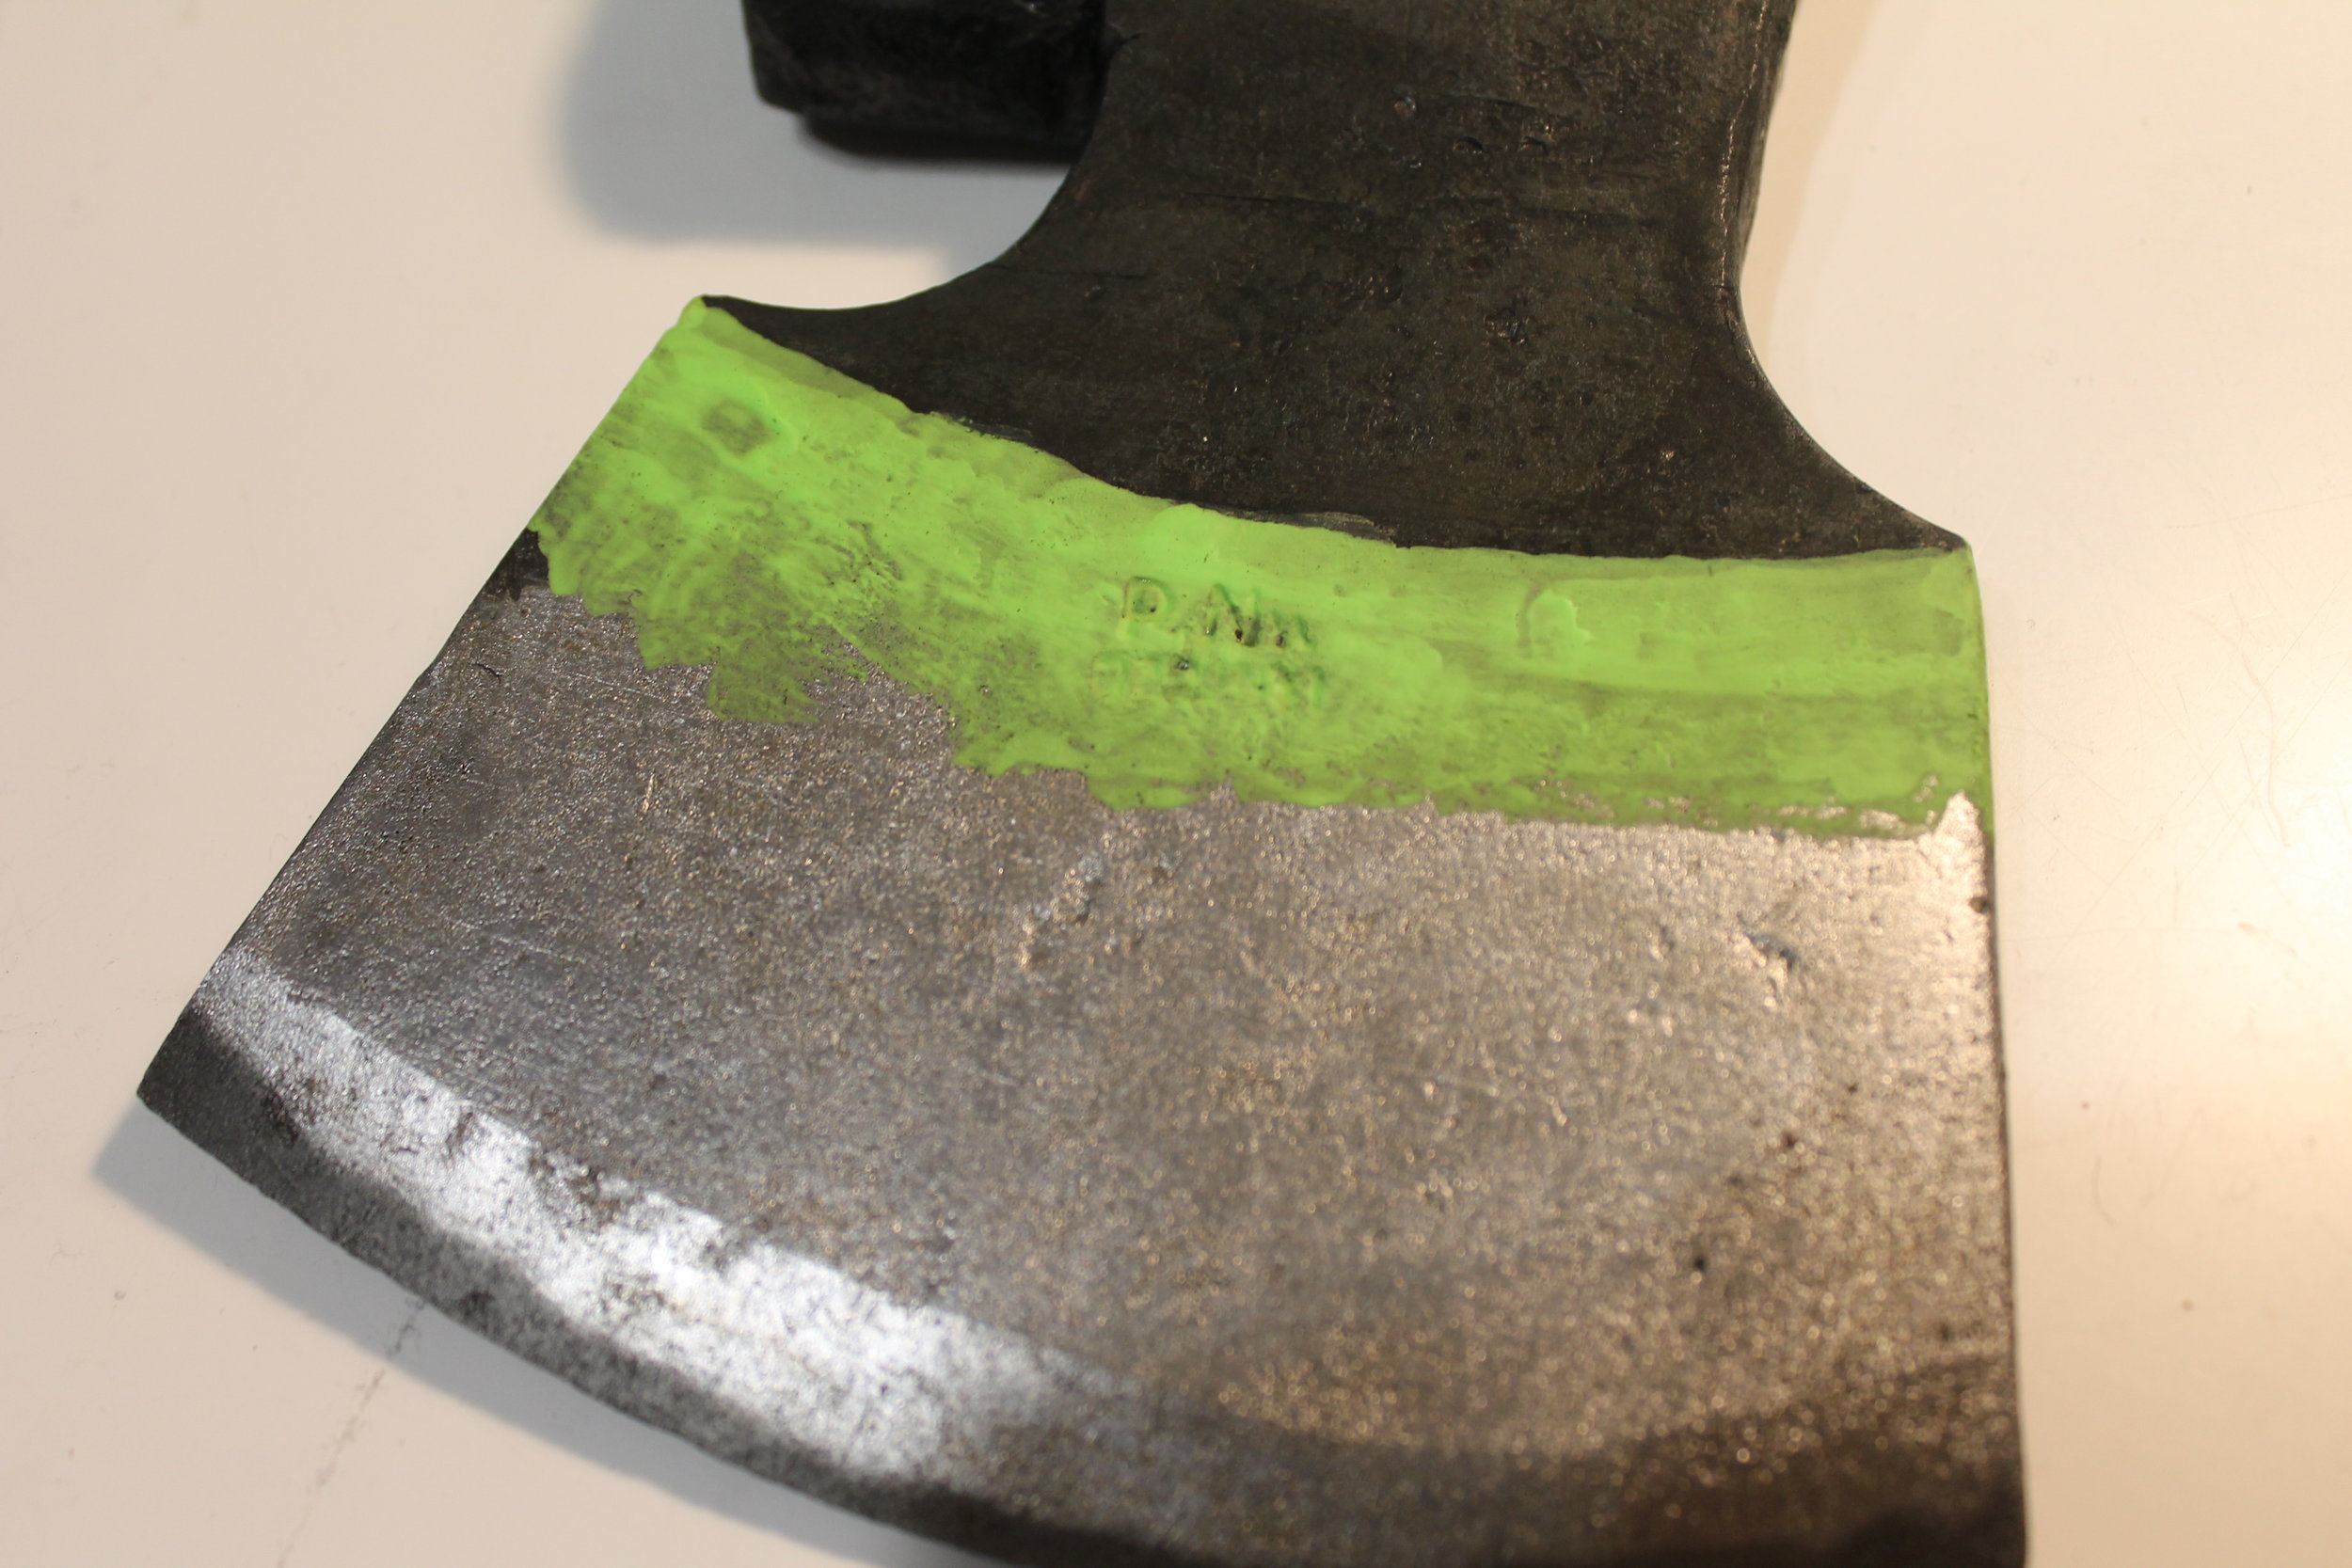
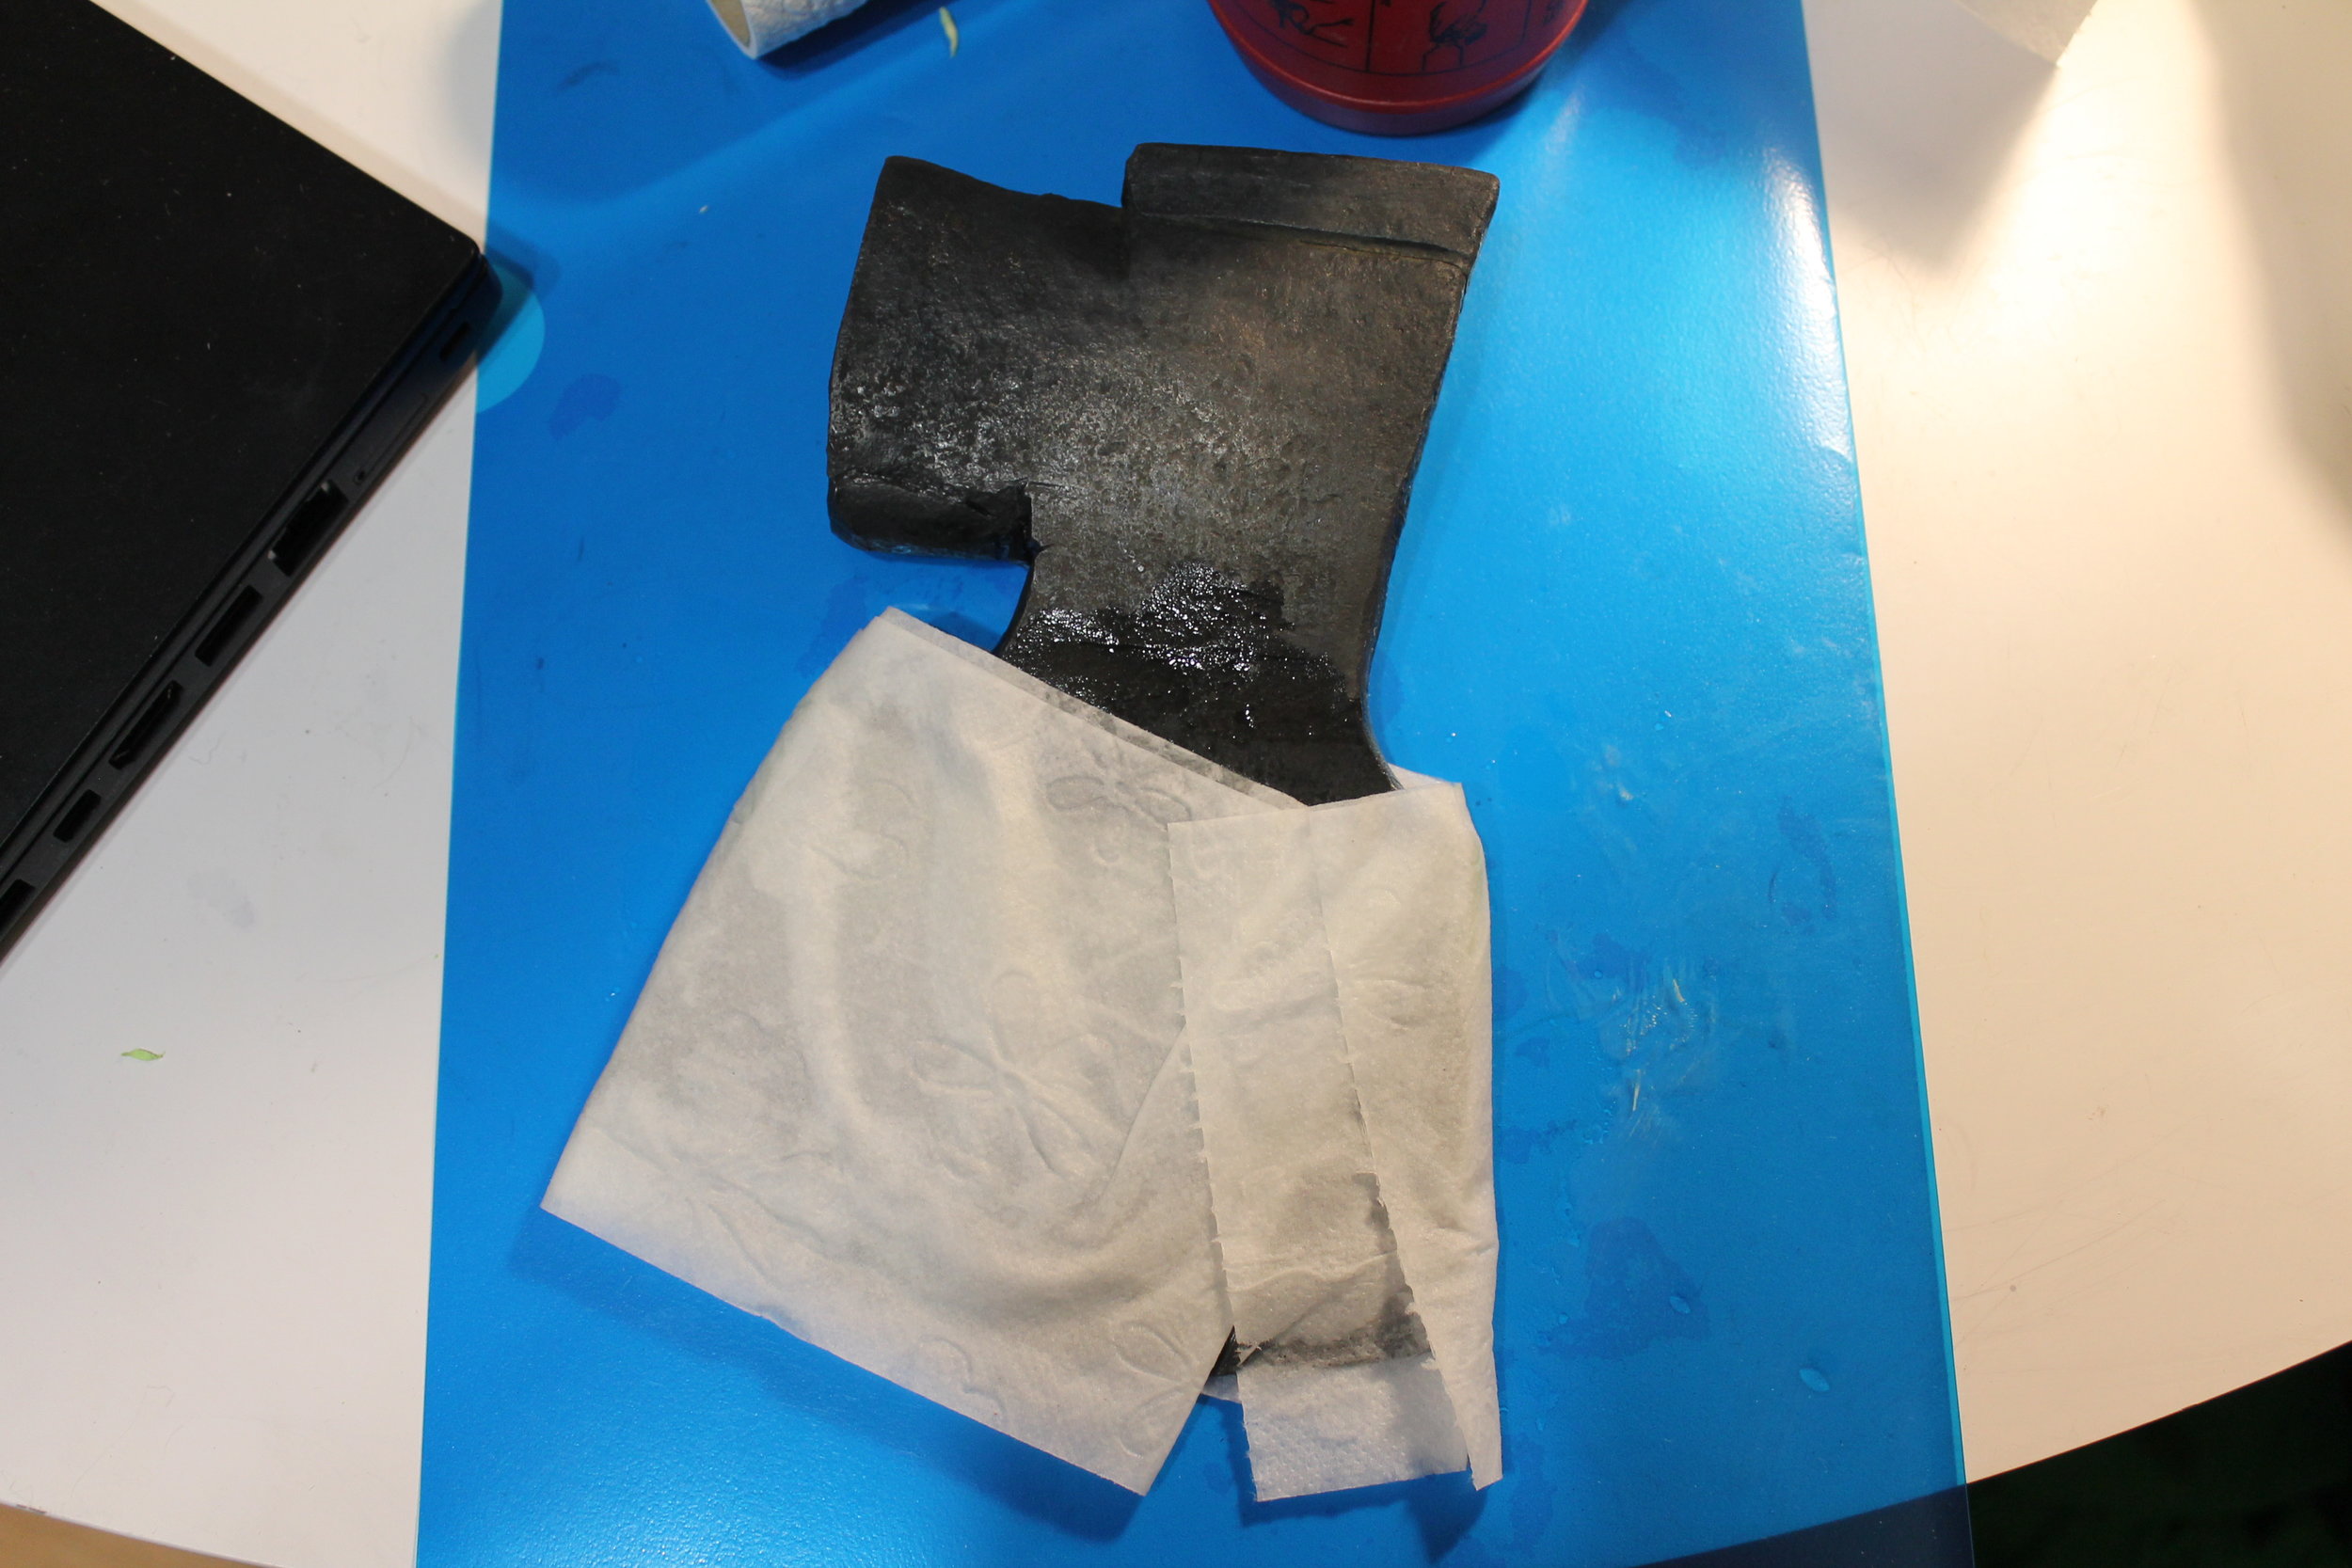
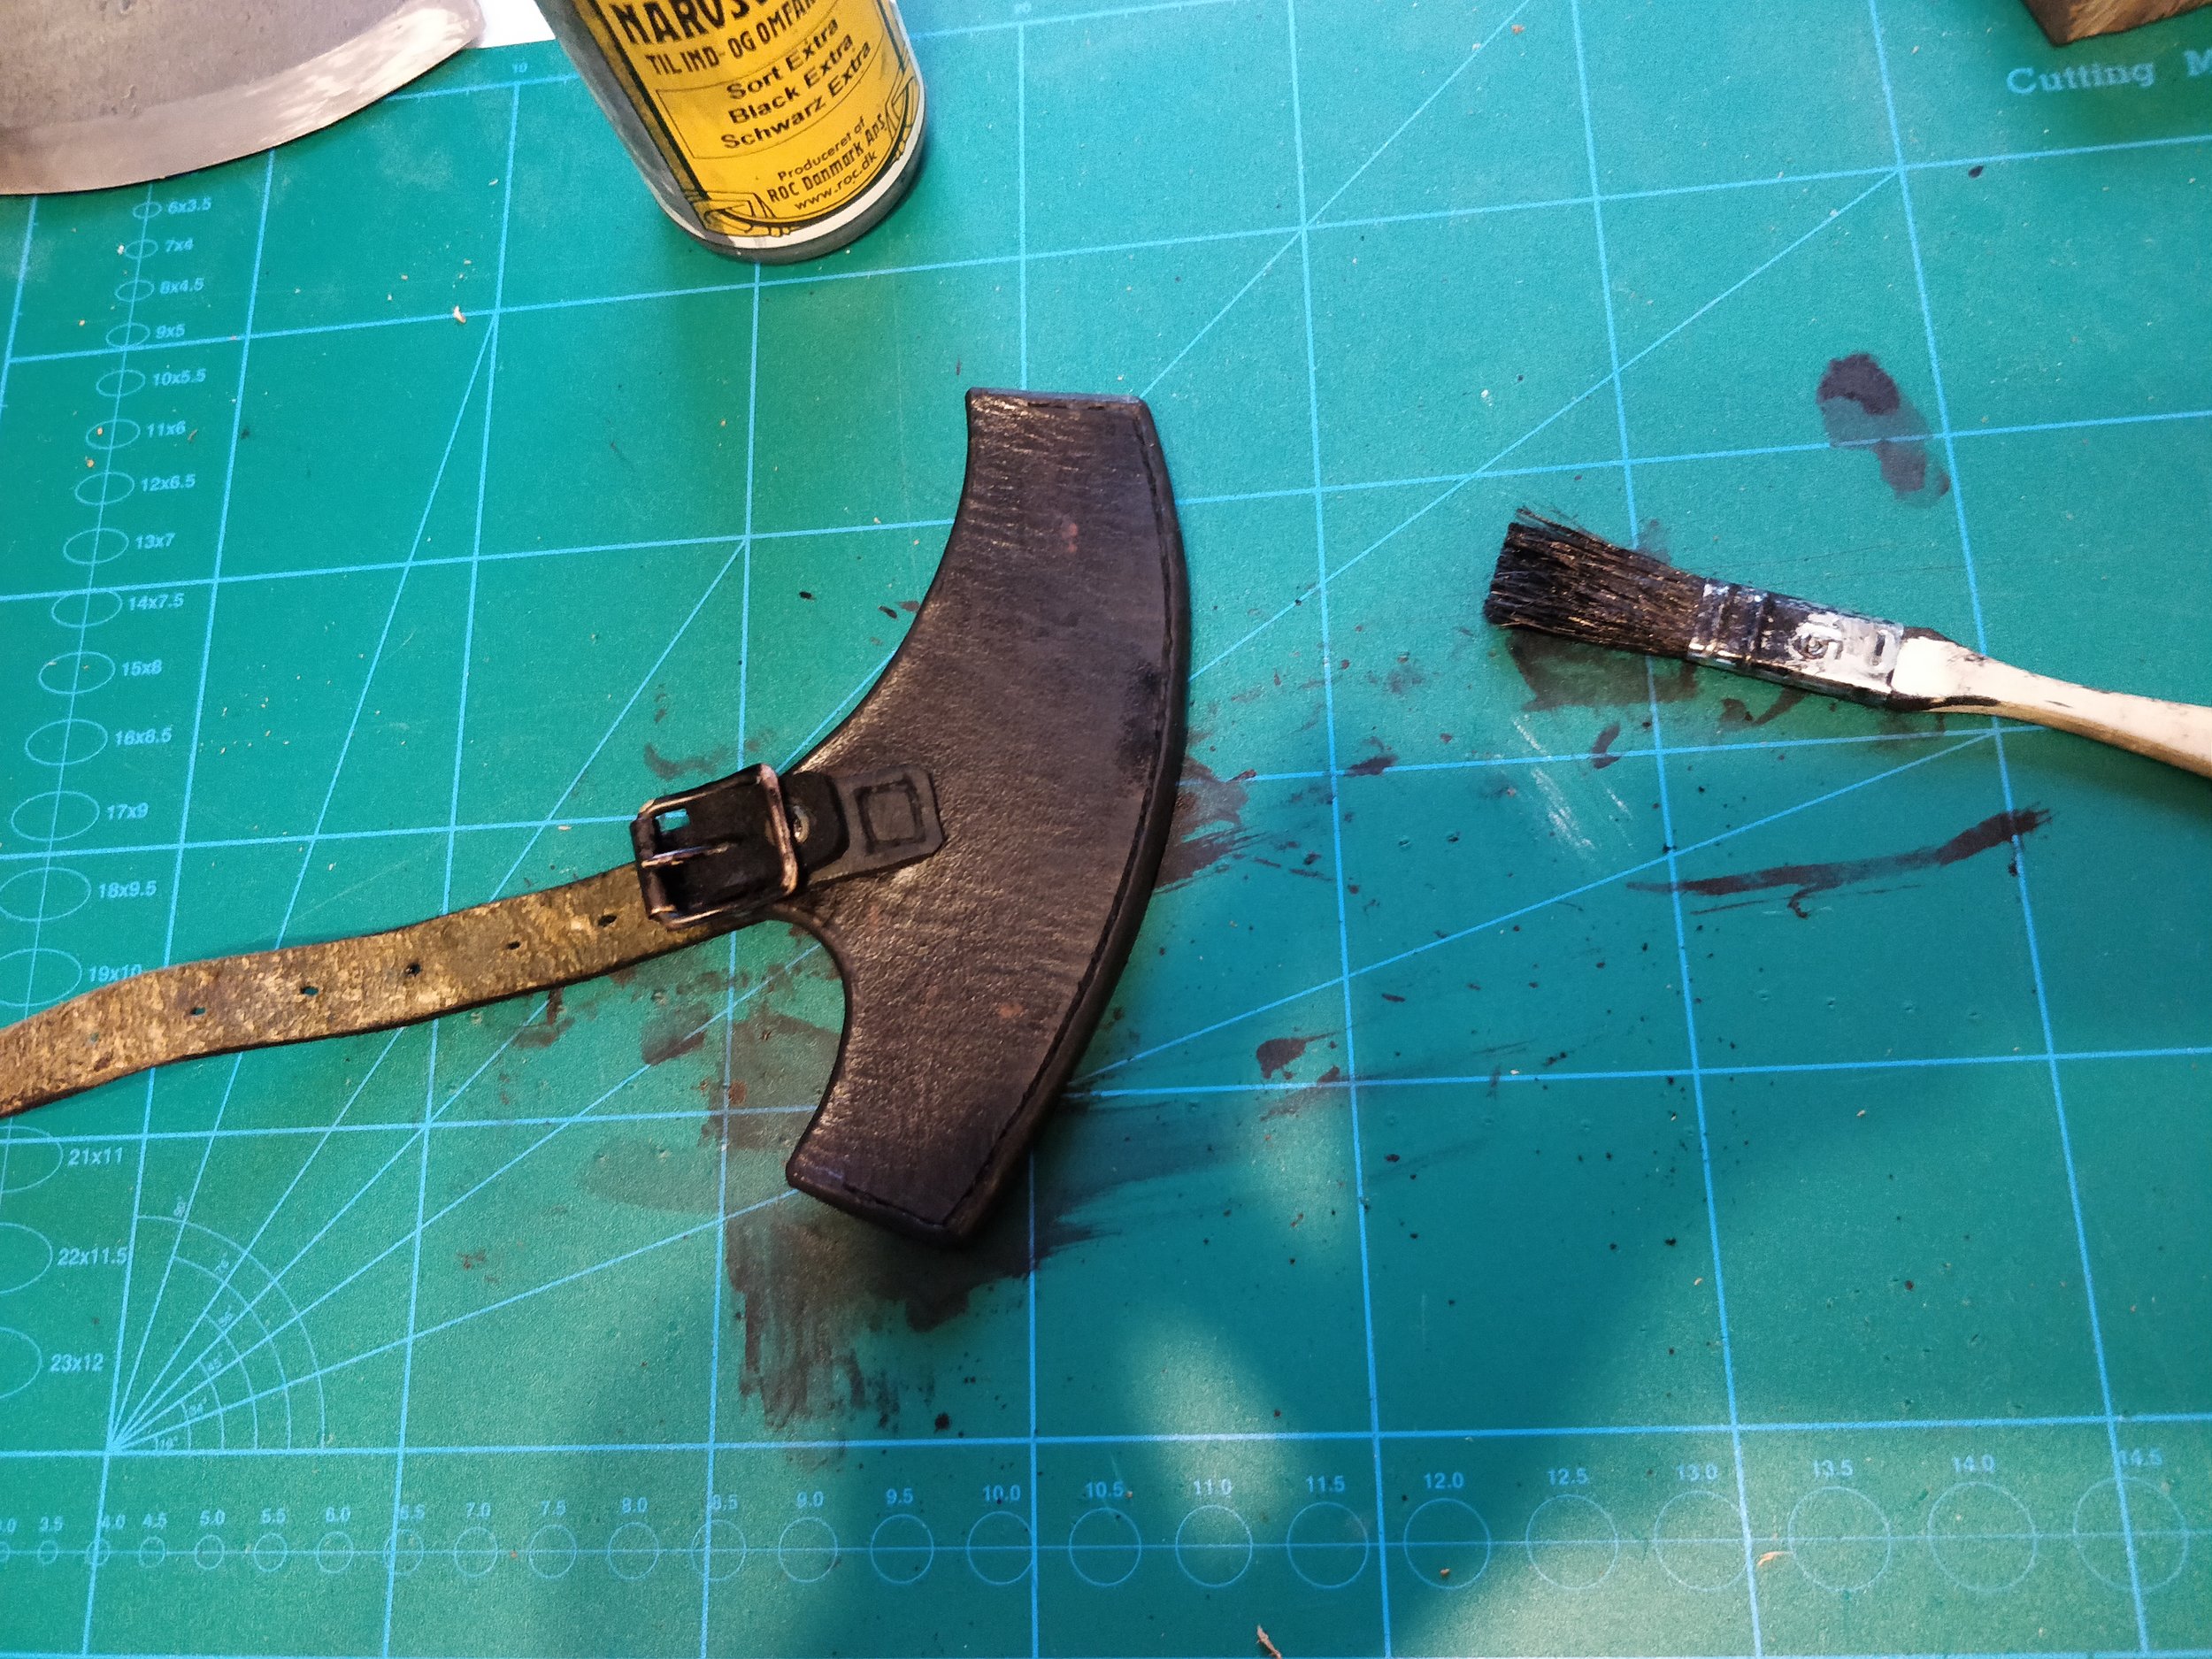
The ax head had traces of black color that I wanted to recreate with the help of cold blueing agents. To get to the curved pattern the color seems to be painted on the blade, I used nail polish to mask a piece of the blade on the ax. This was then removed with spirit fuel. If I were to redo this, I would use a different color than green on the nail polish, it required some extra work to remove the last traces that had penetrated into pits in the surface. Then I oiled the ax with roslagsmahogny (boiled linseed oil, wooden tar and turpentine) to get some rust protection again.

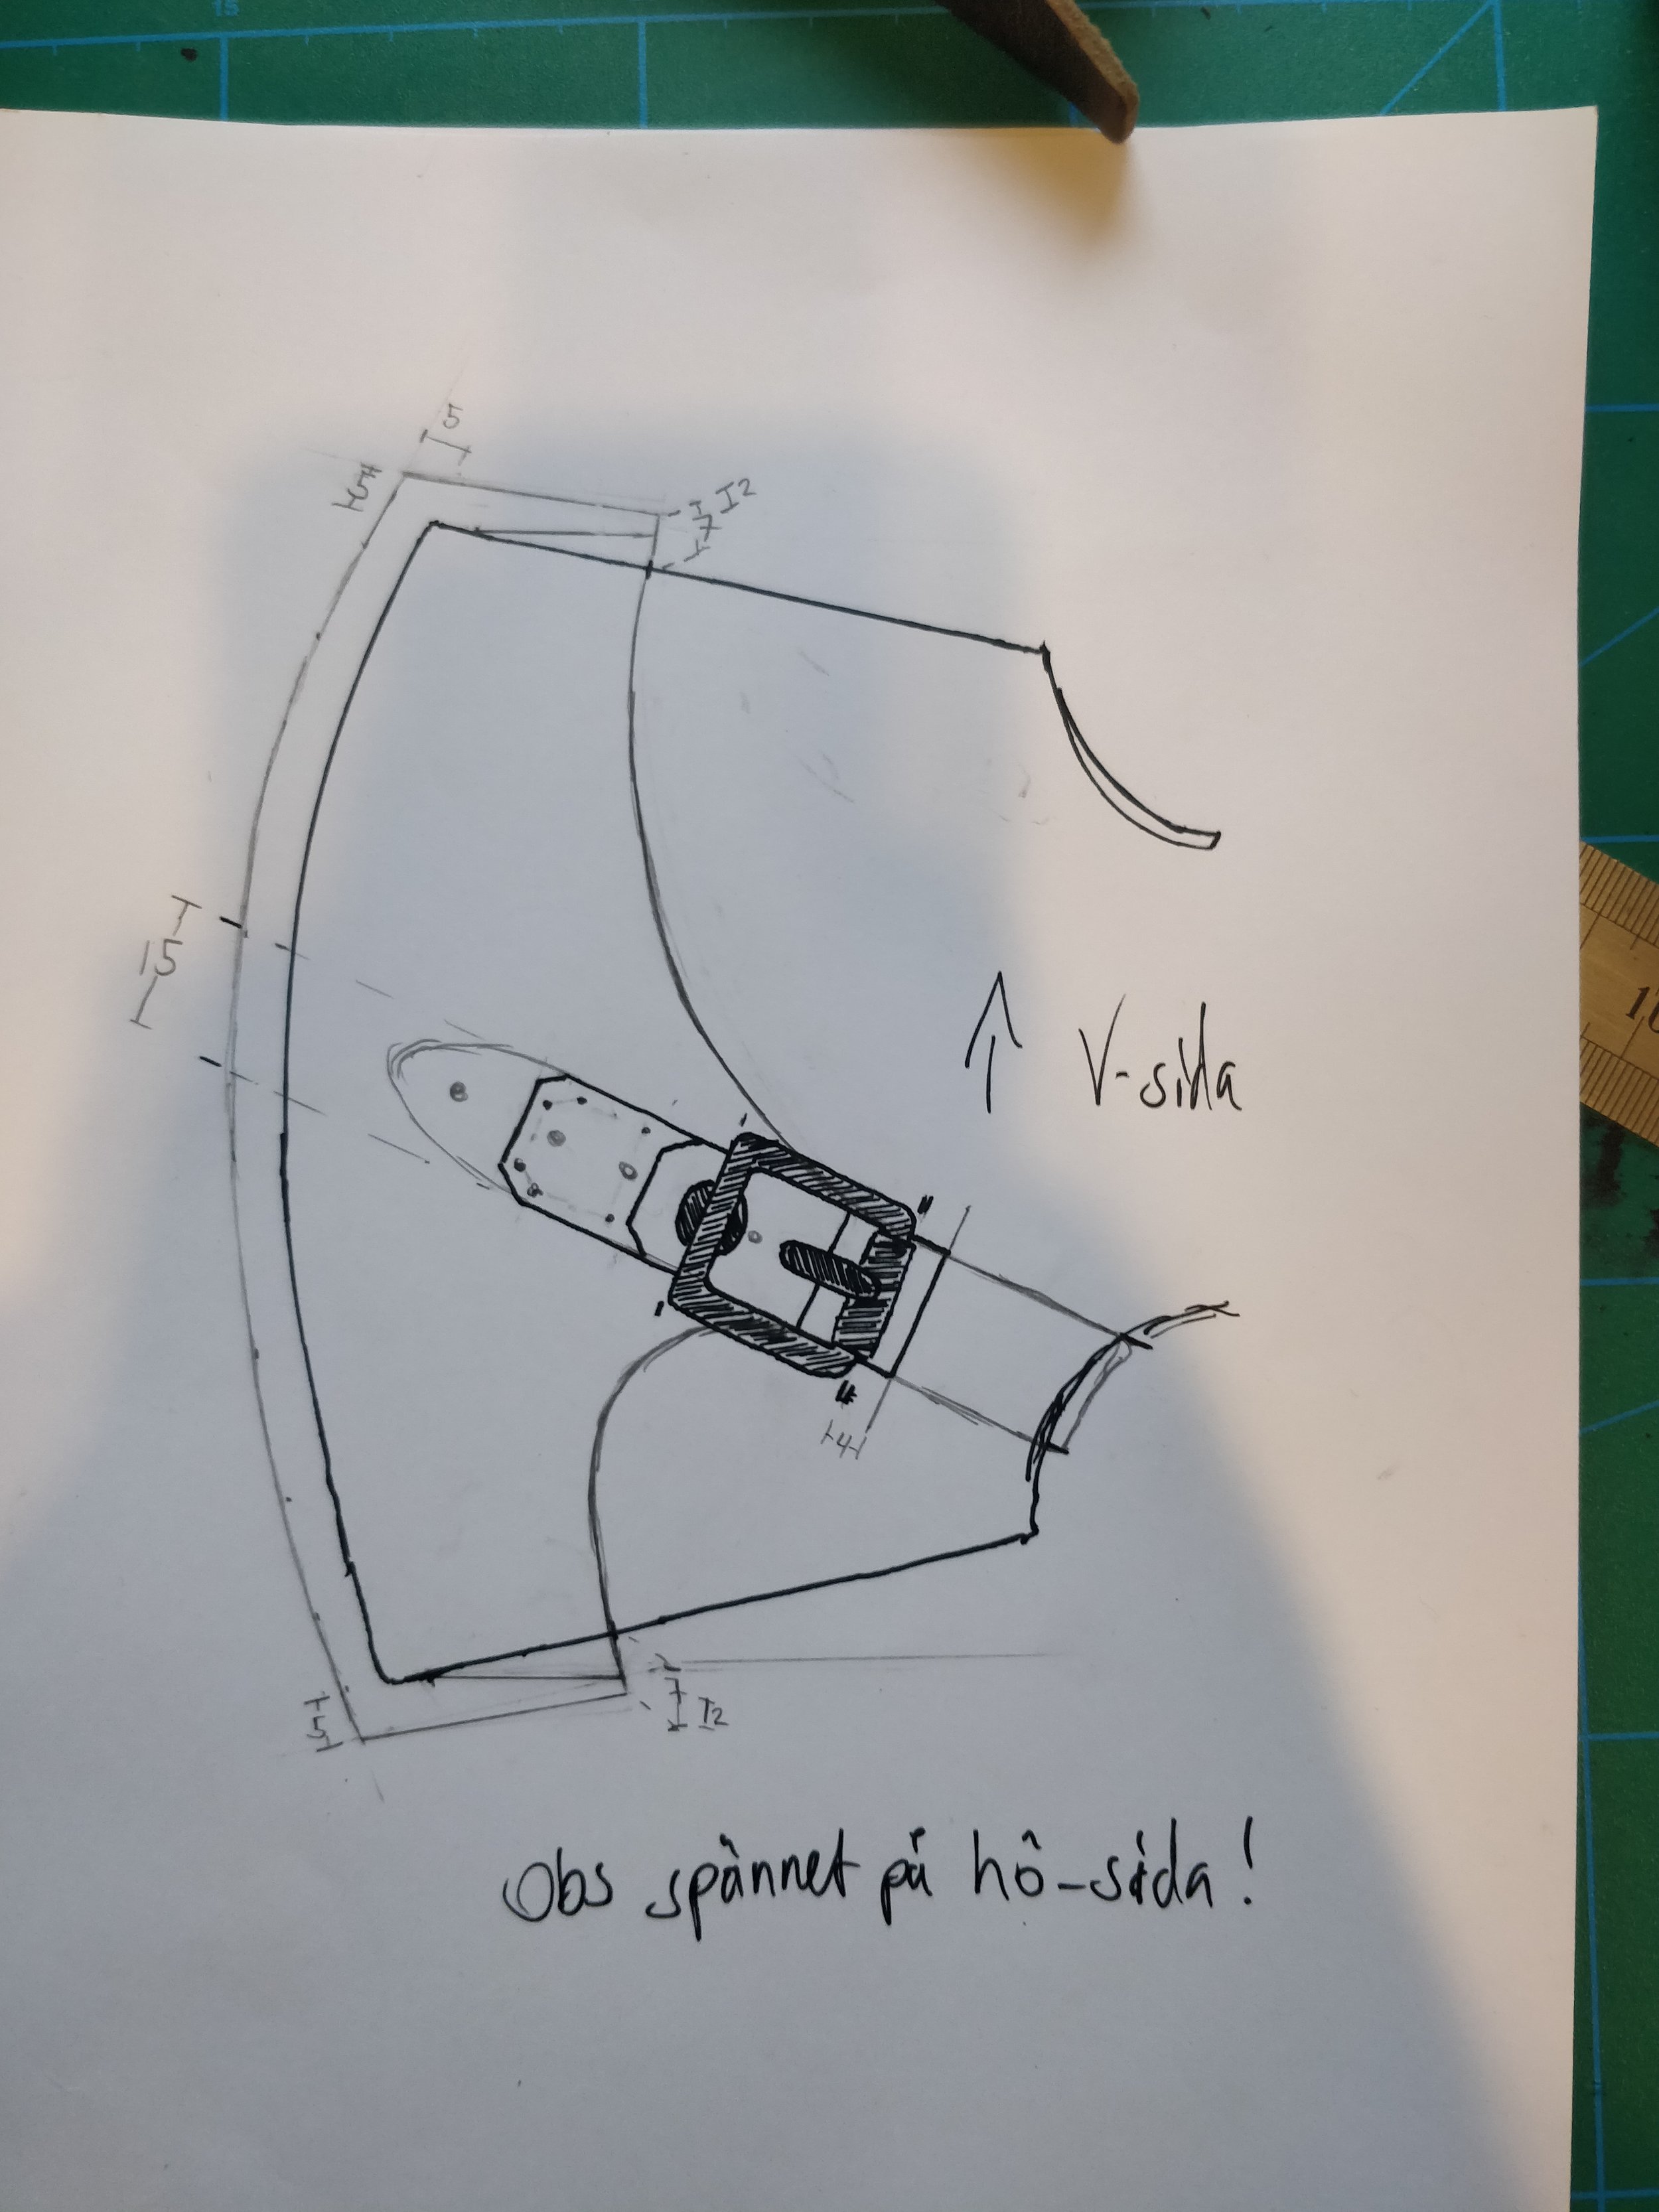
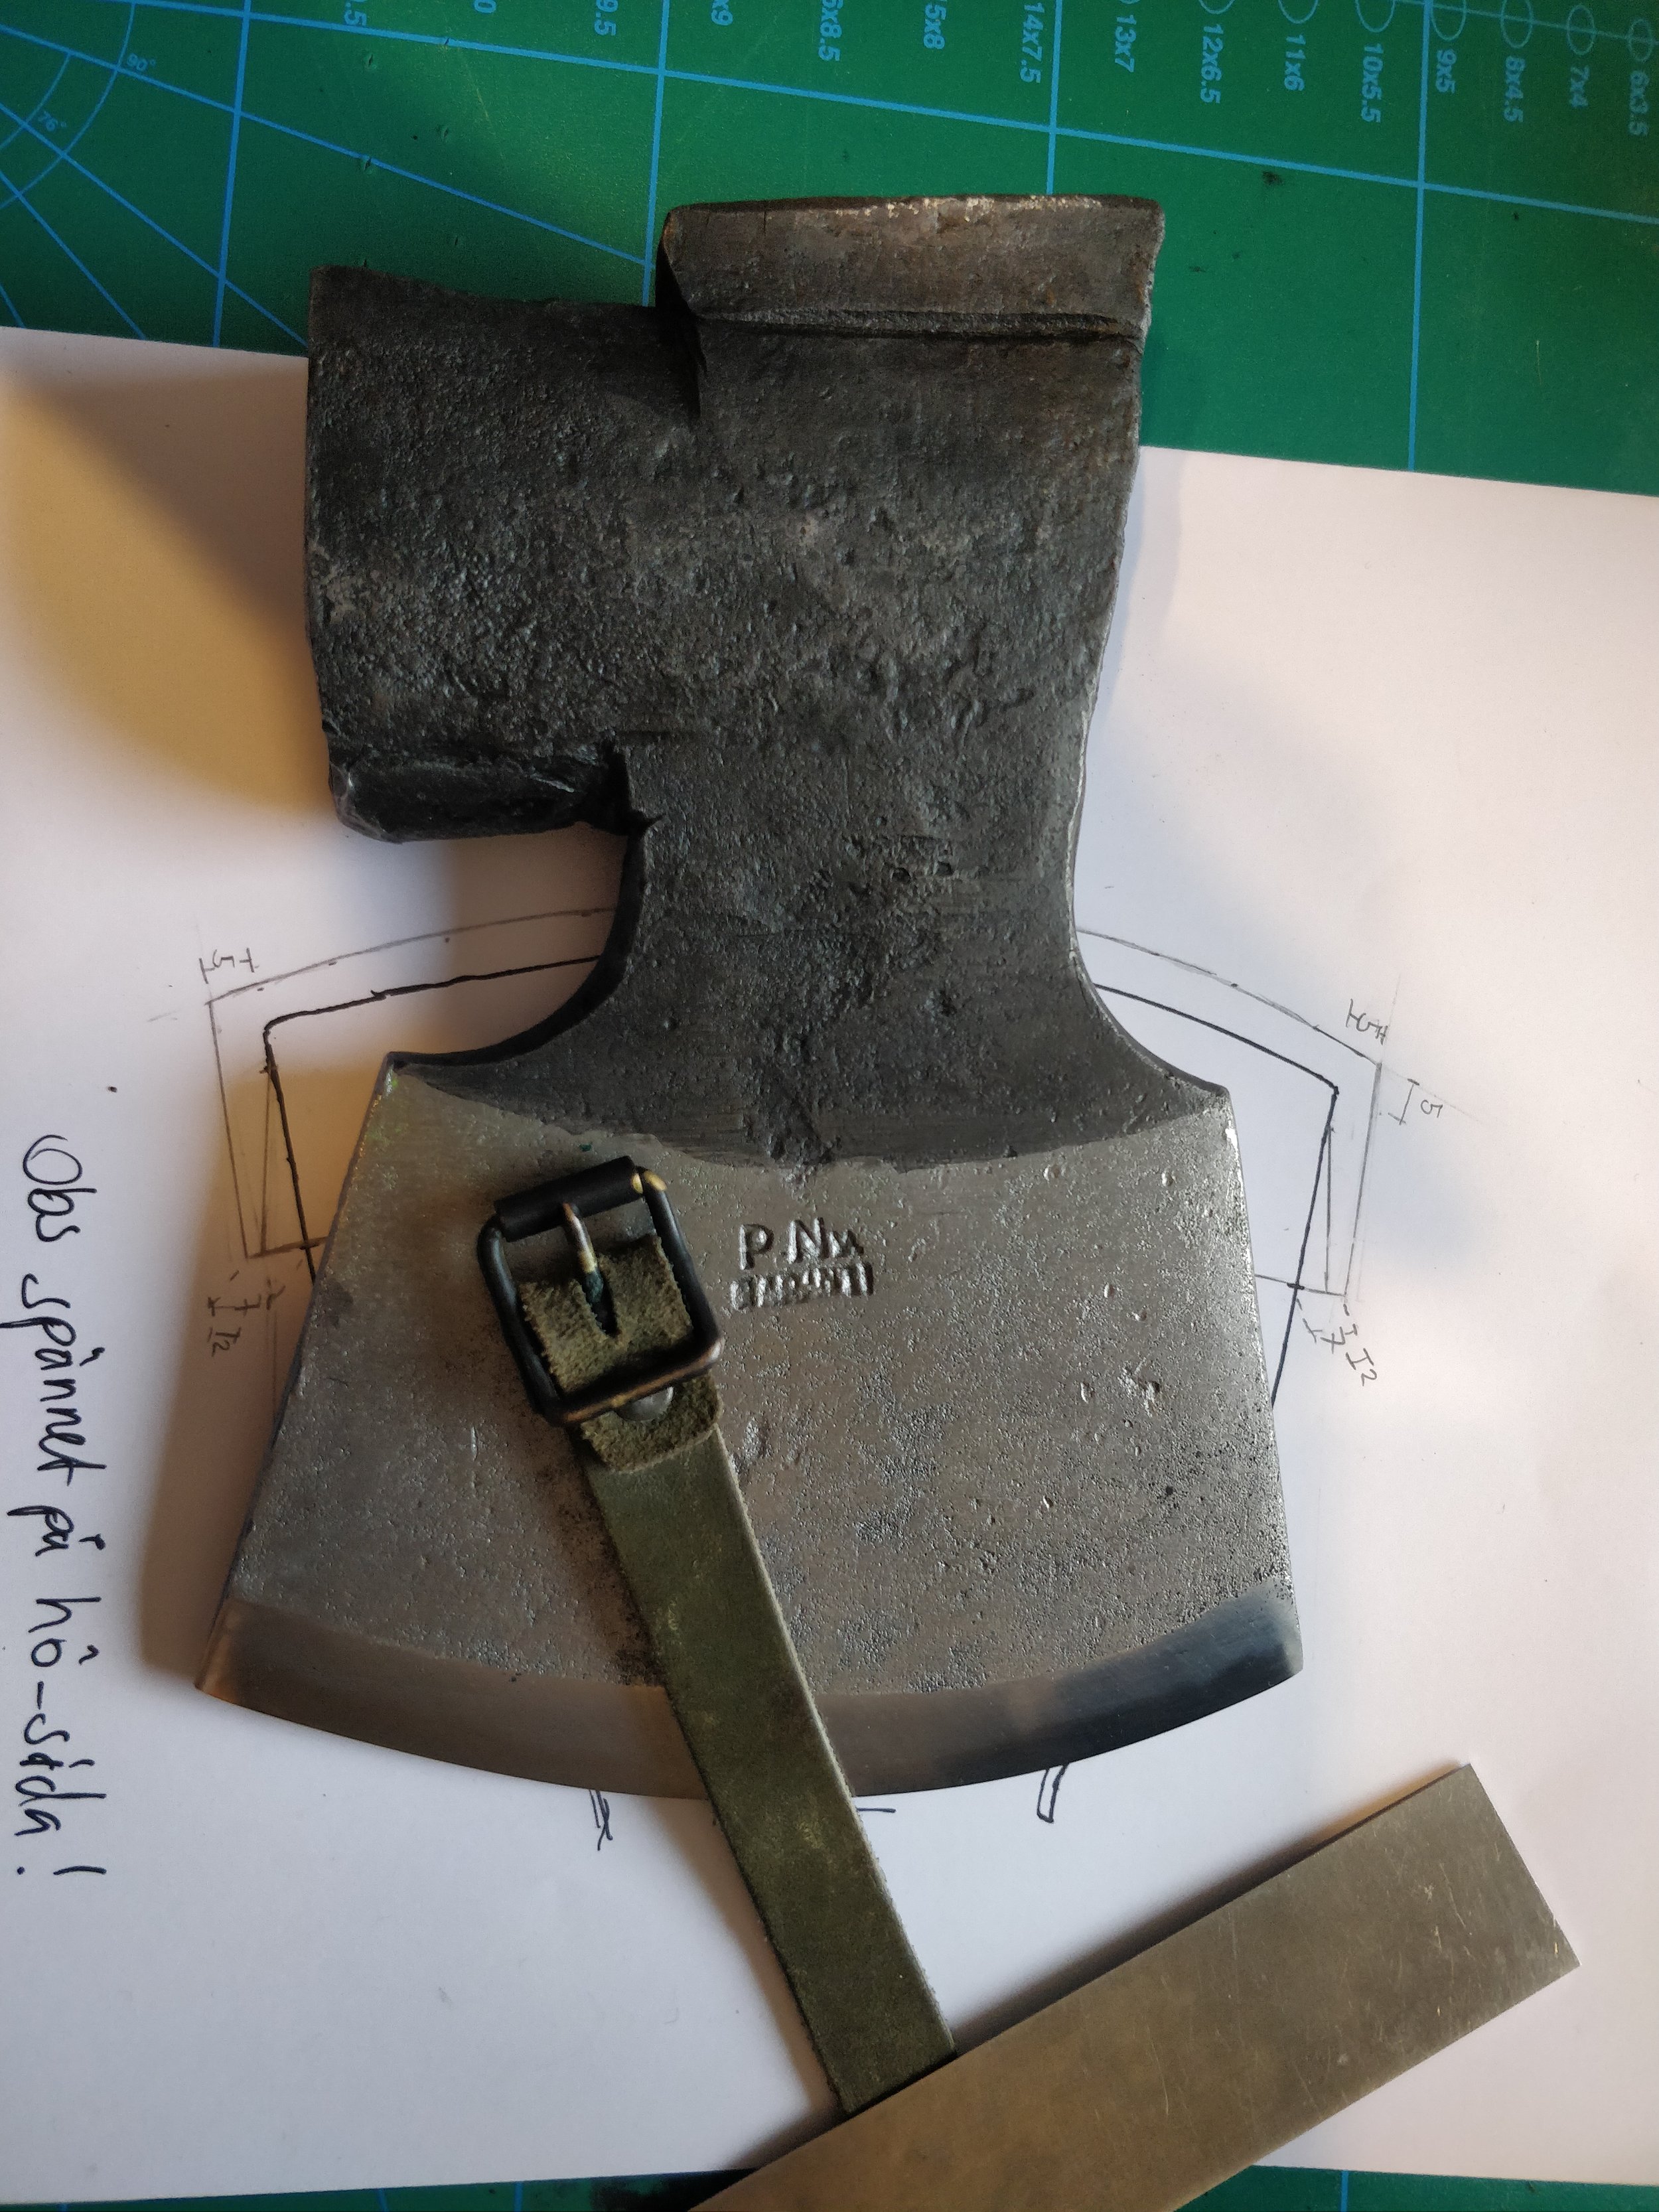
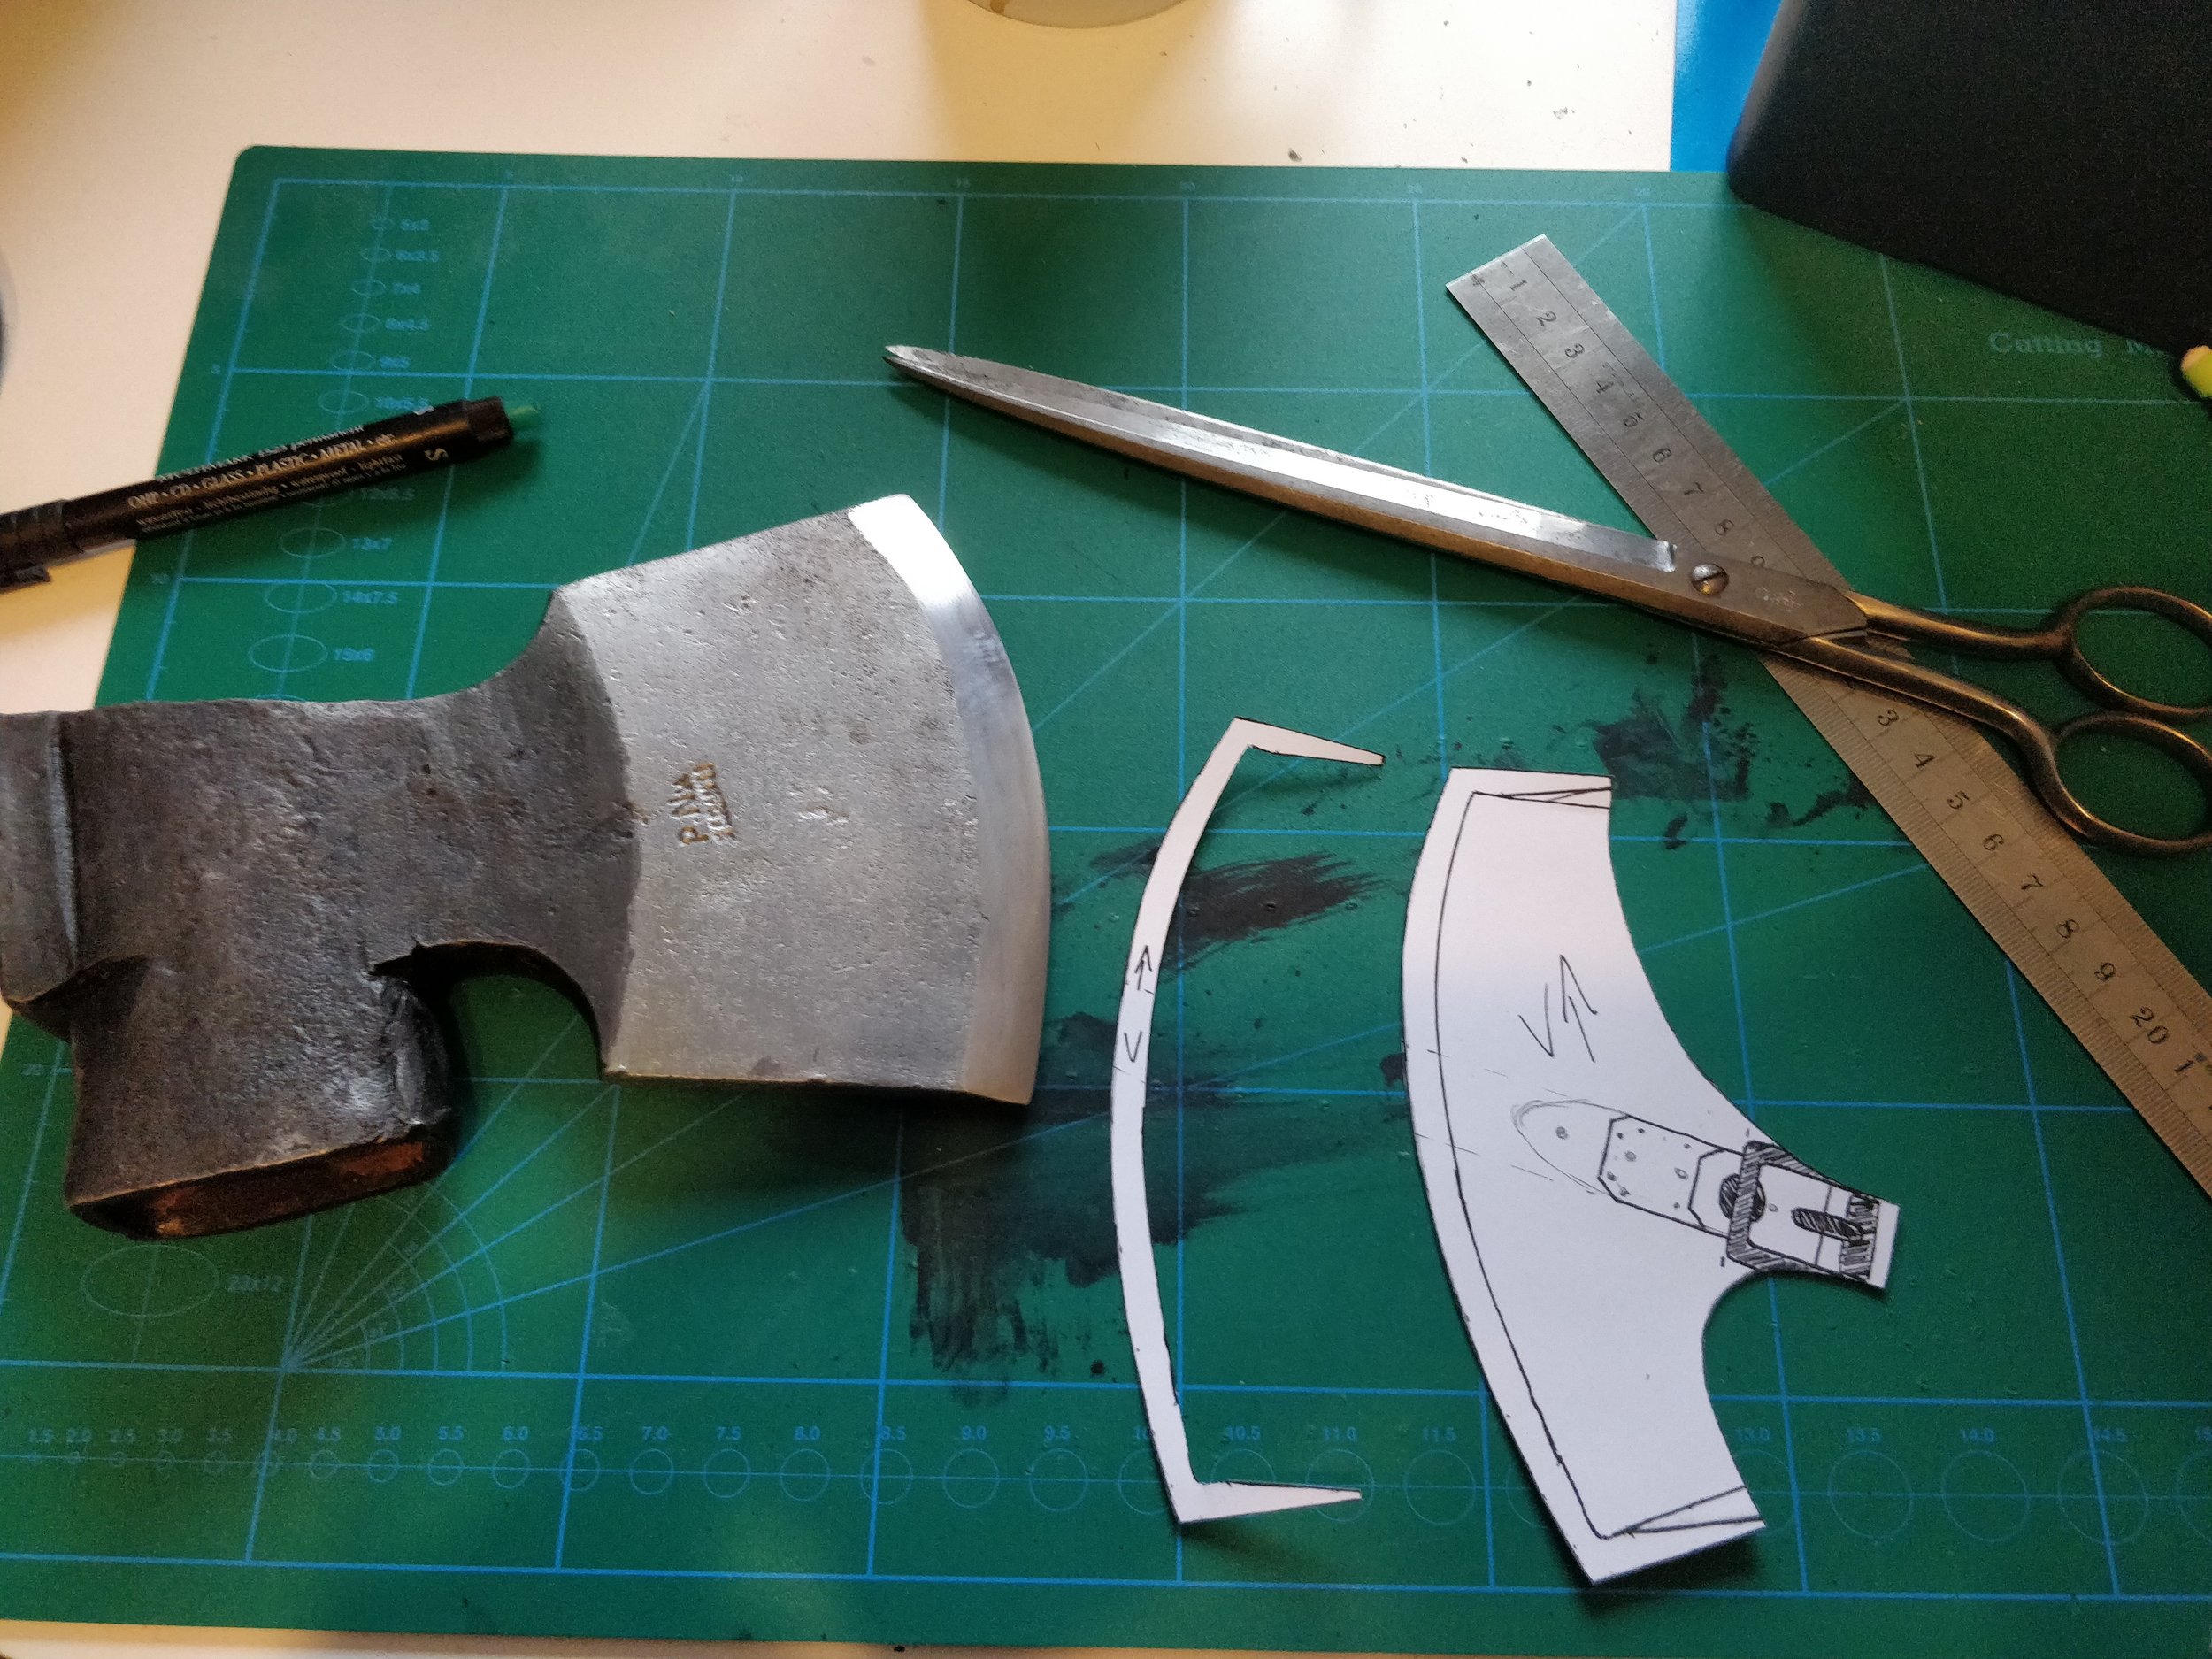
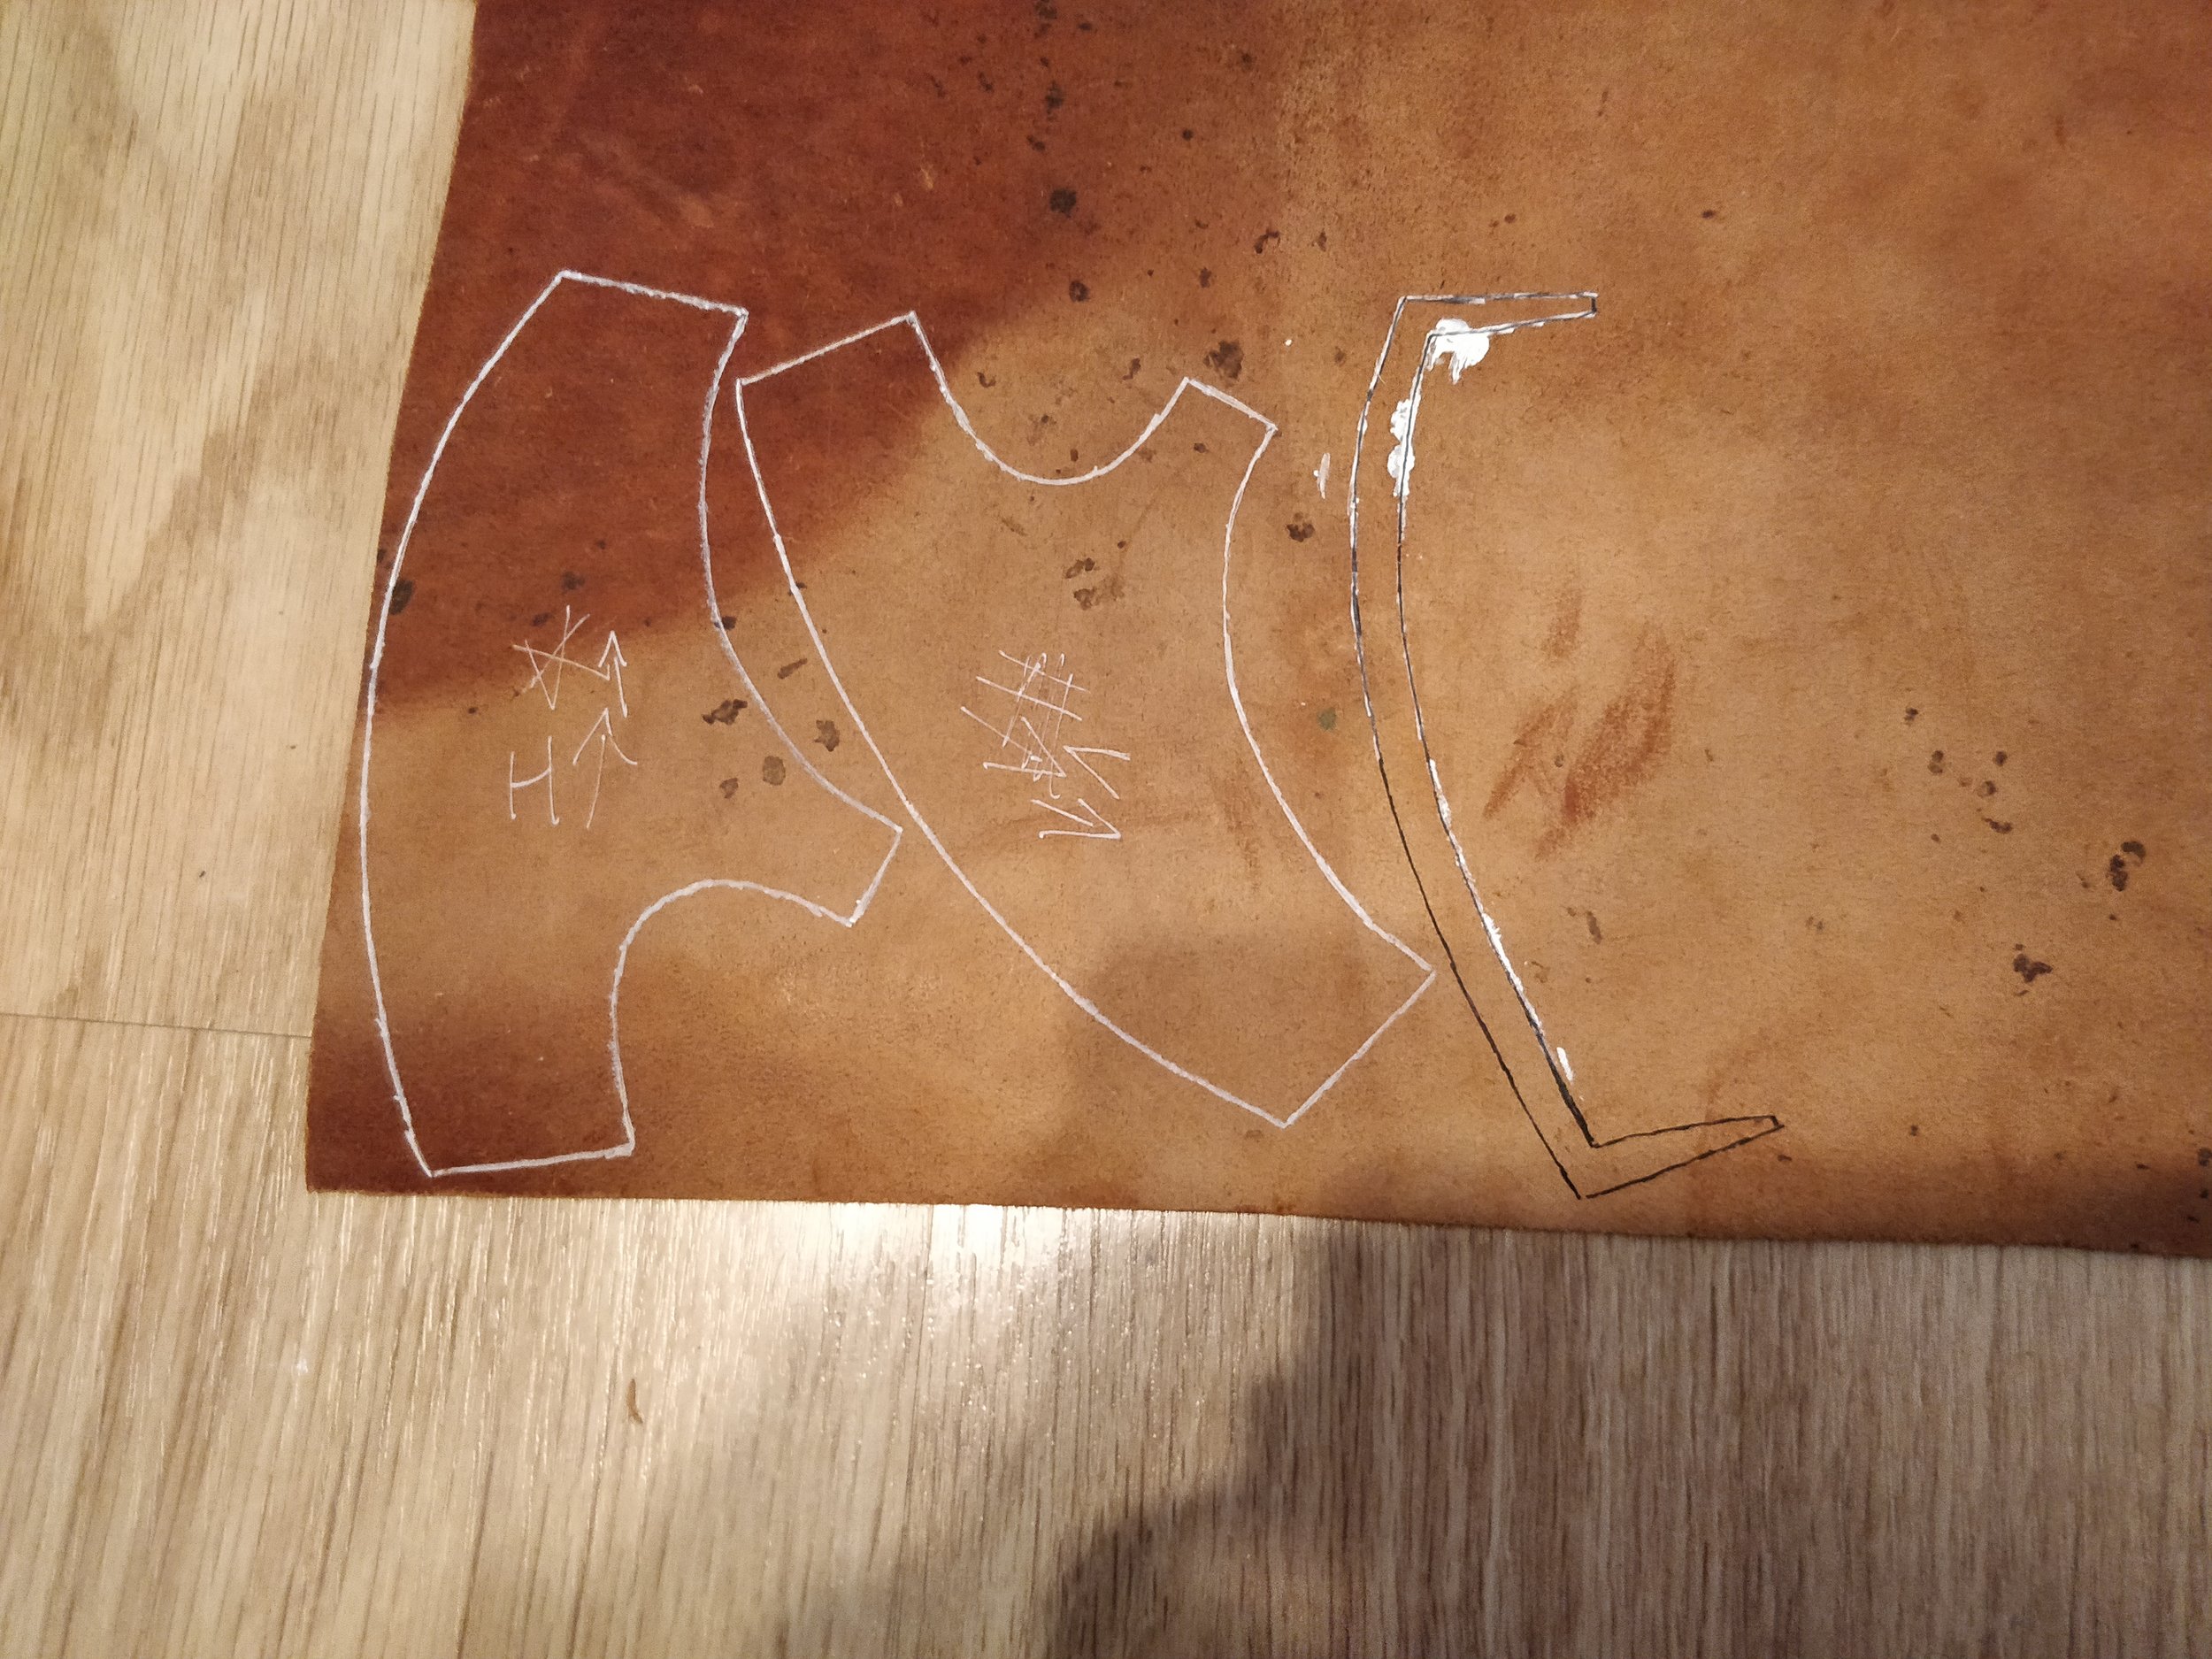
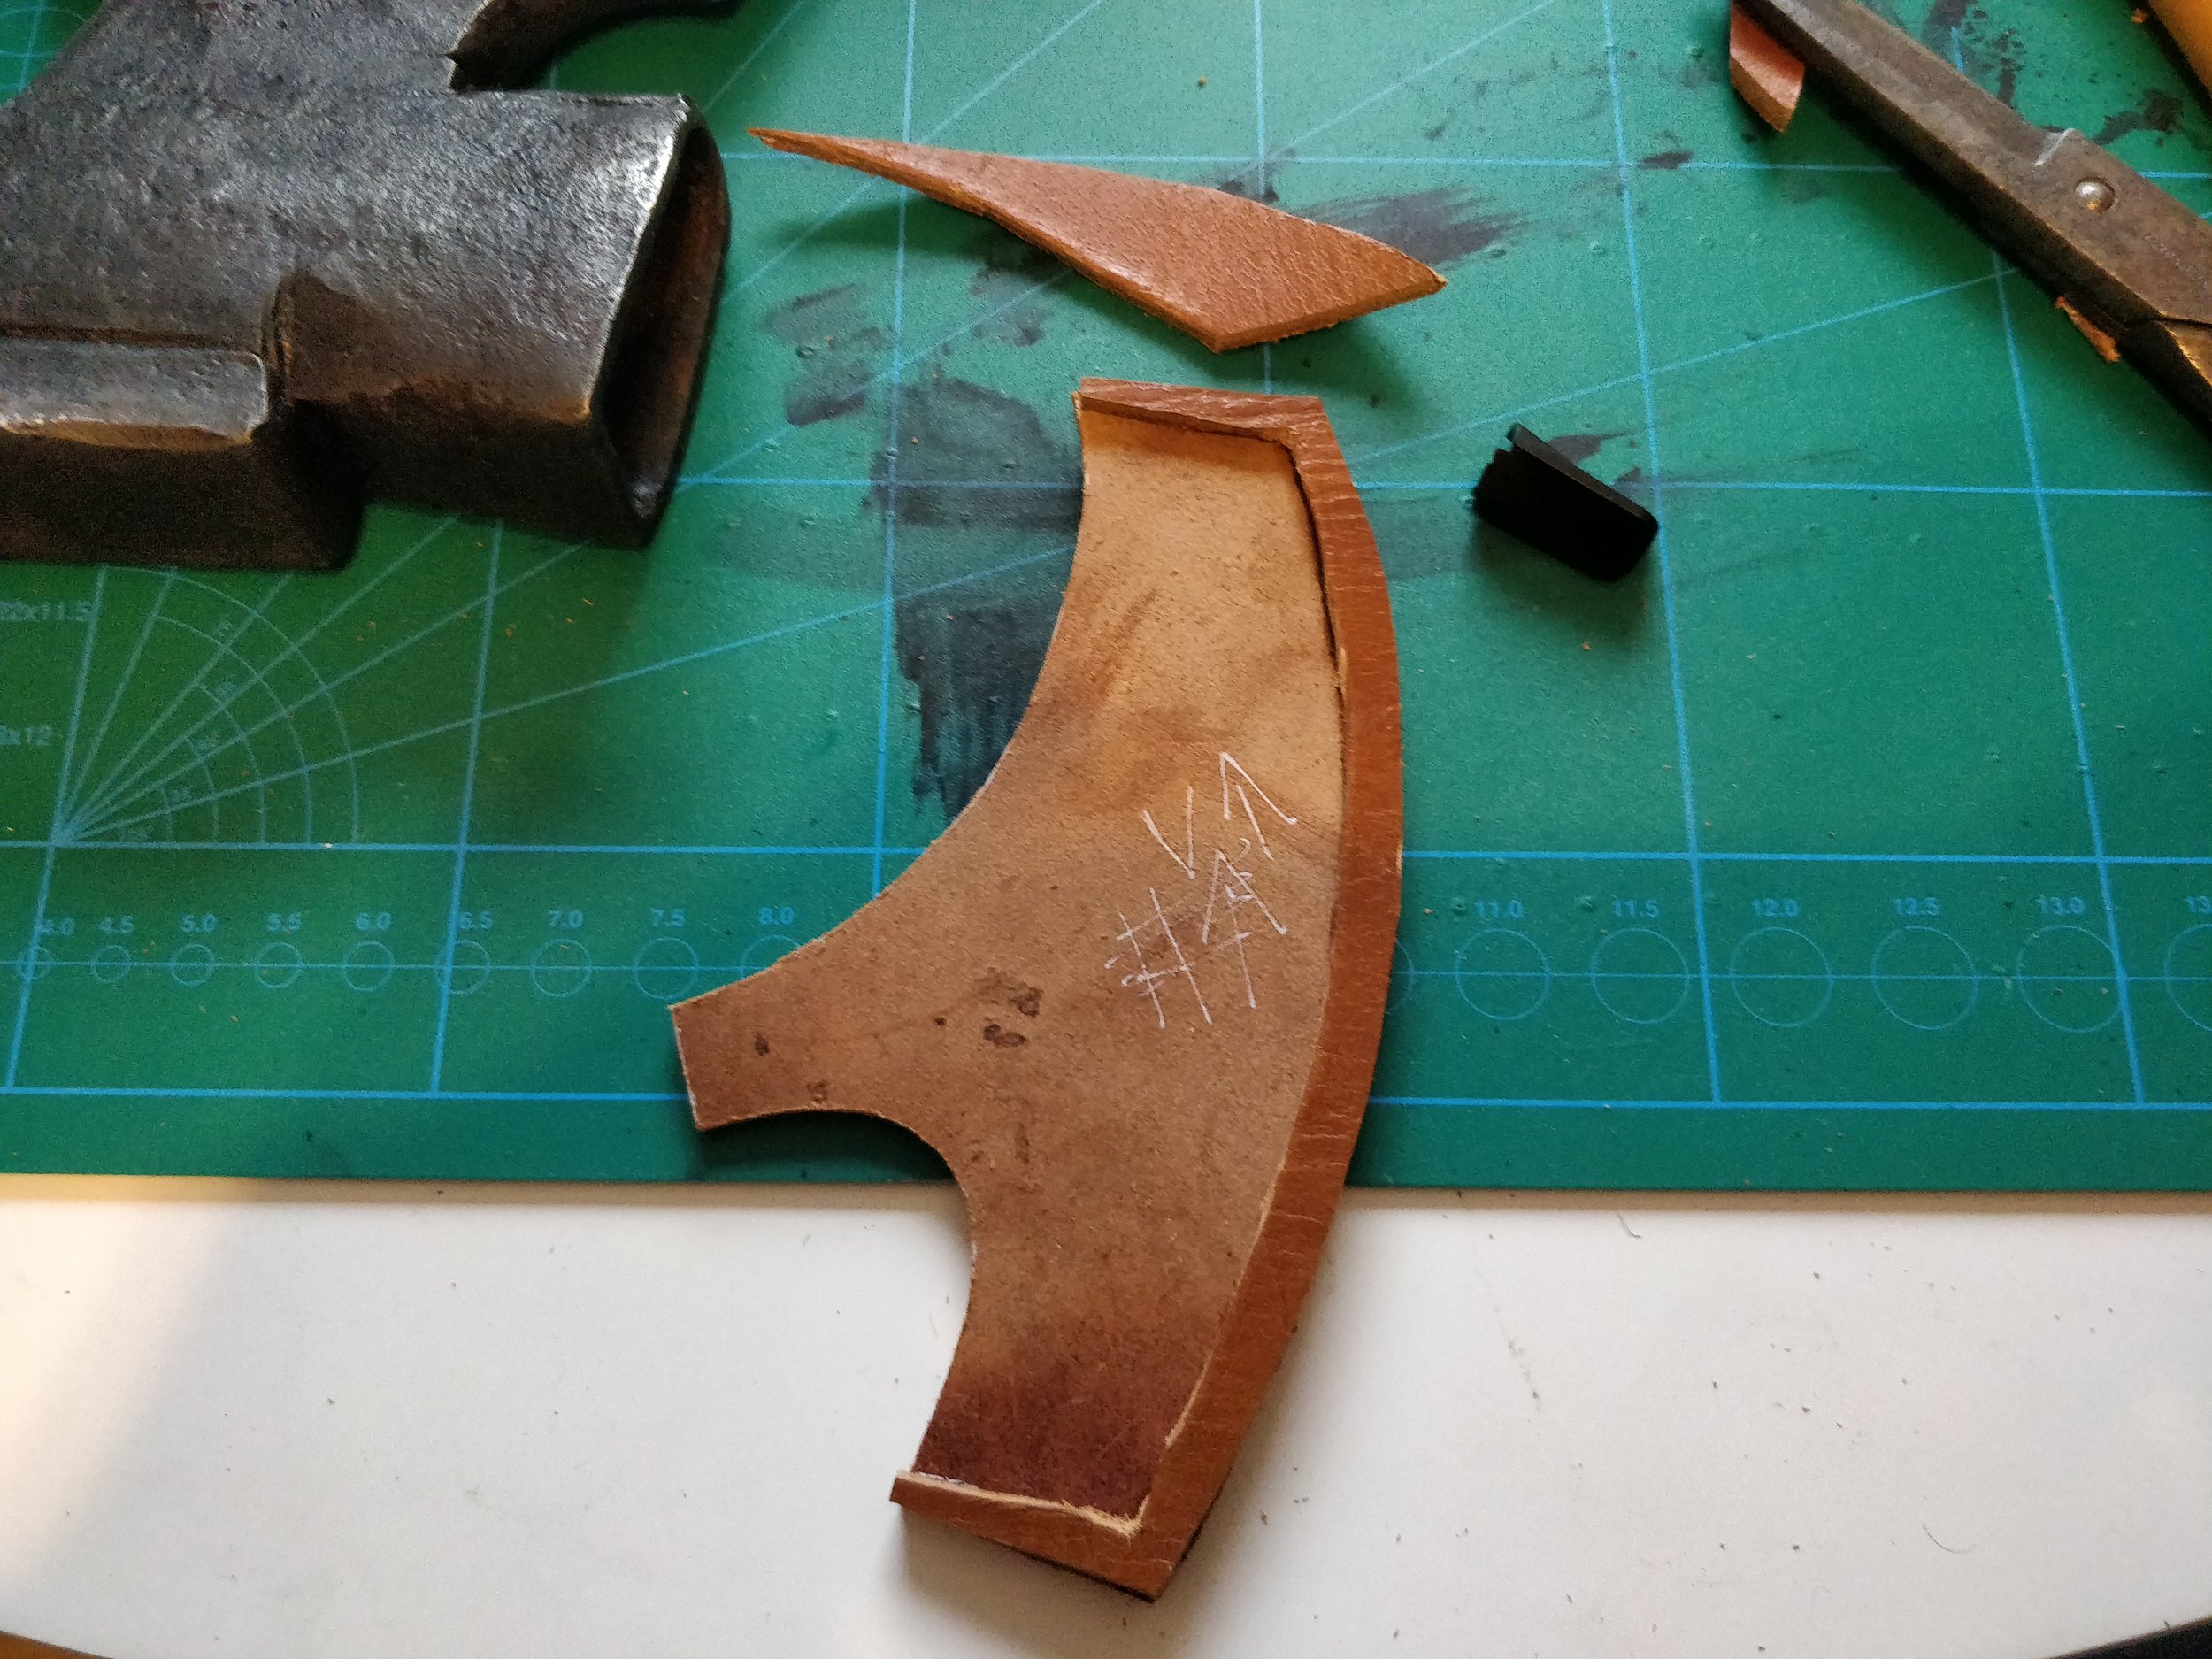
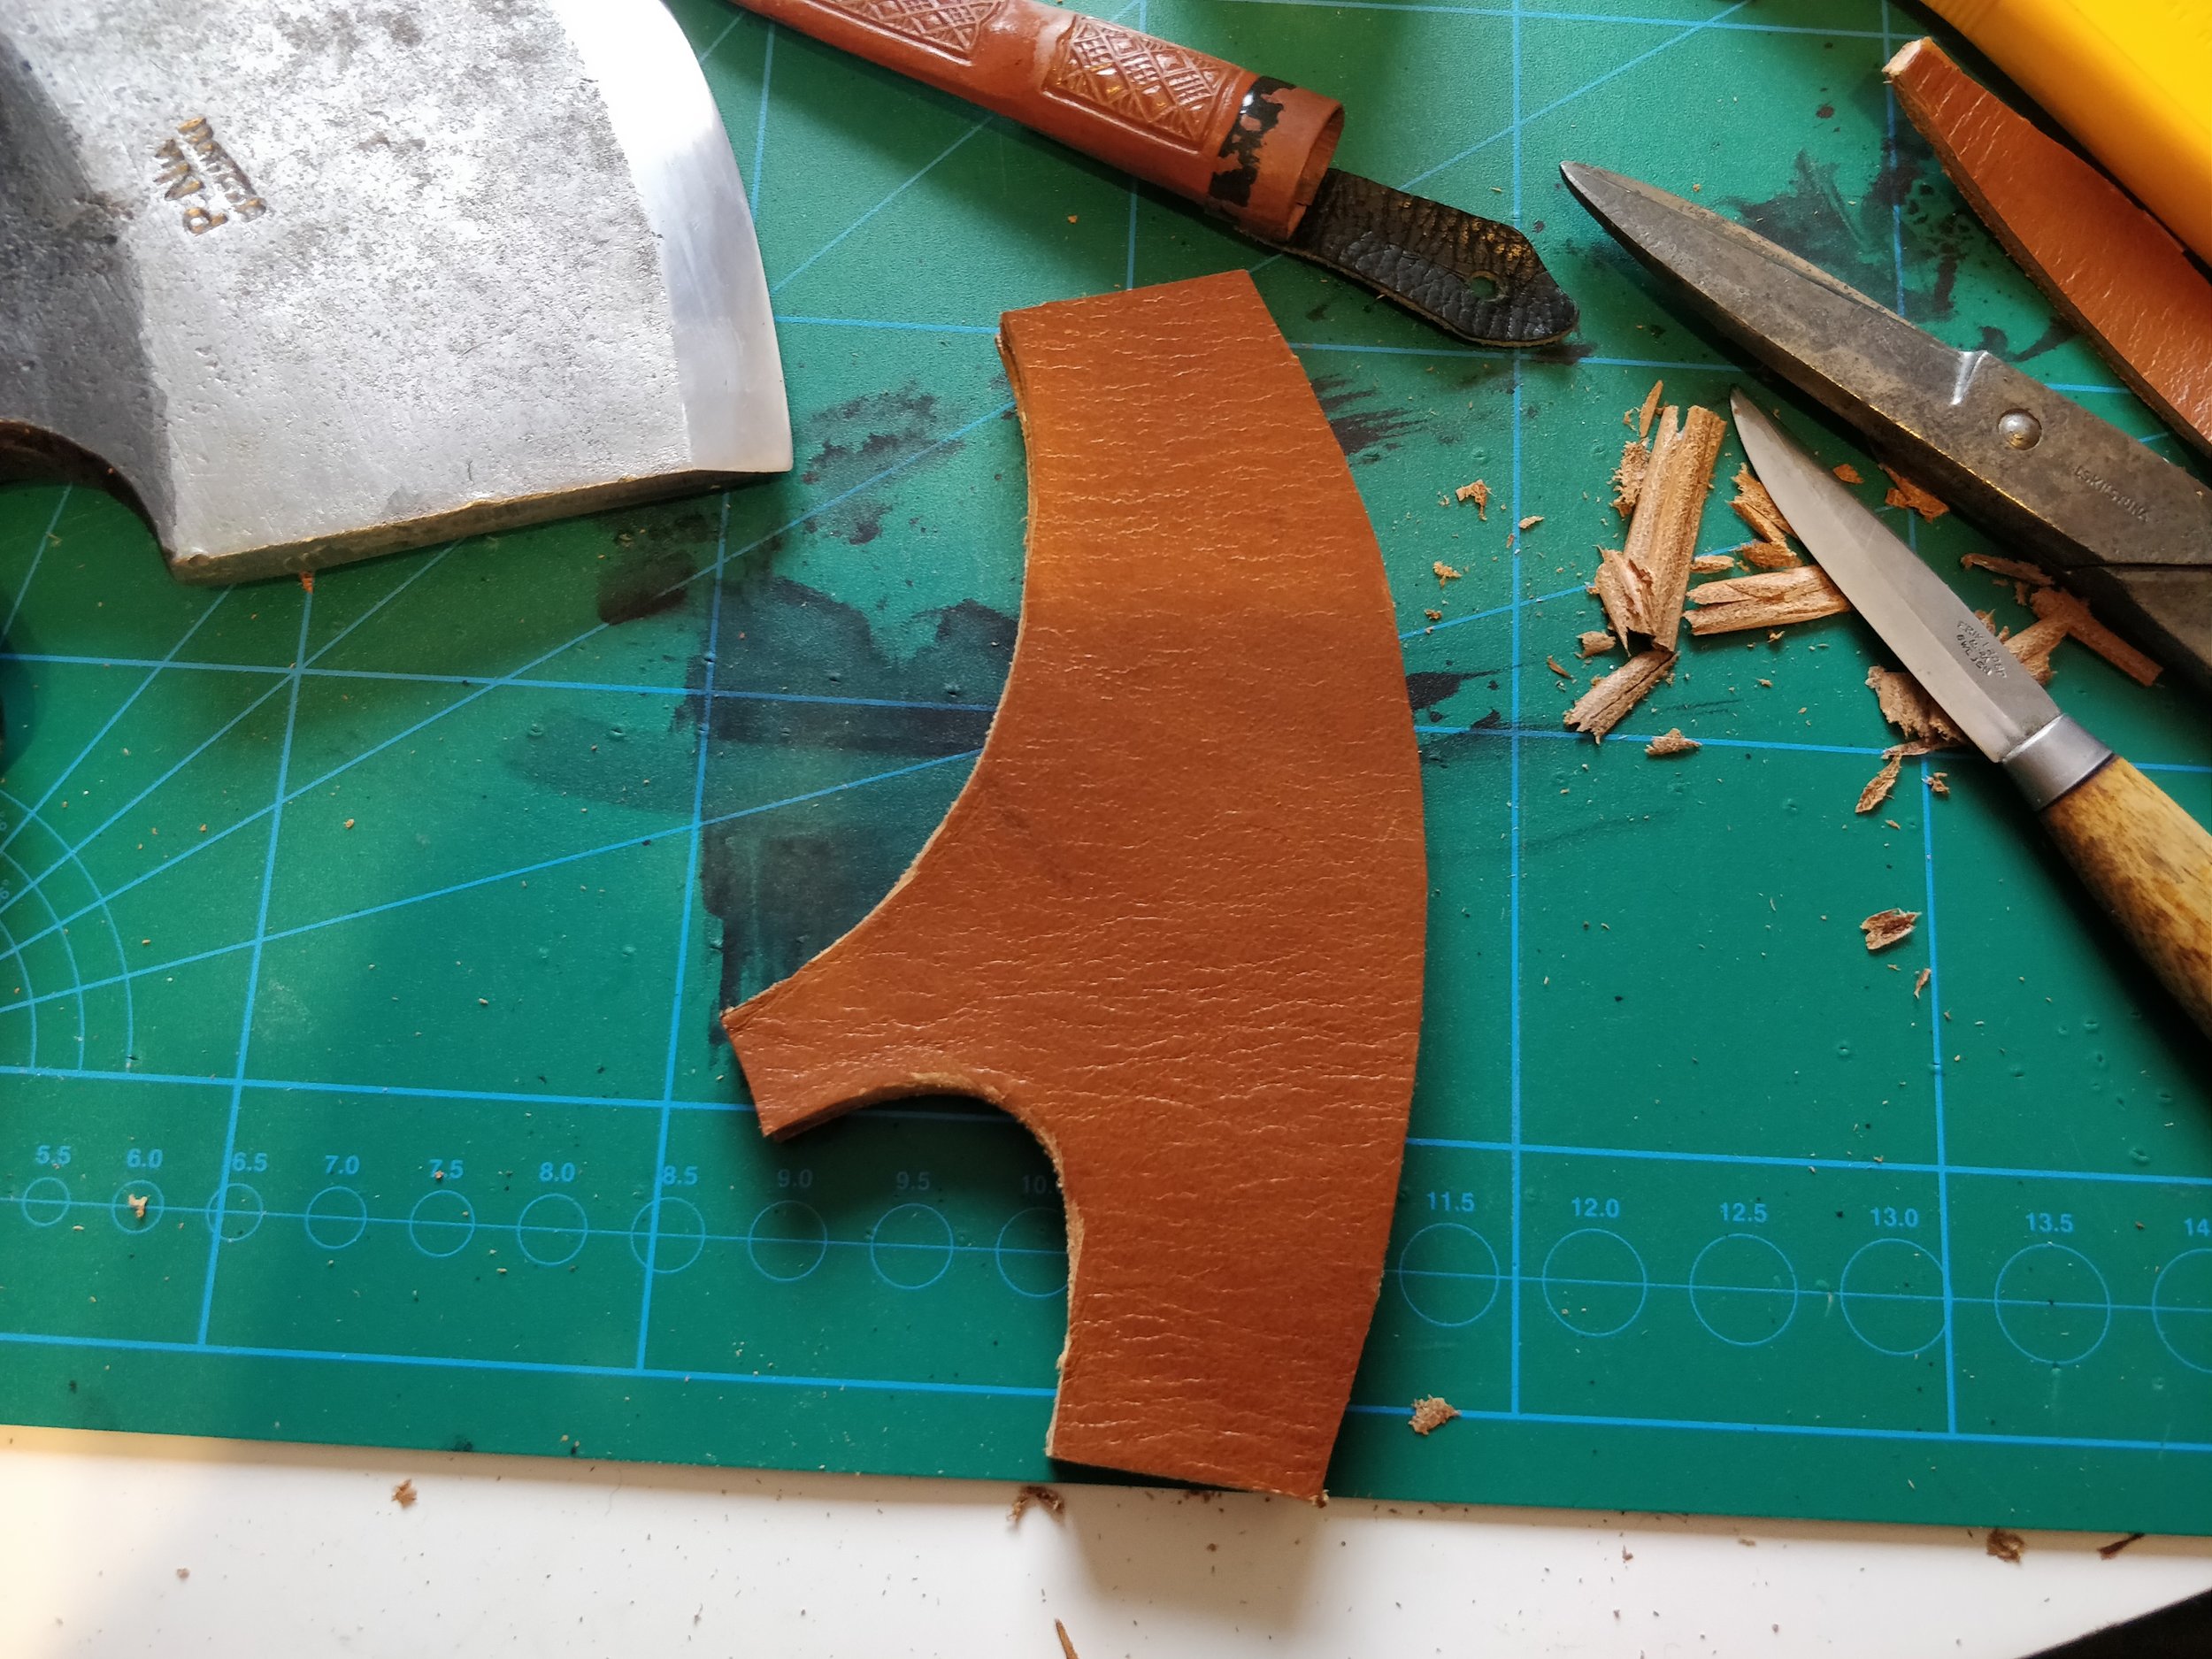
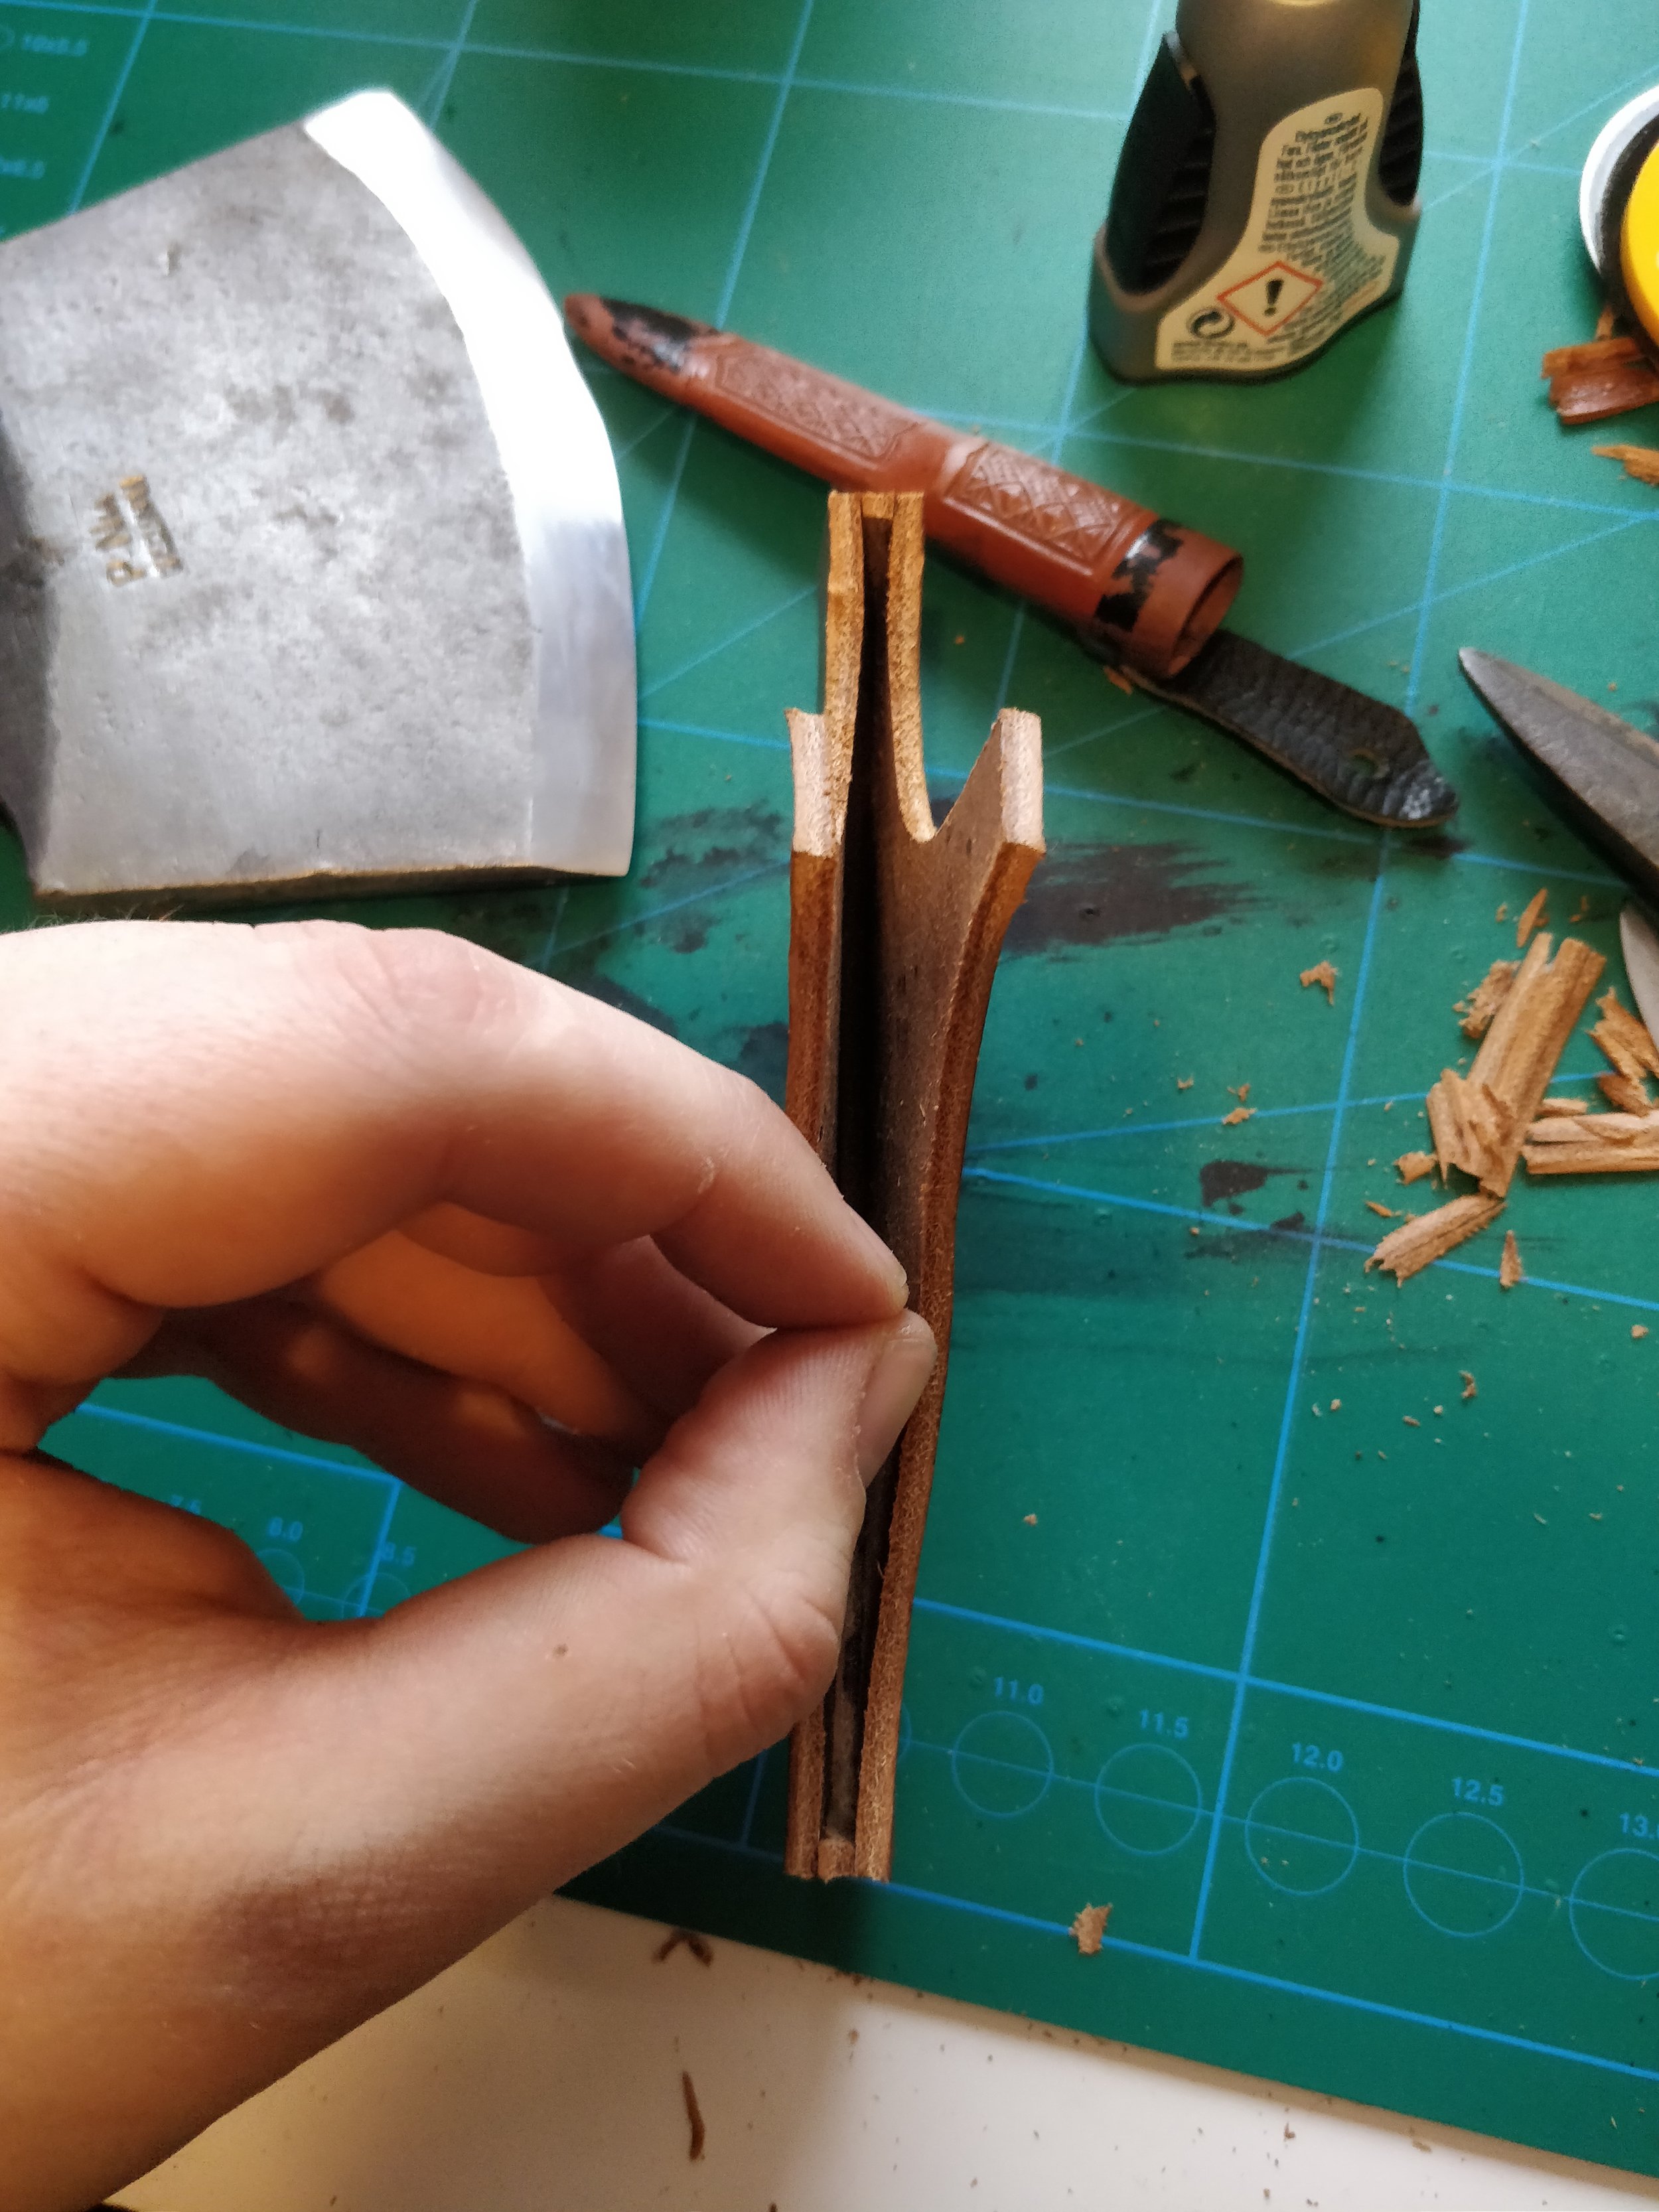
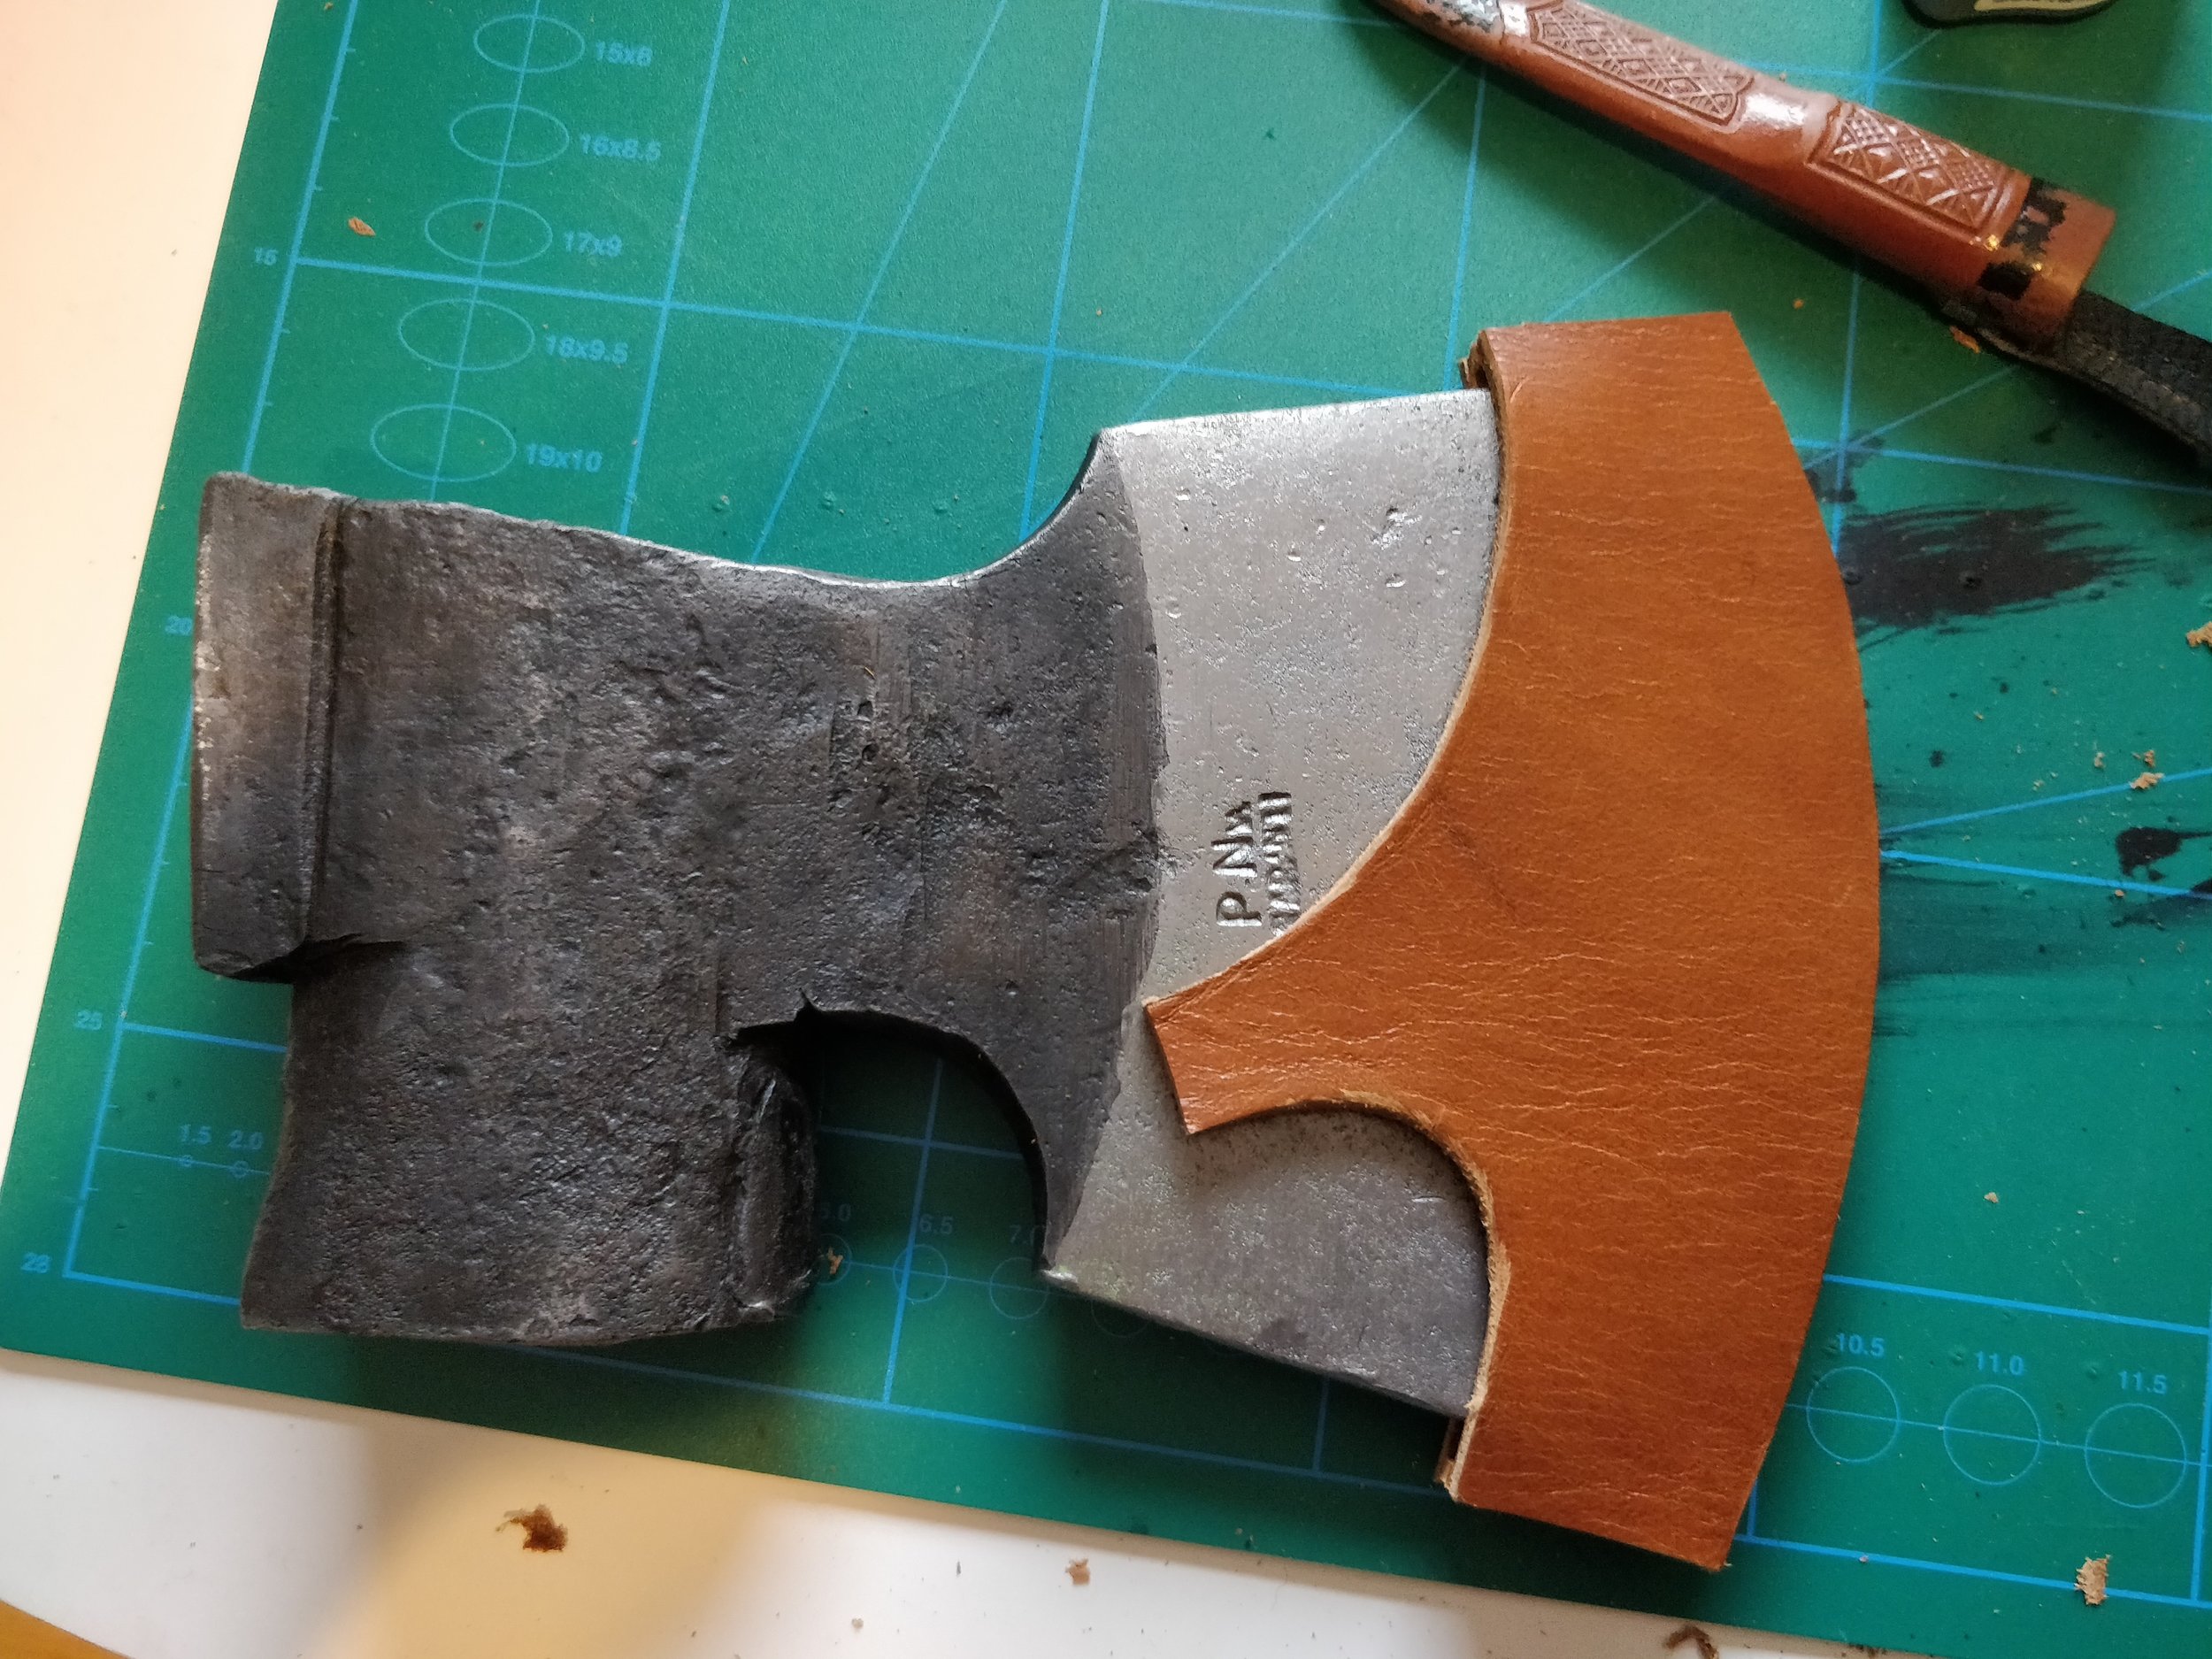
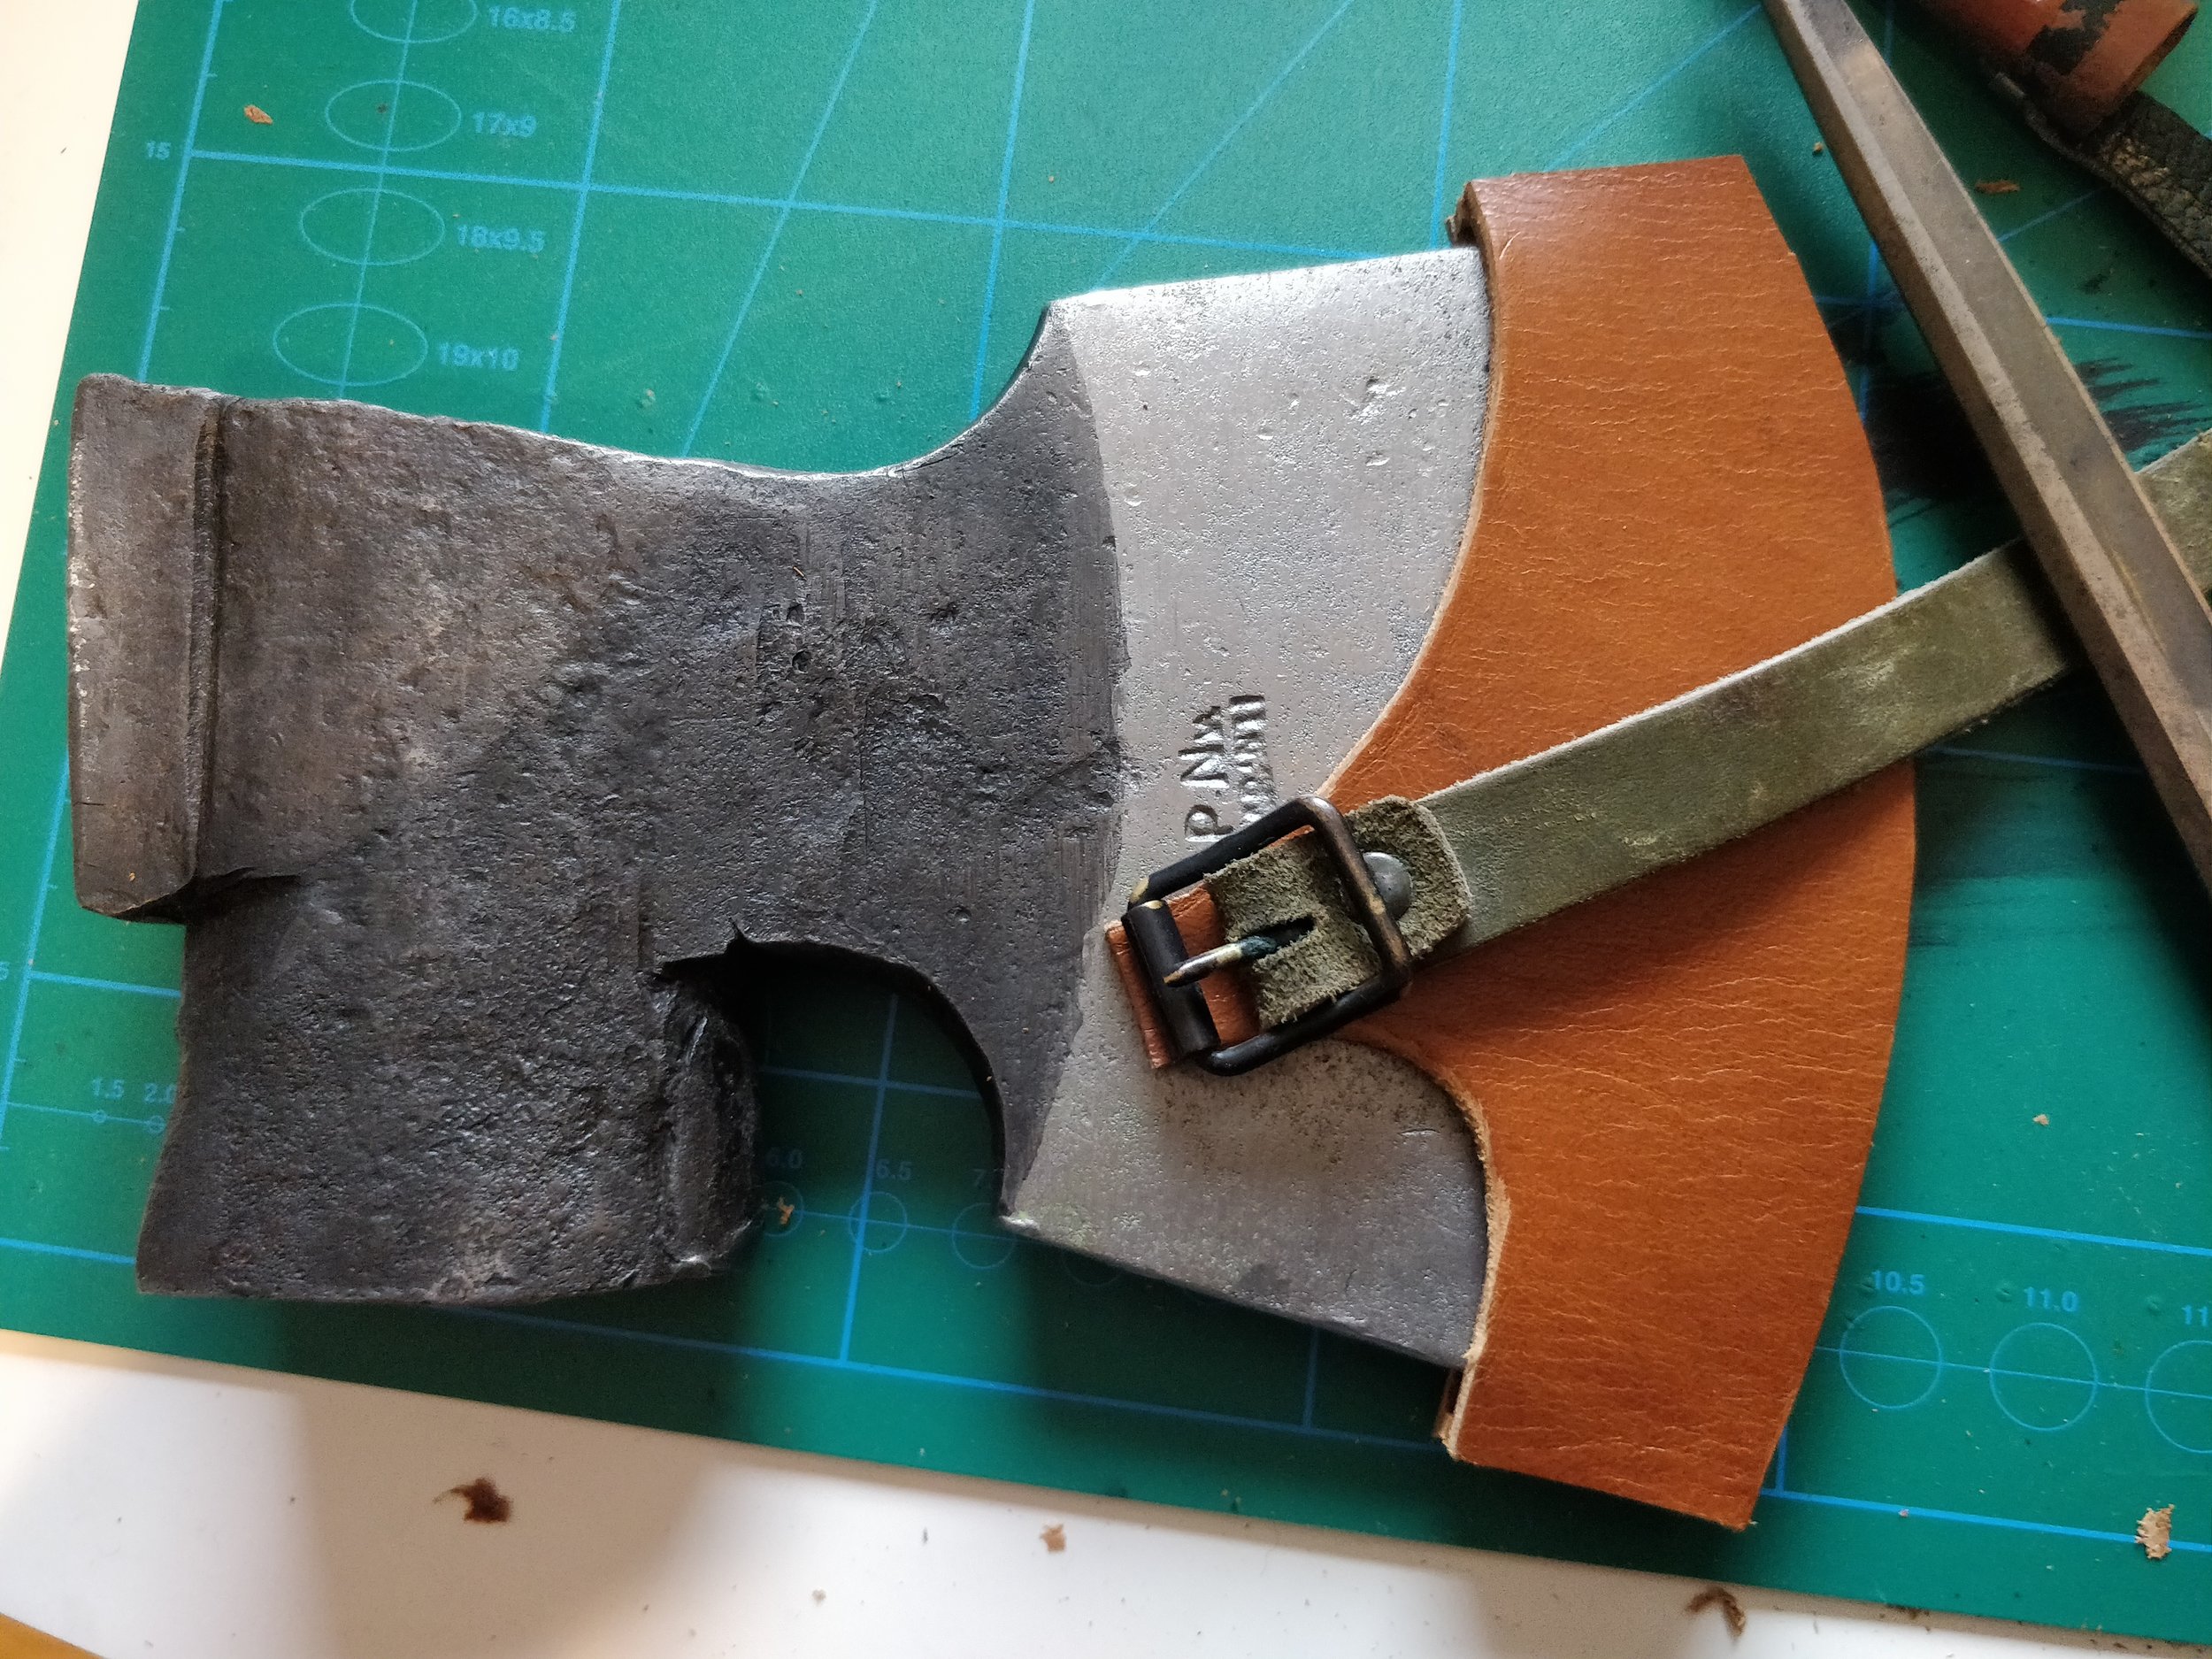
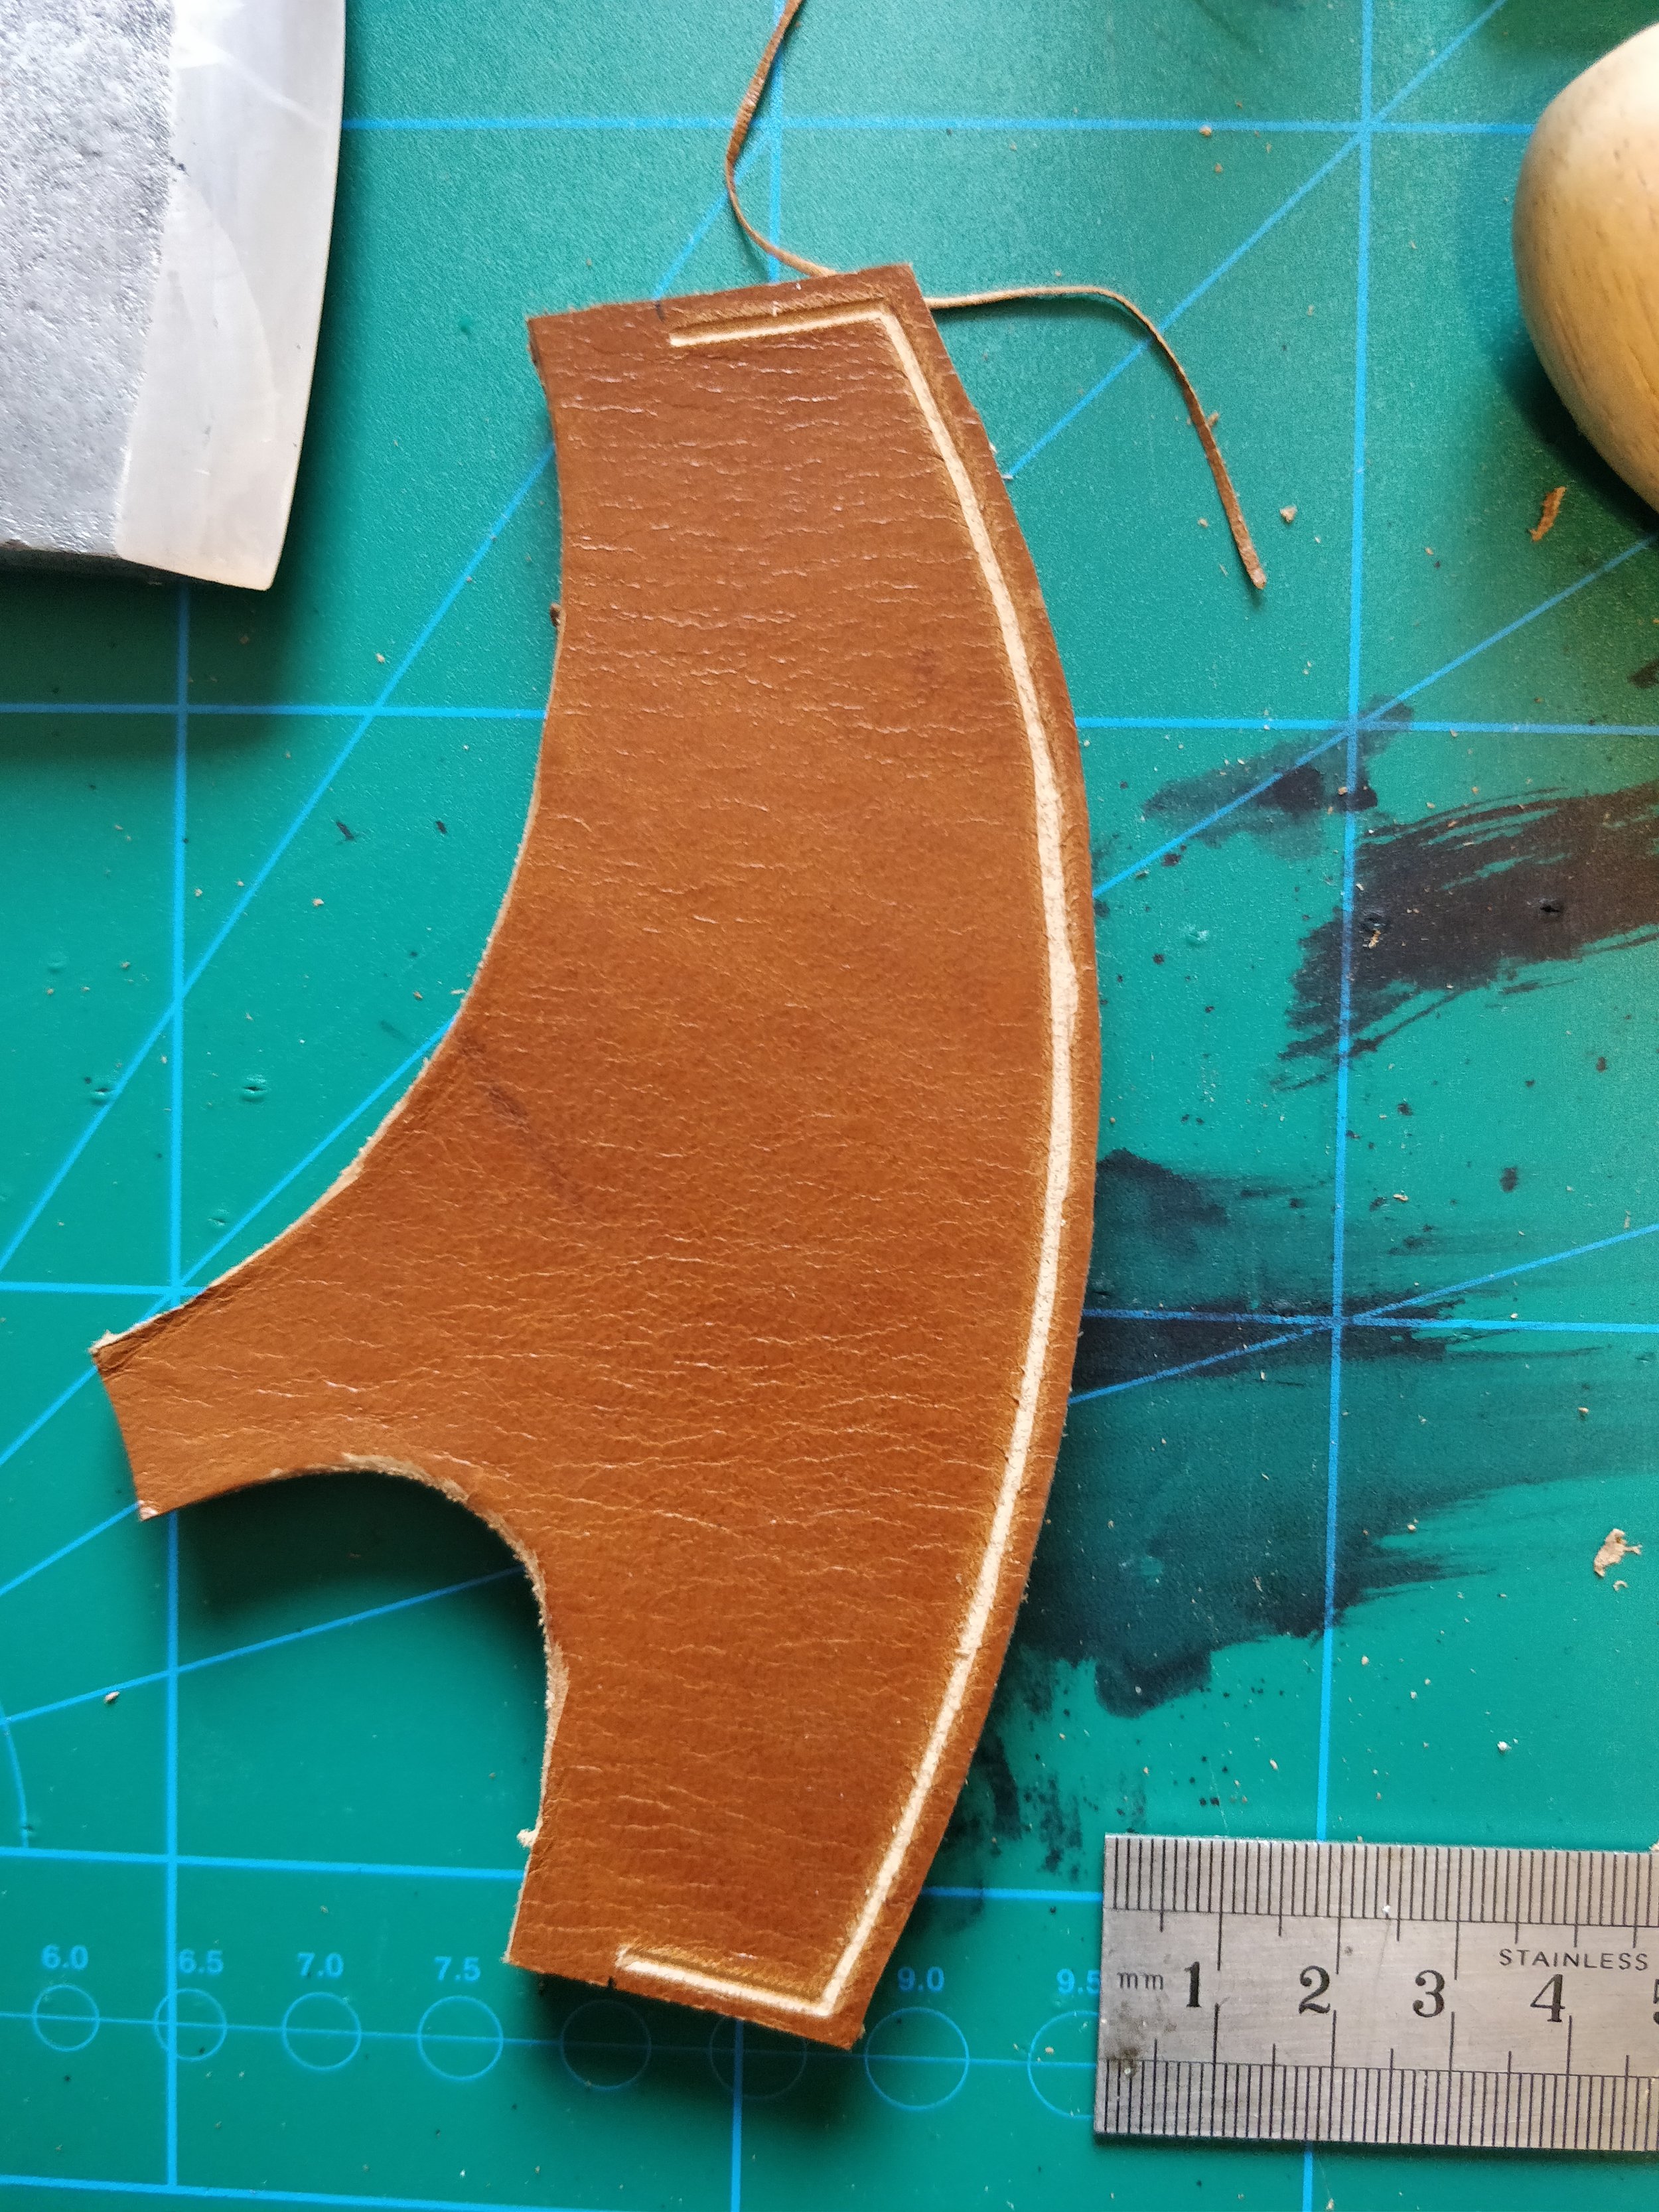
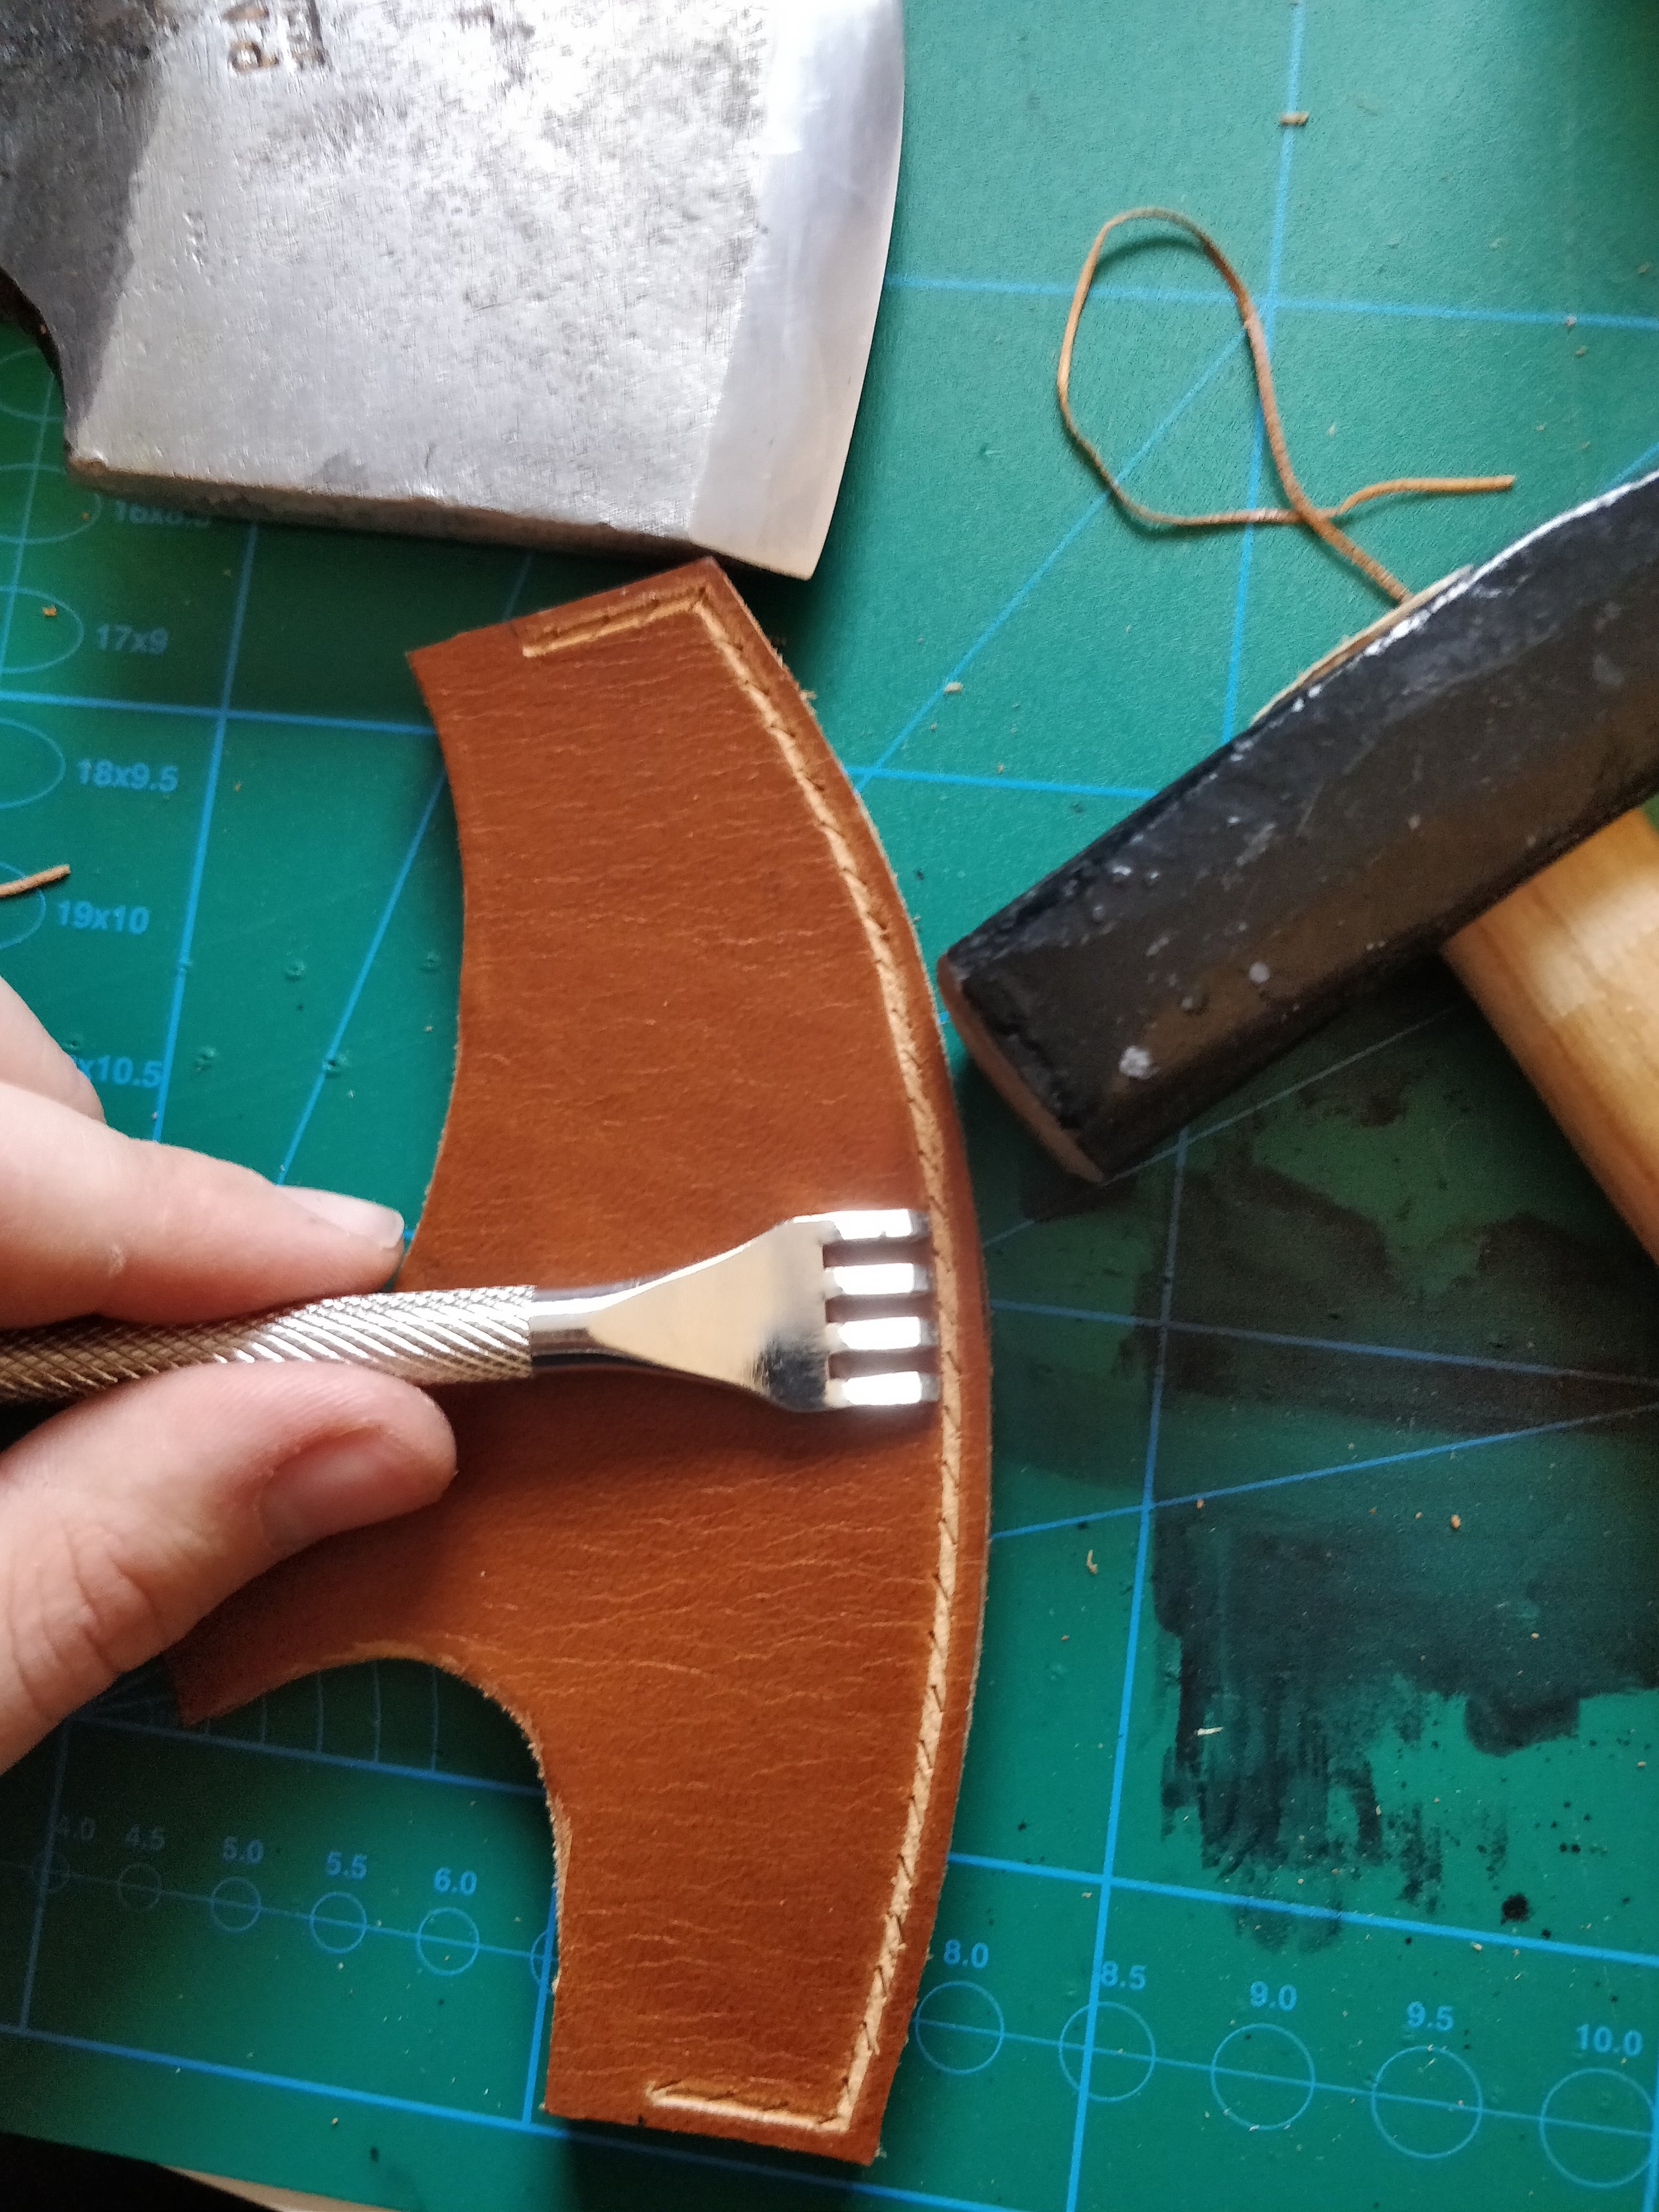
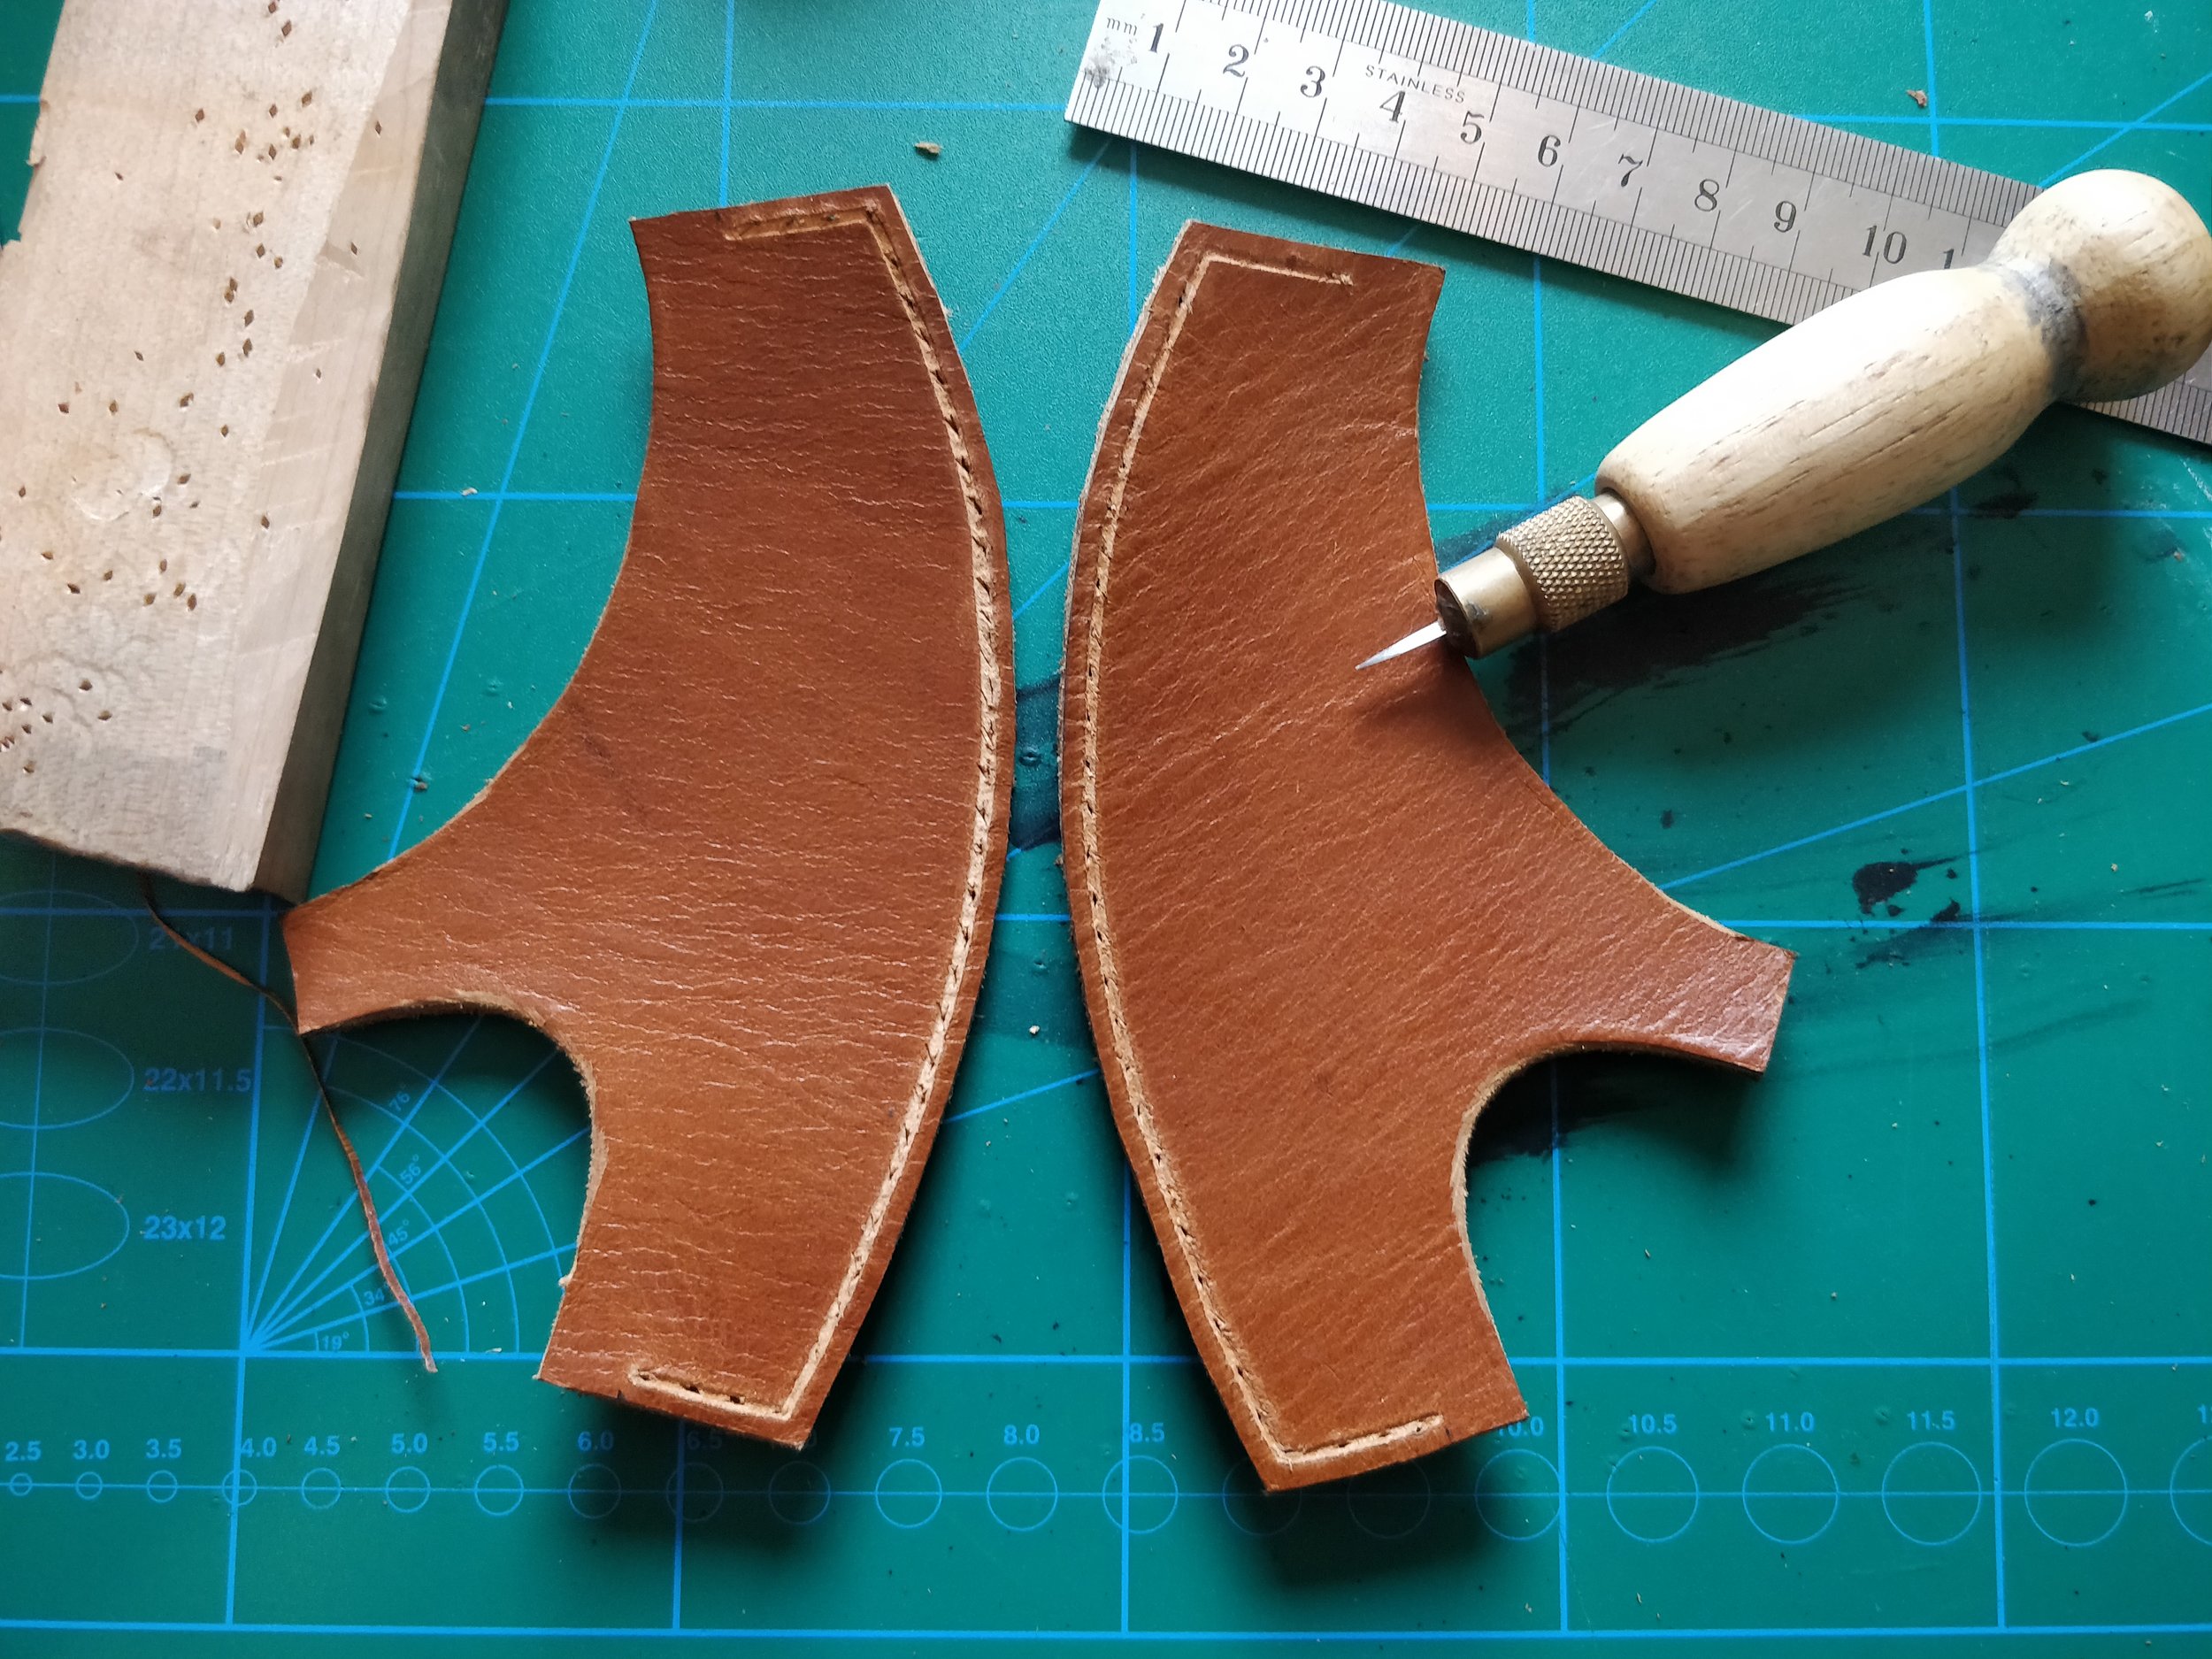
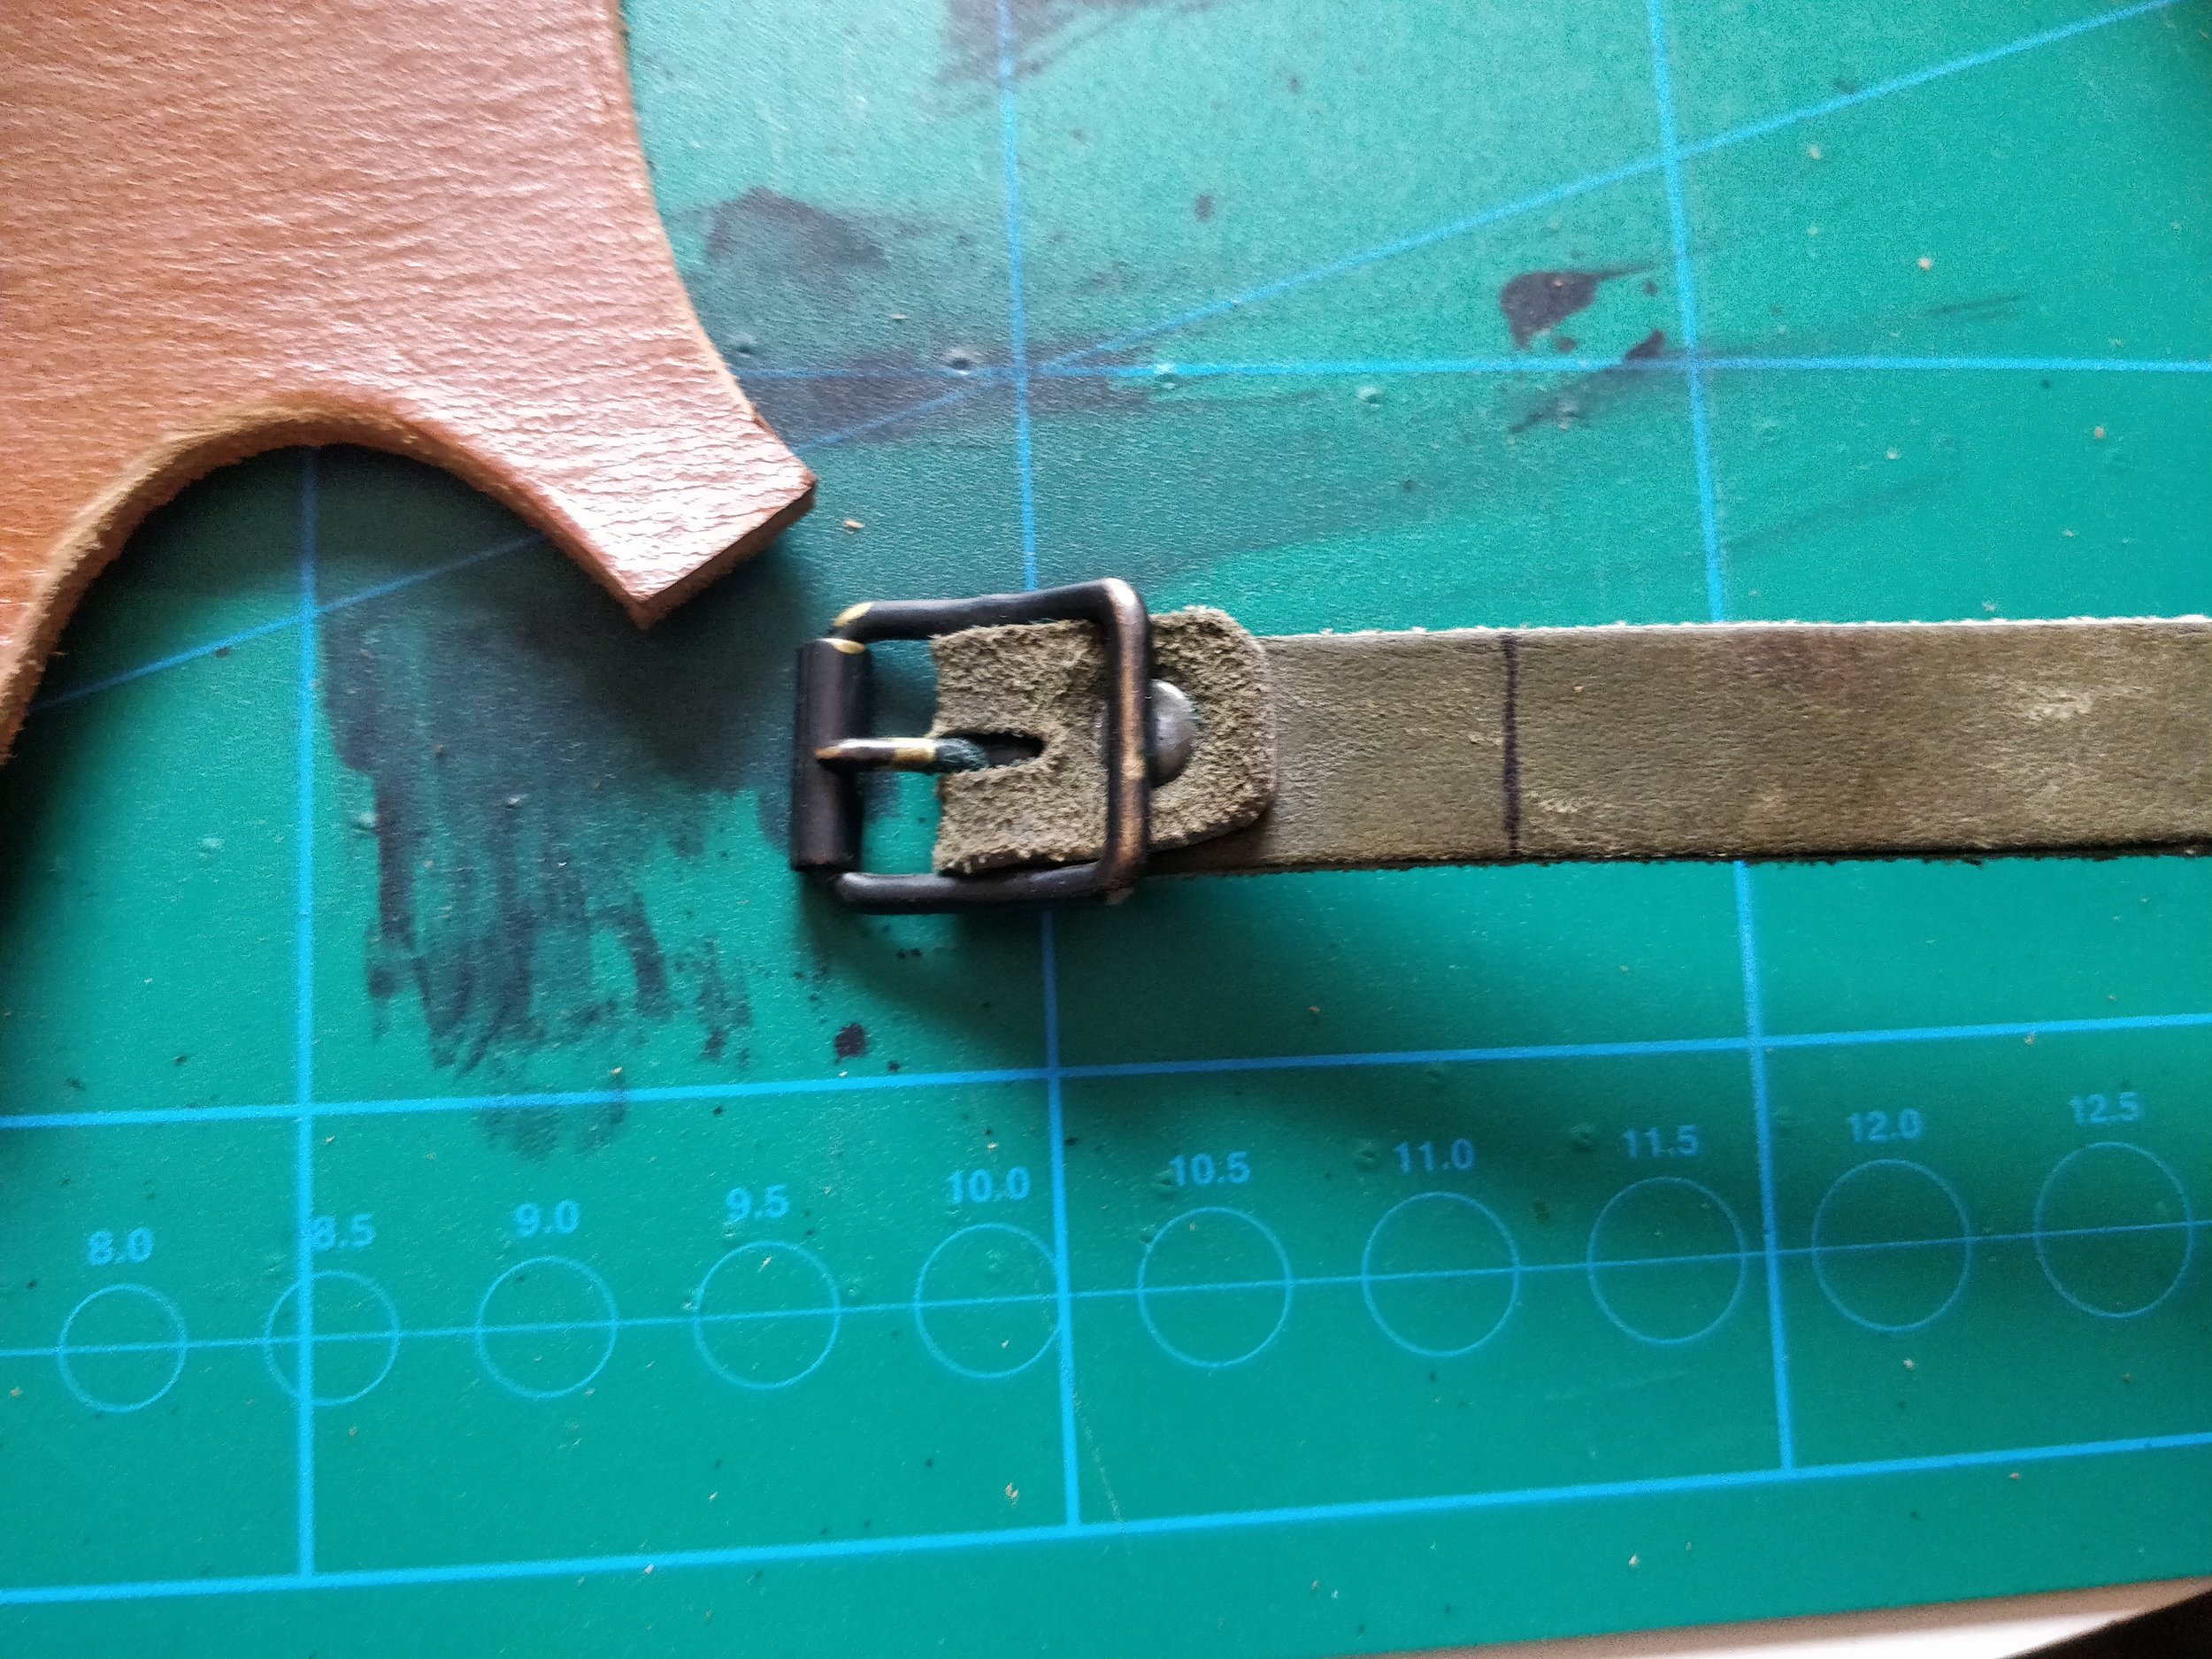
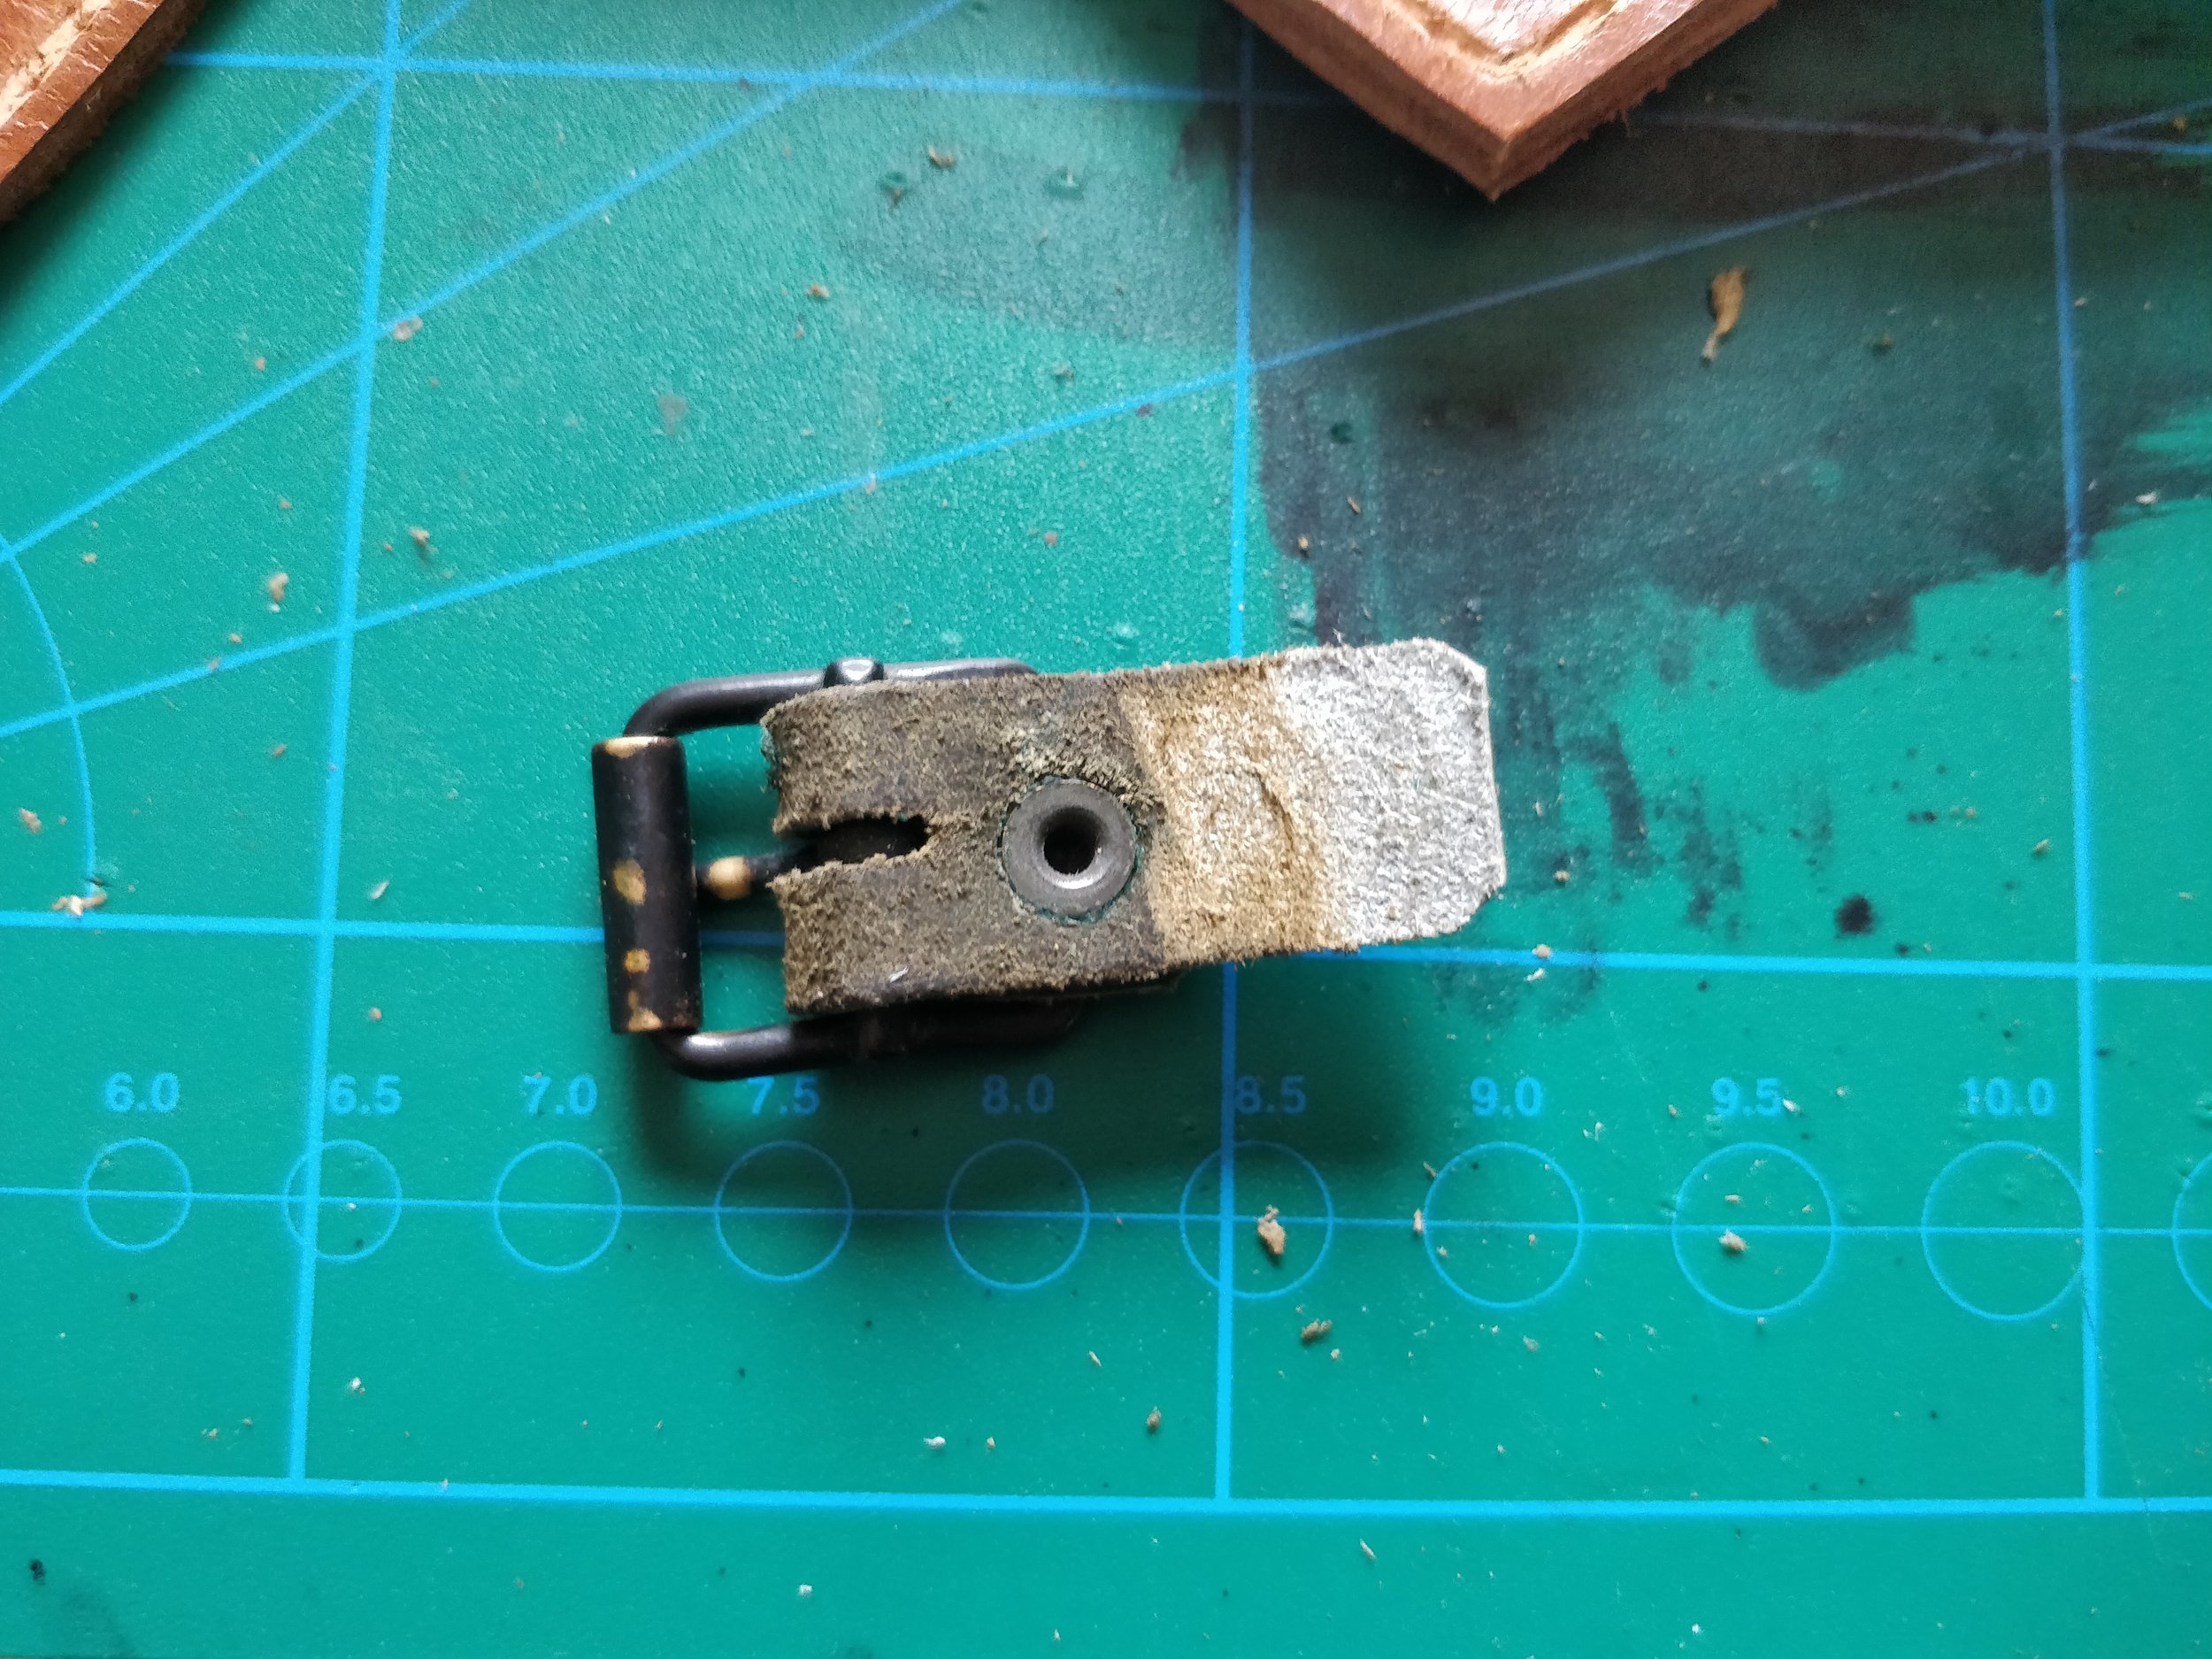
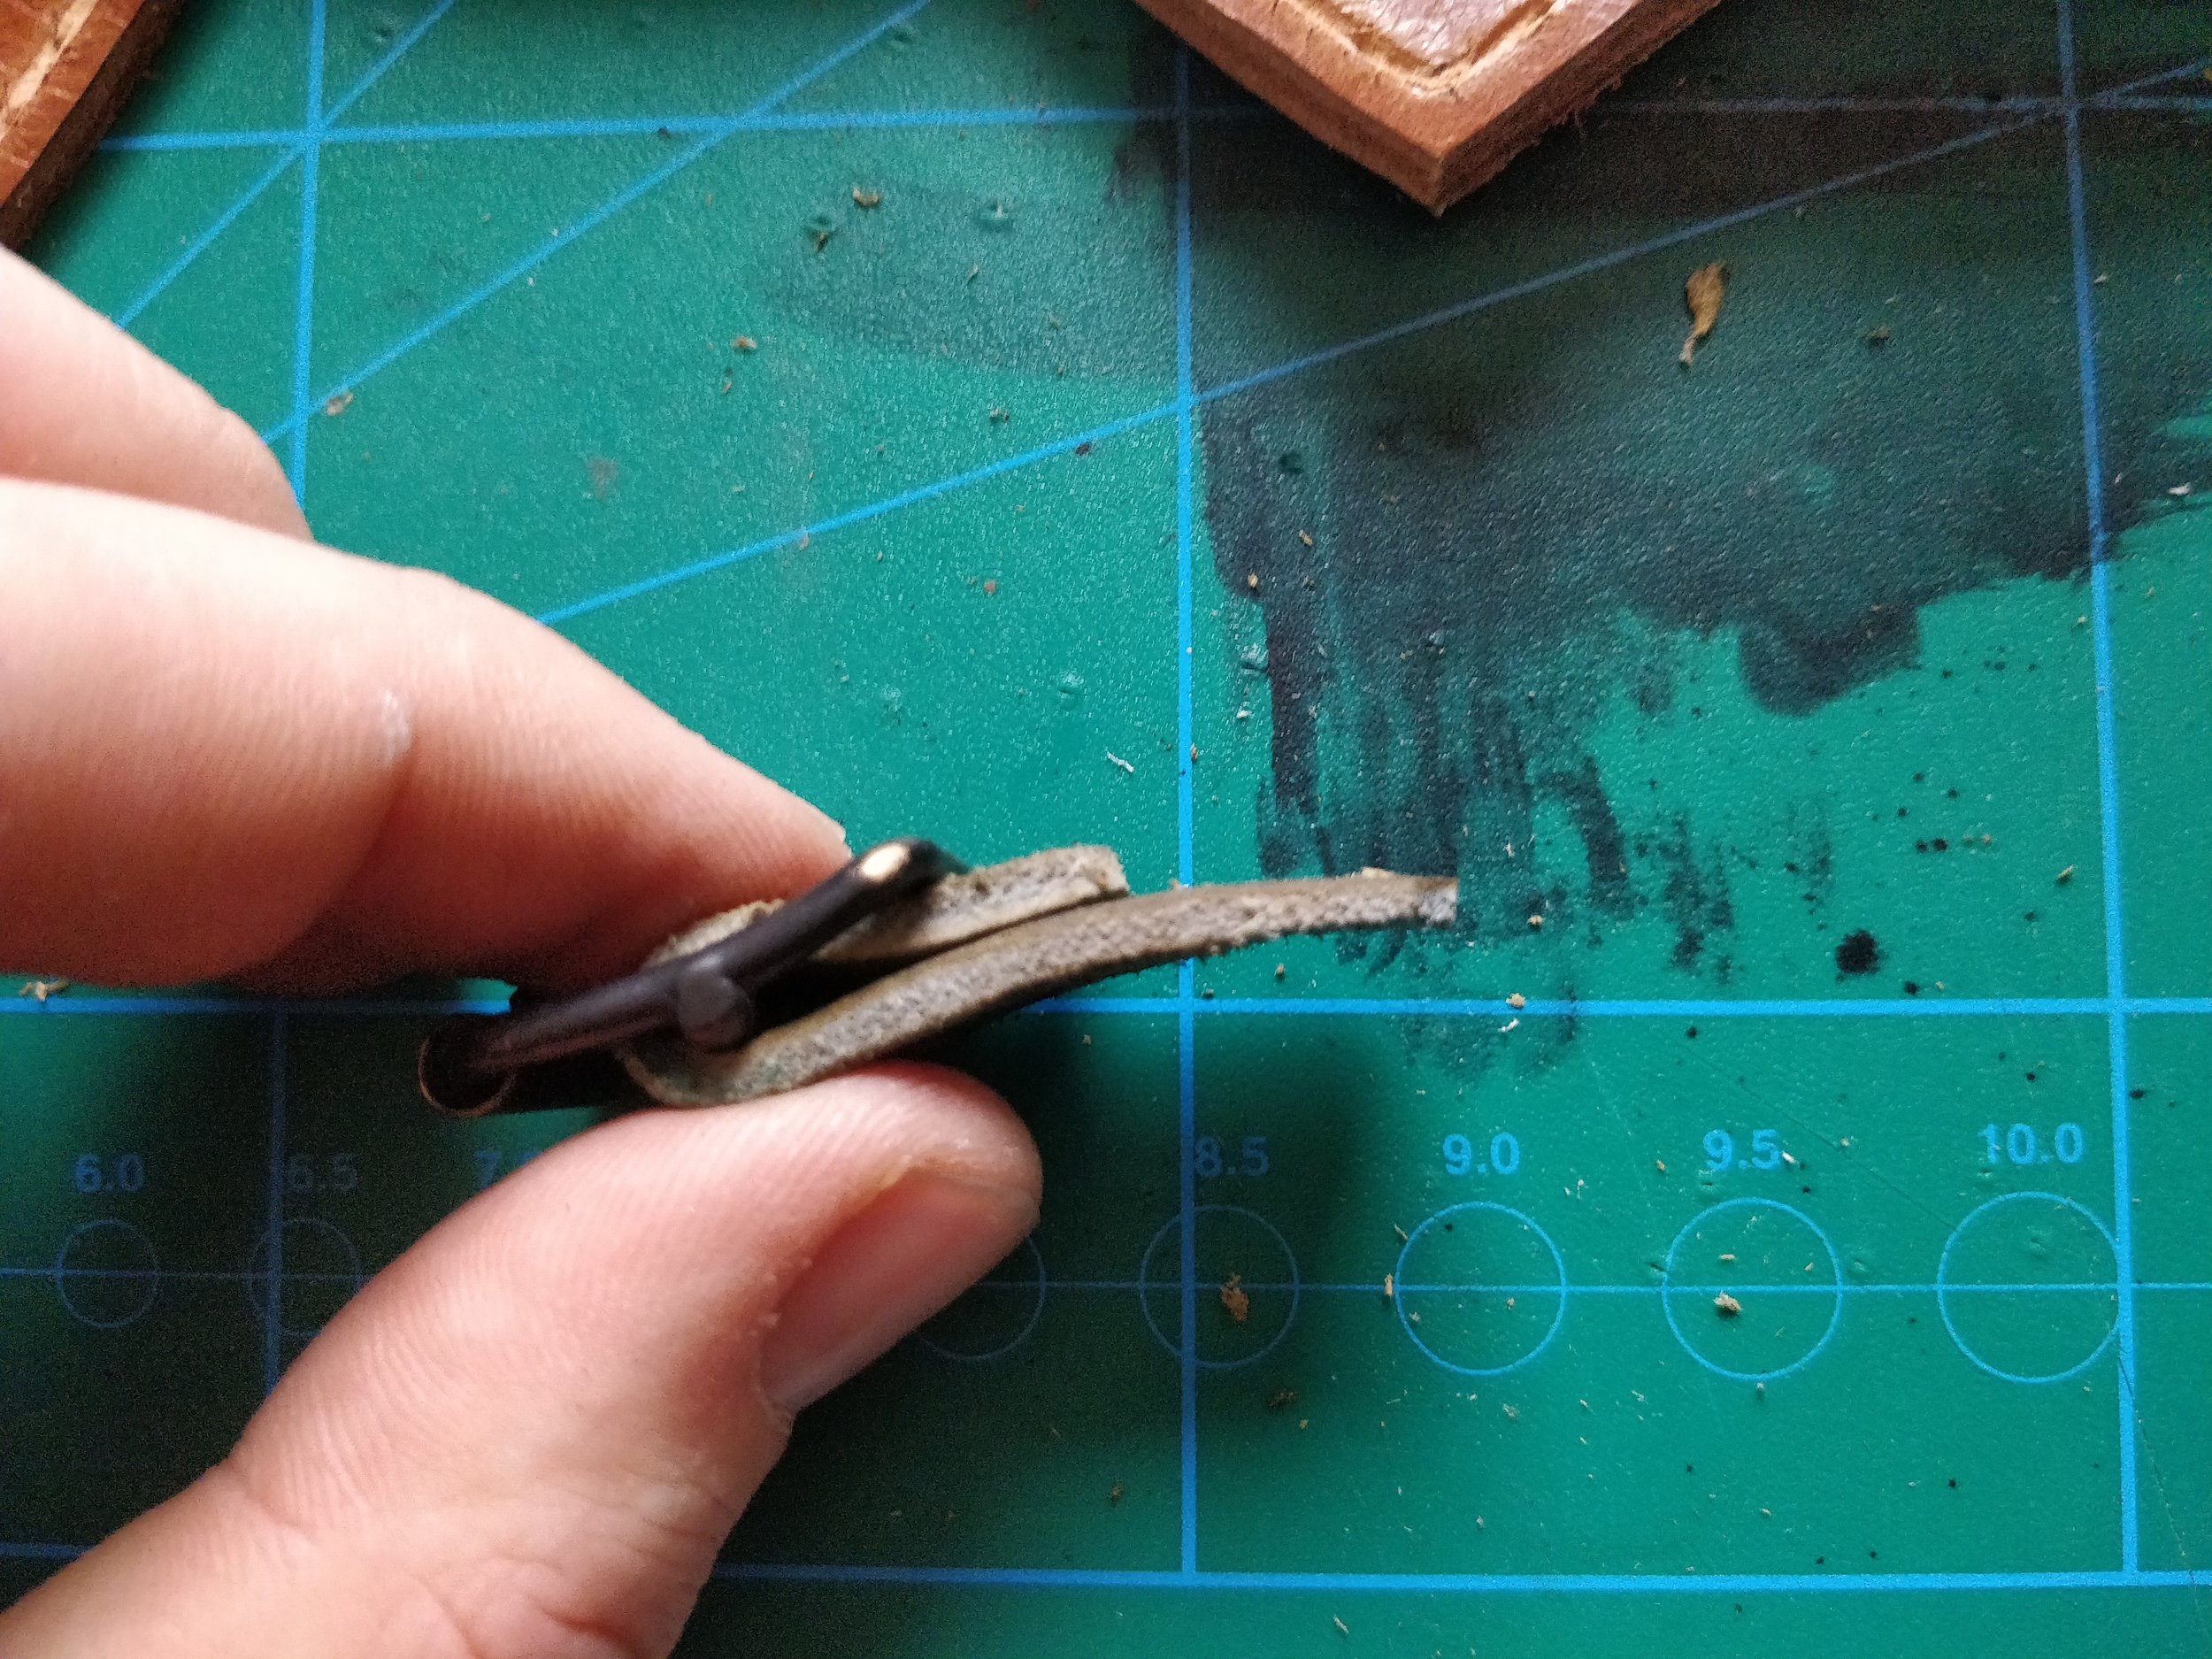
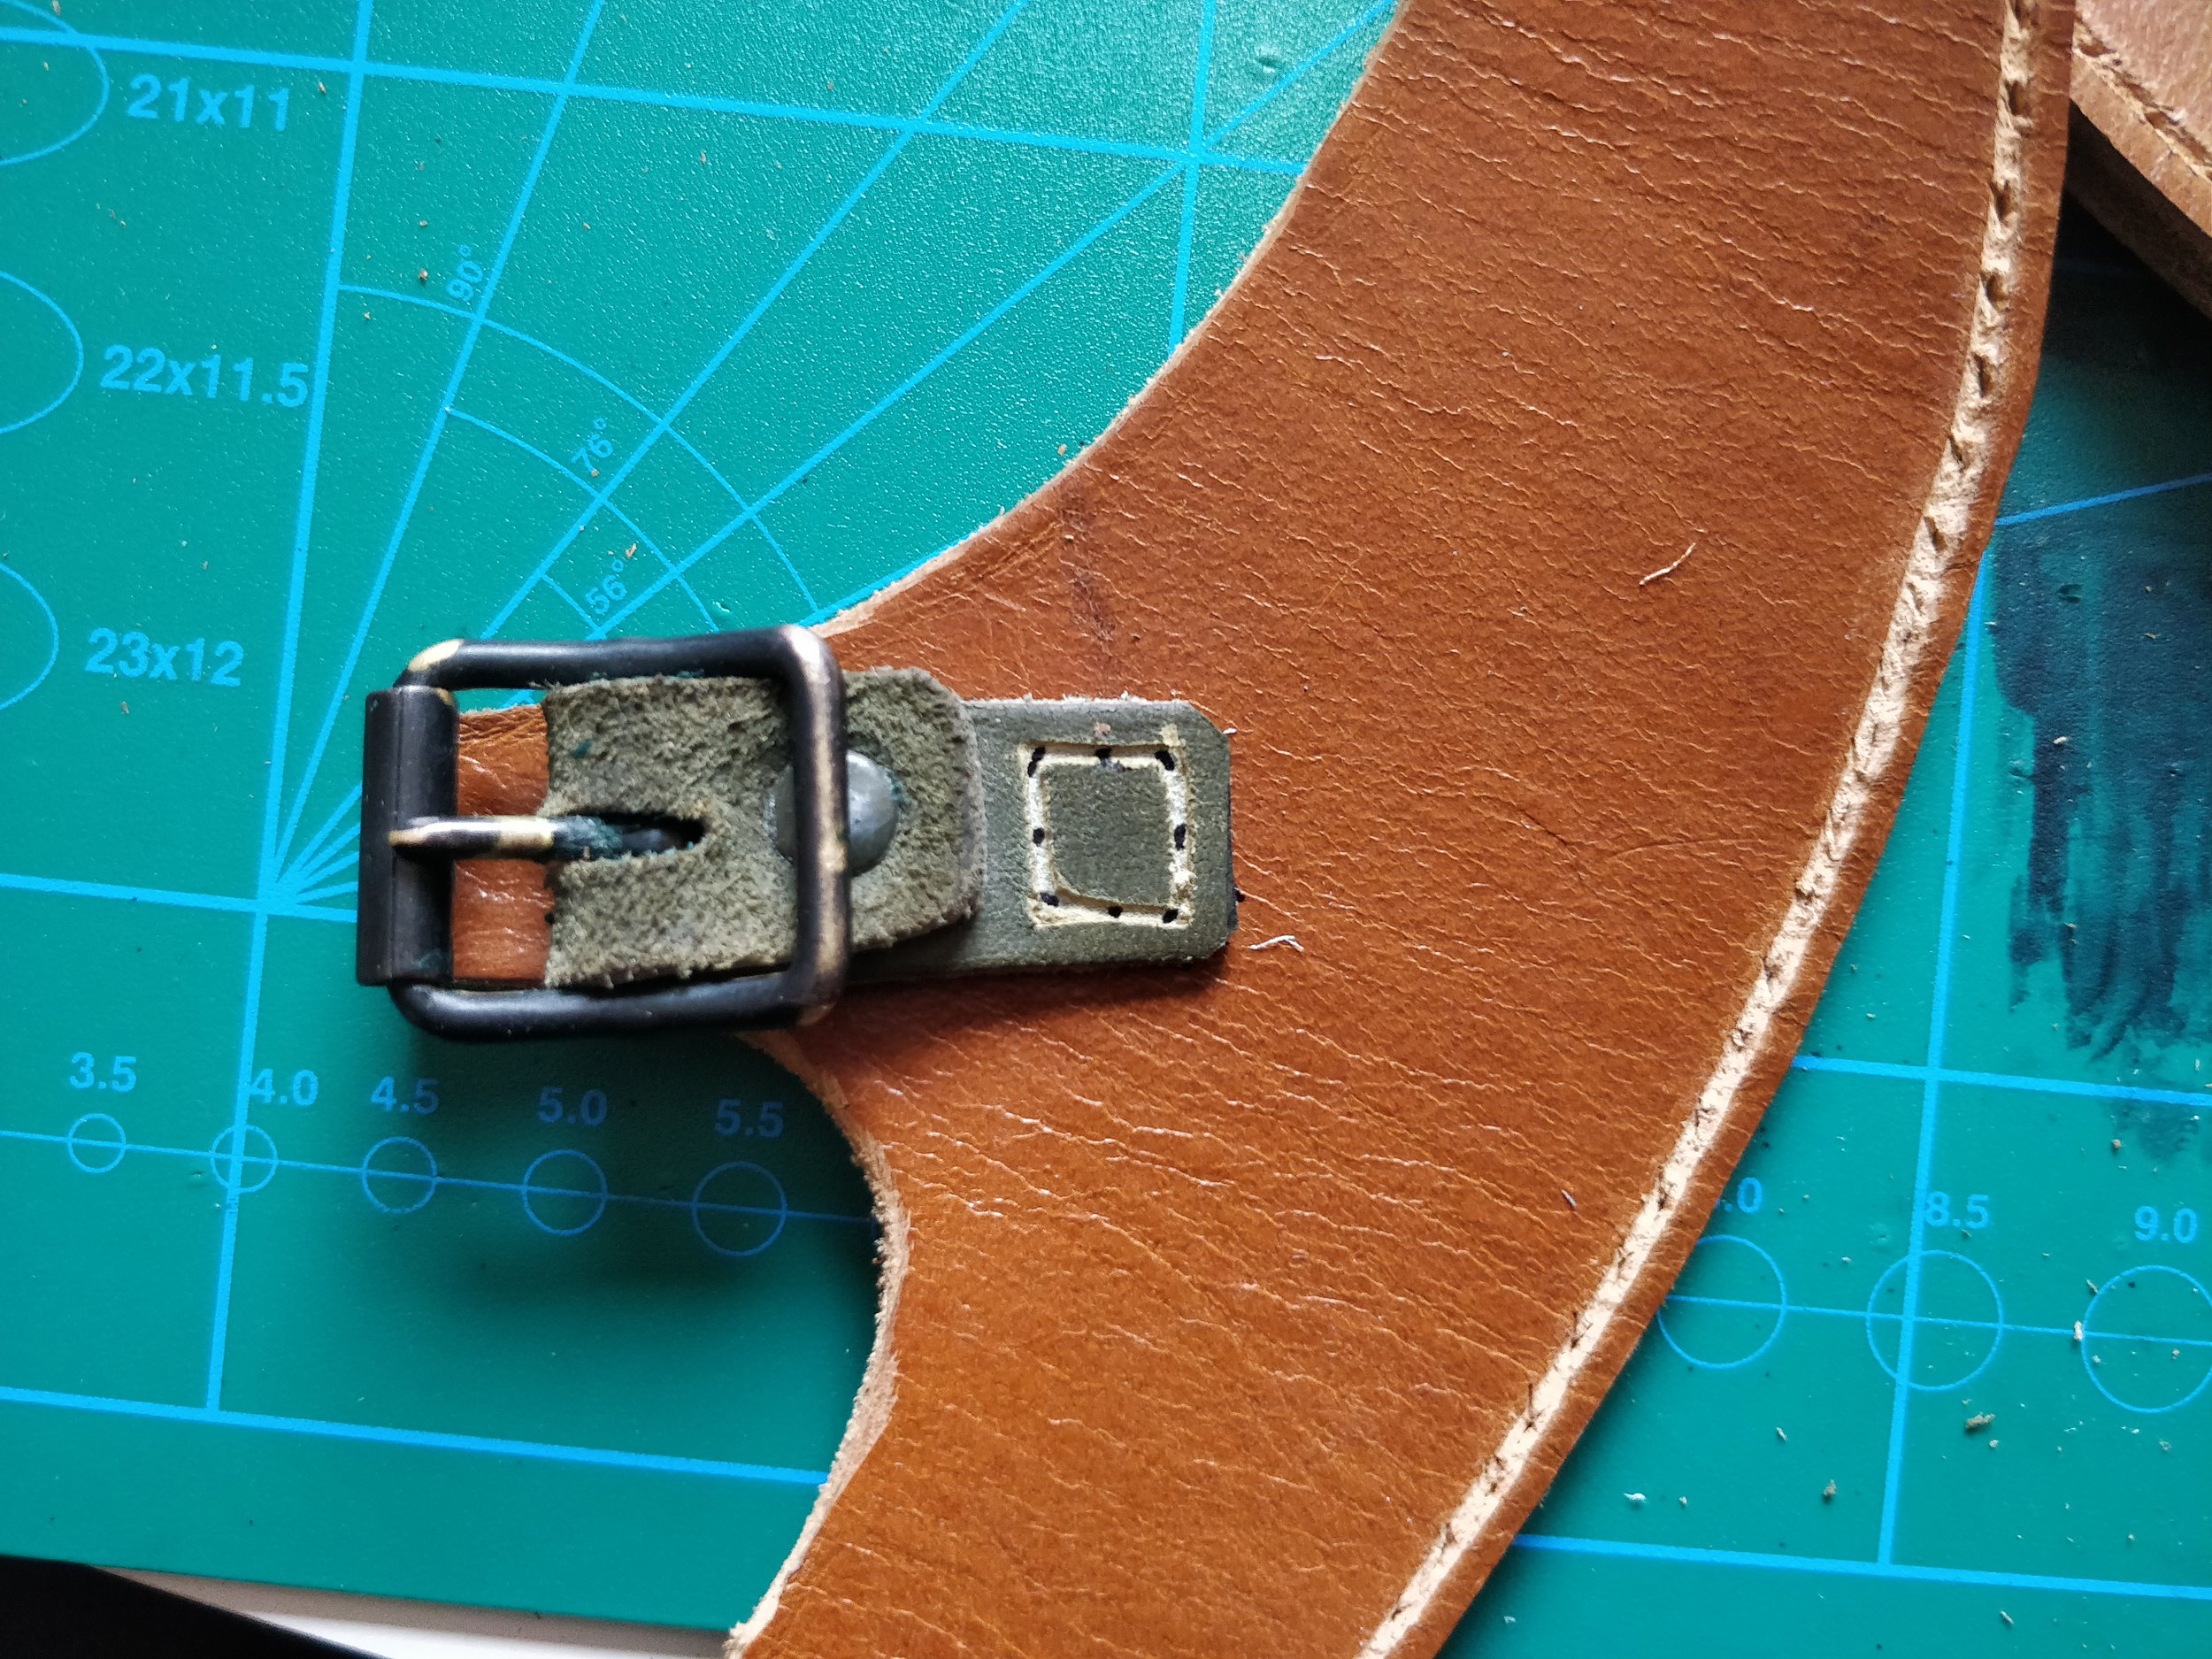
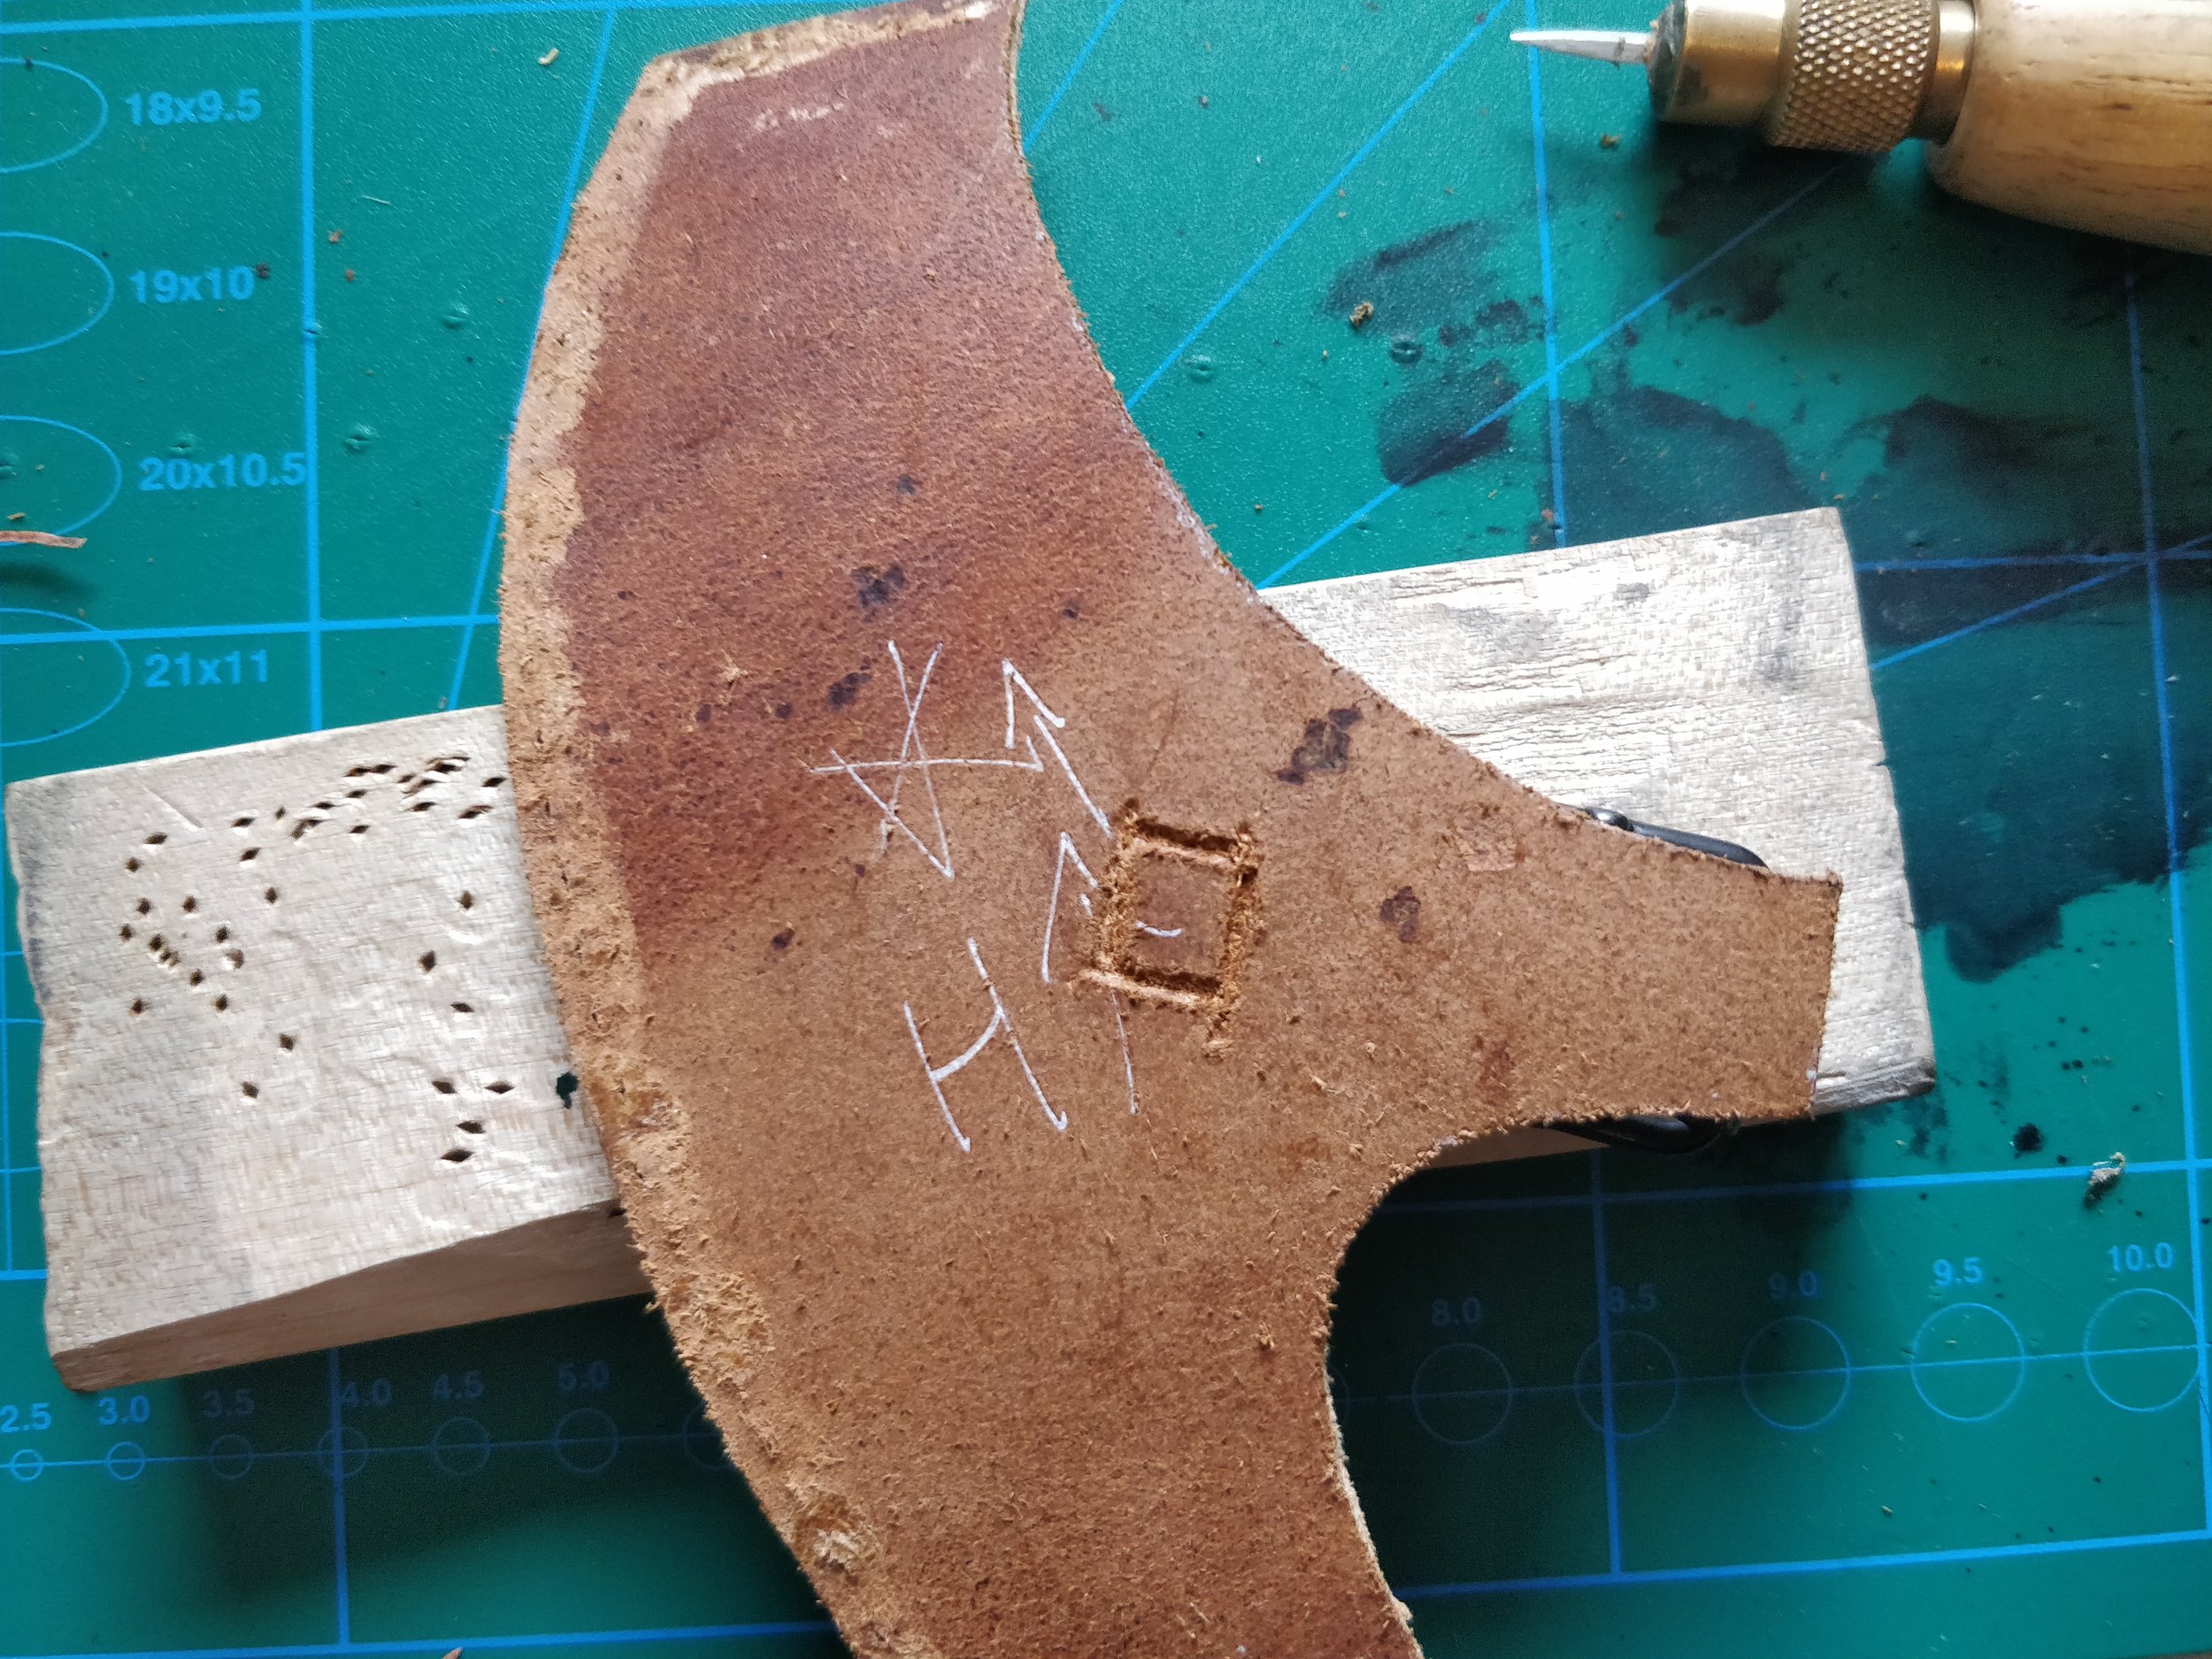
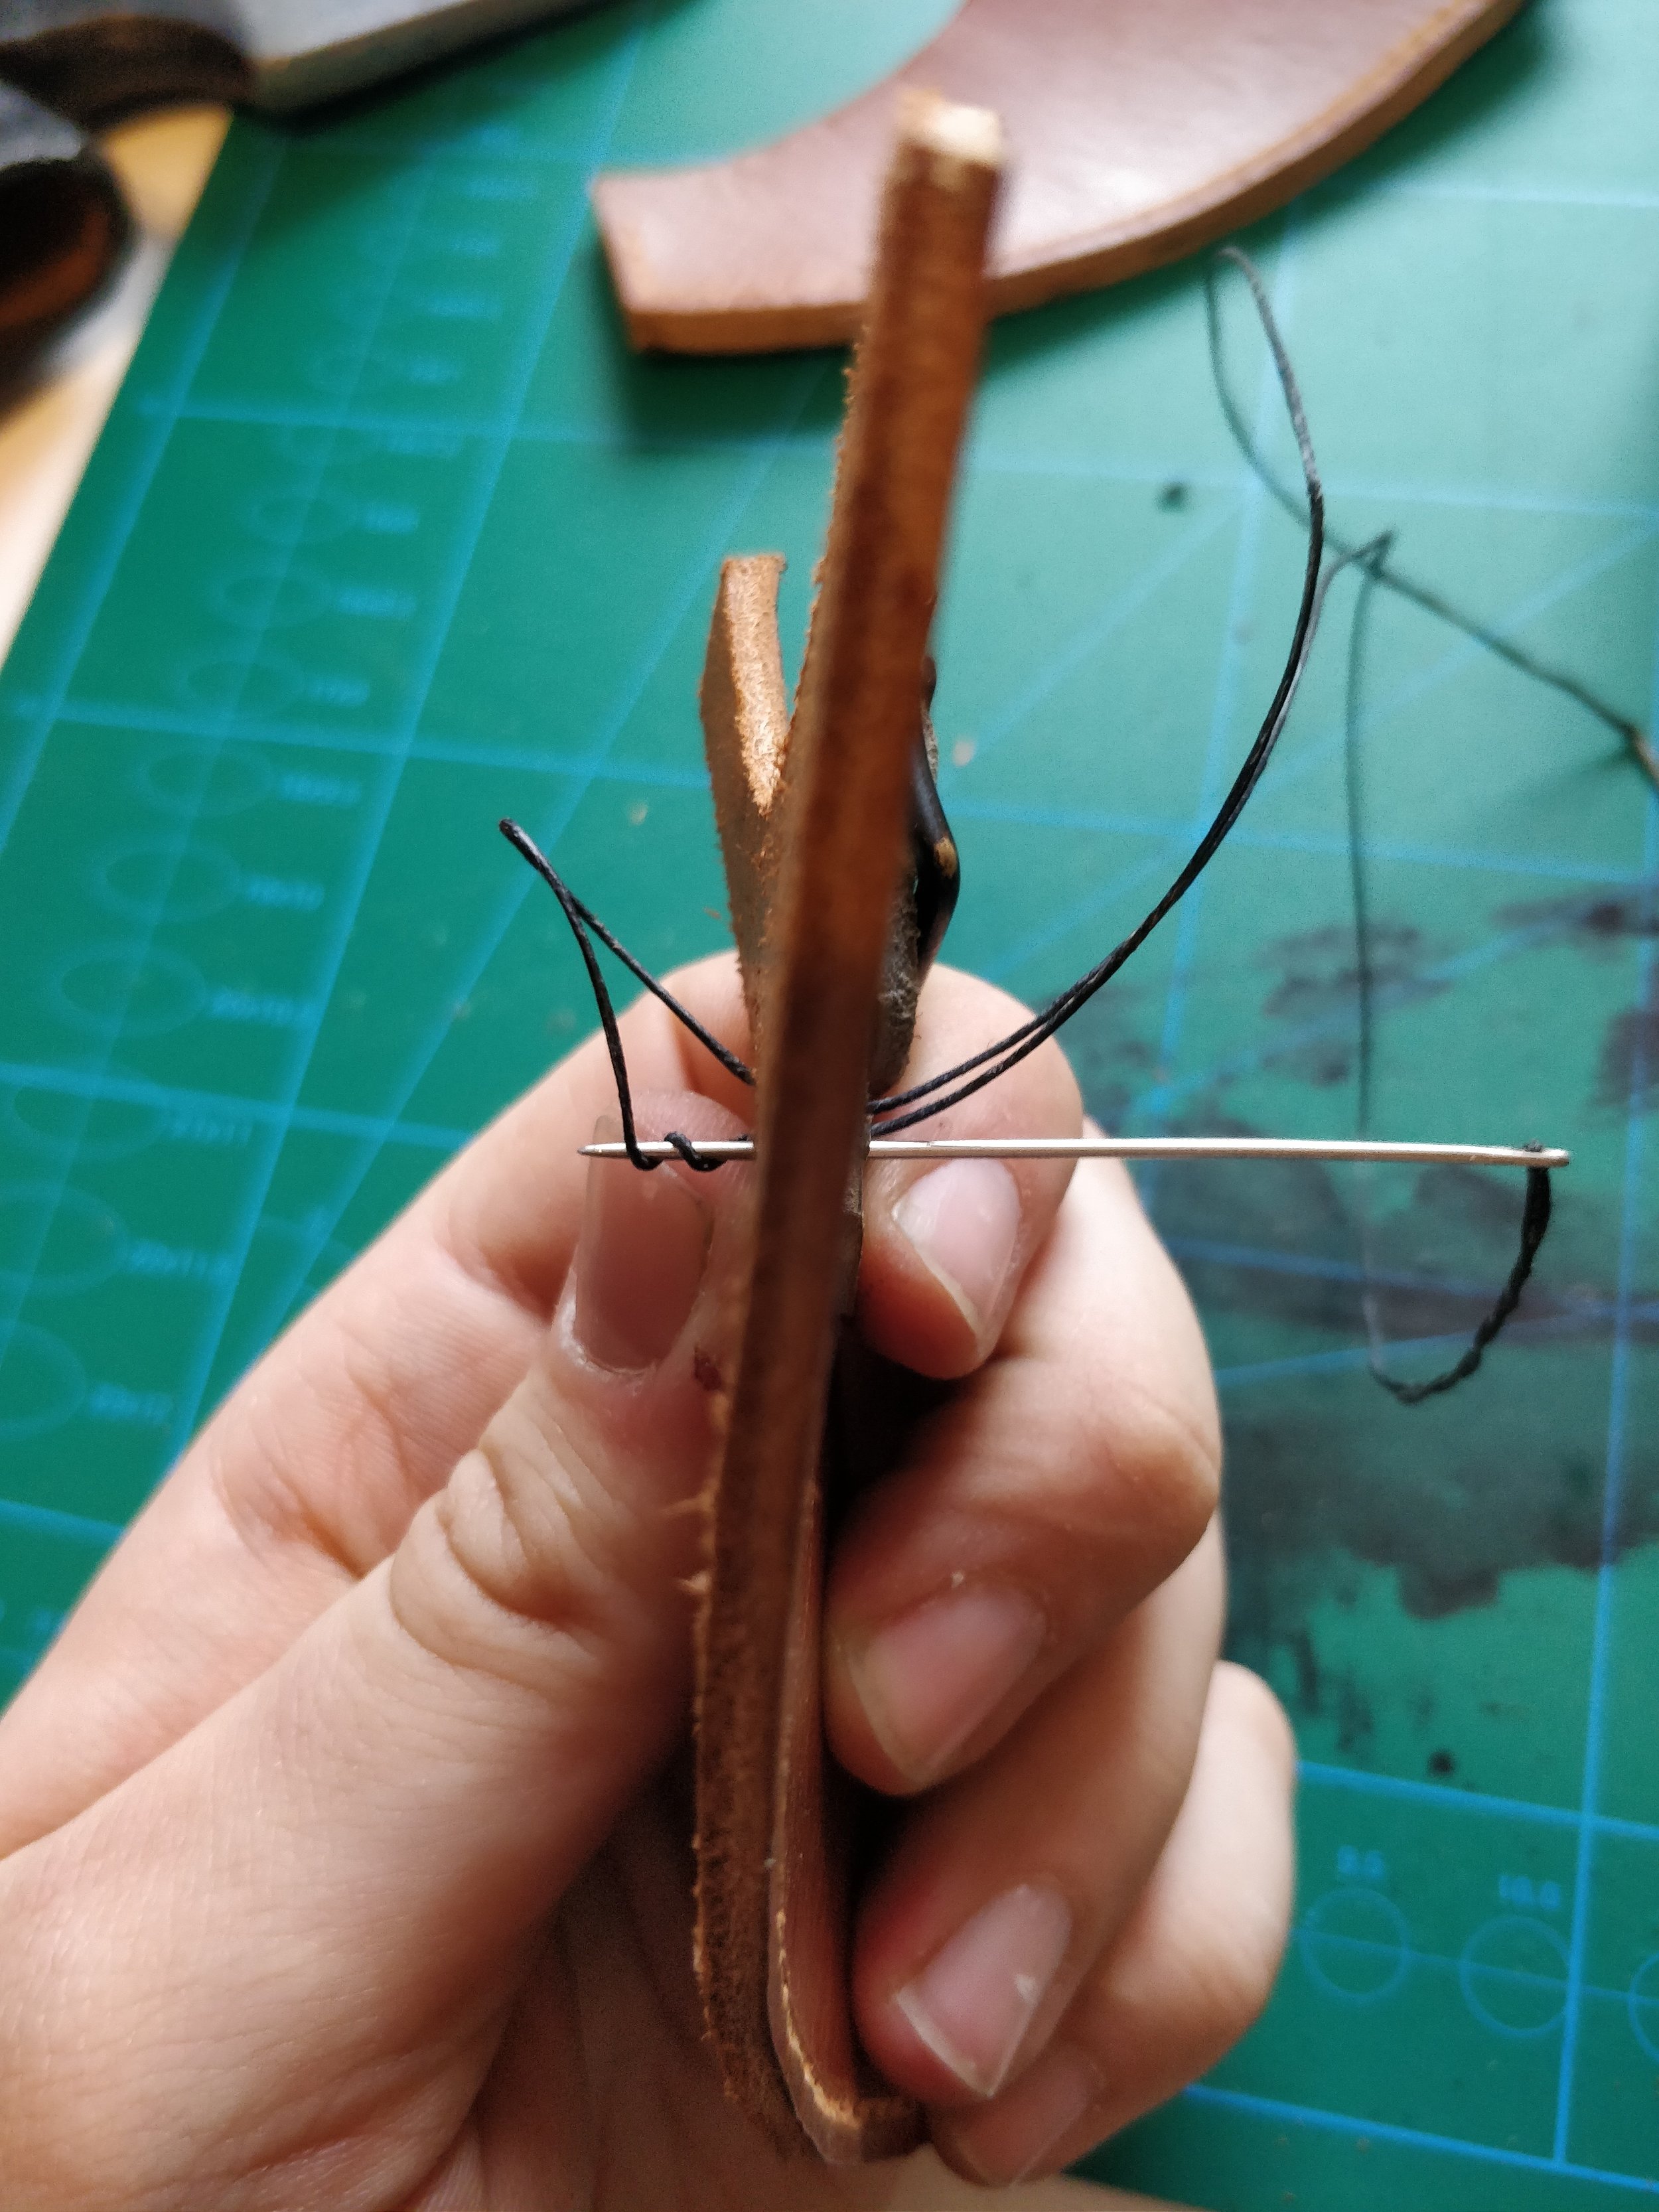
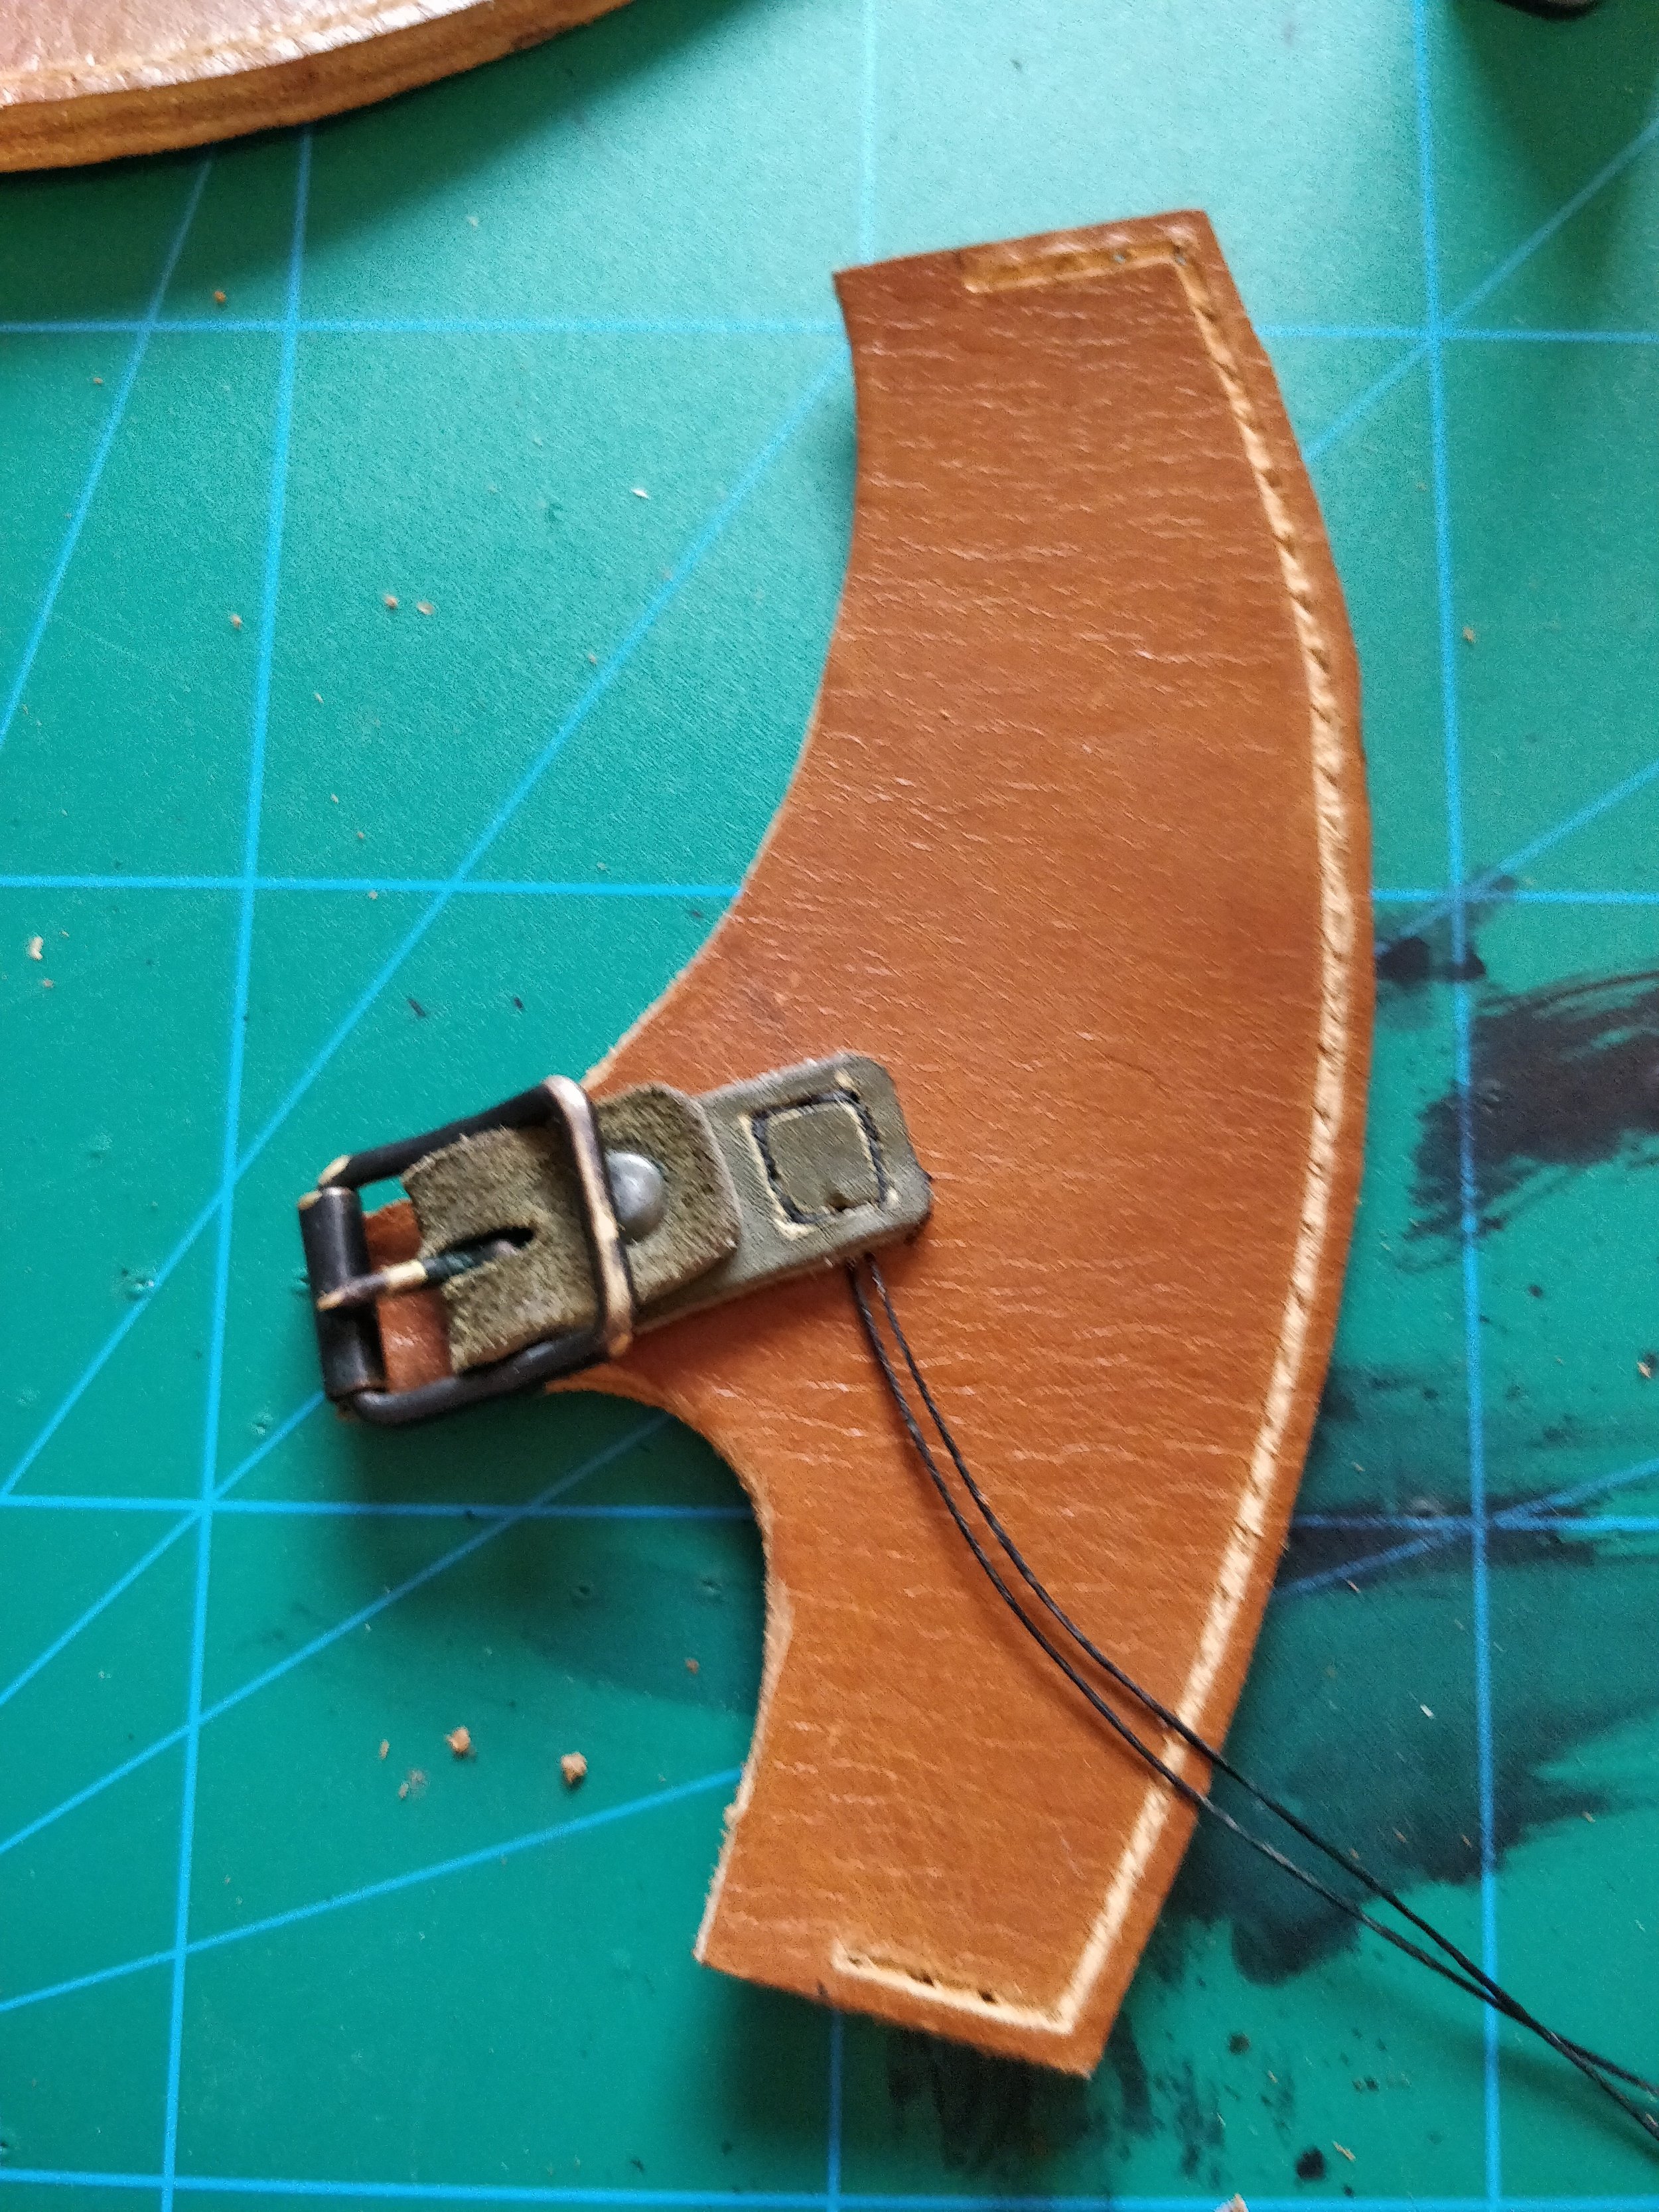
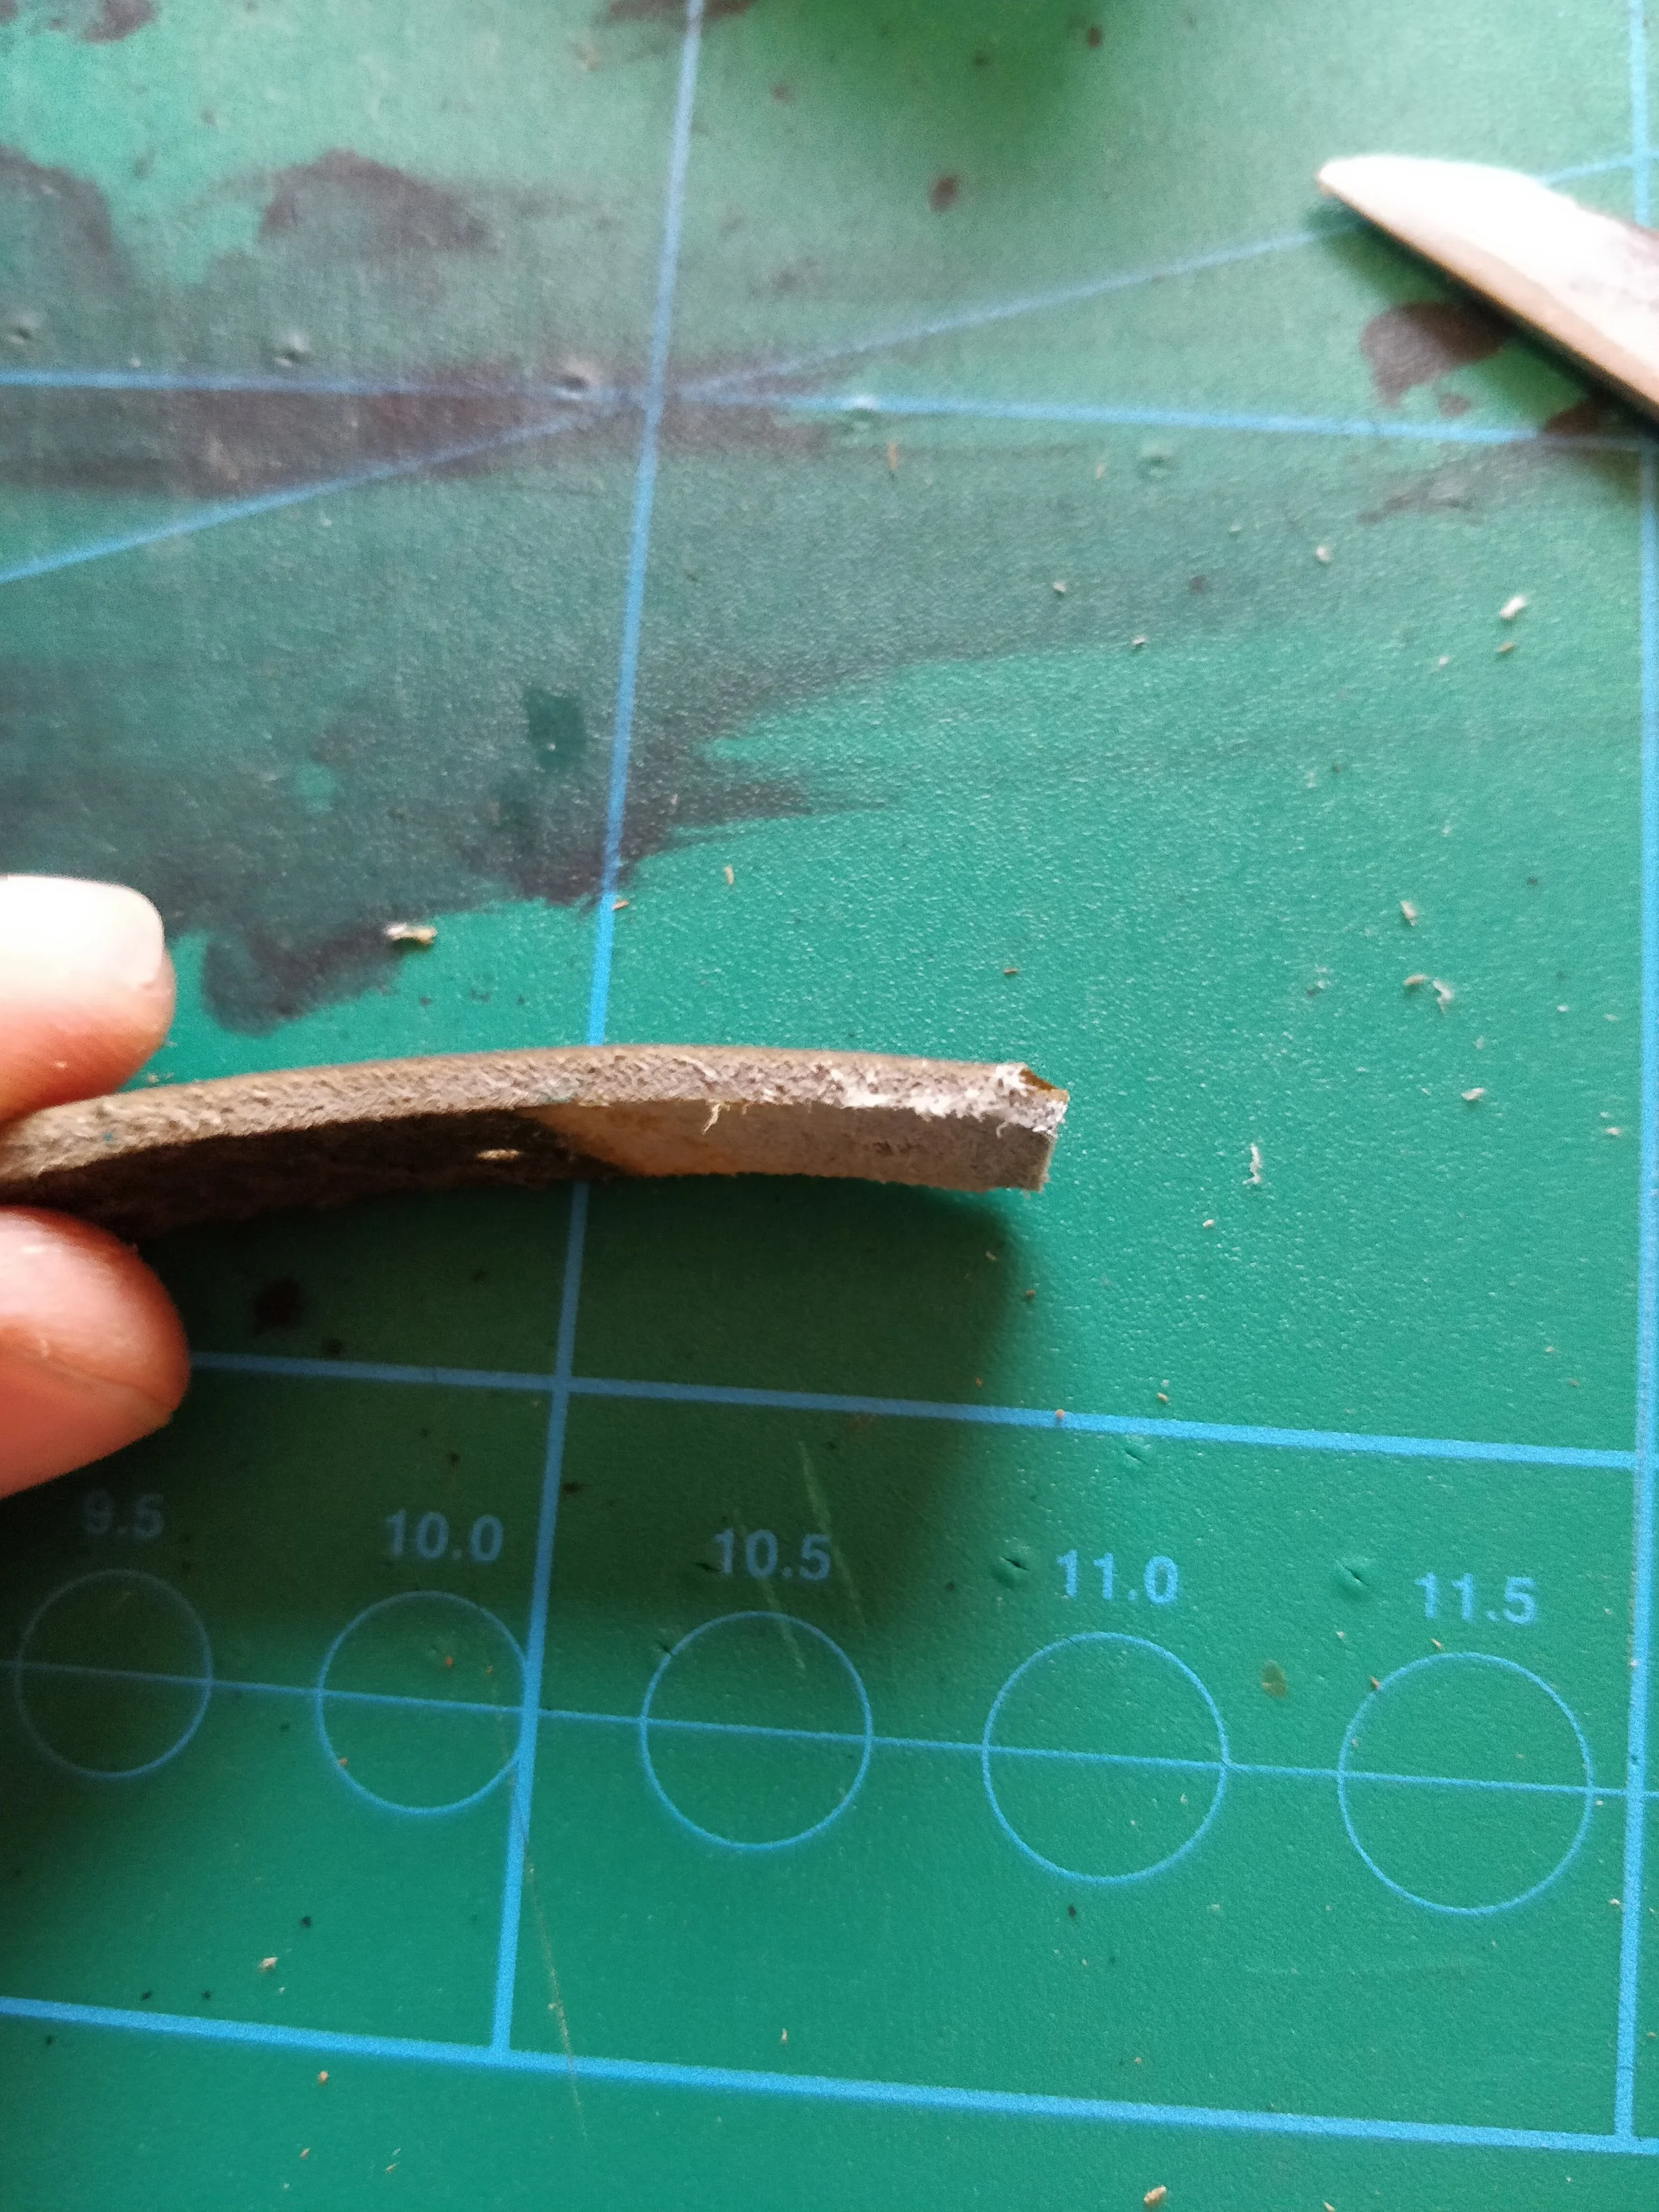
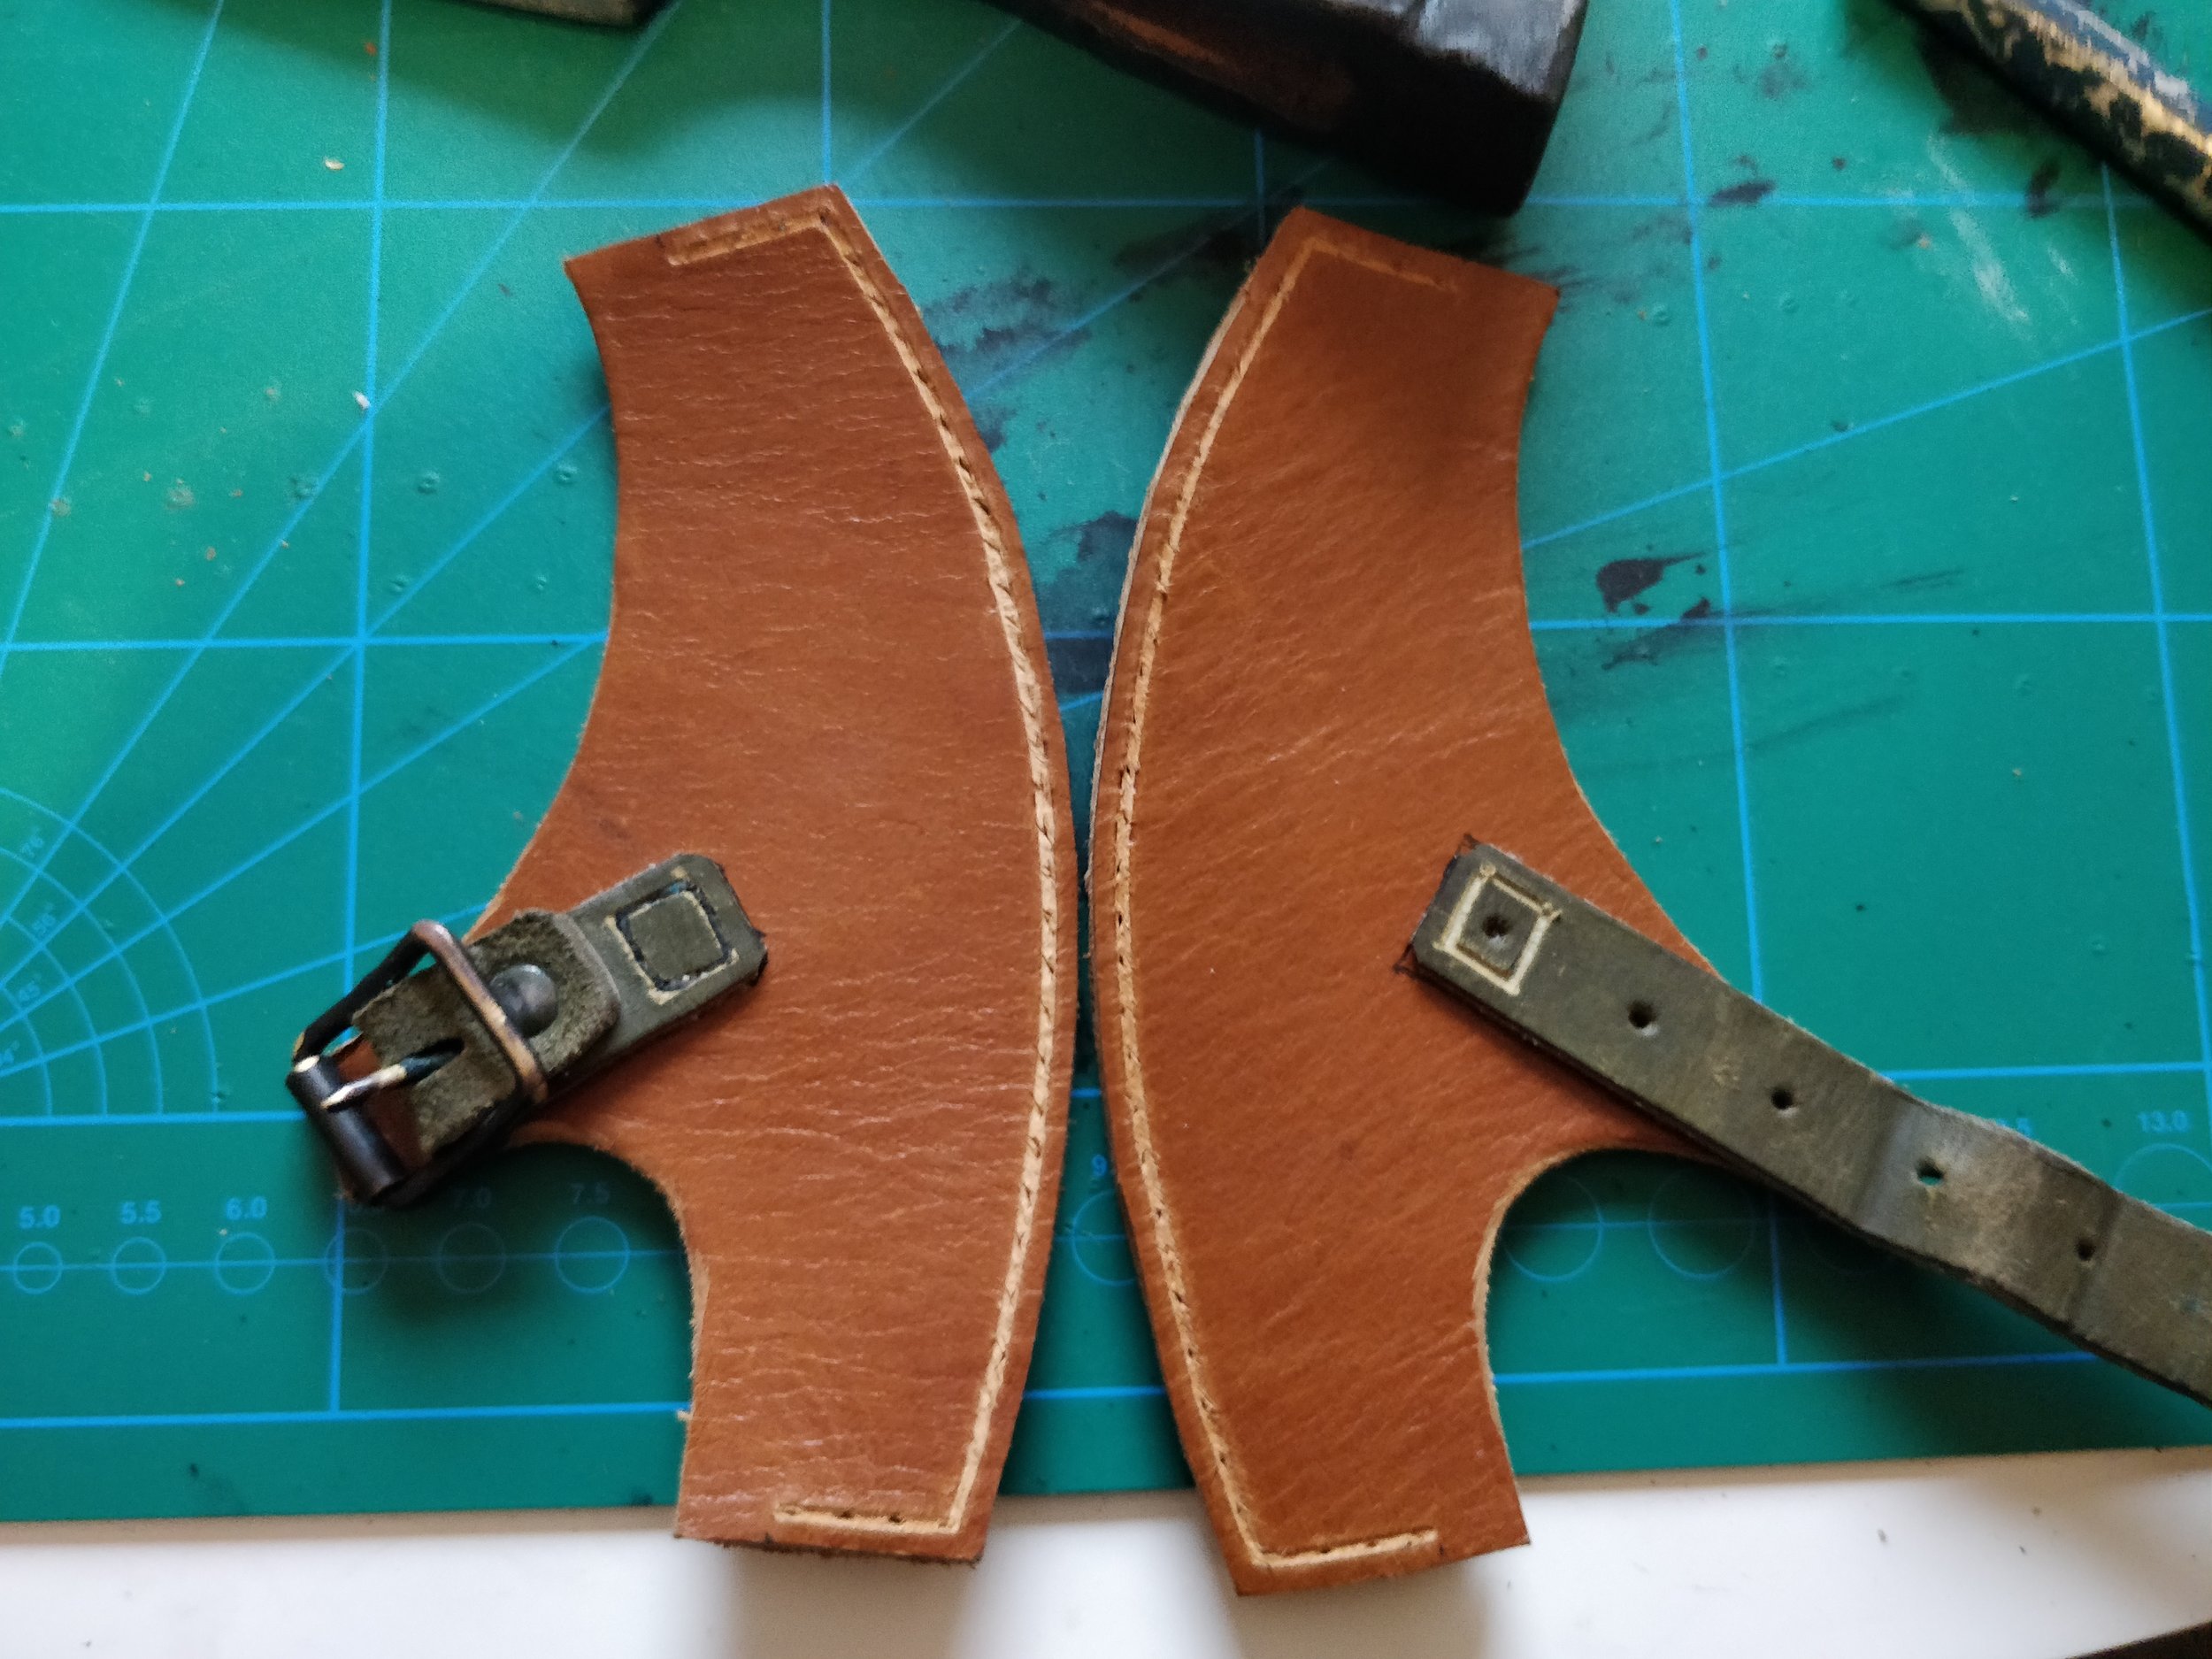
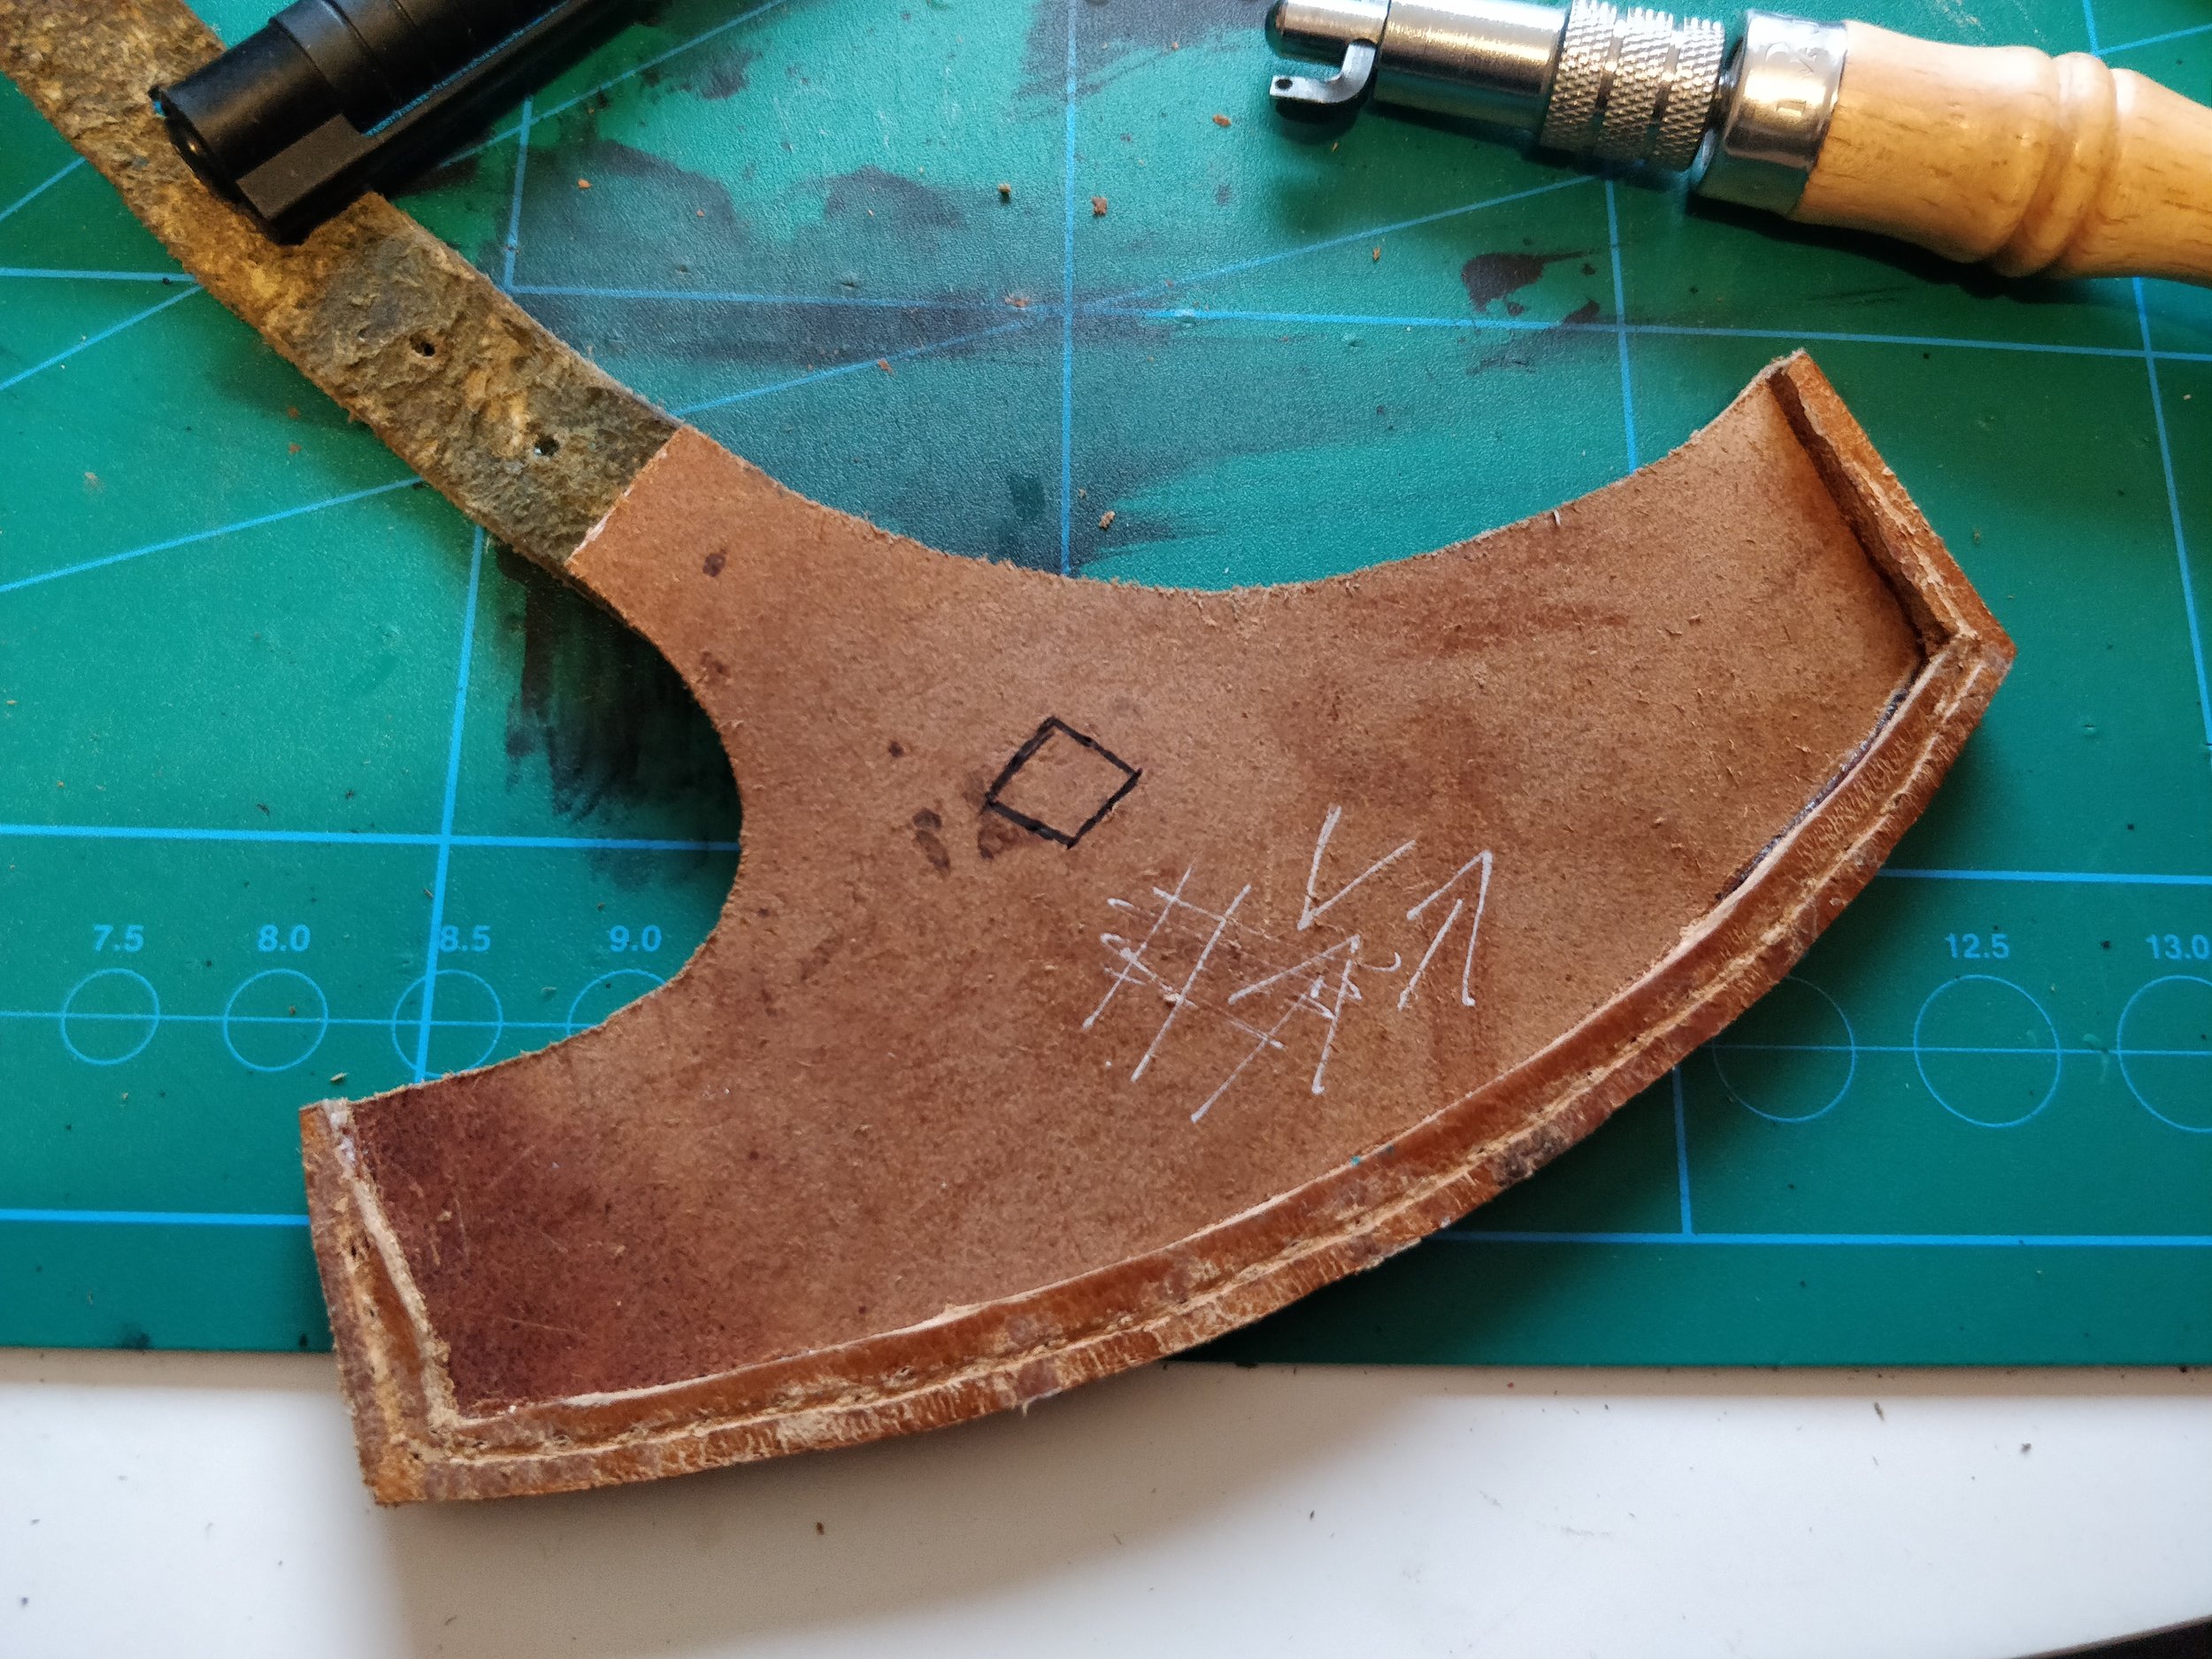
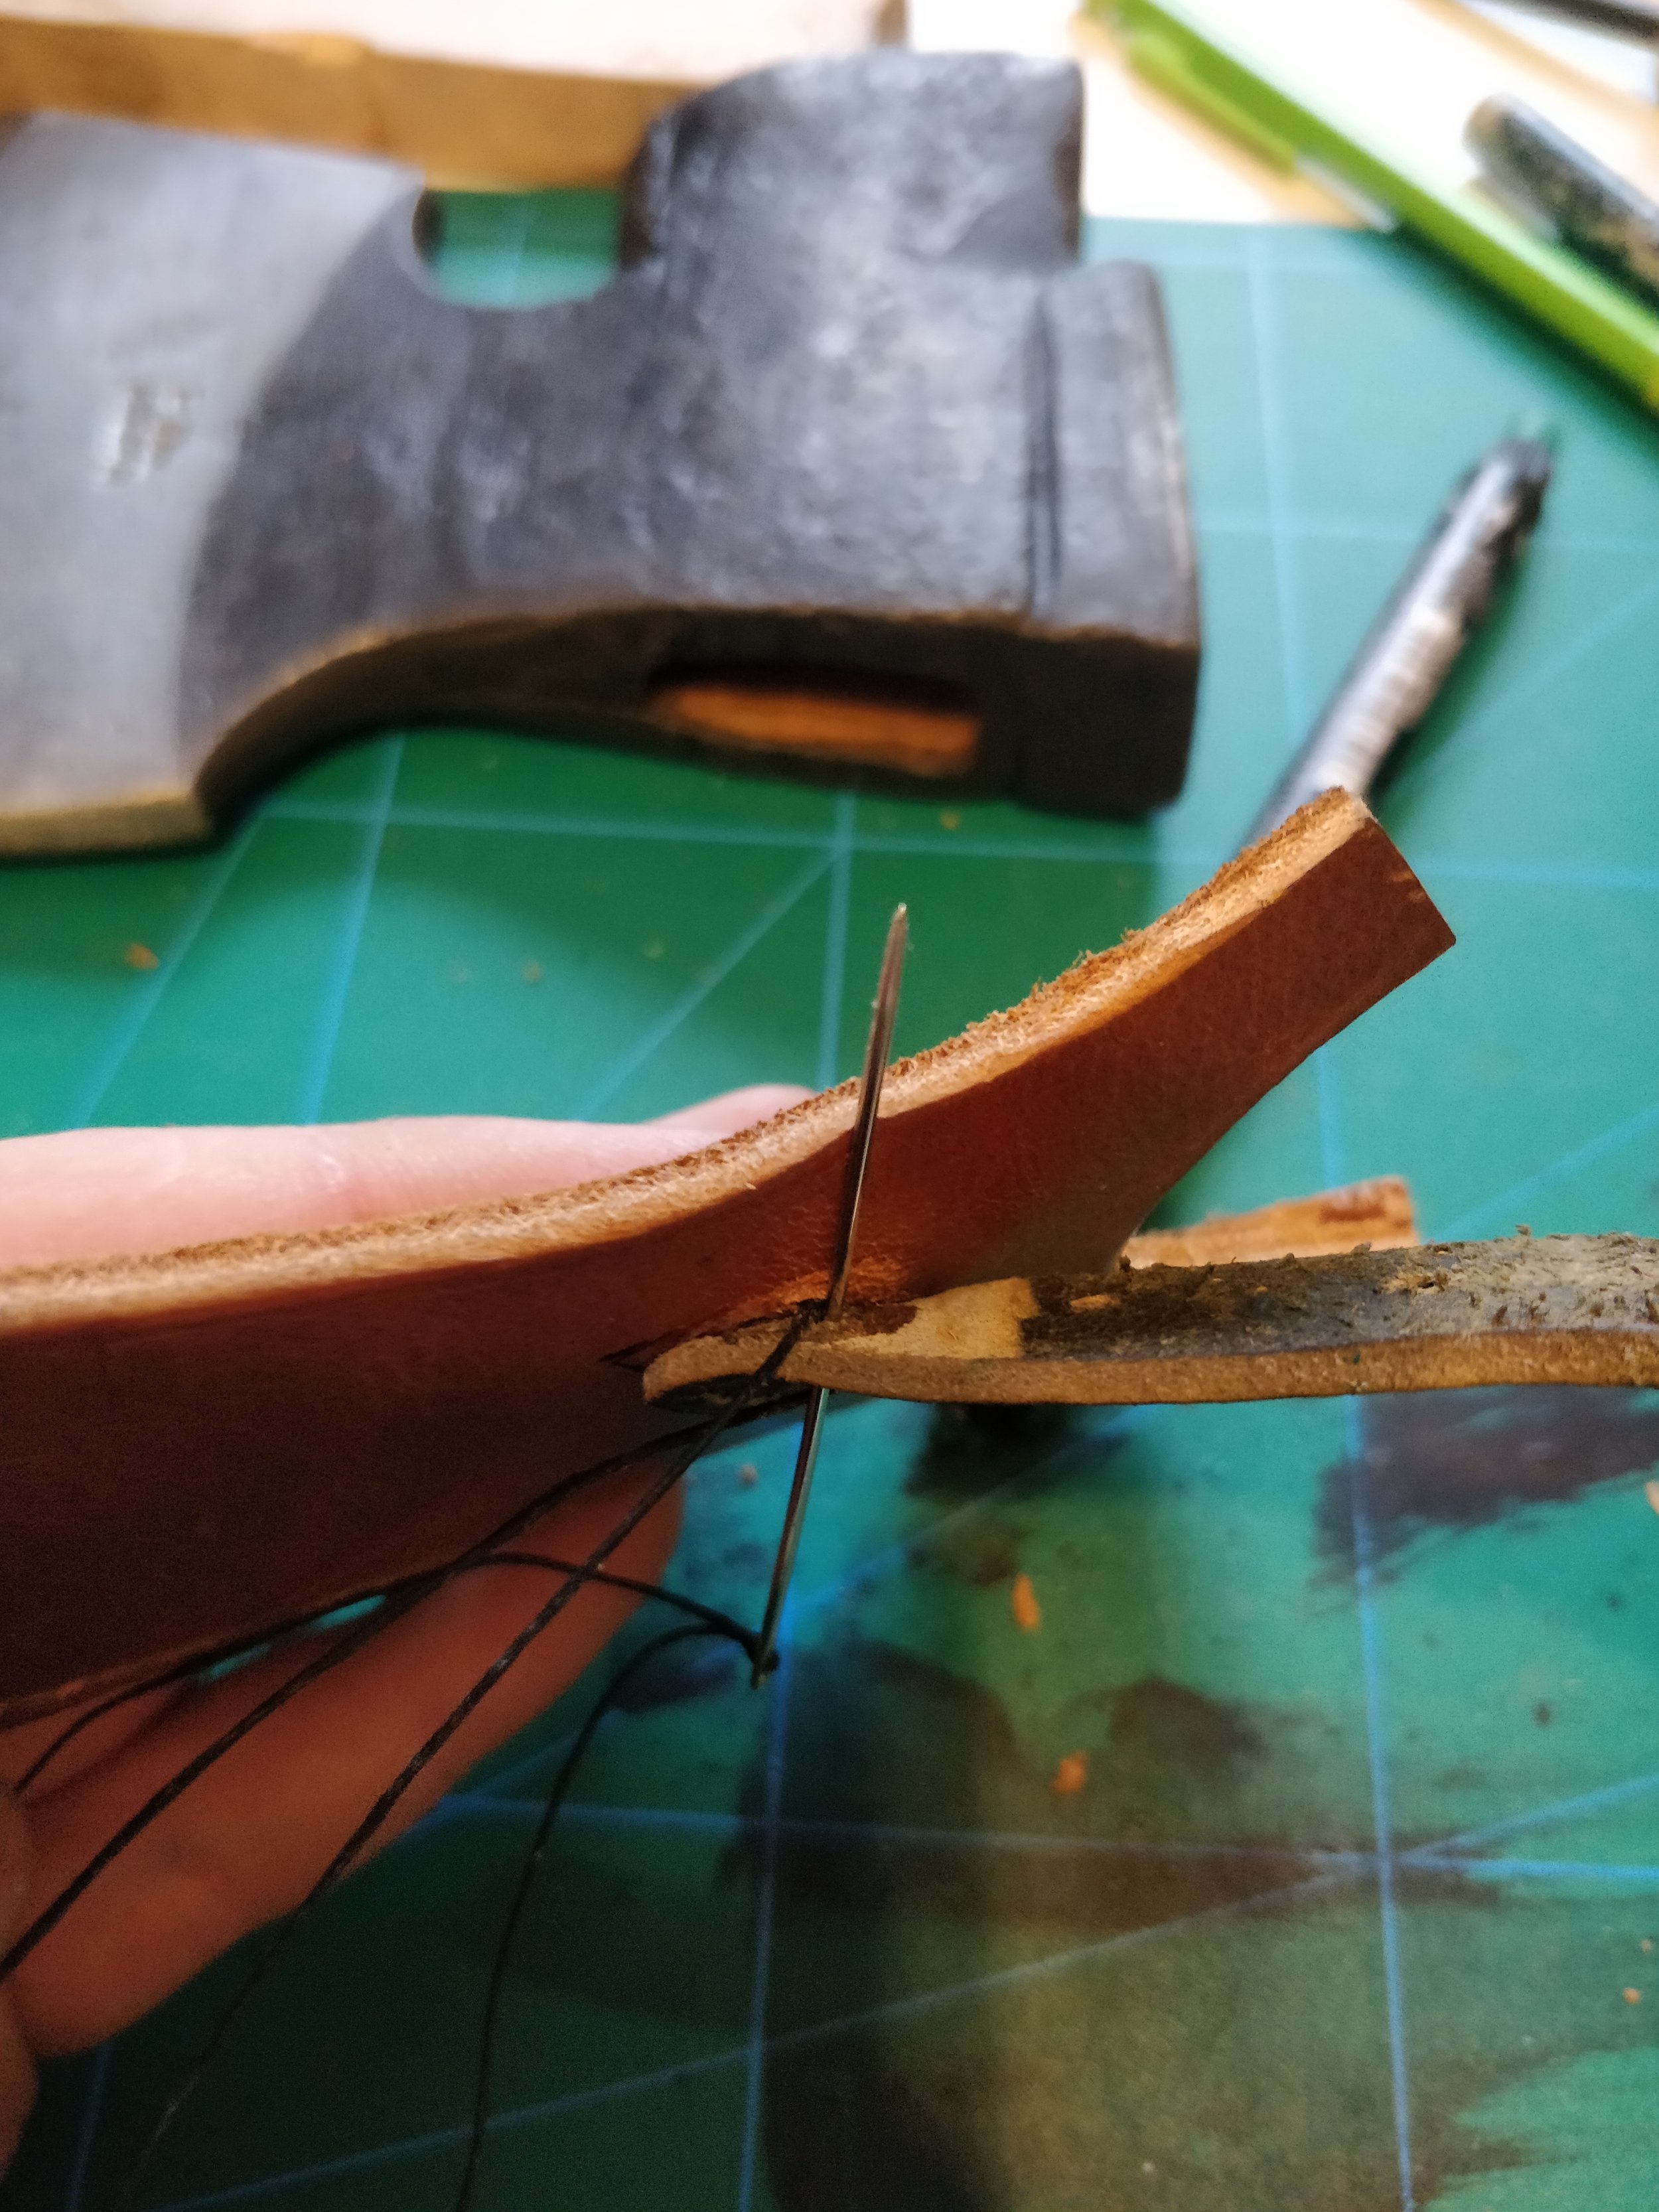
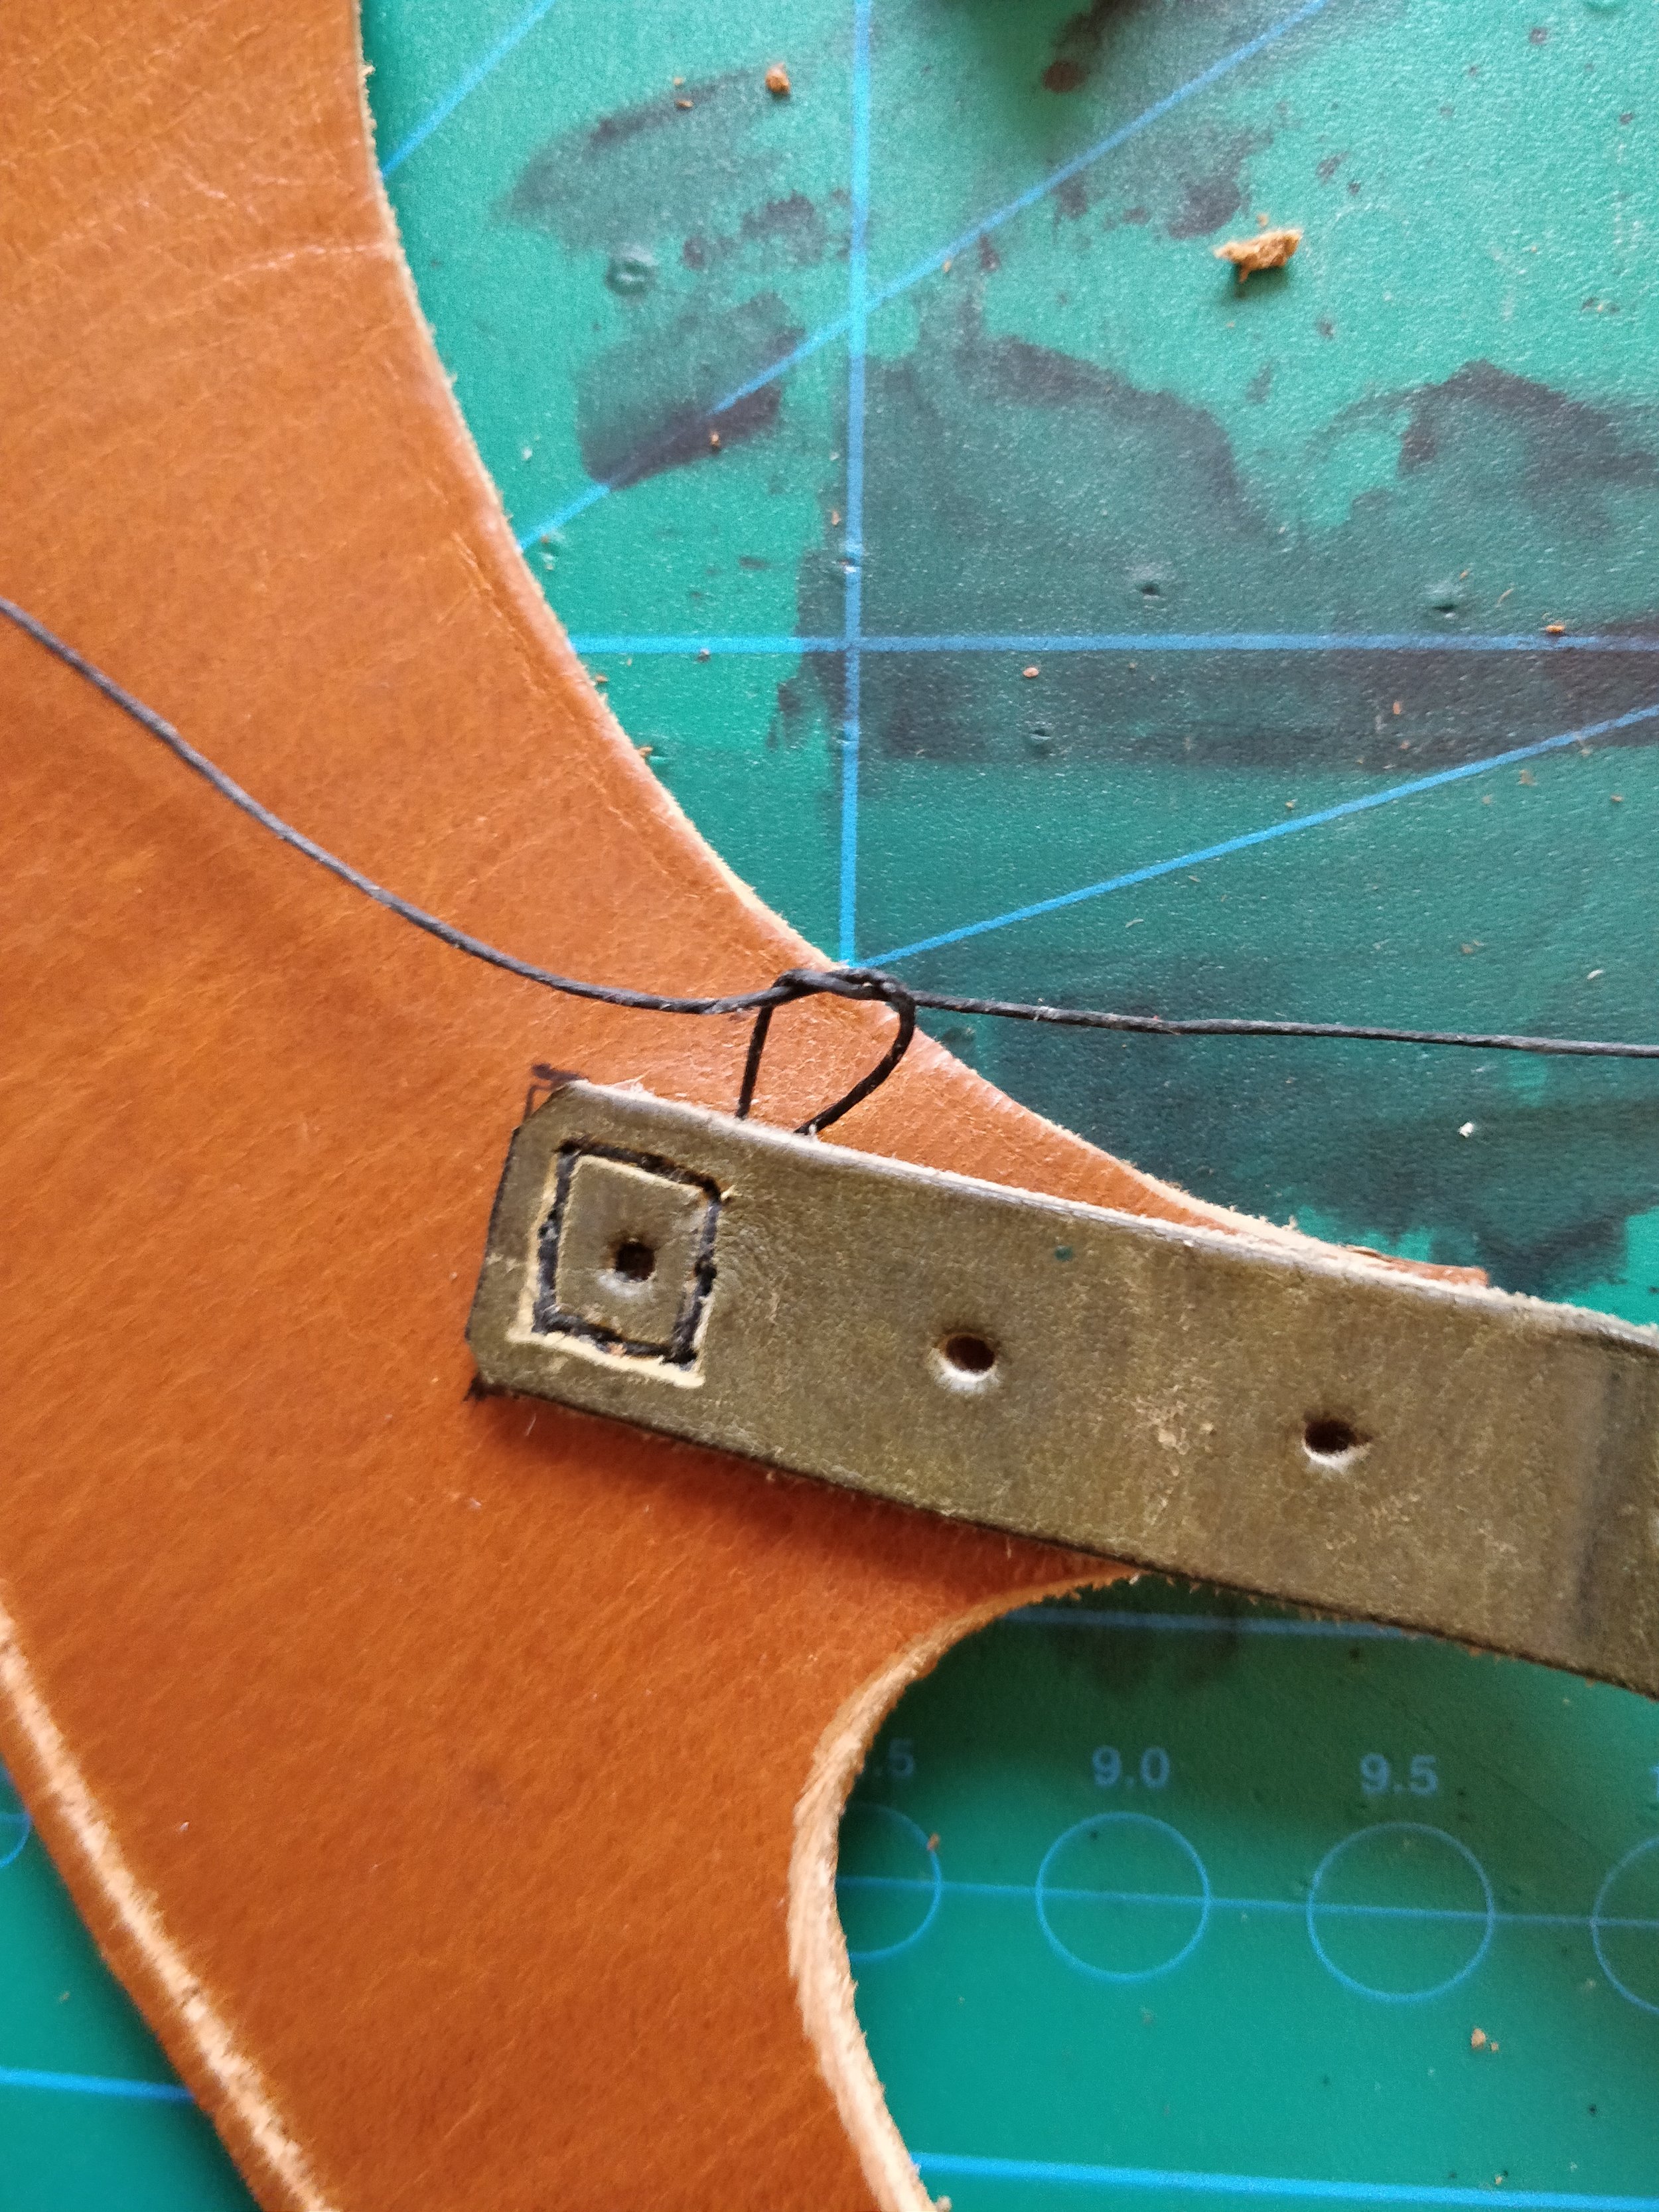
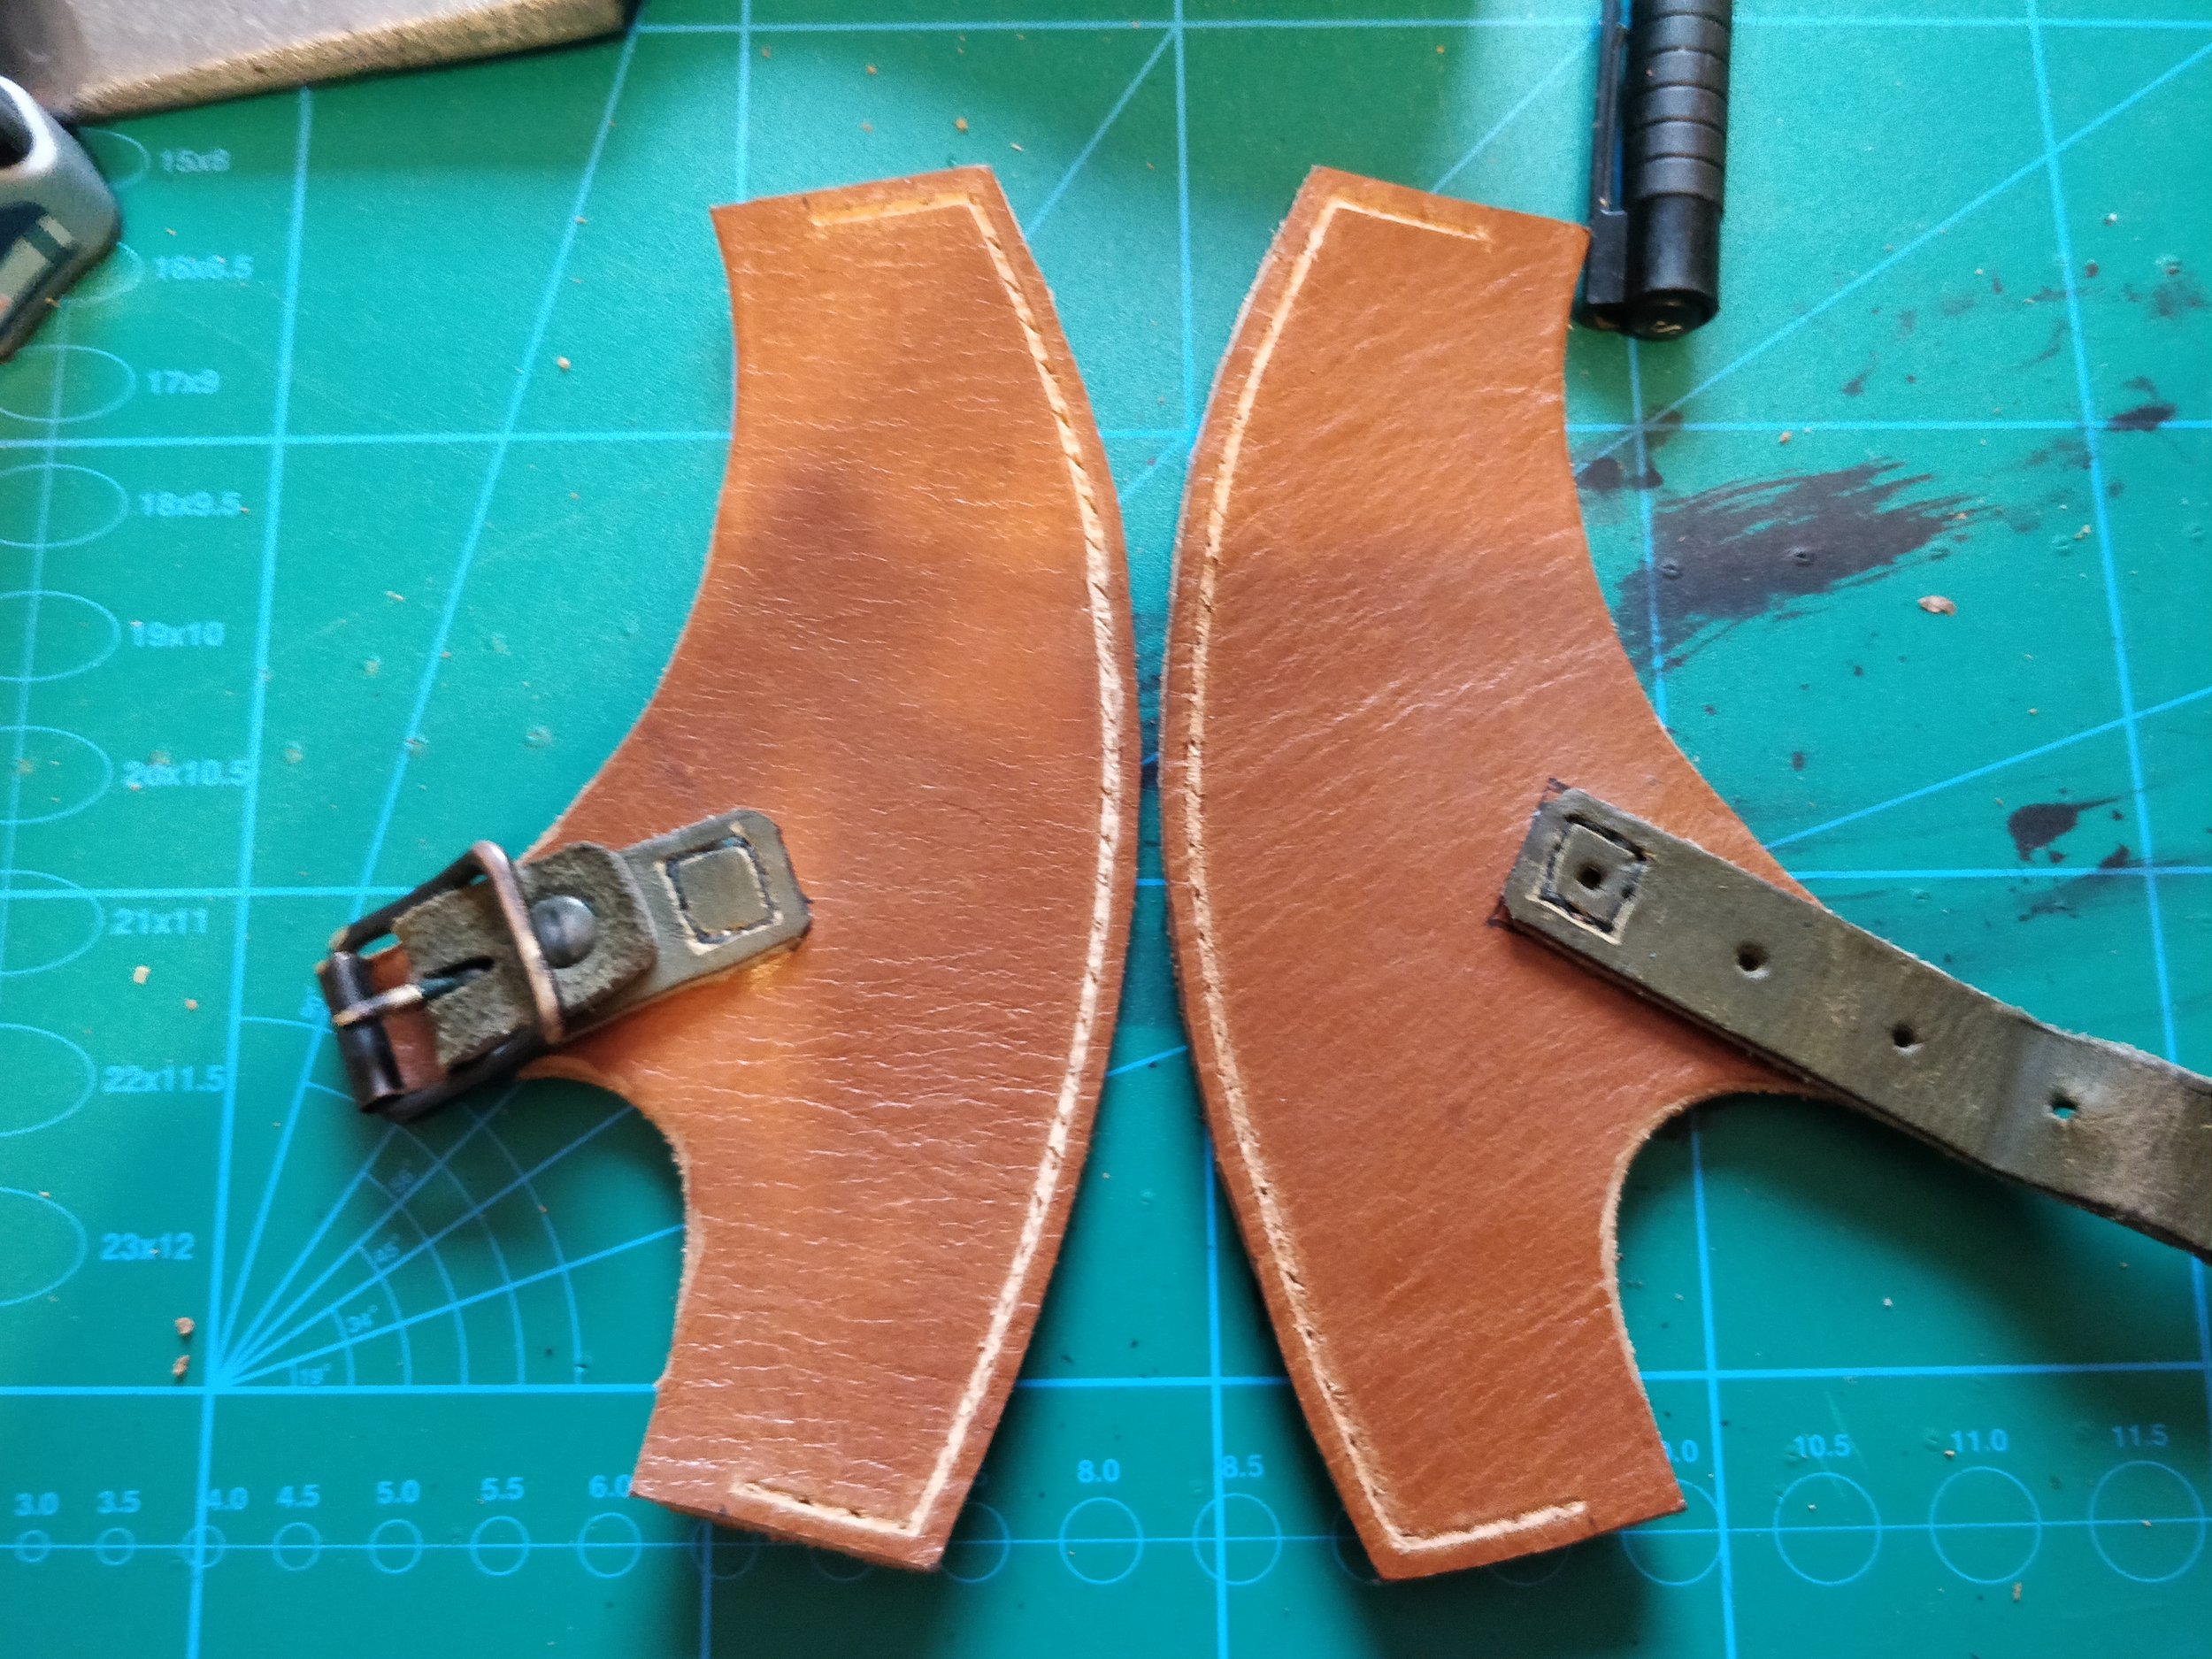
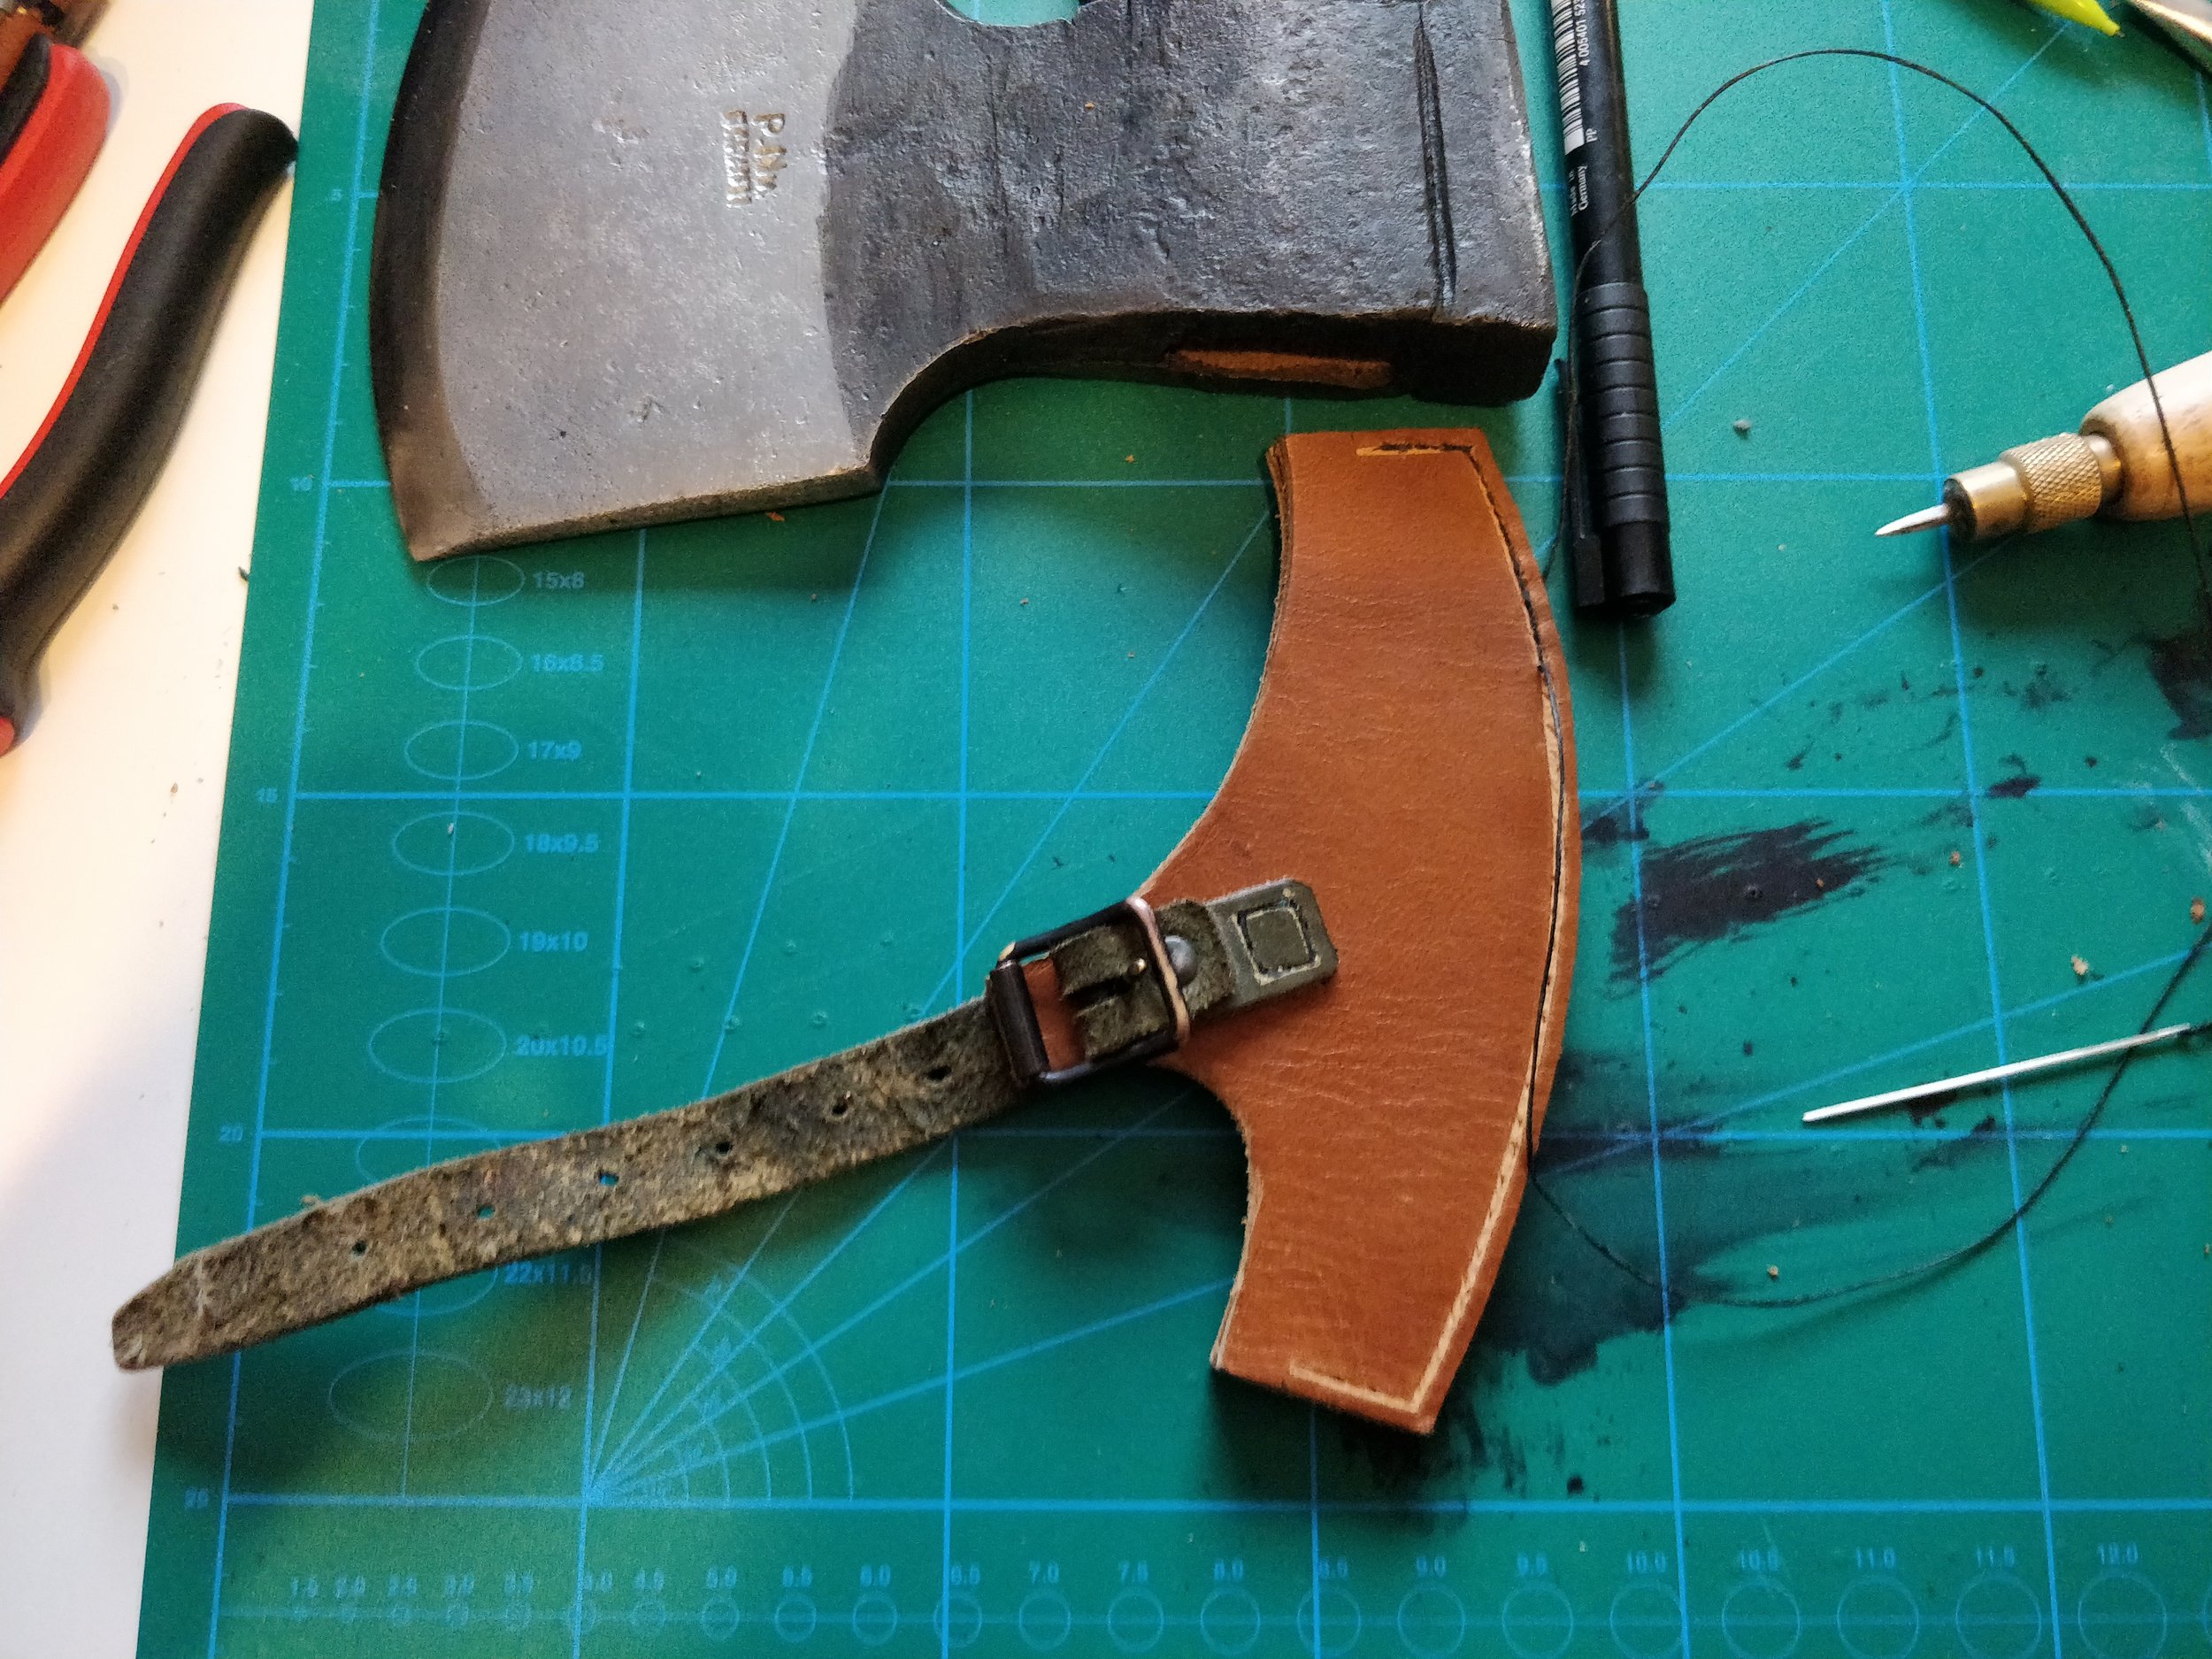
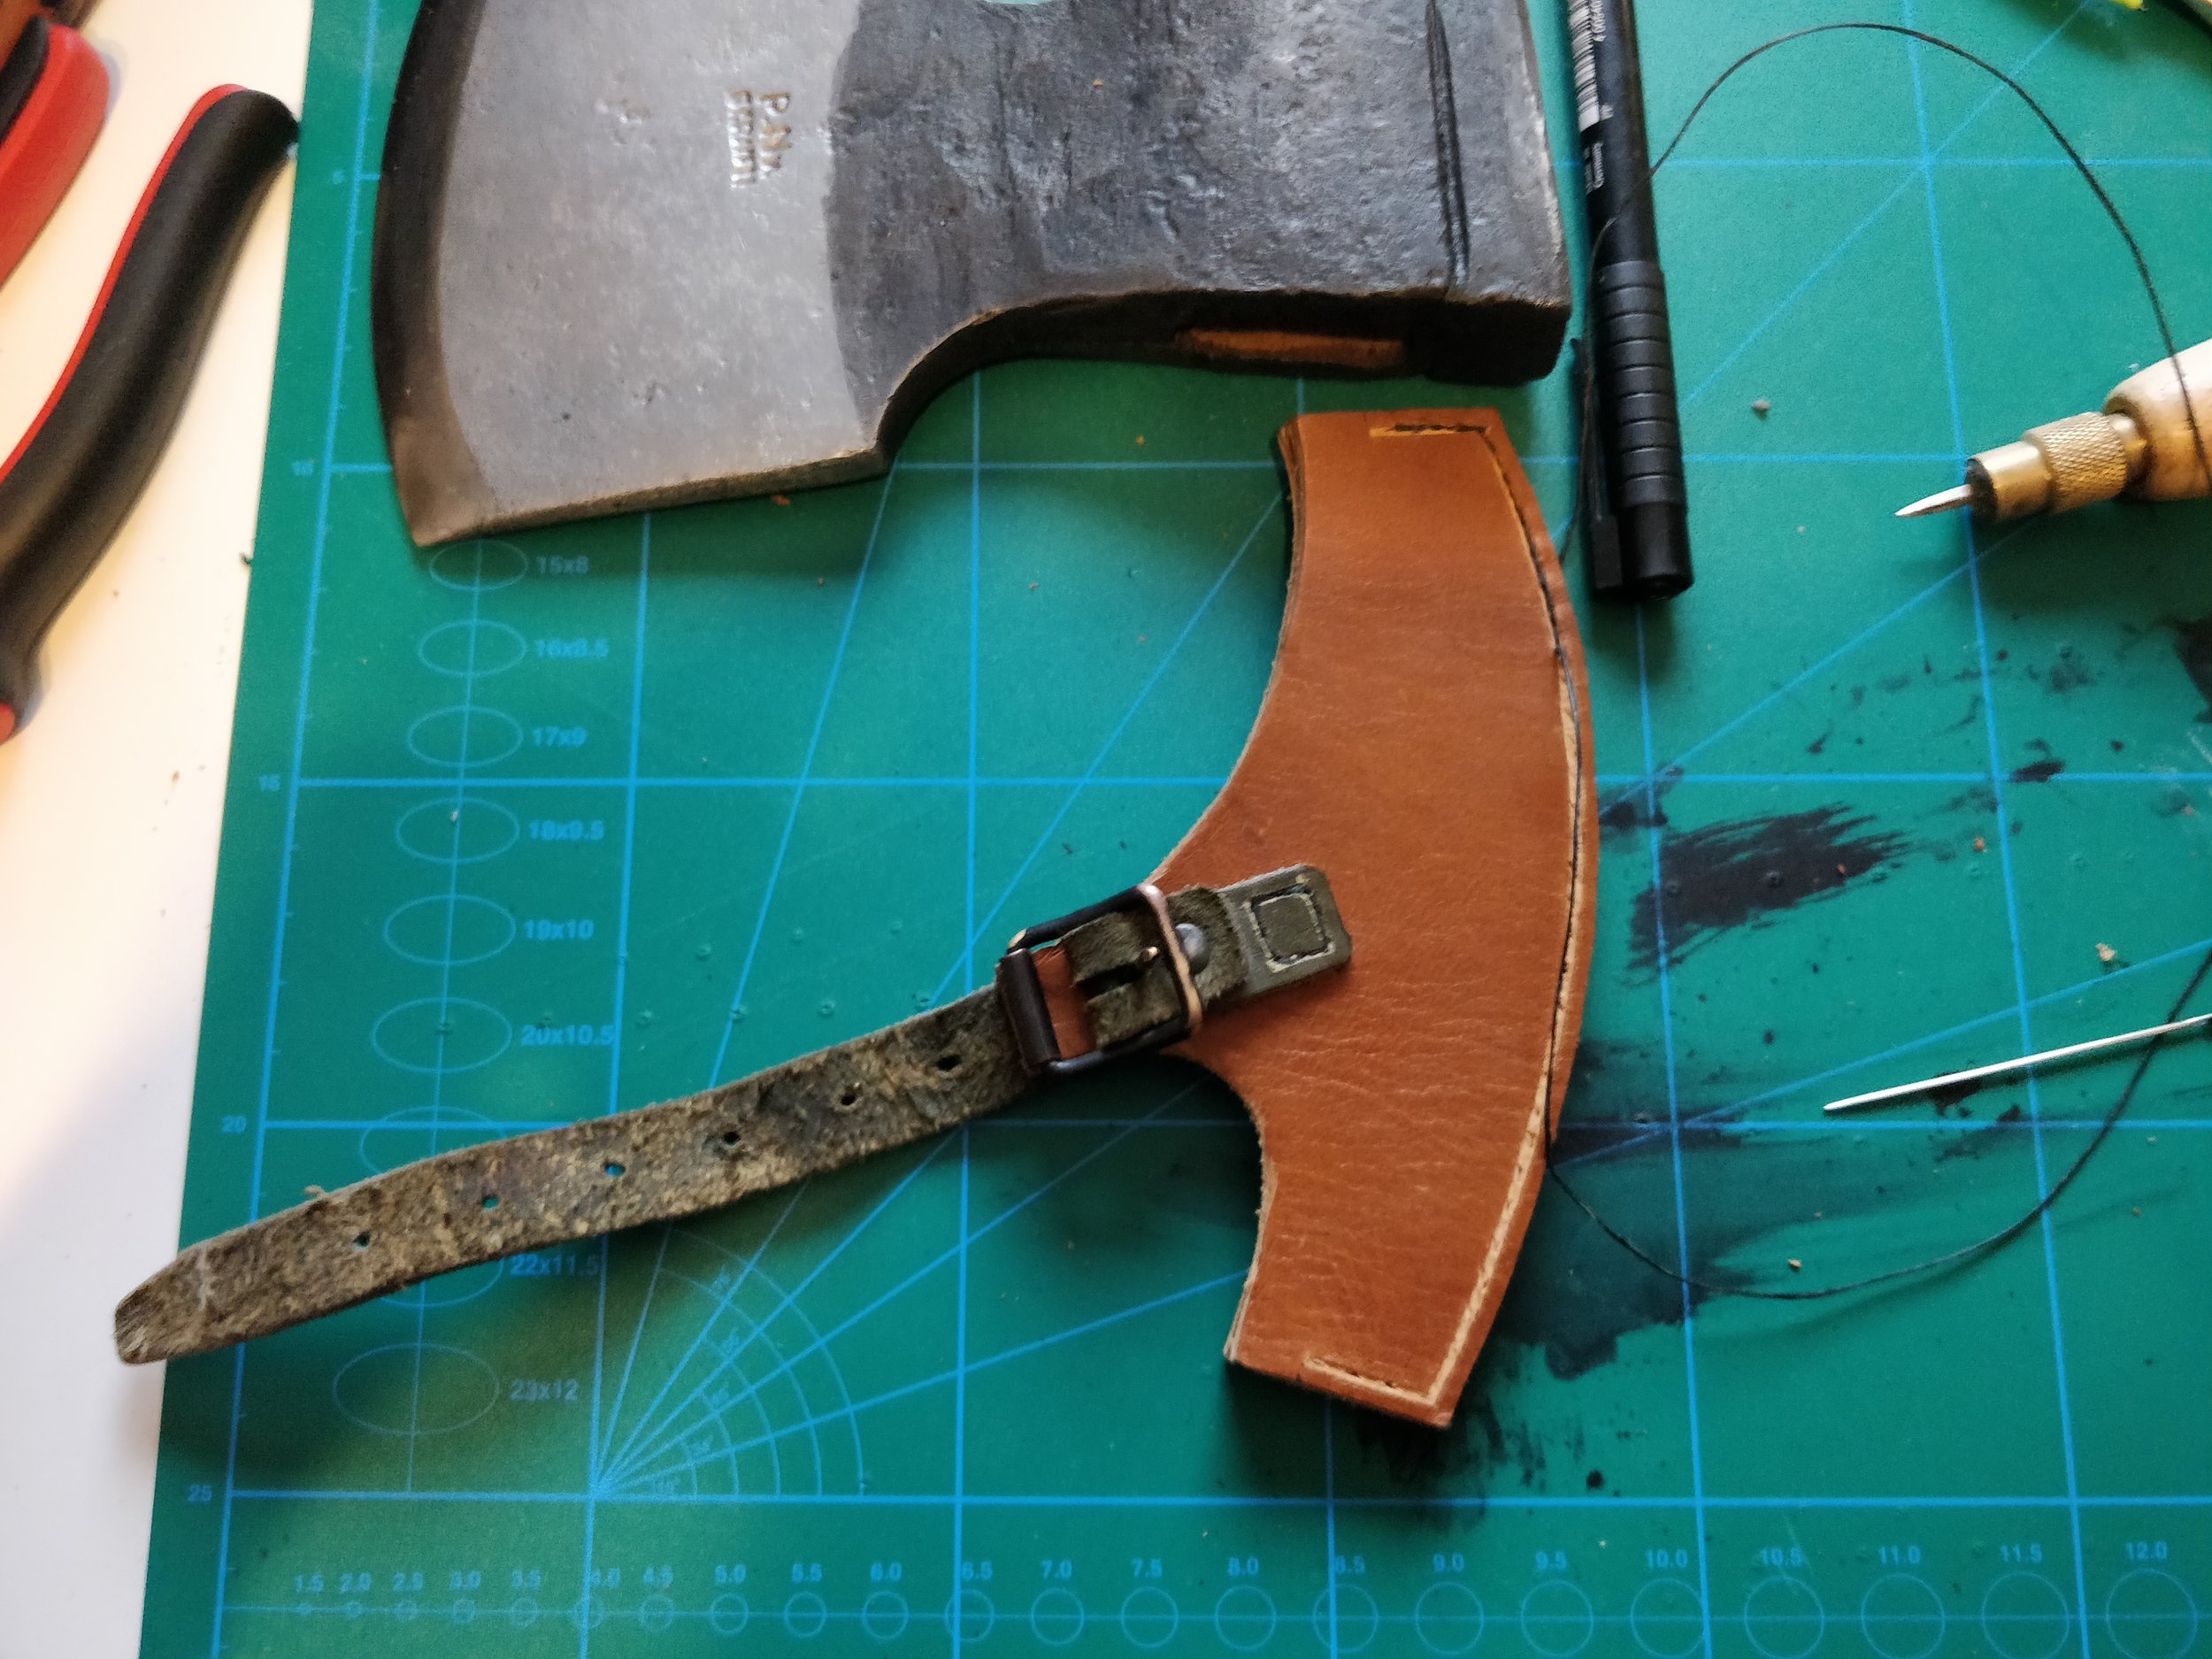
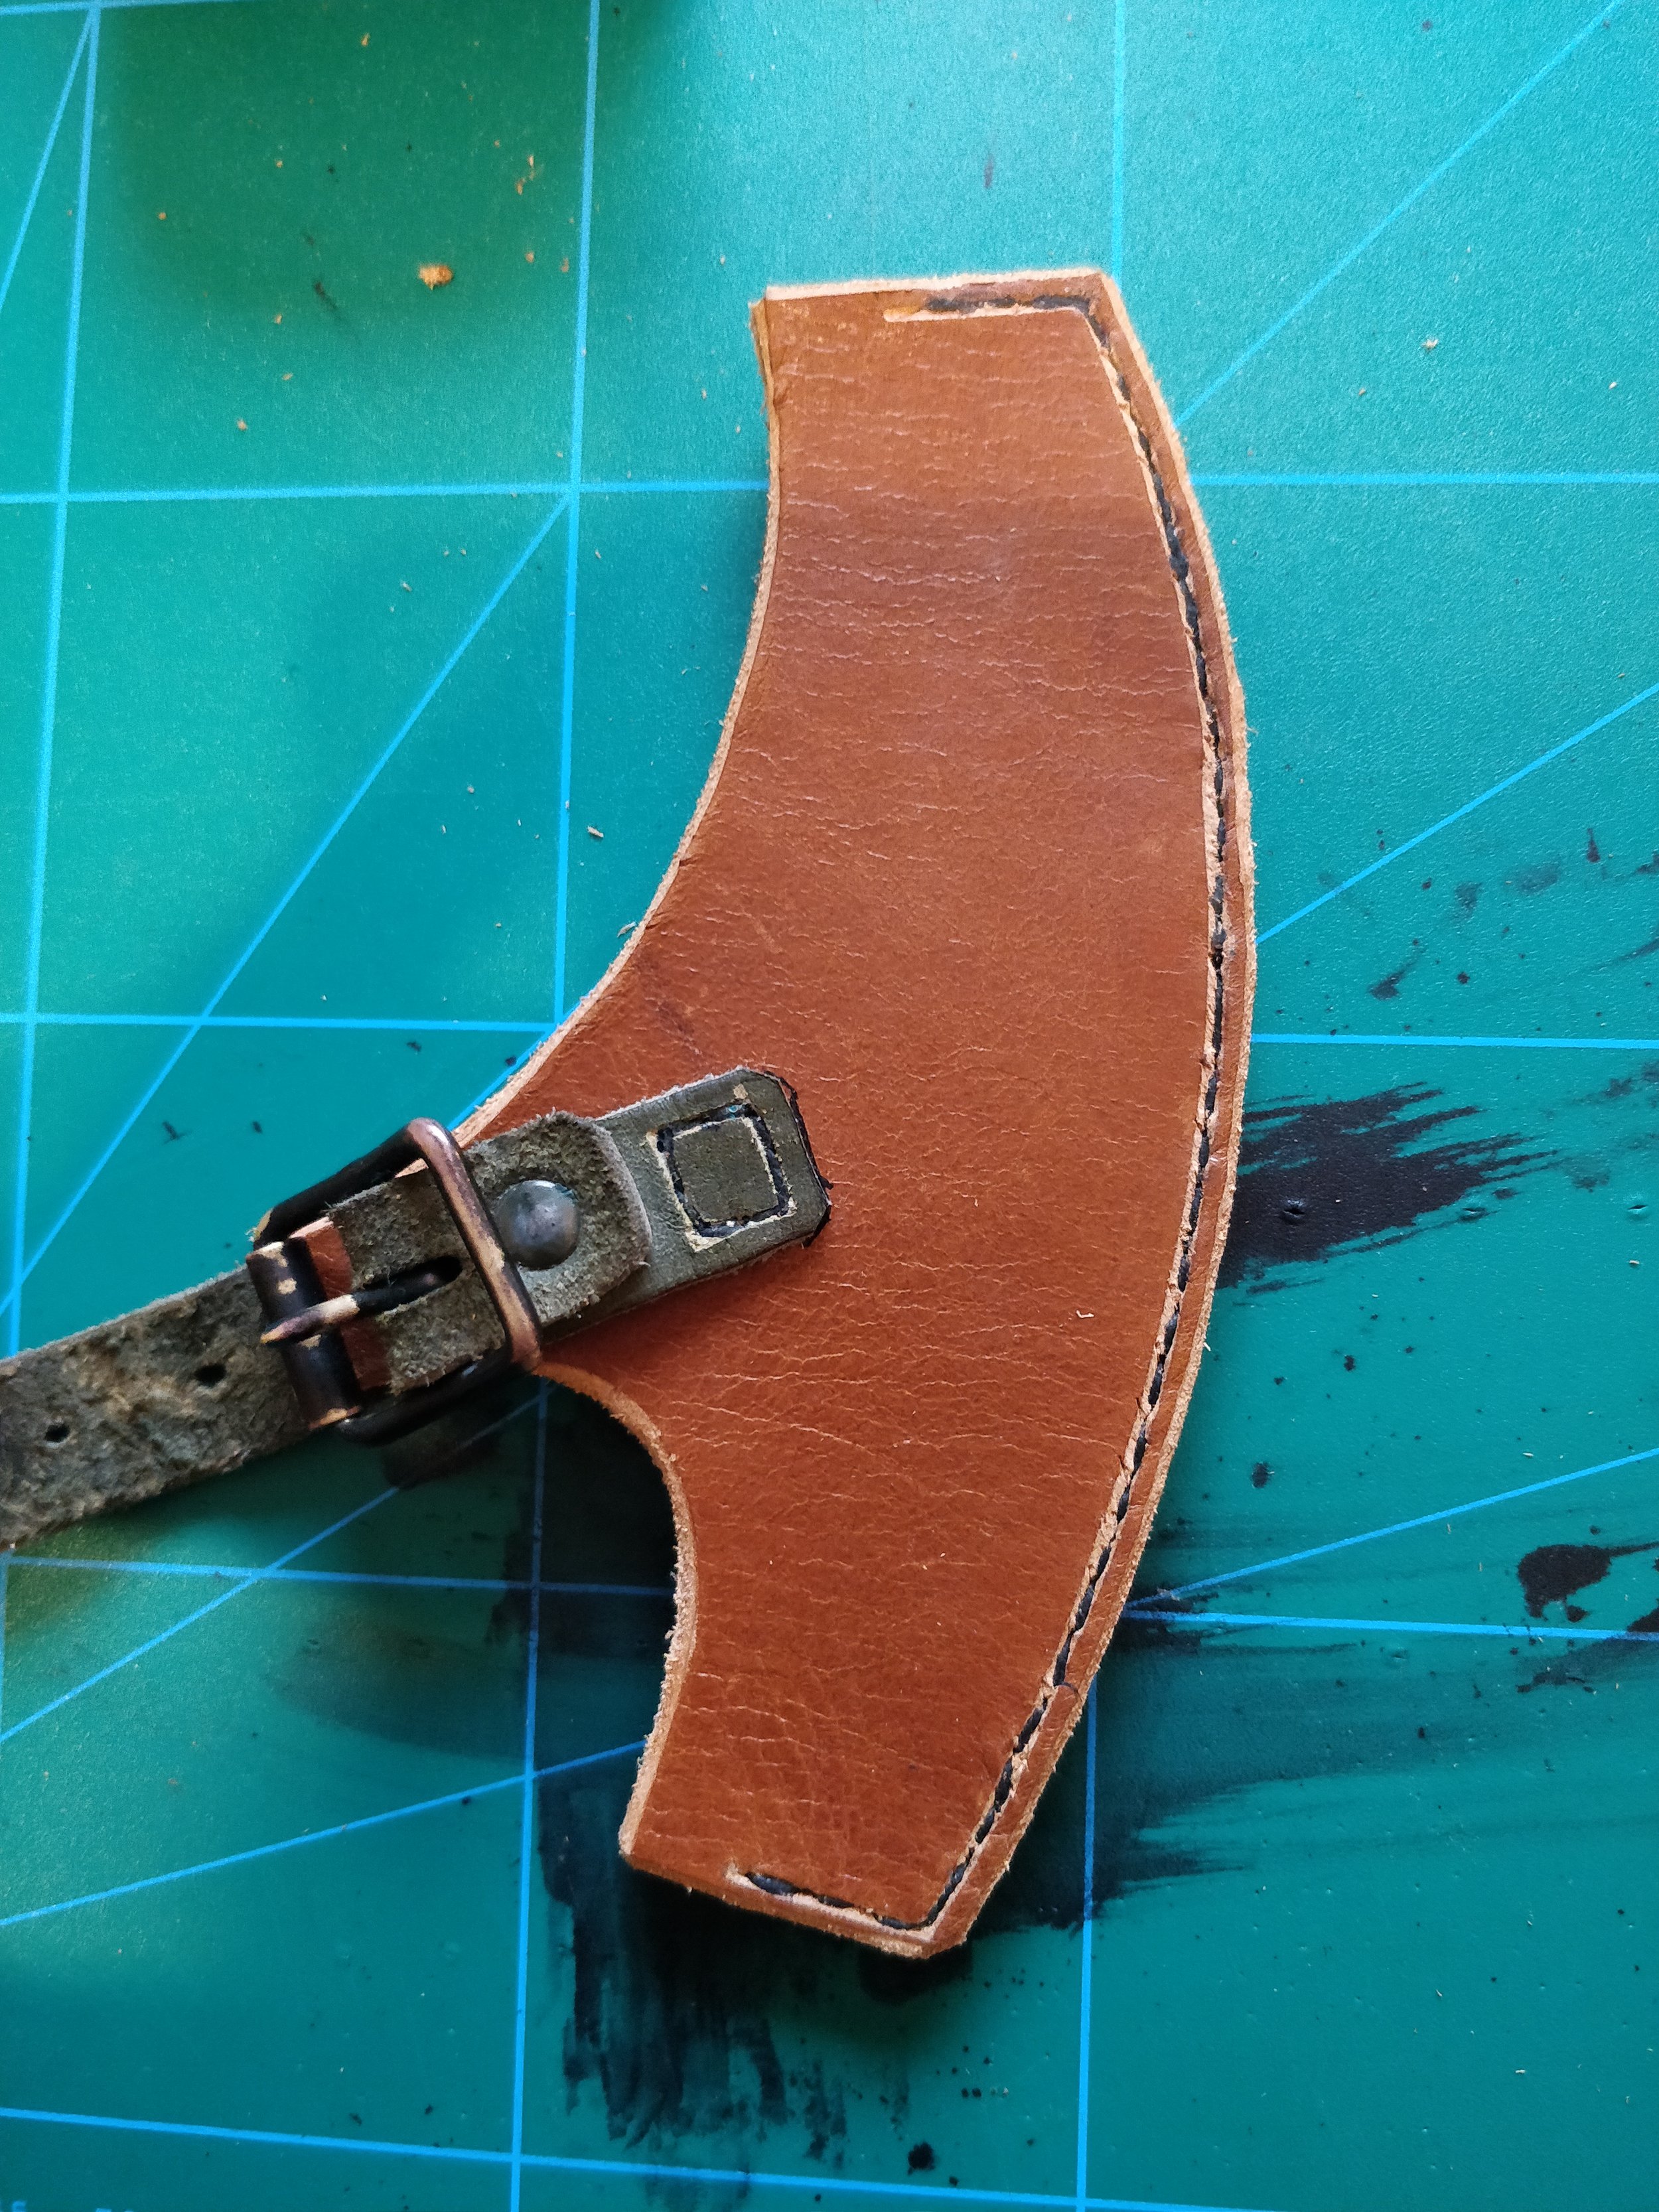
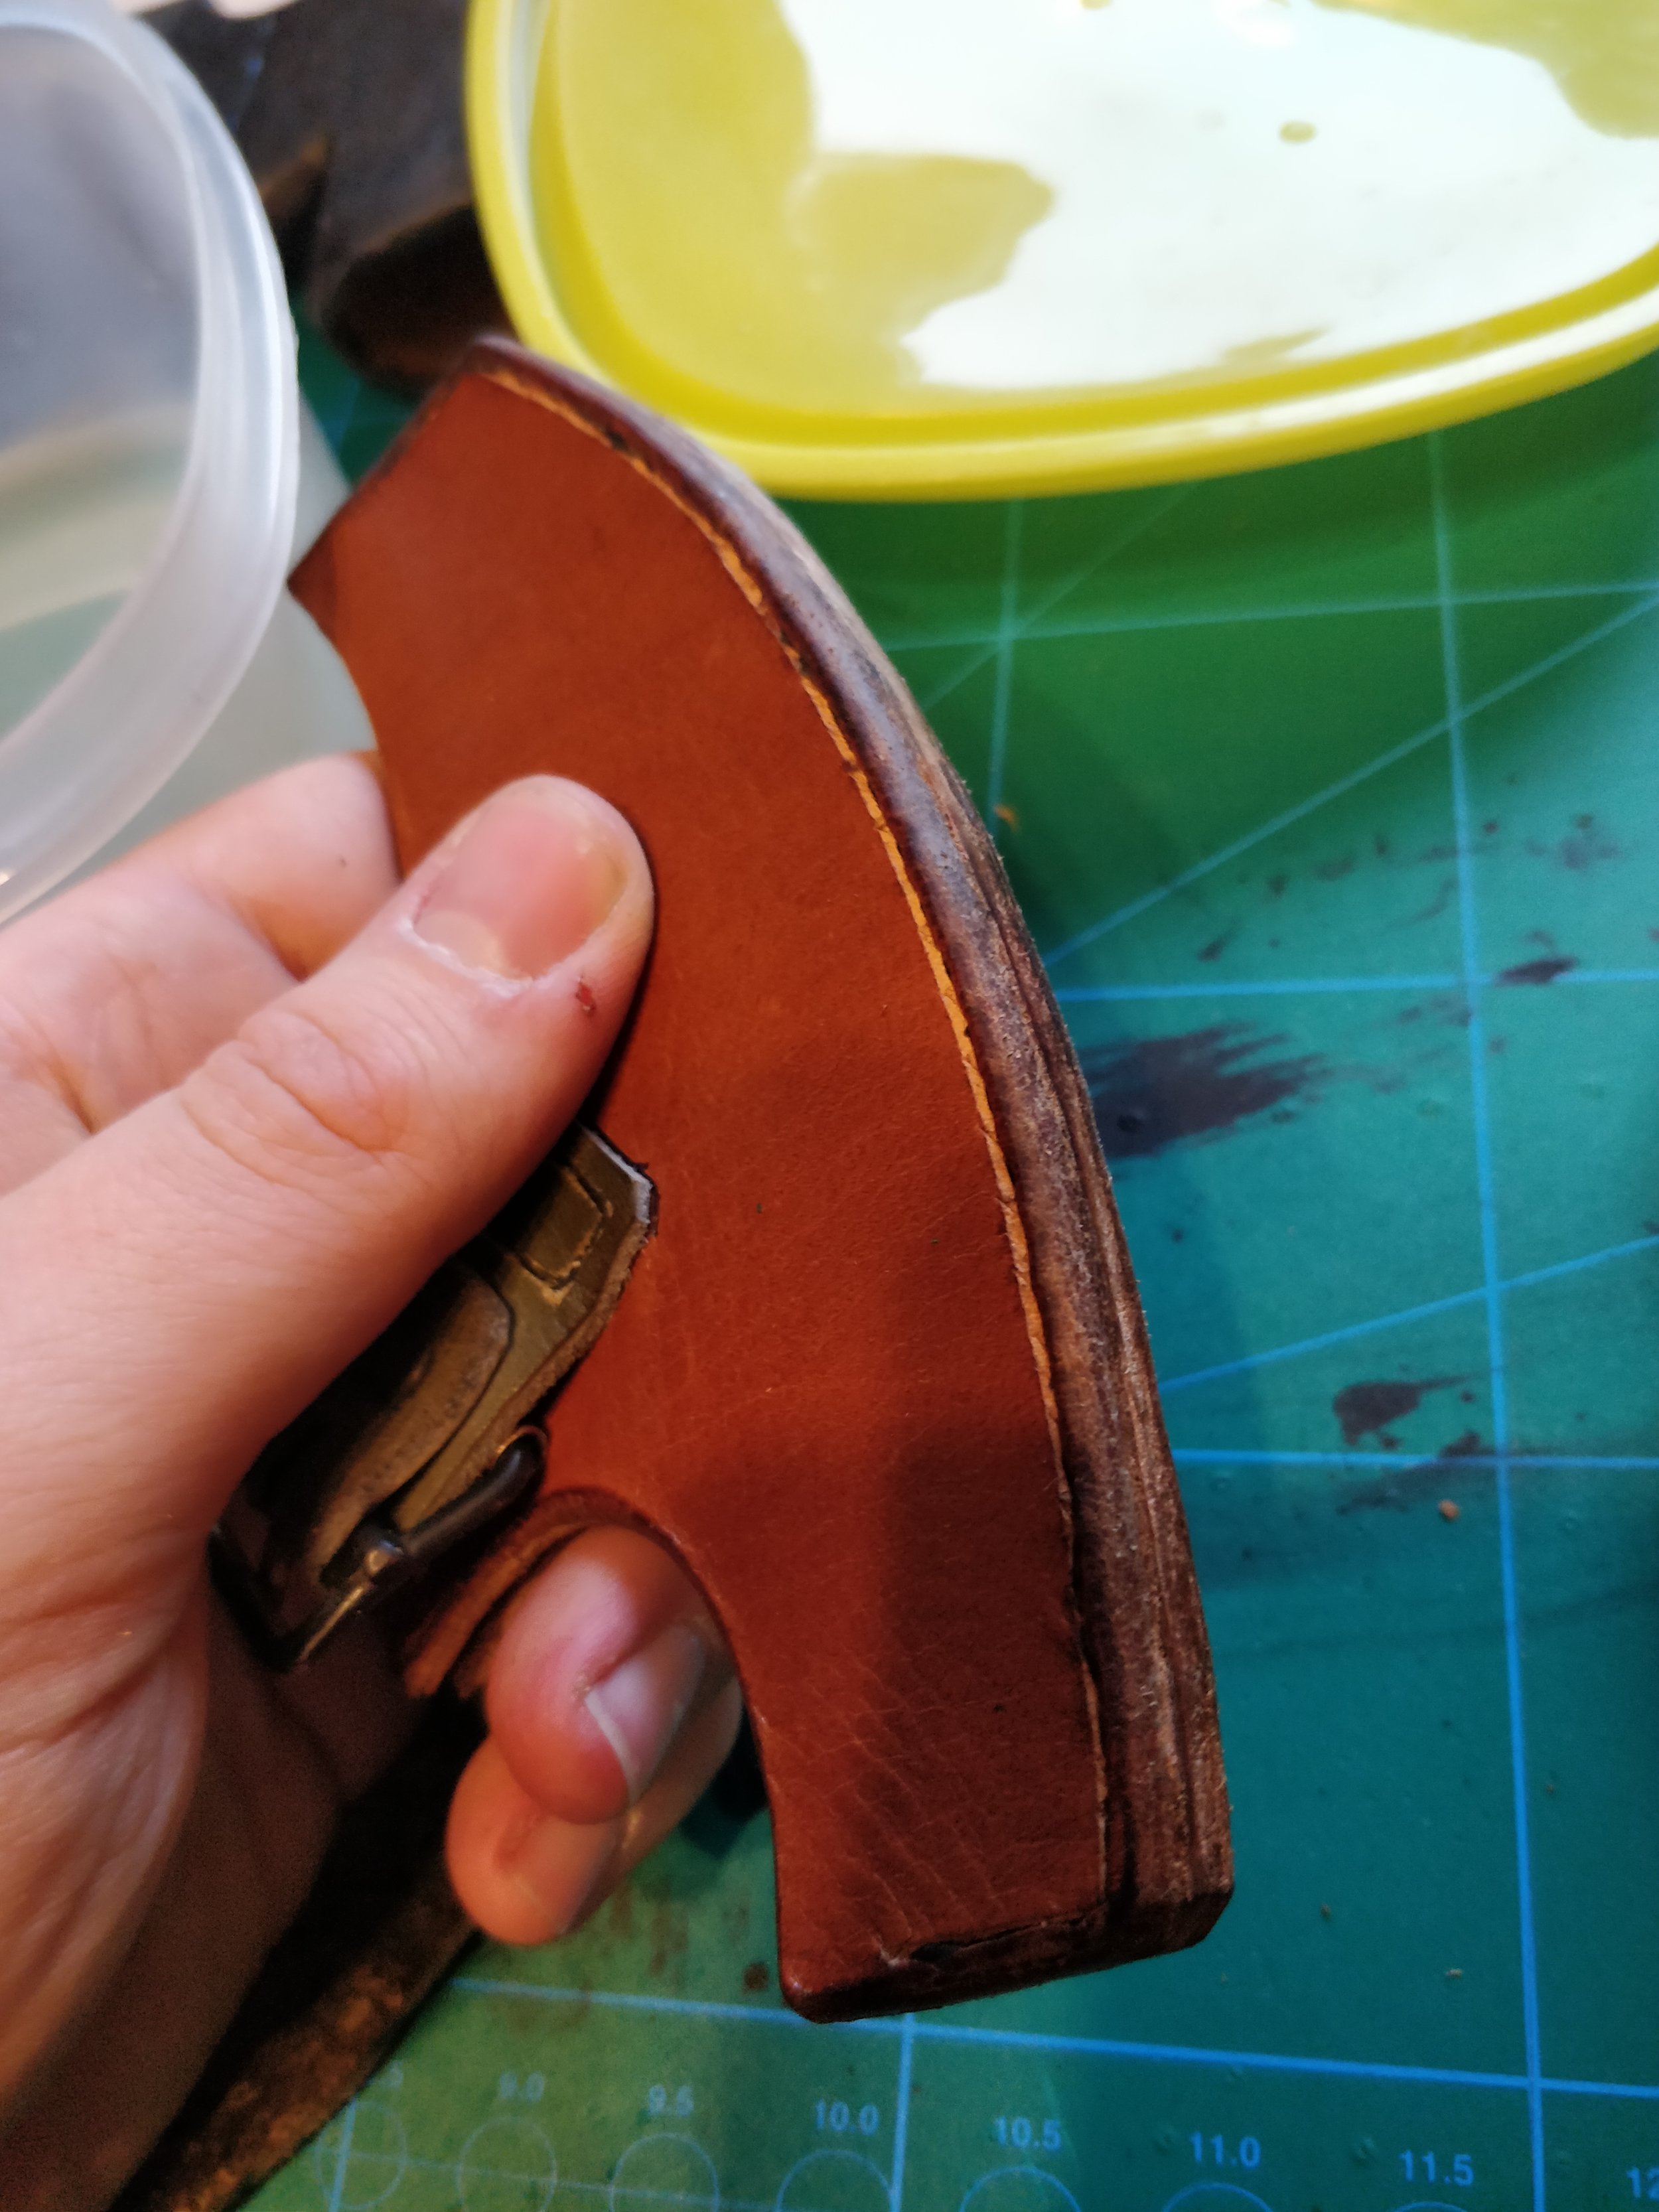
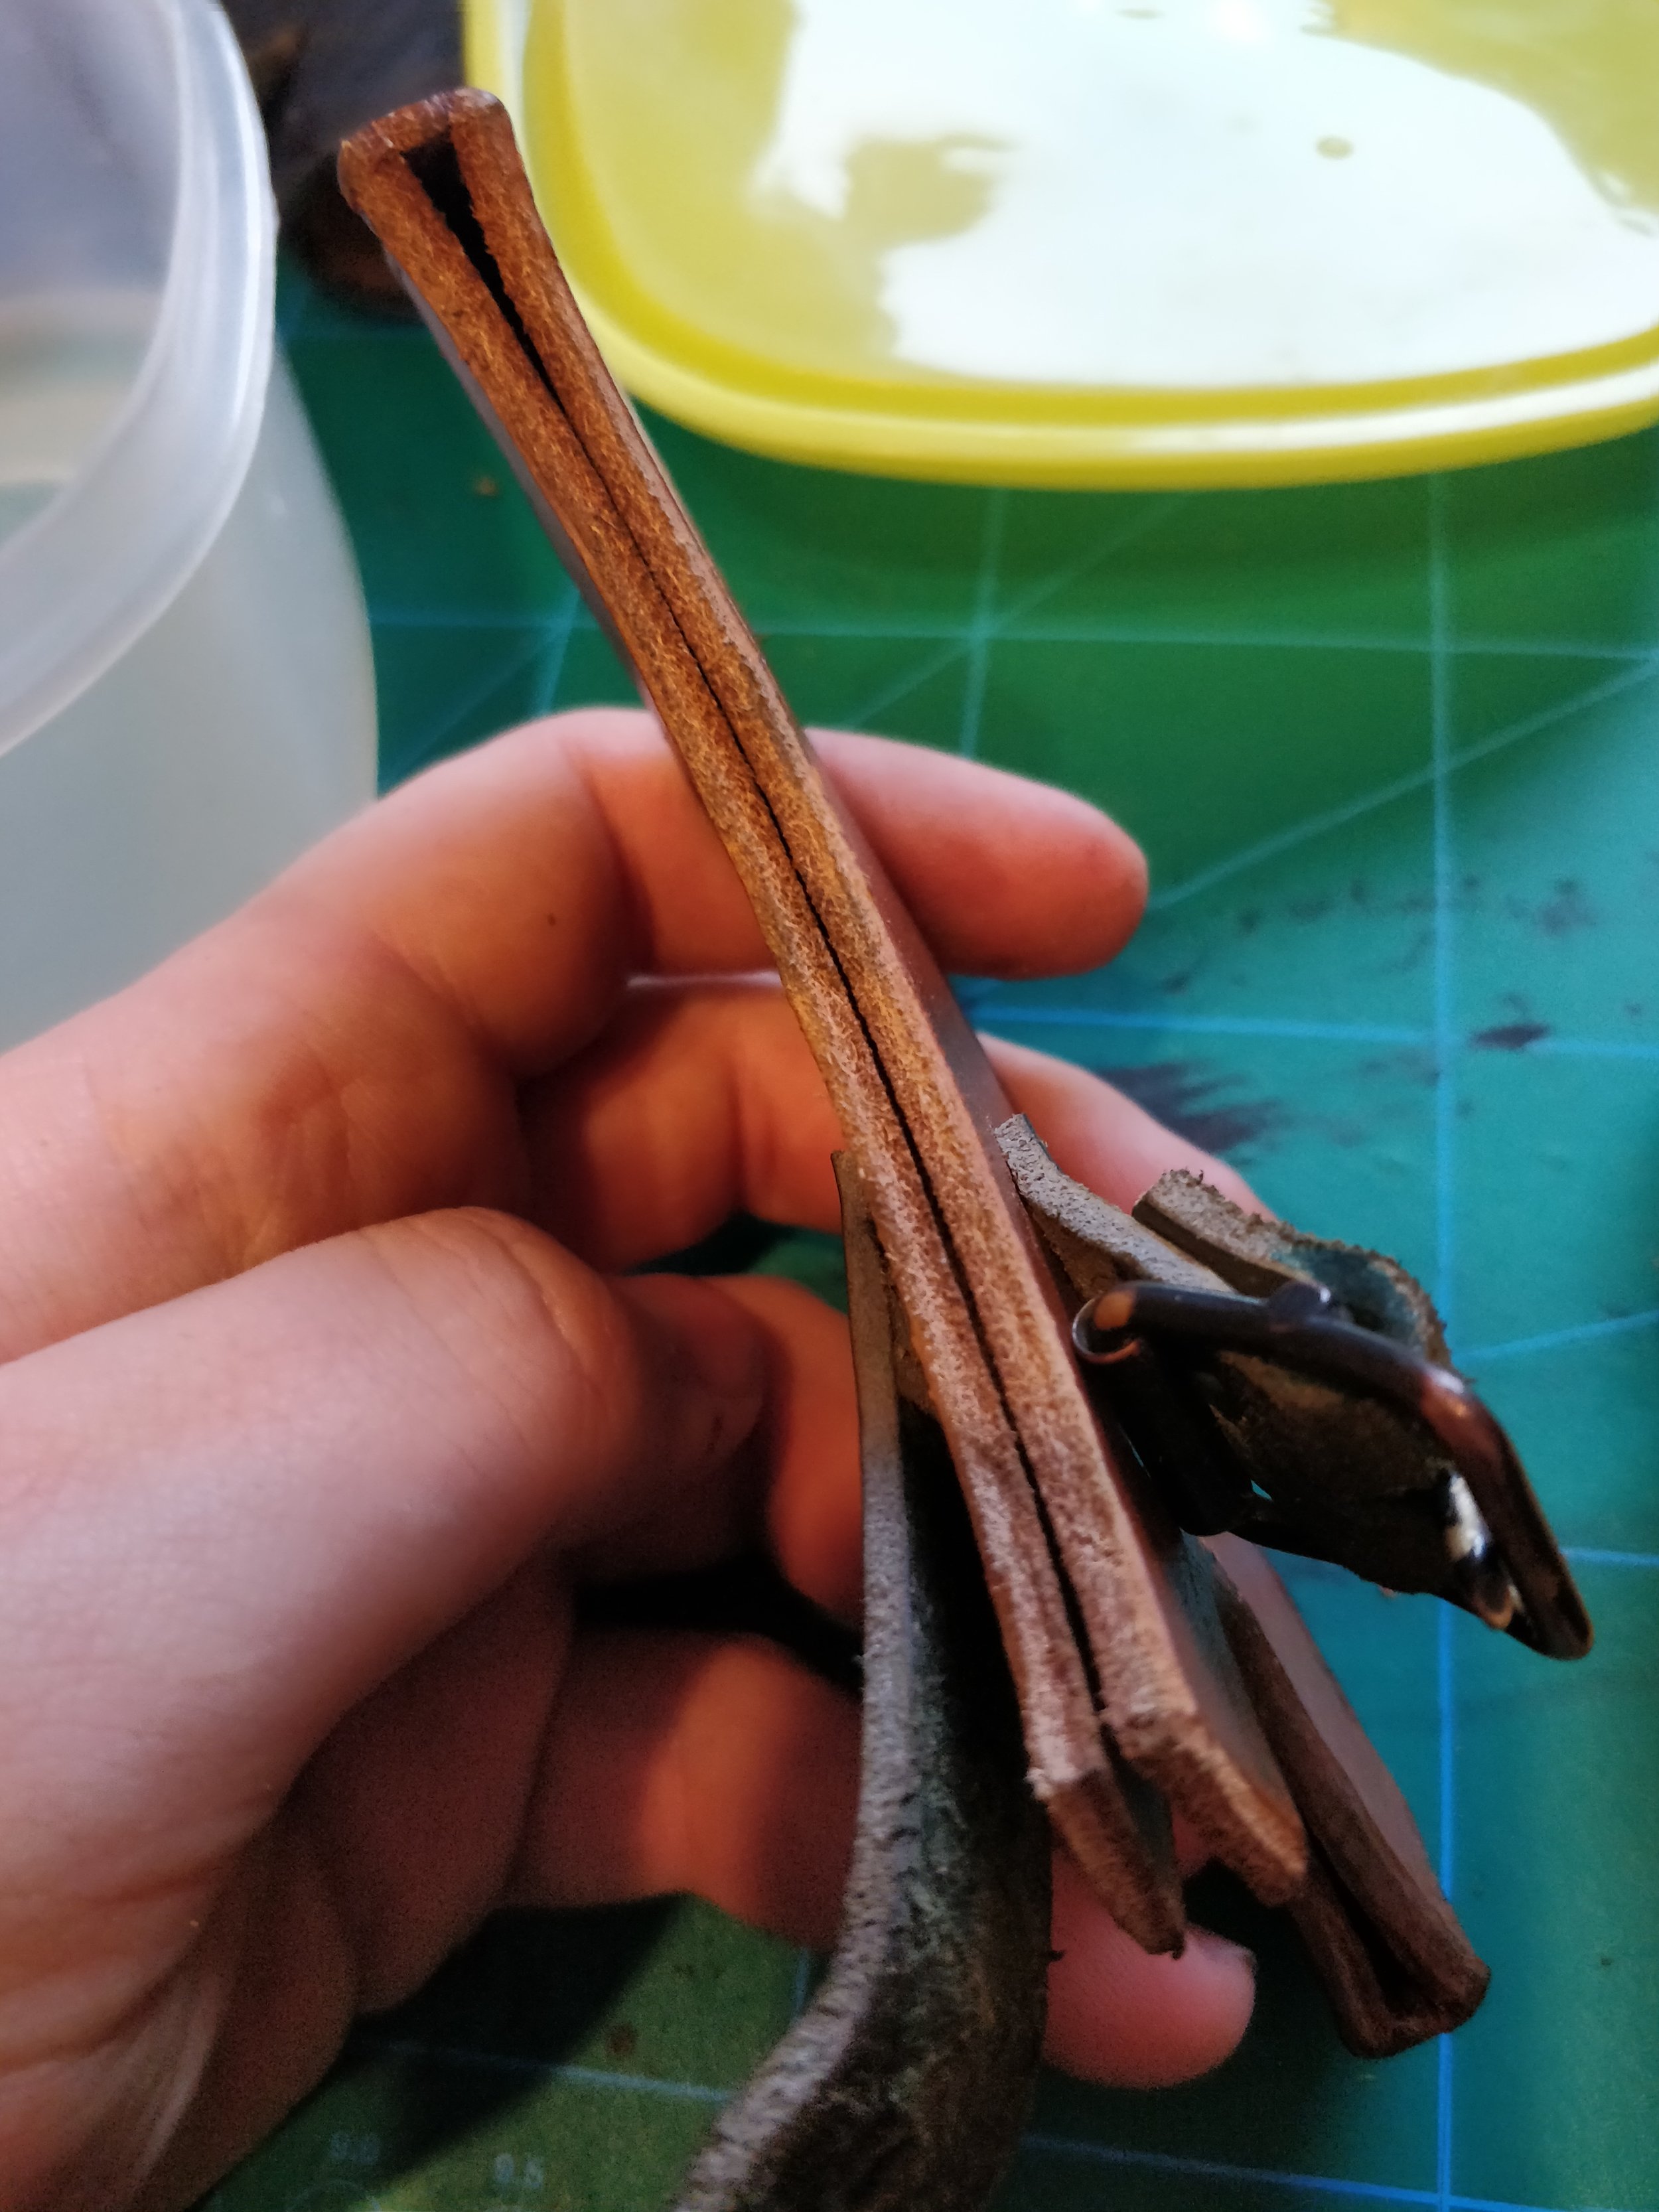
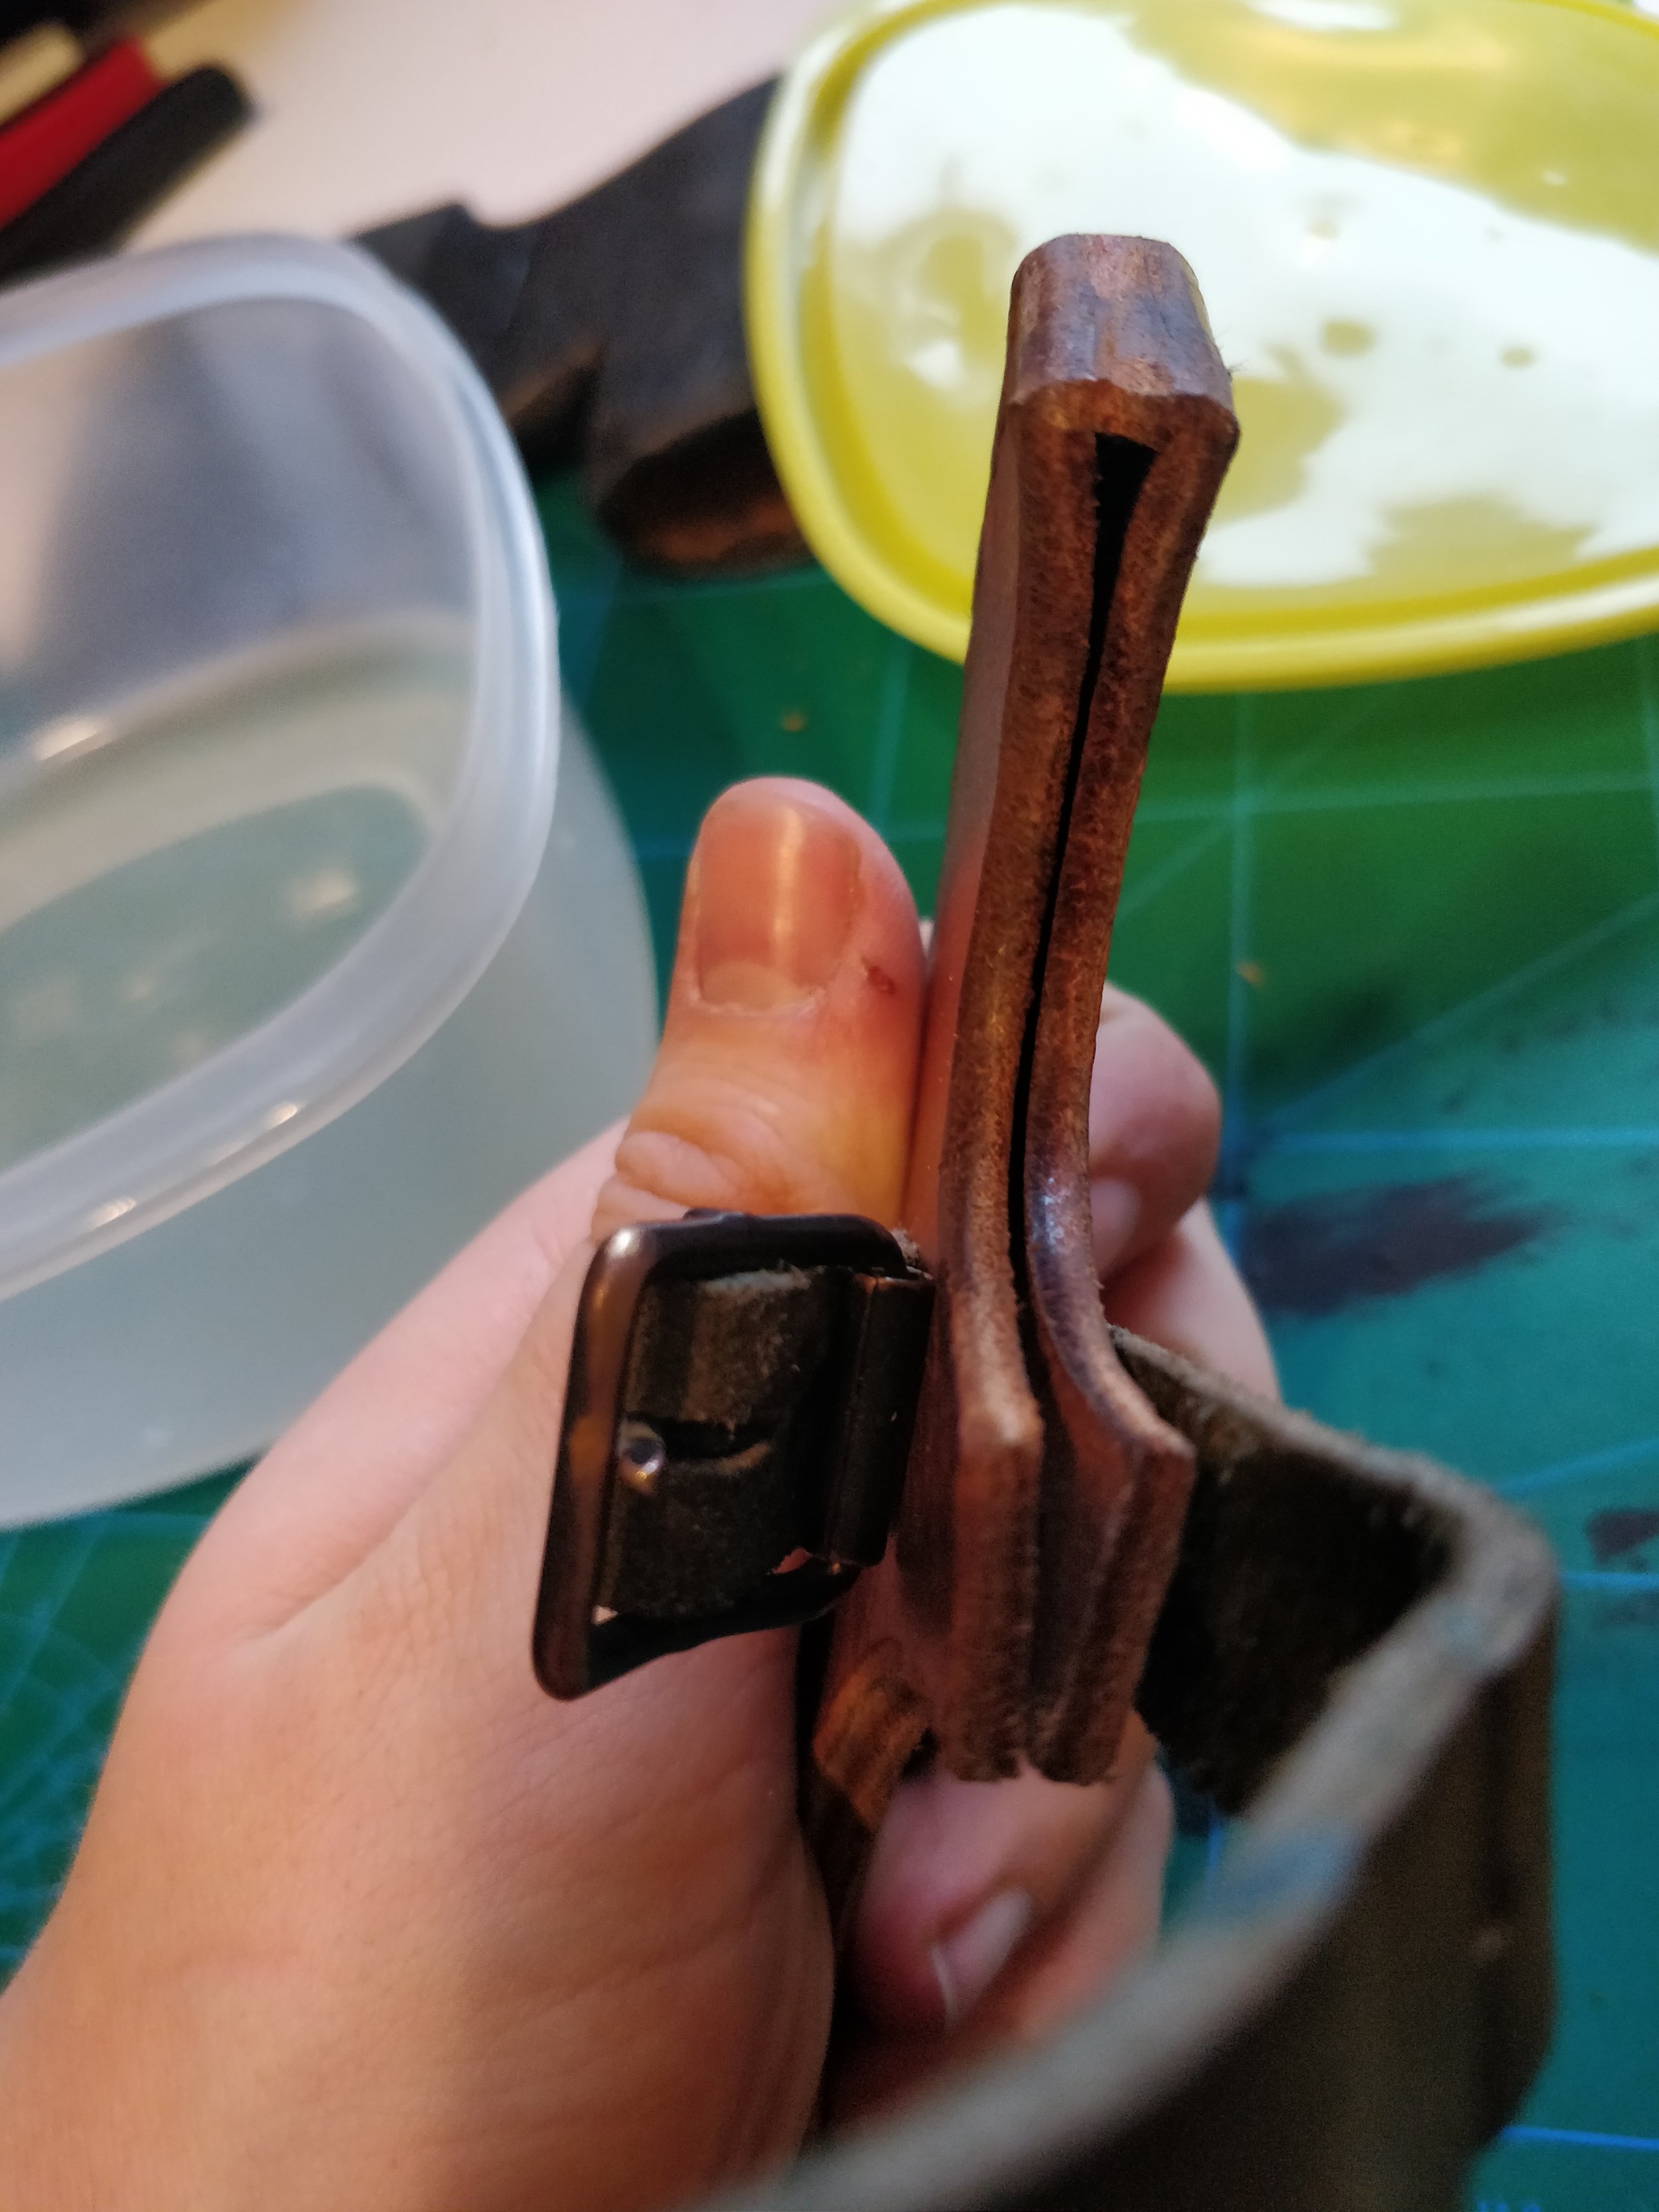
Then I started to manufacture a sheath for the axe, I start by drawing the axe on paper and then drawing in the pattern I want. The belts I use are military surplus, it is the pant-straps for the swedish militarys m/59 pants. When the sheaths is done, everything is dyed with a black leather alcohol dye.
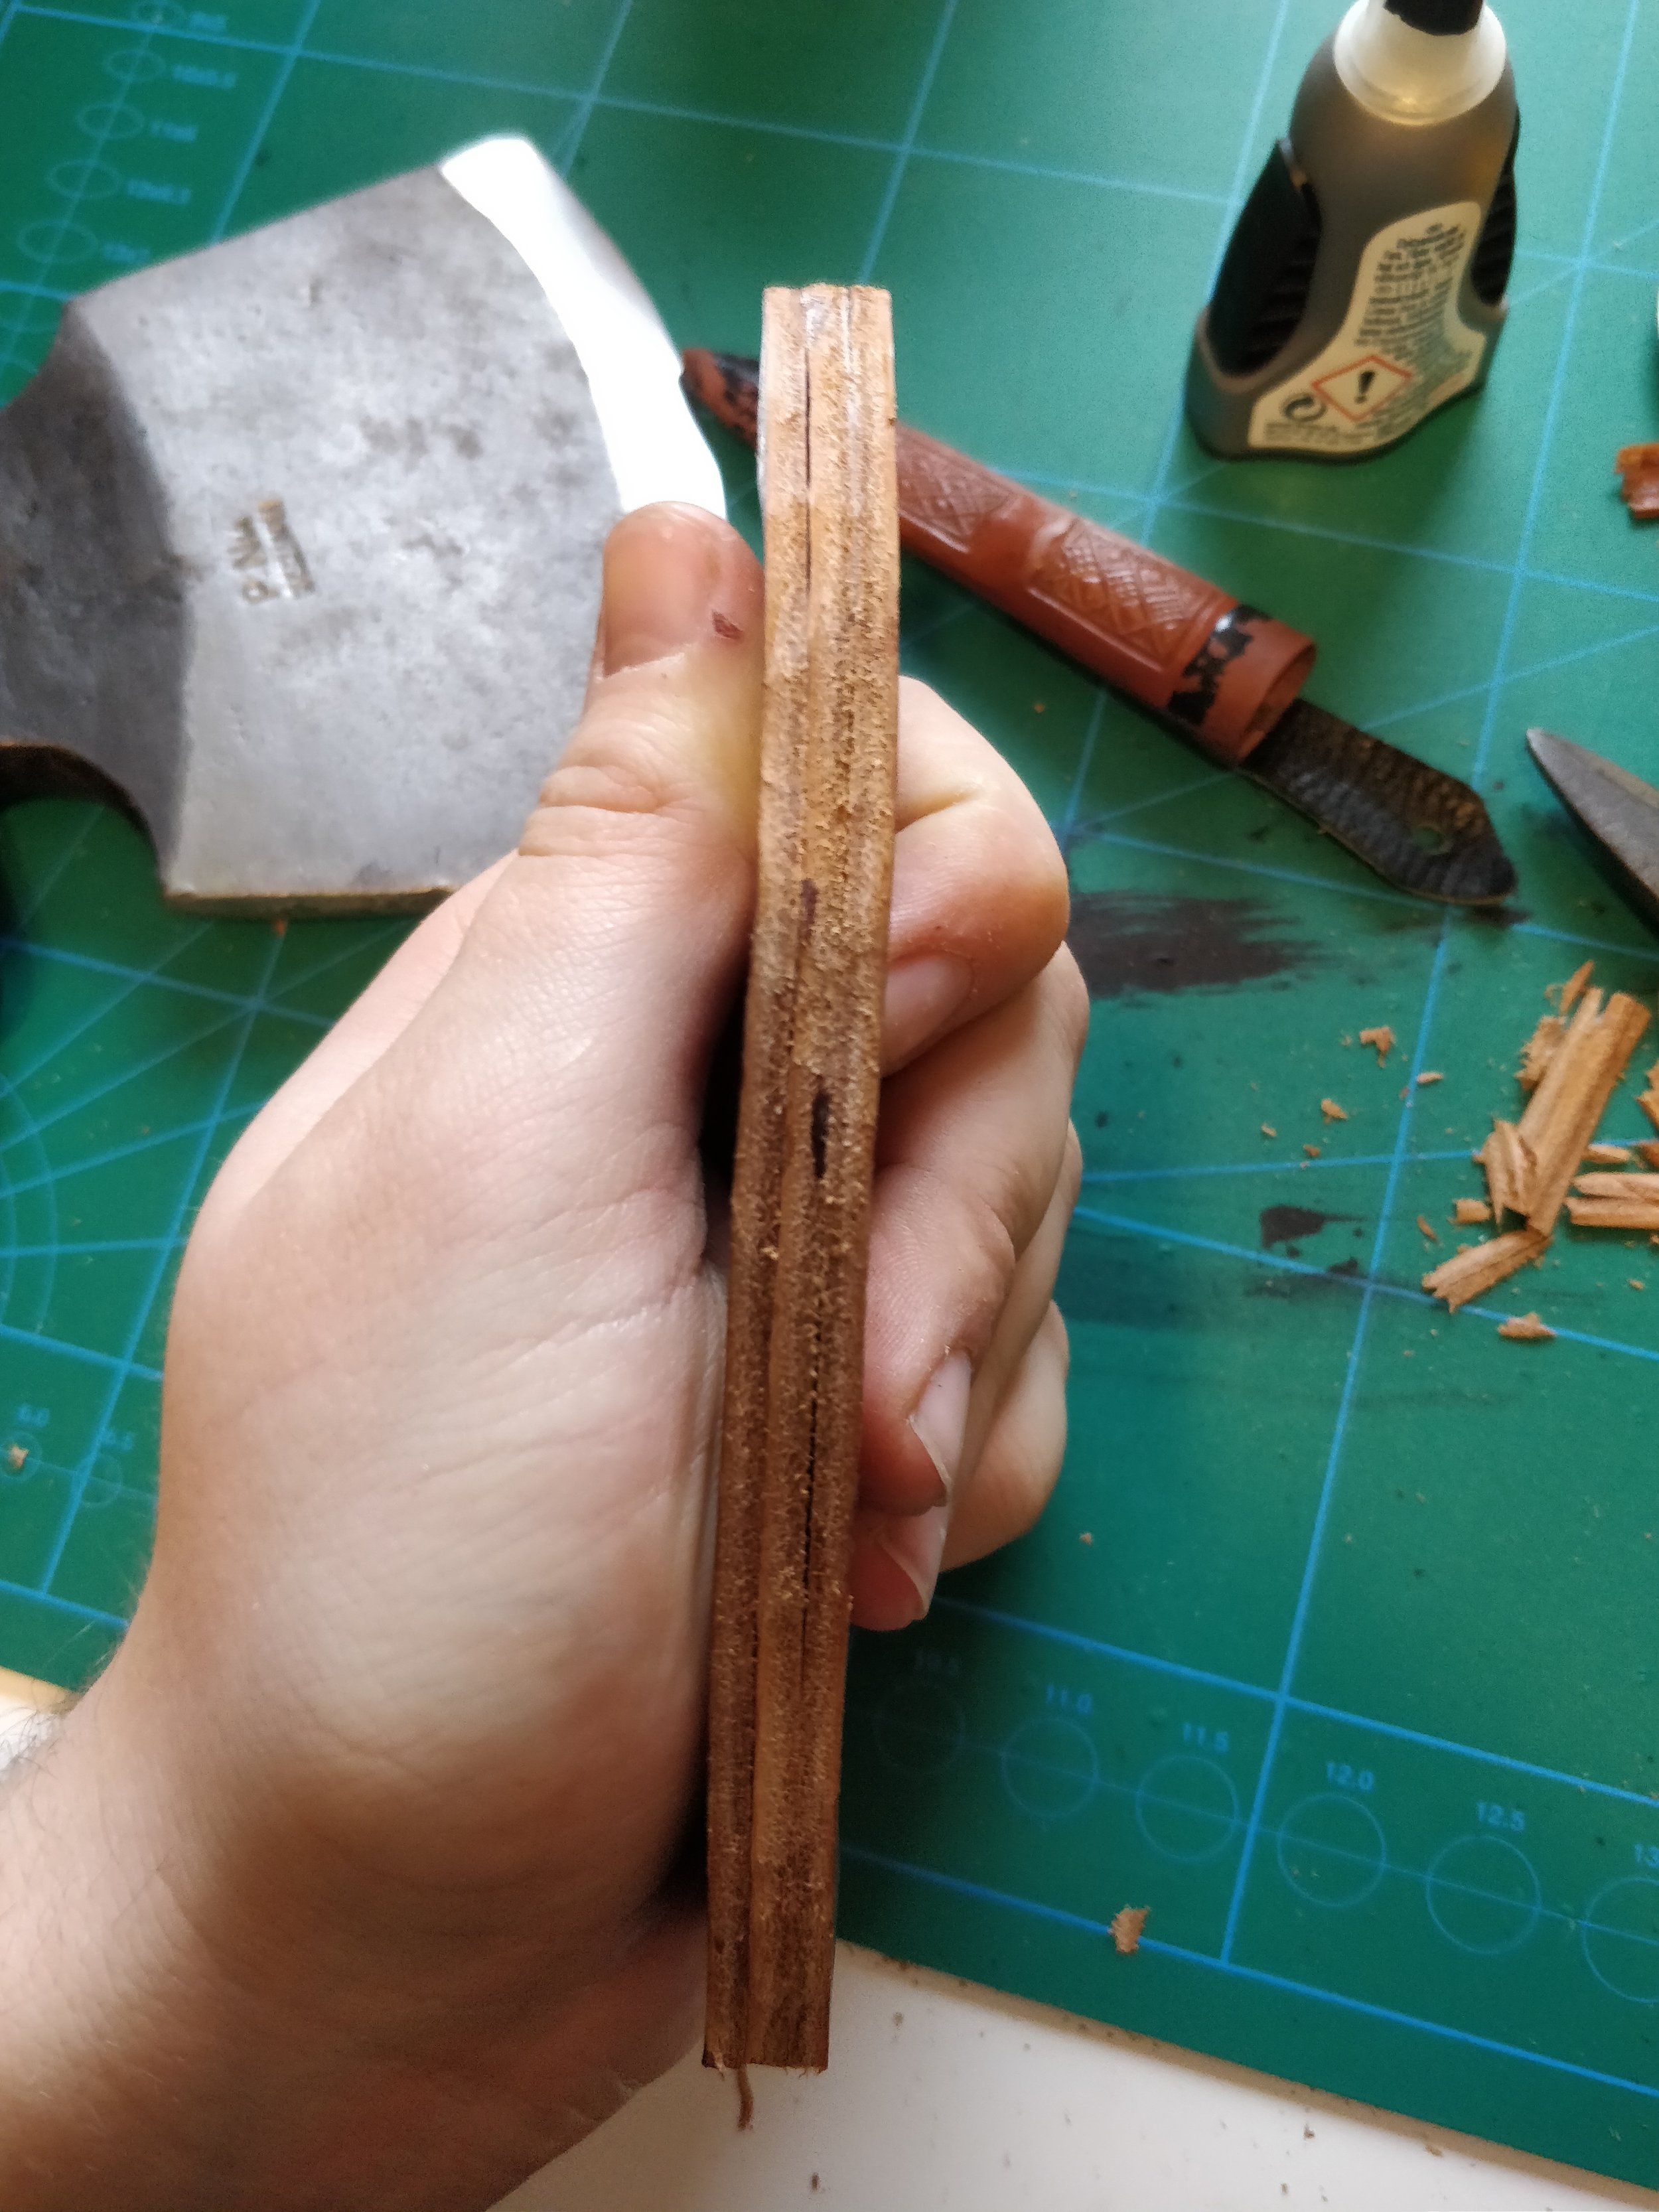
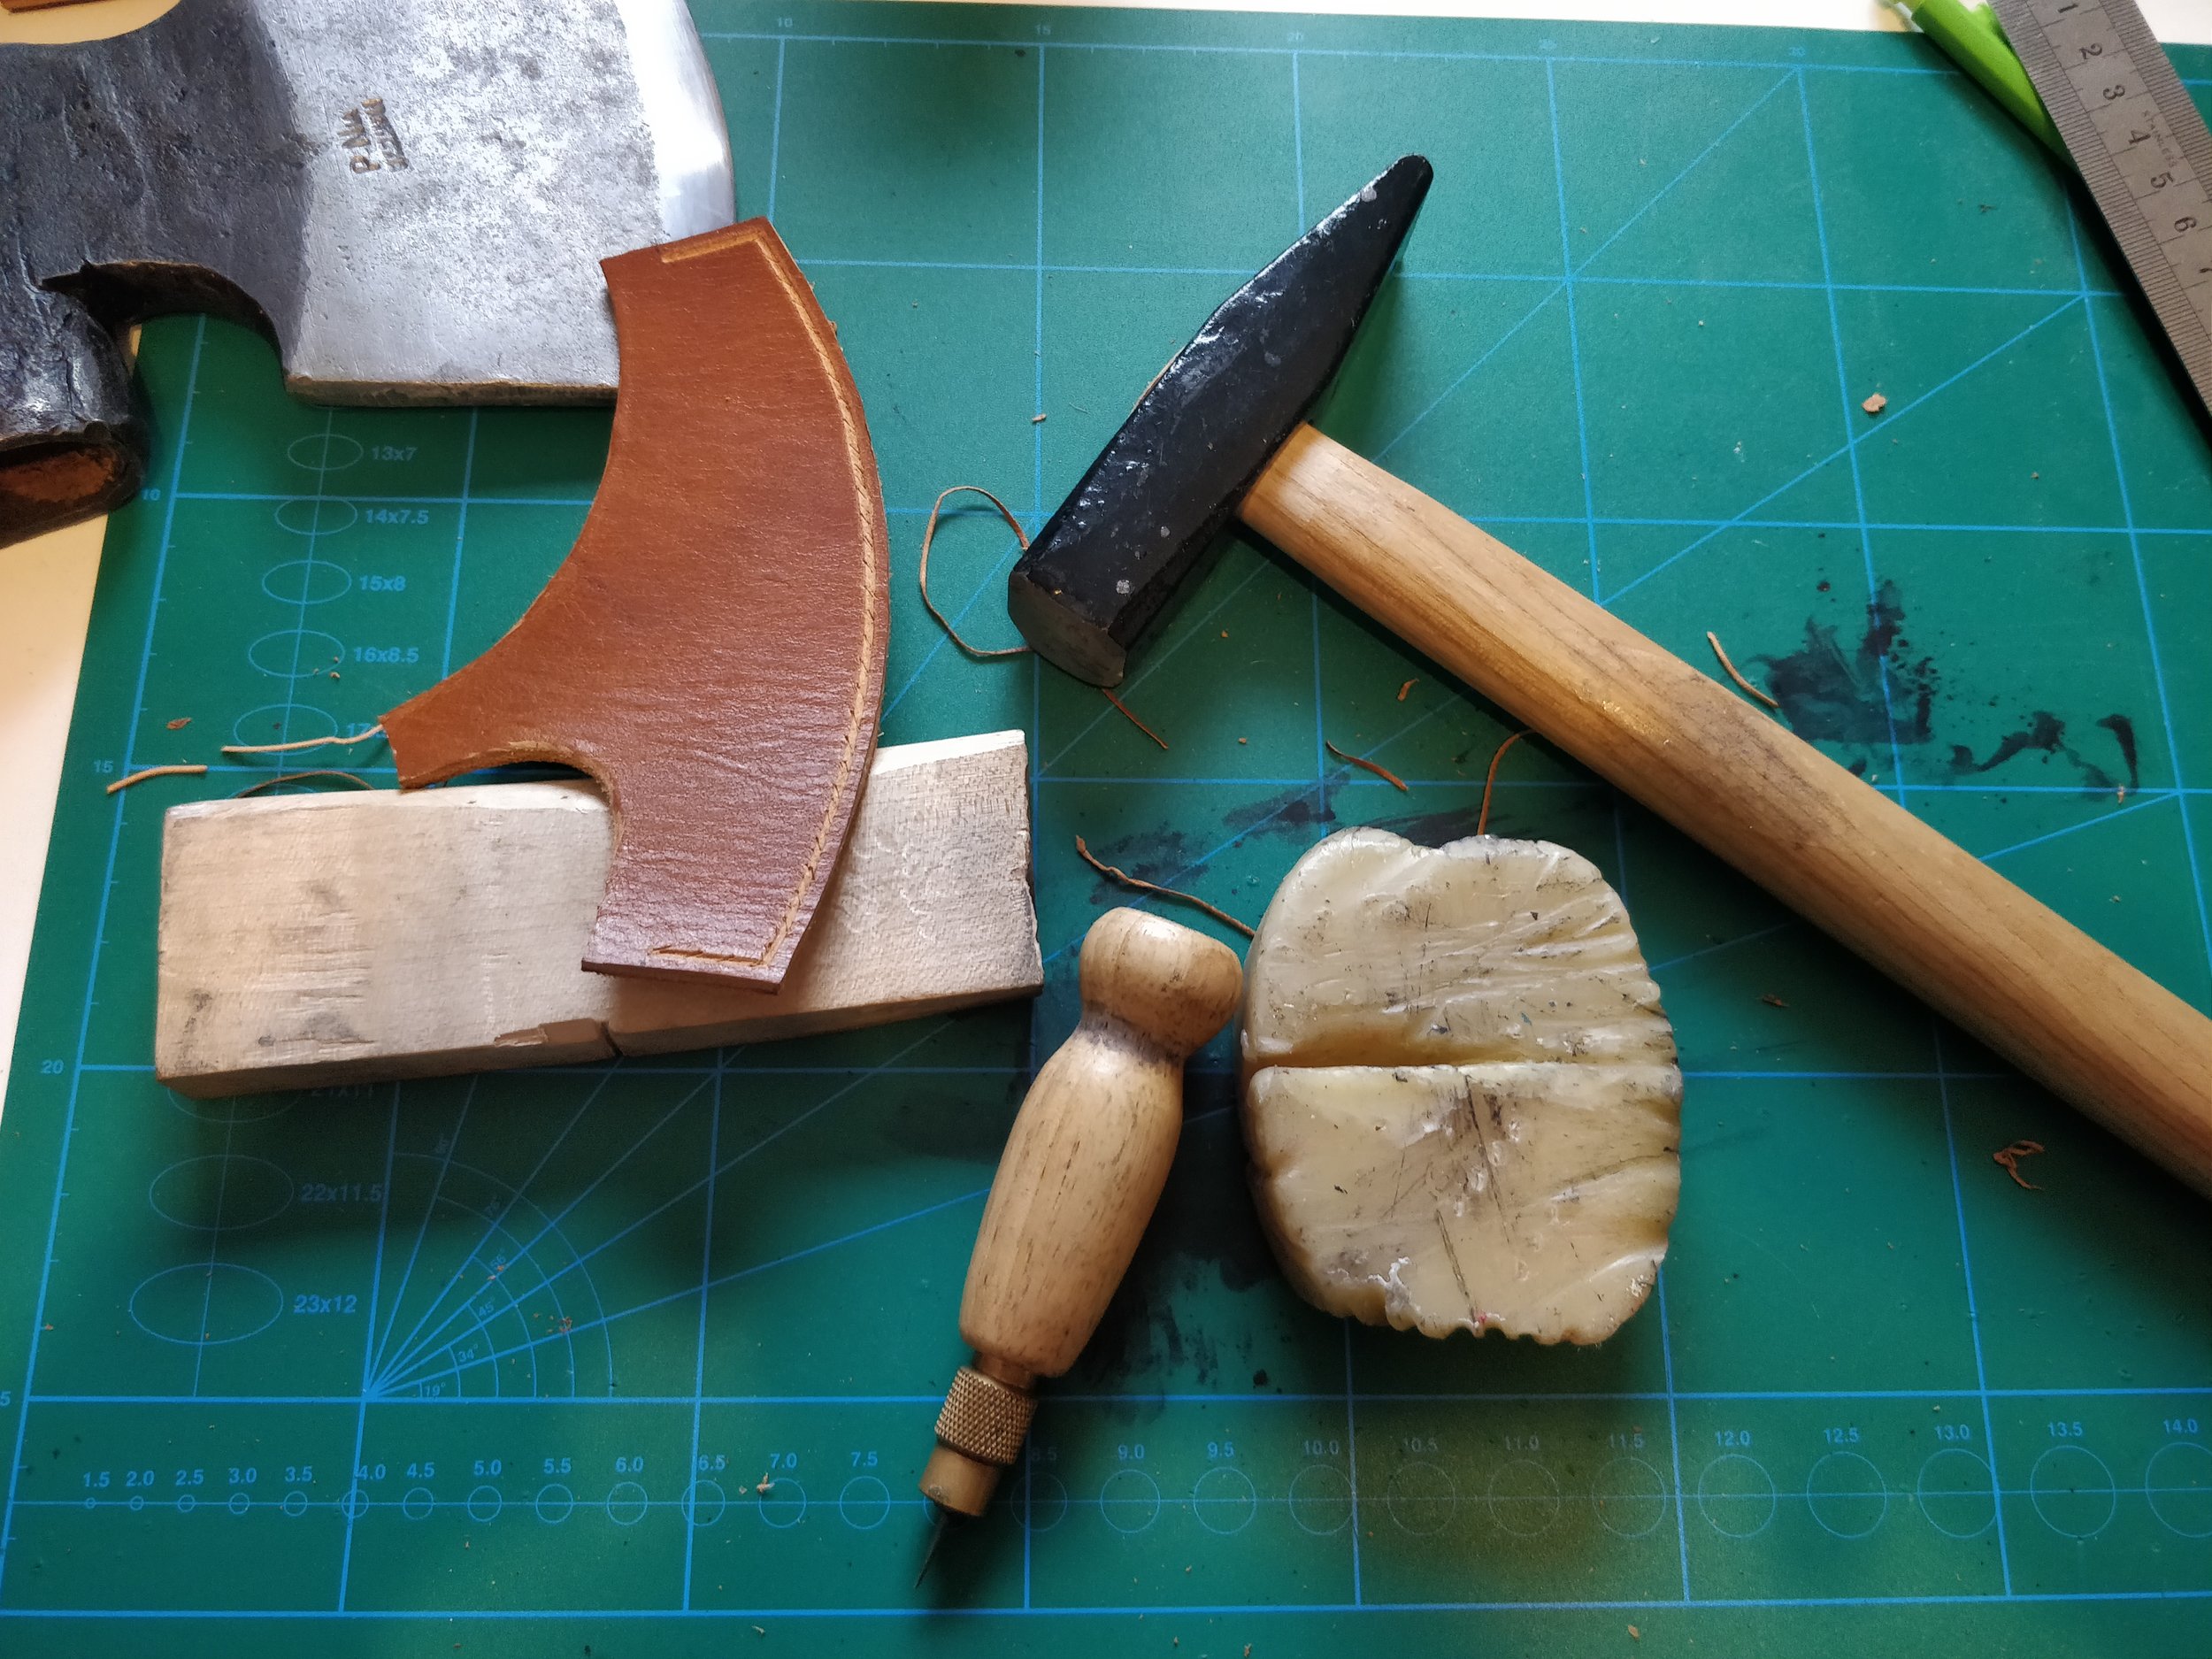

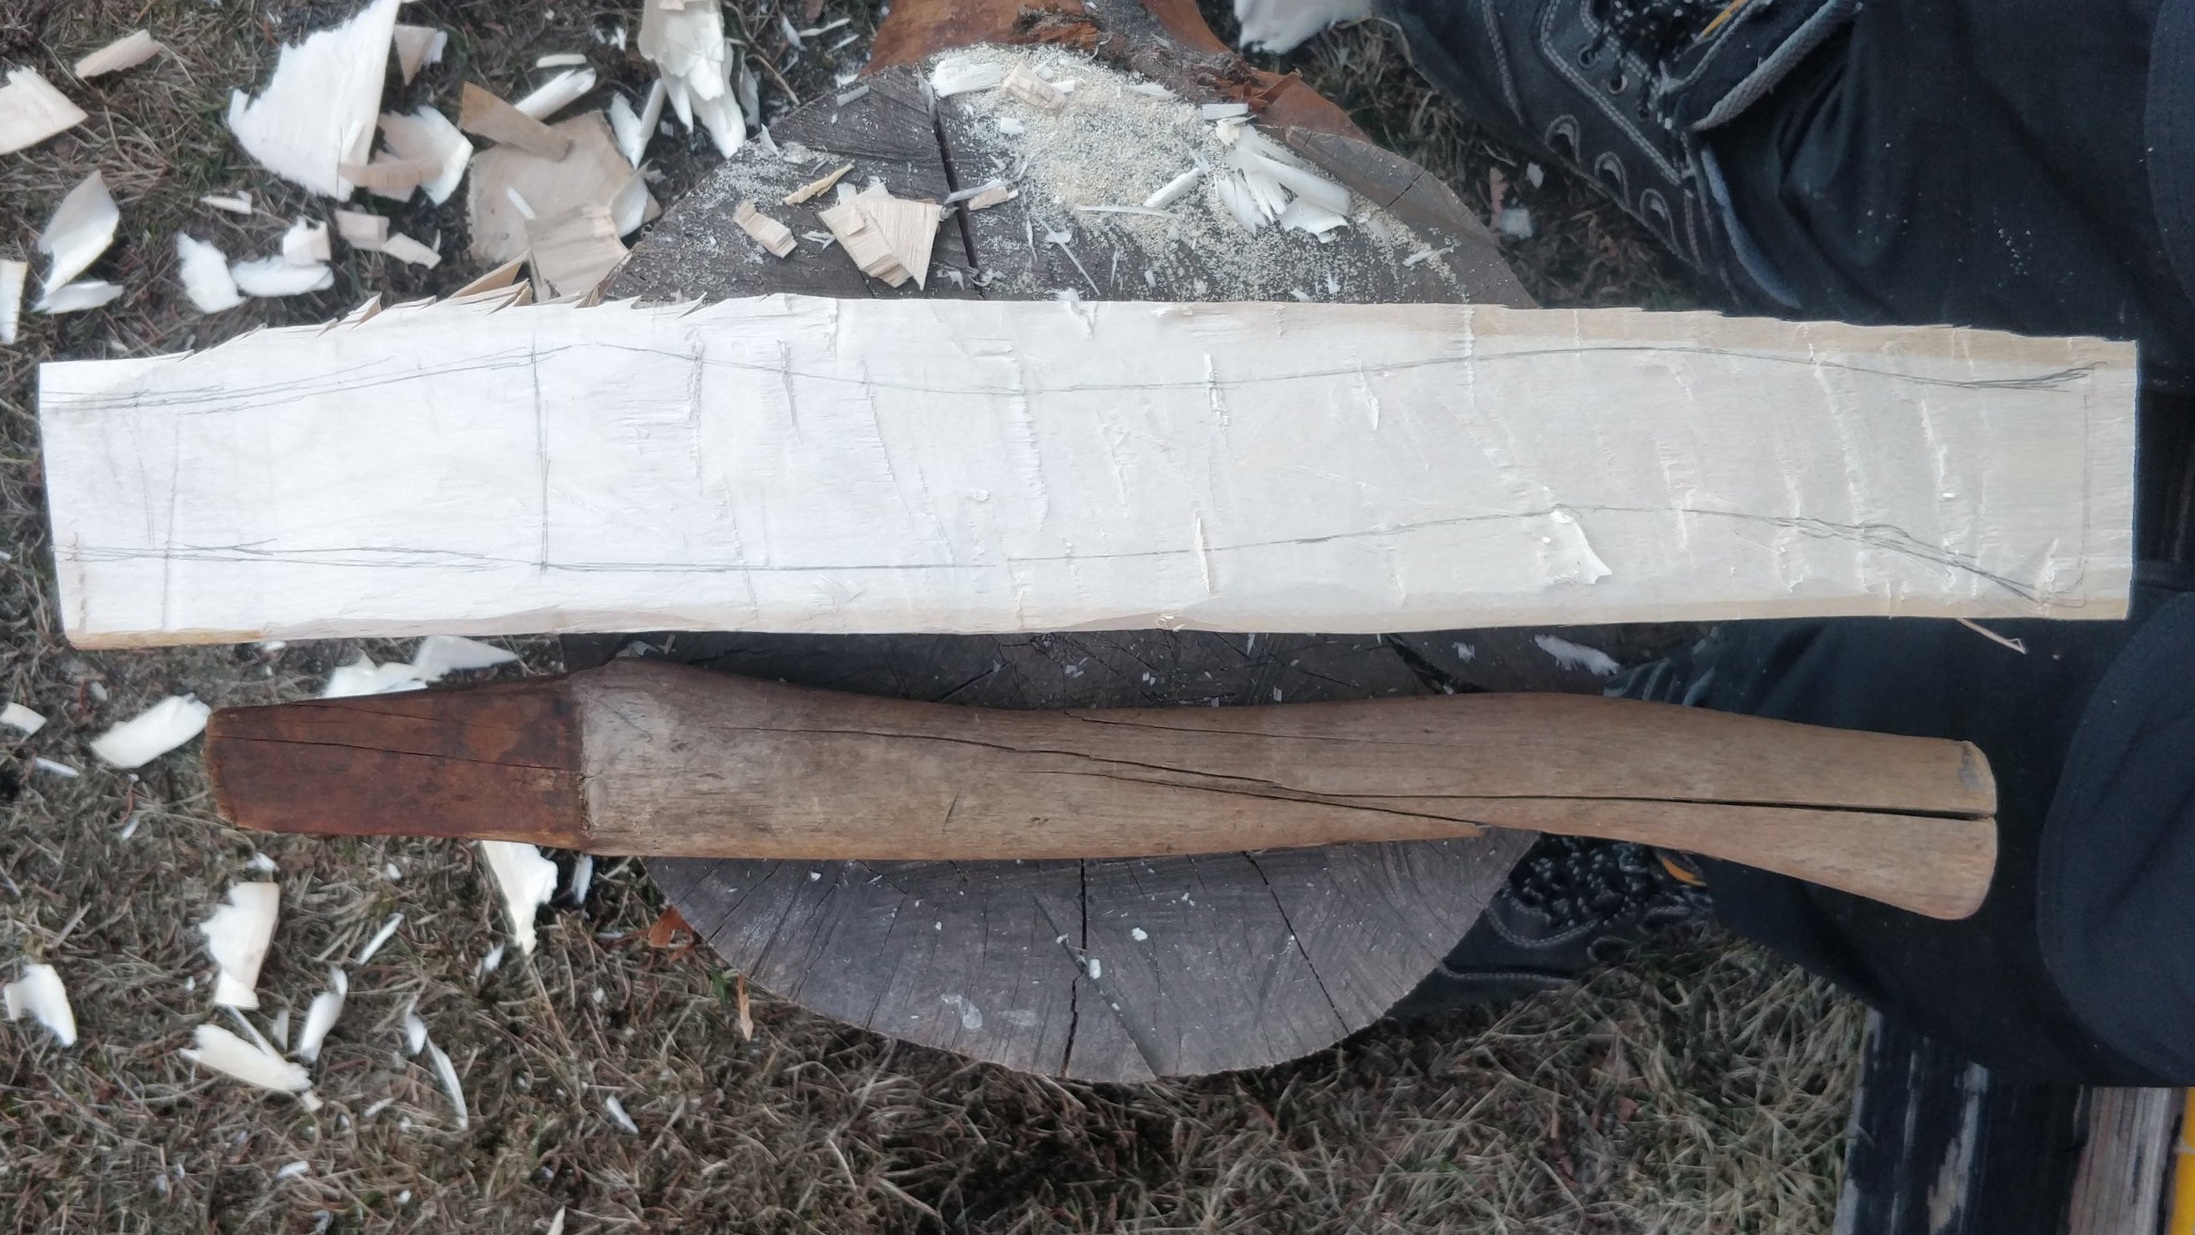
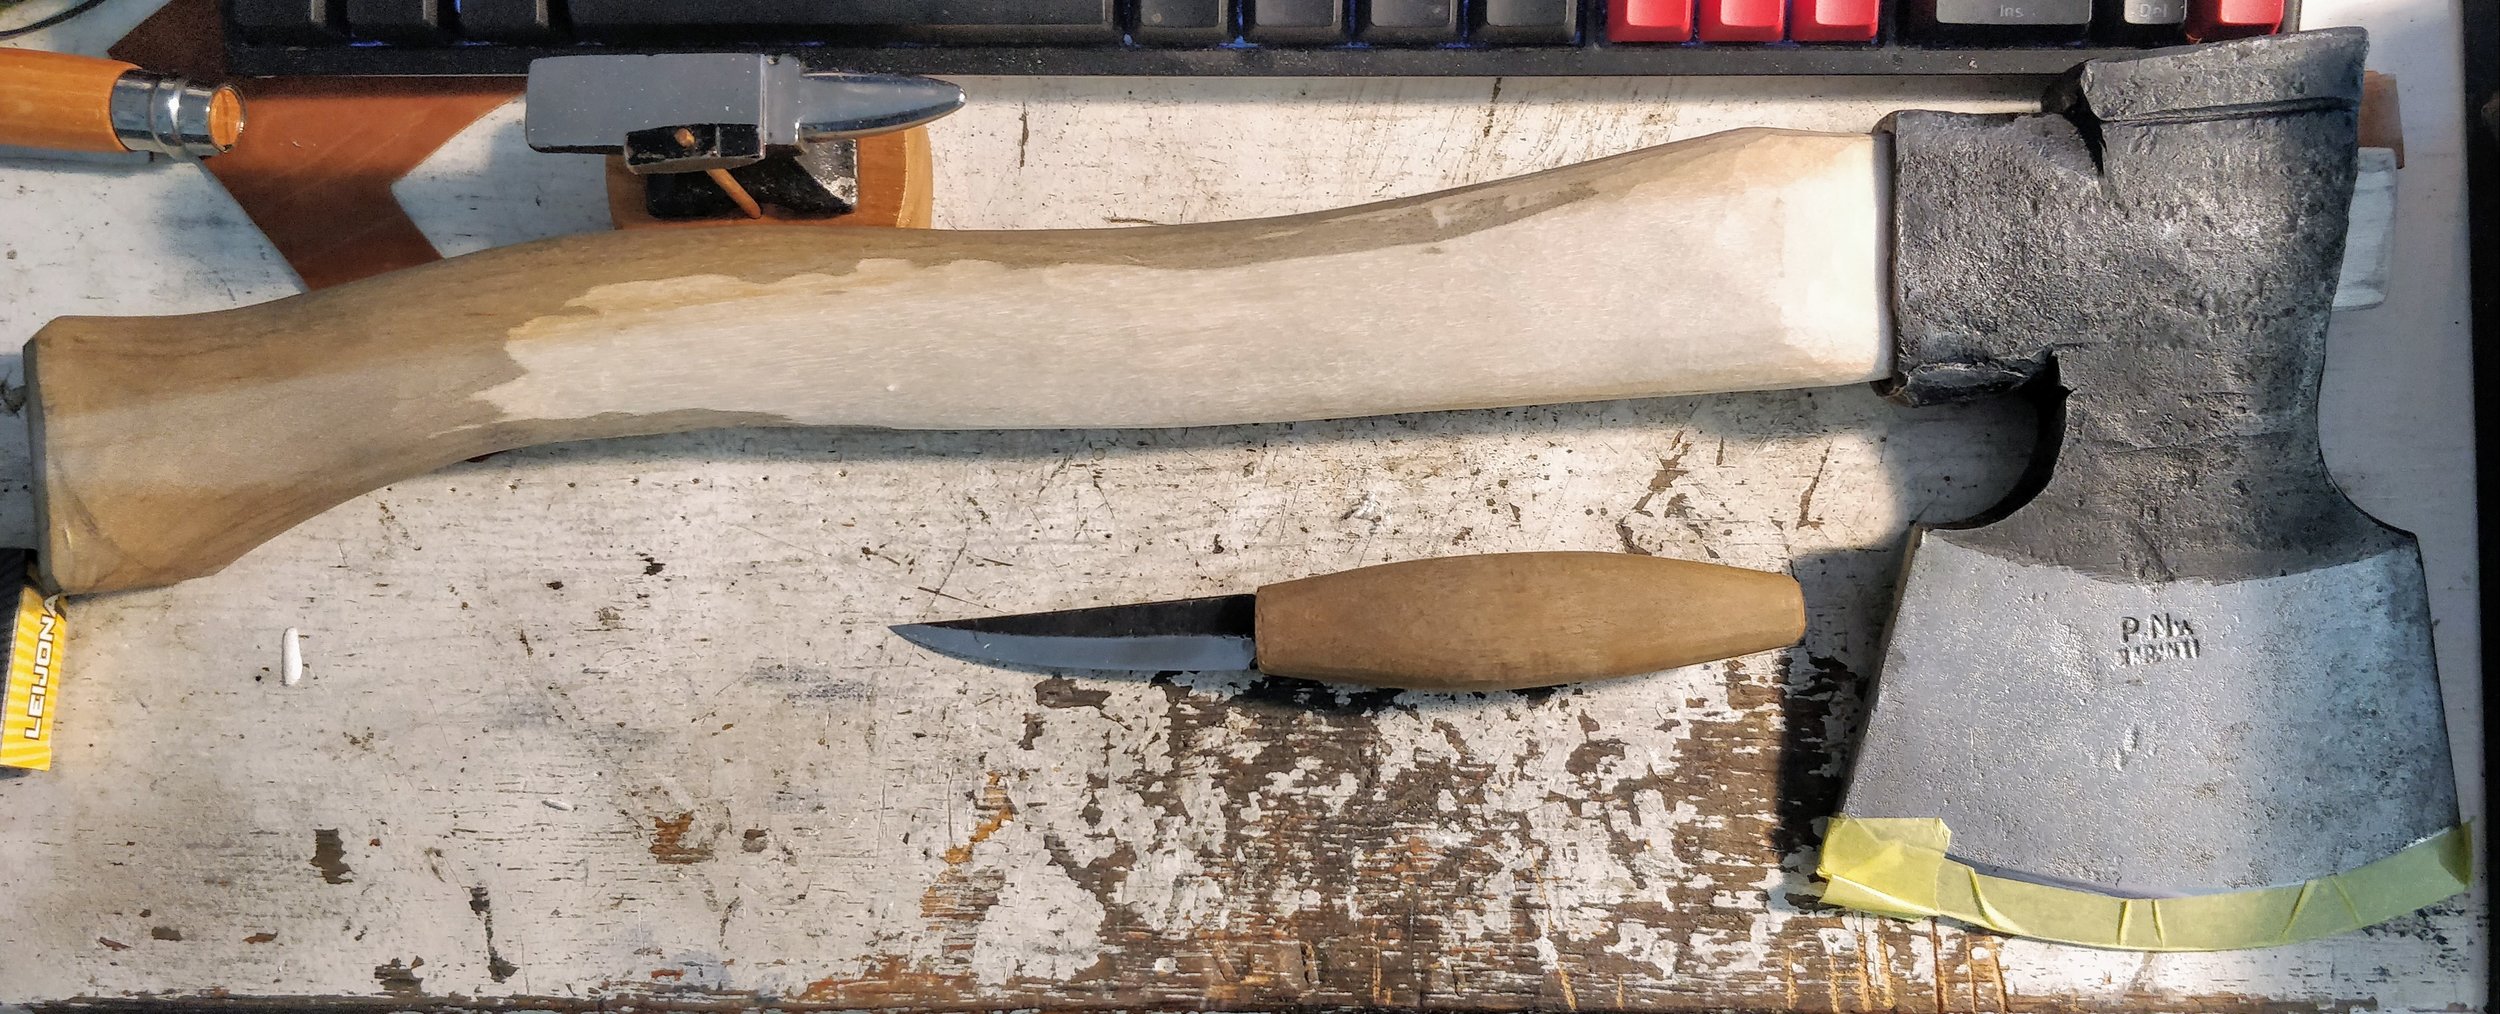
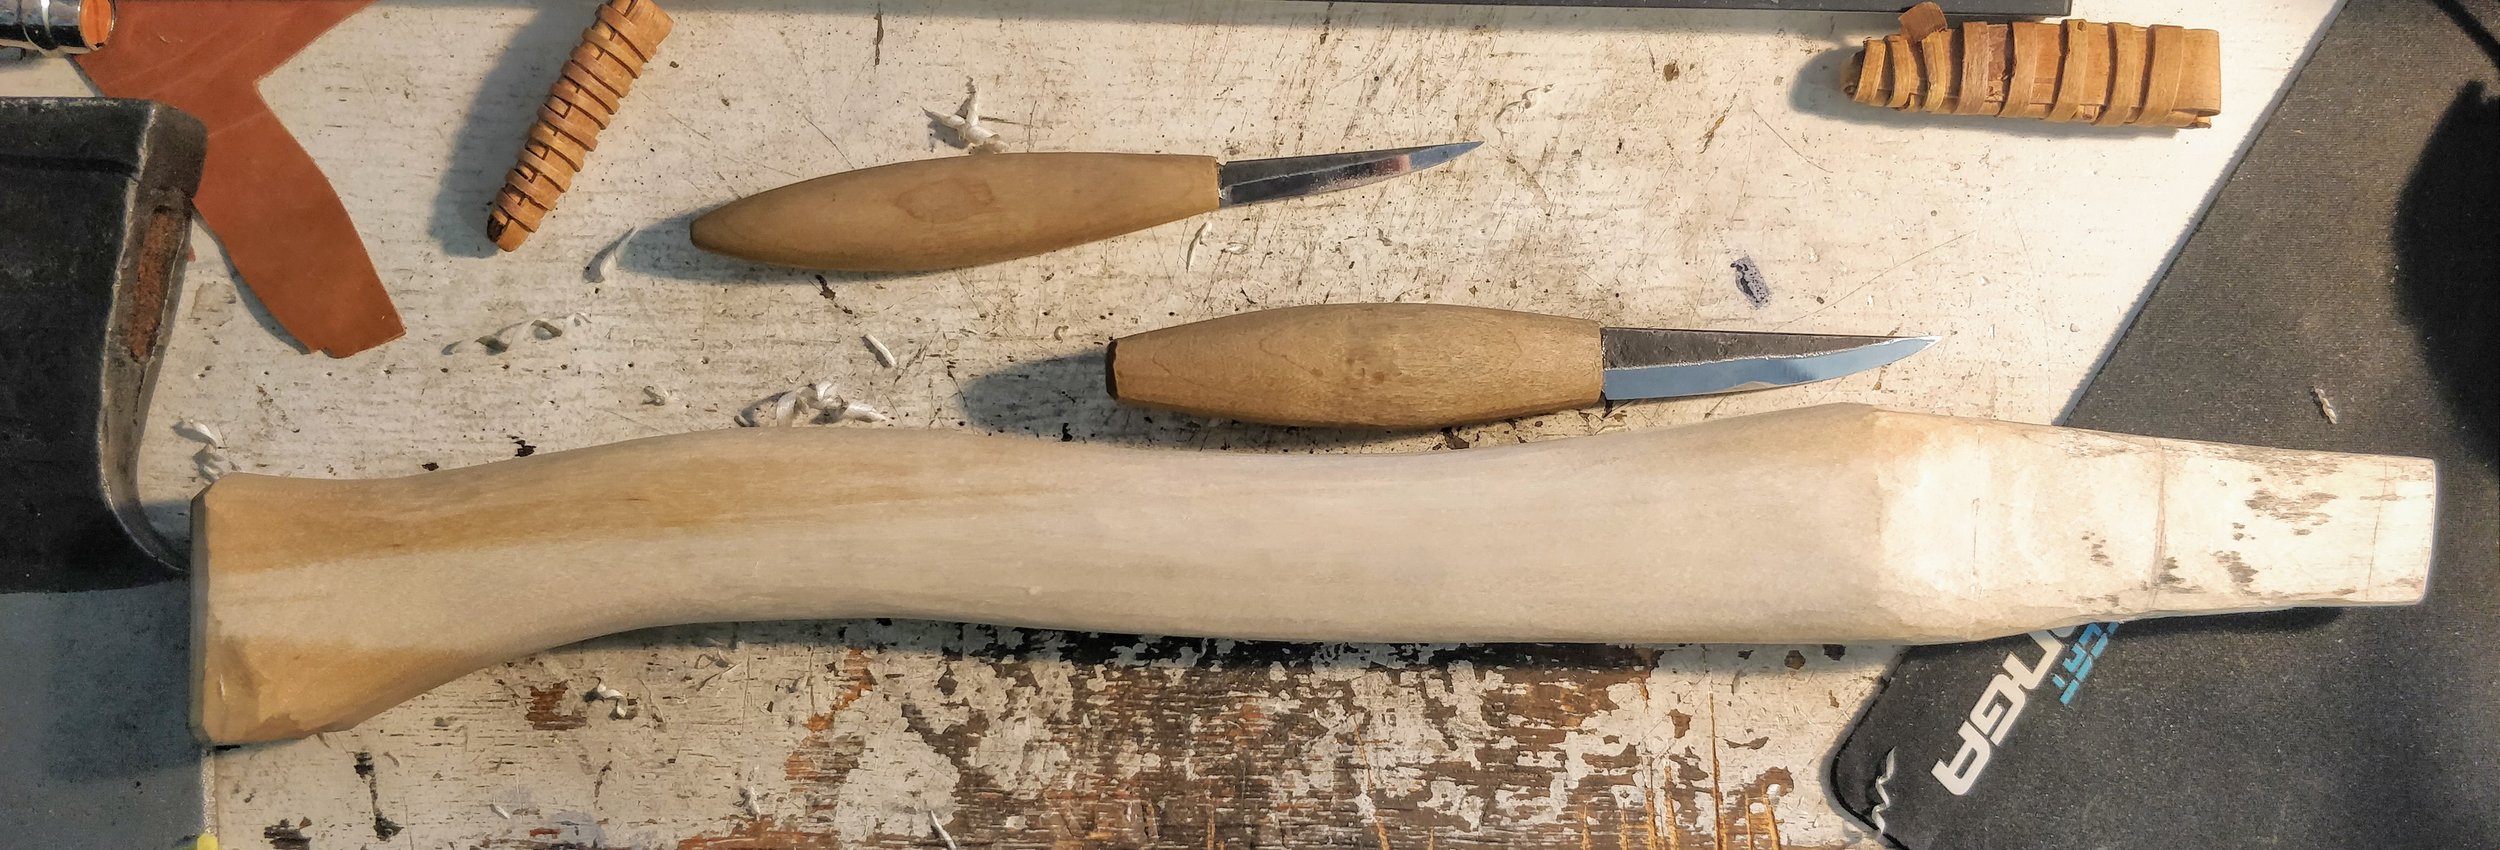
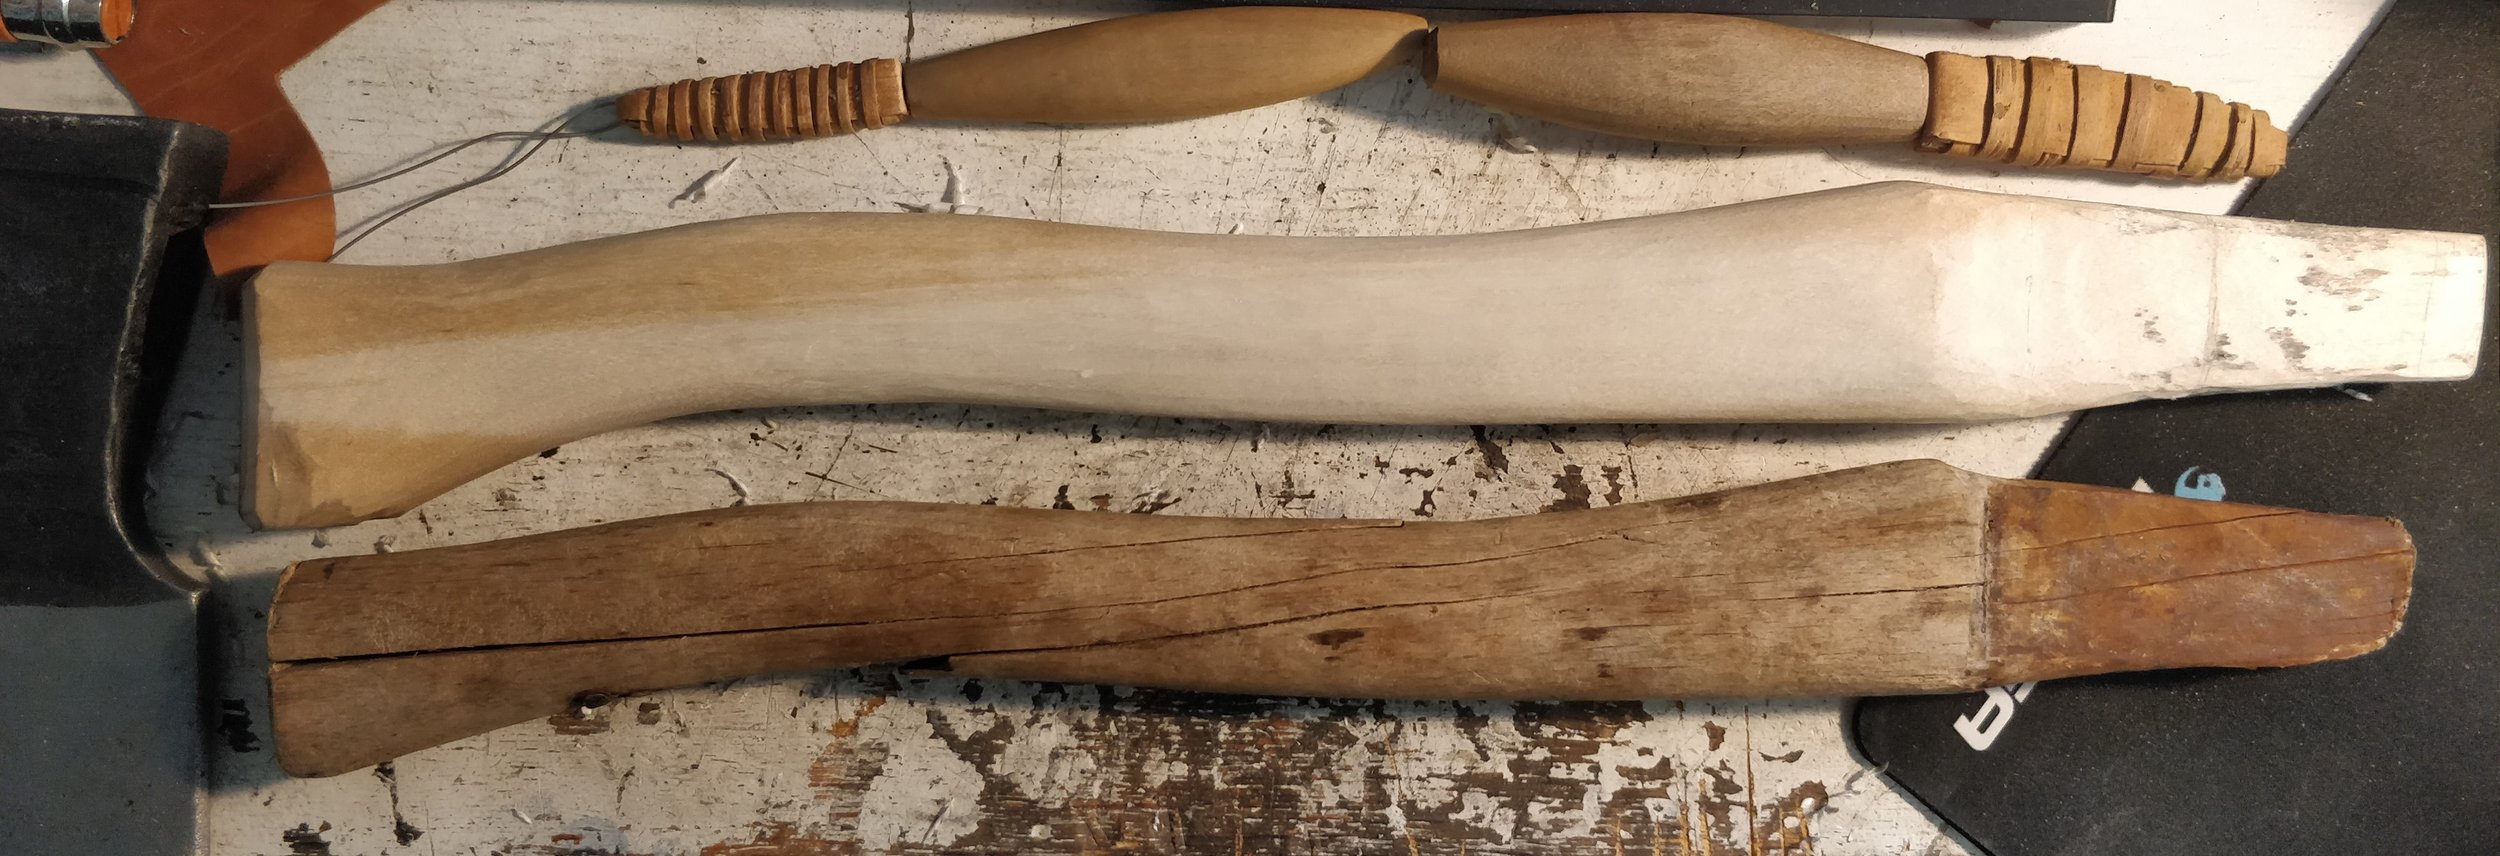
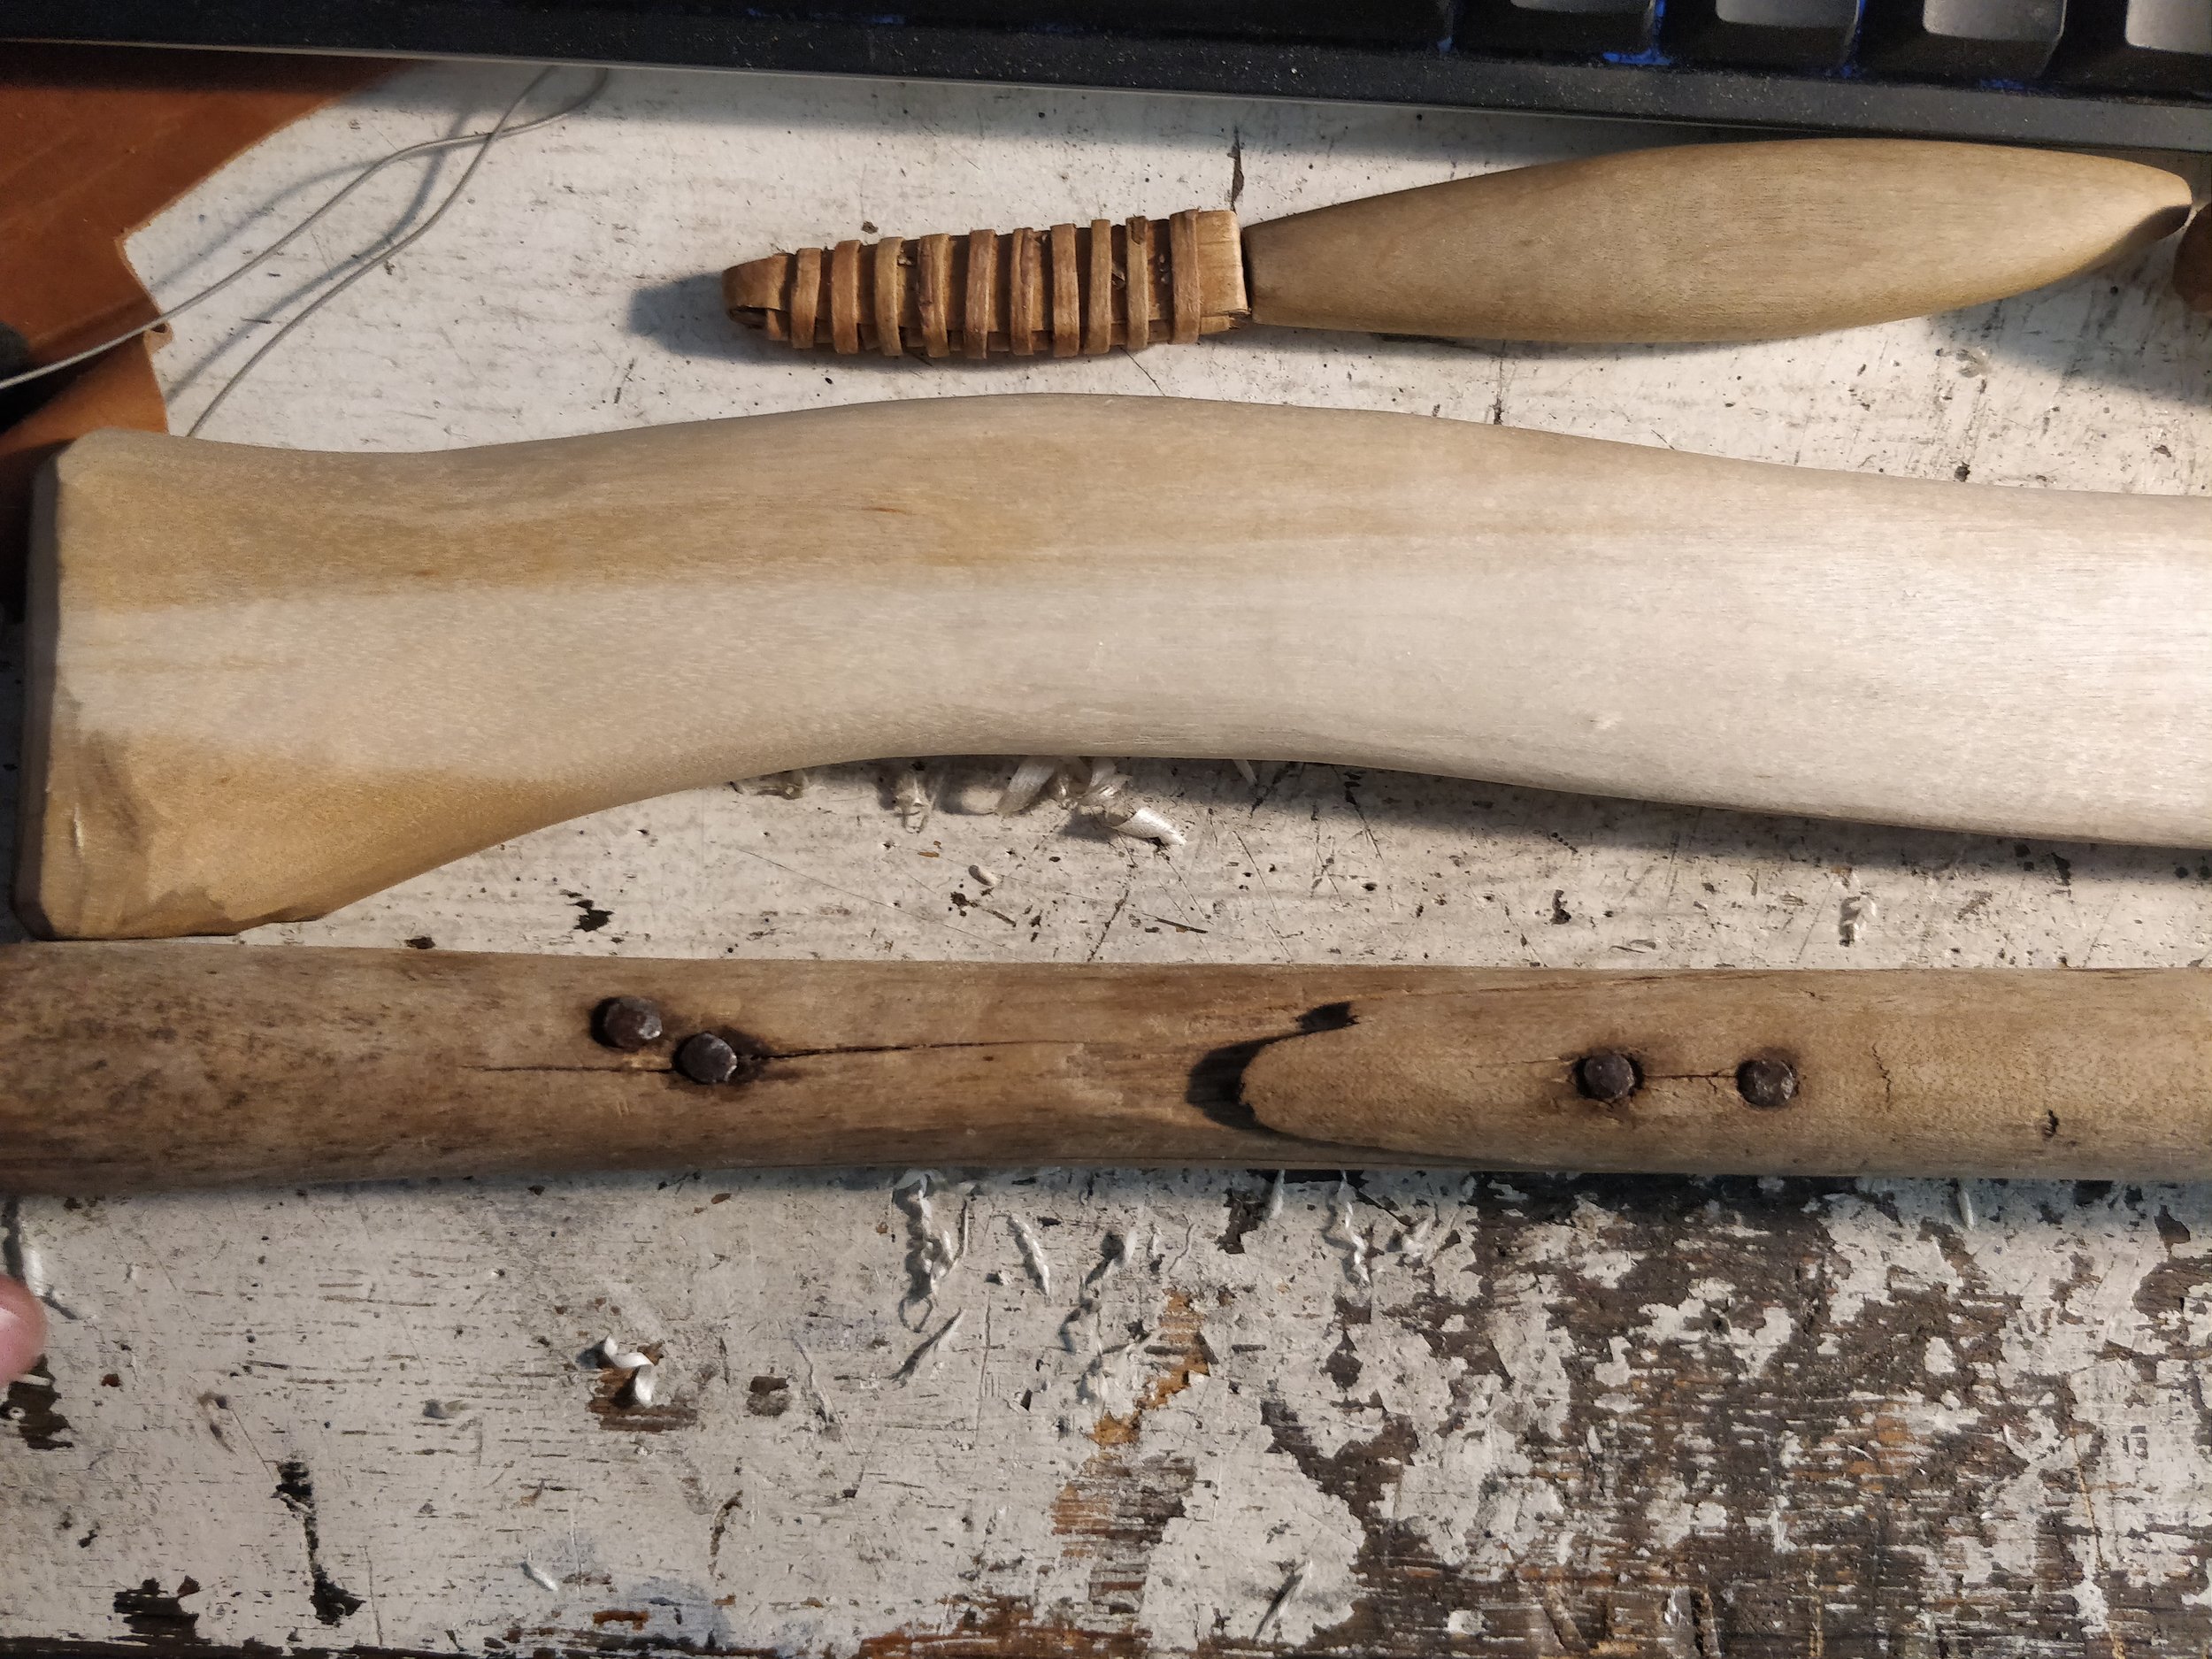
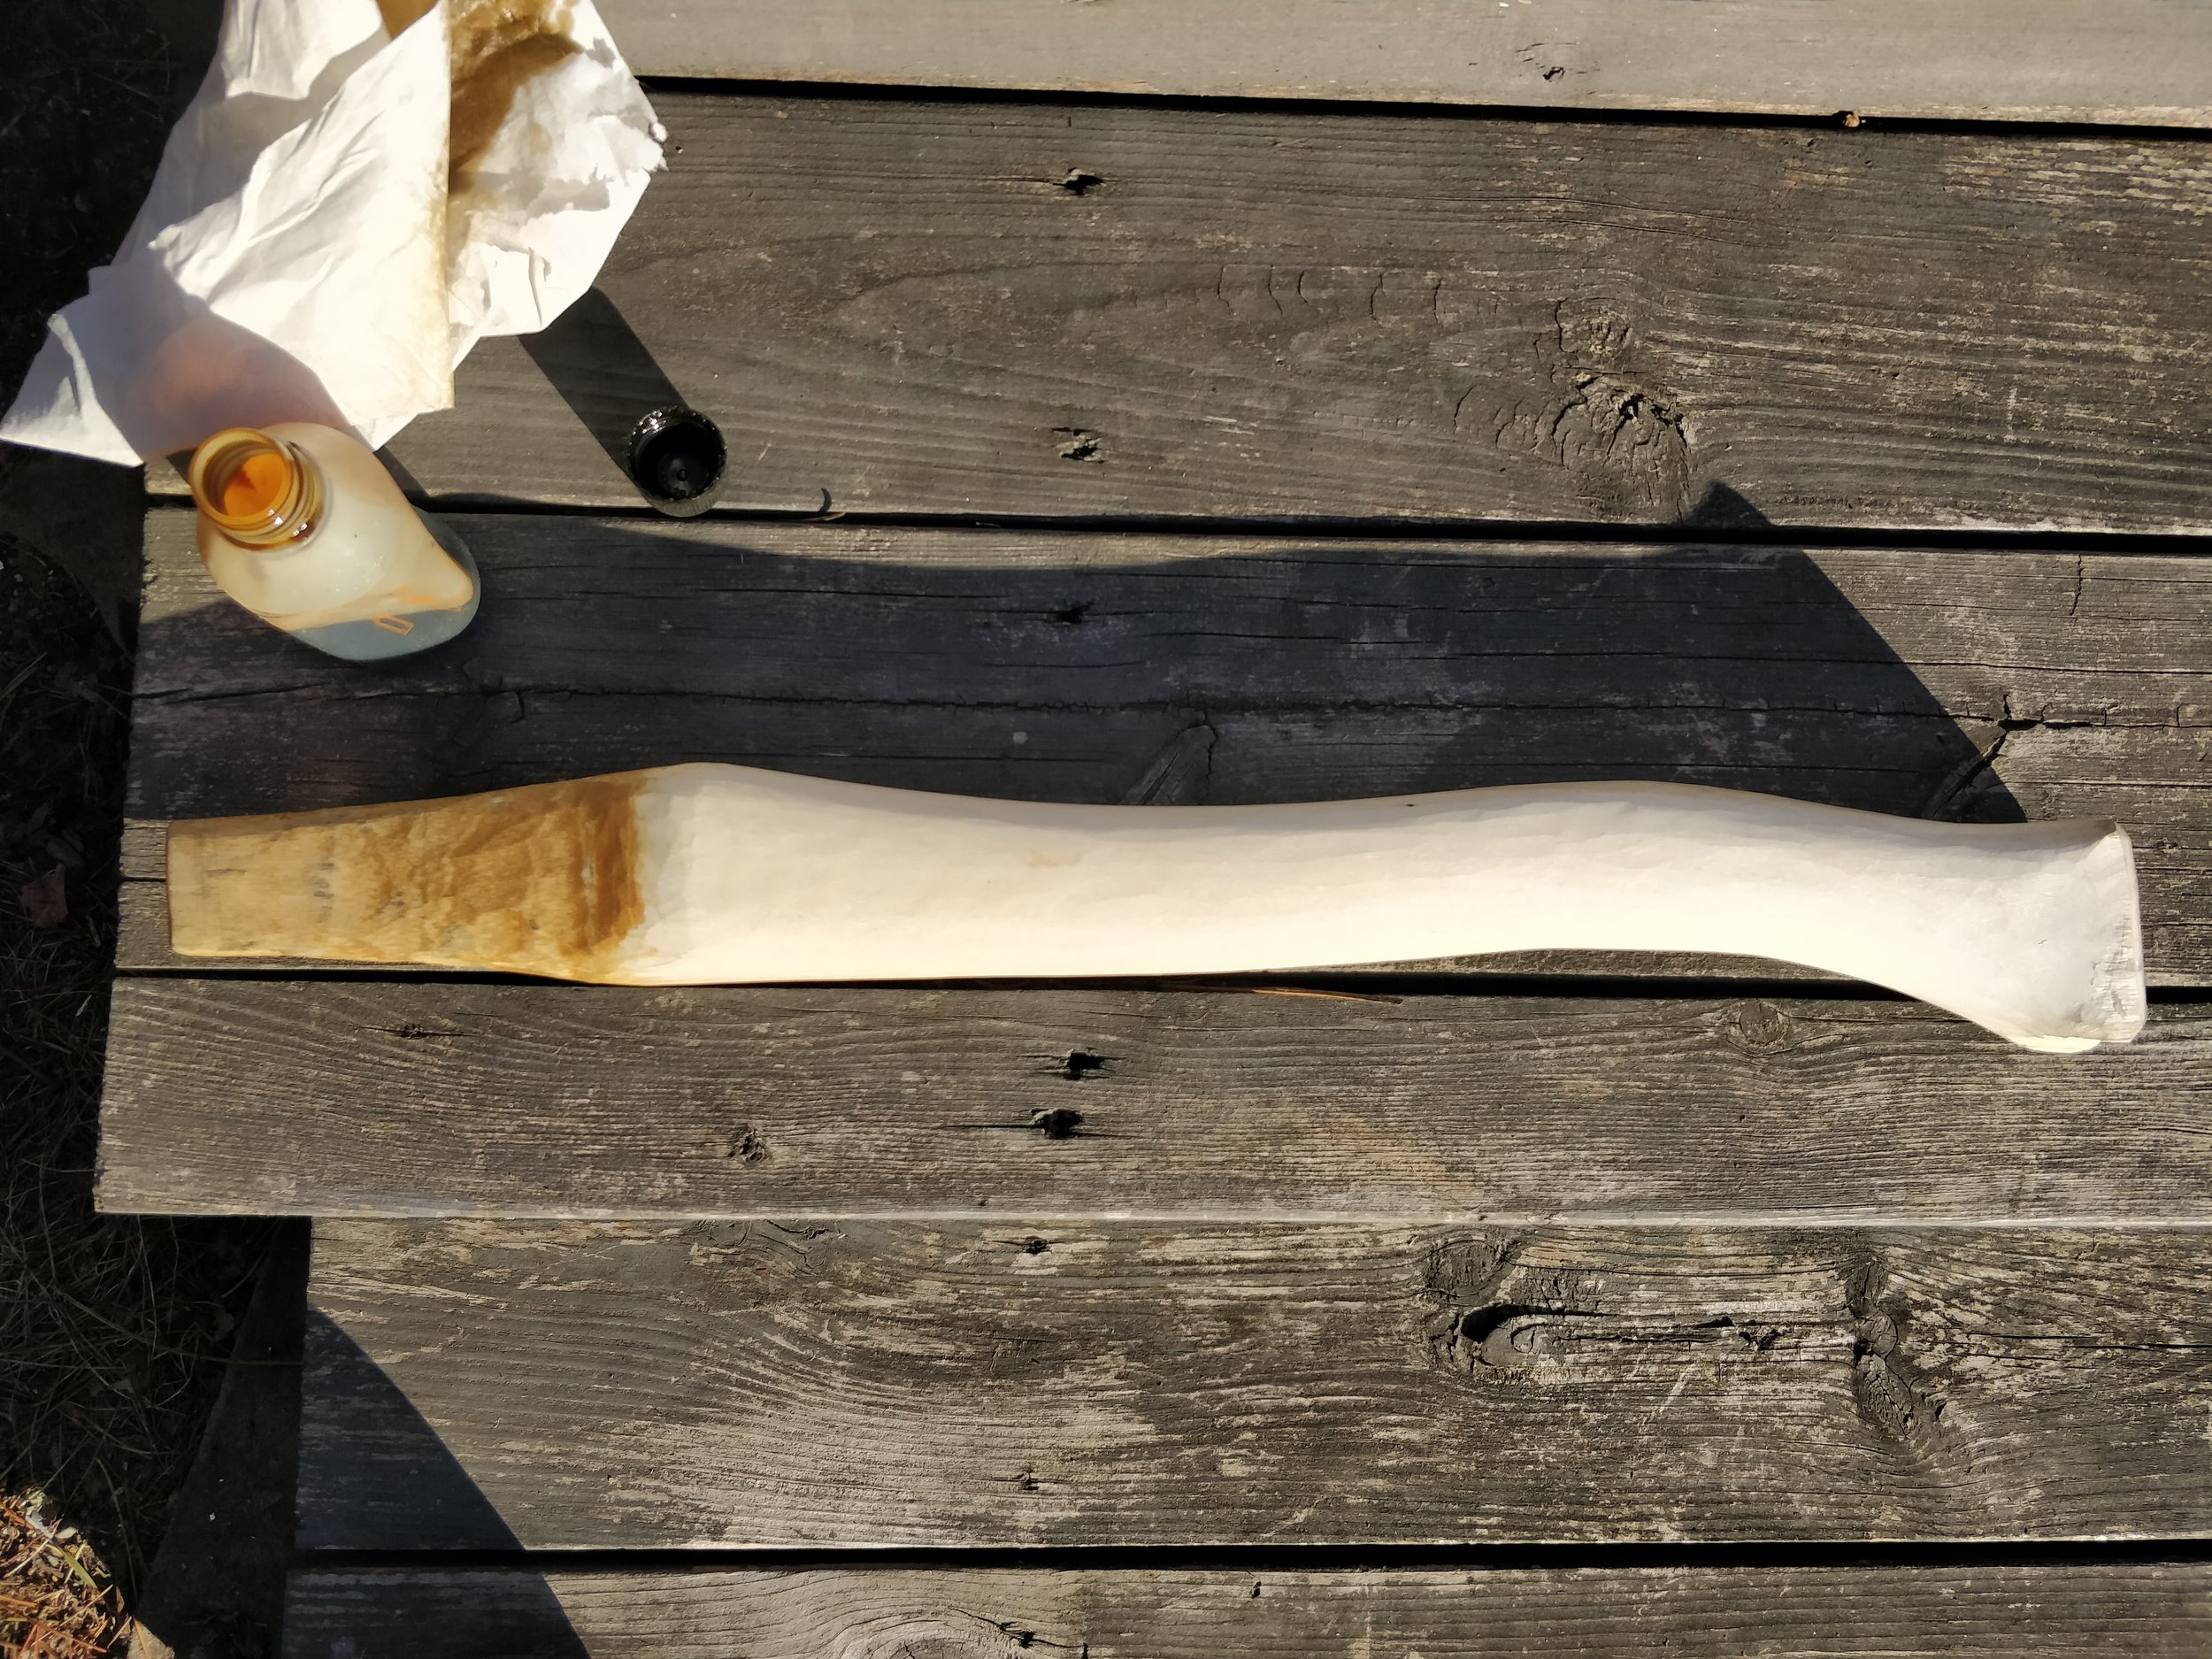
After I finished the sheath, I started to carve a handle. I went off to my summer cottage and picked up a birch piece that I felled at the end of last summer and has been drying outside since then. I based the handle on the original handle when I made the new one, but added a little extra thickness at the end to get a stable grip, I also made the handle itself a little more egg-shaped in the cross section.
I usually leave a little thicker part on the handle just below the socket, partly so that the hand can run easily from the shaft to the socket, and also to have some material to take off if I would need to reseat the head on the shaft.
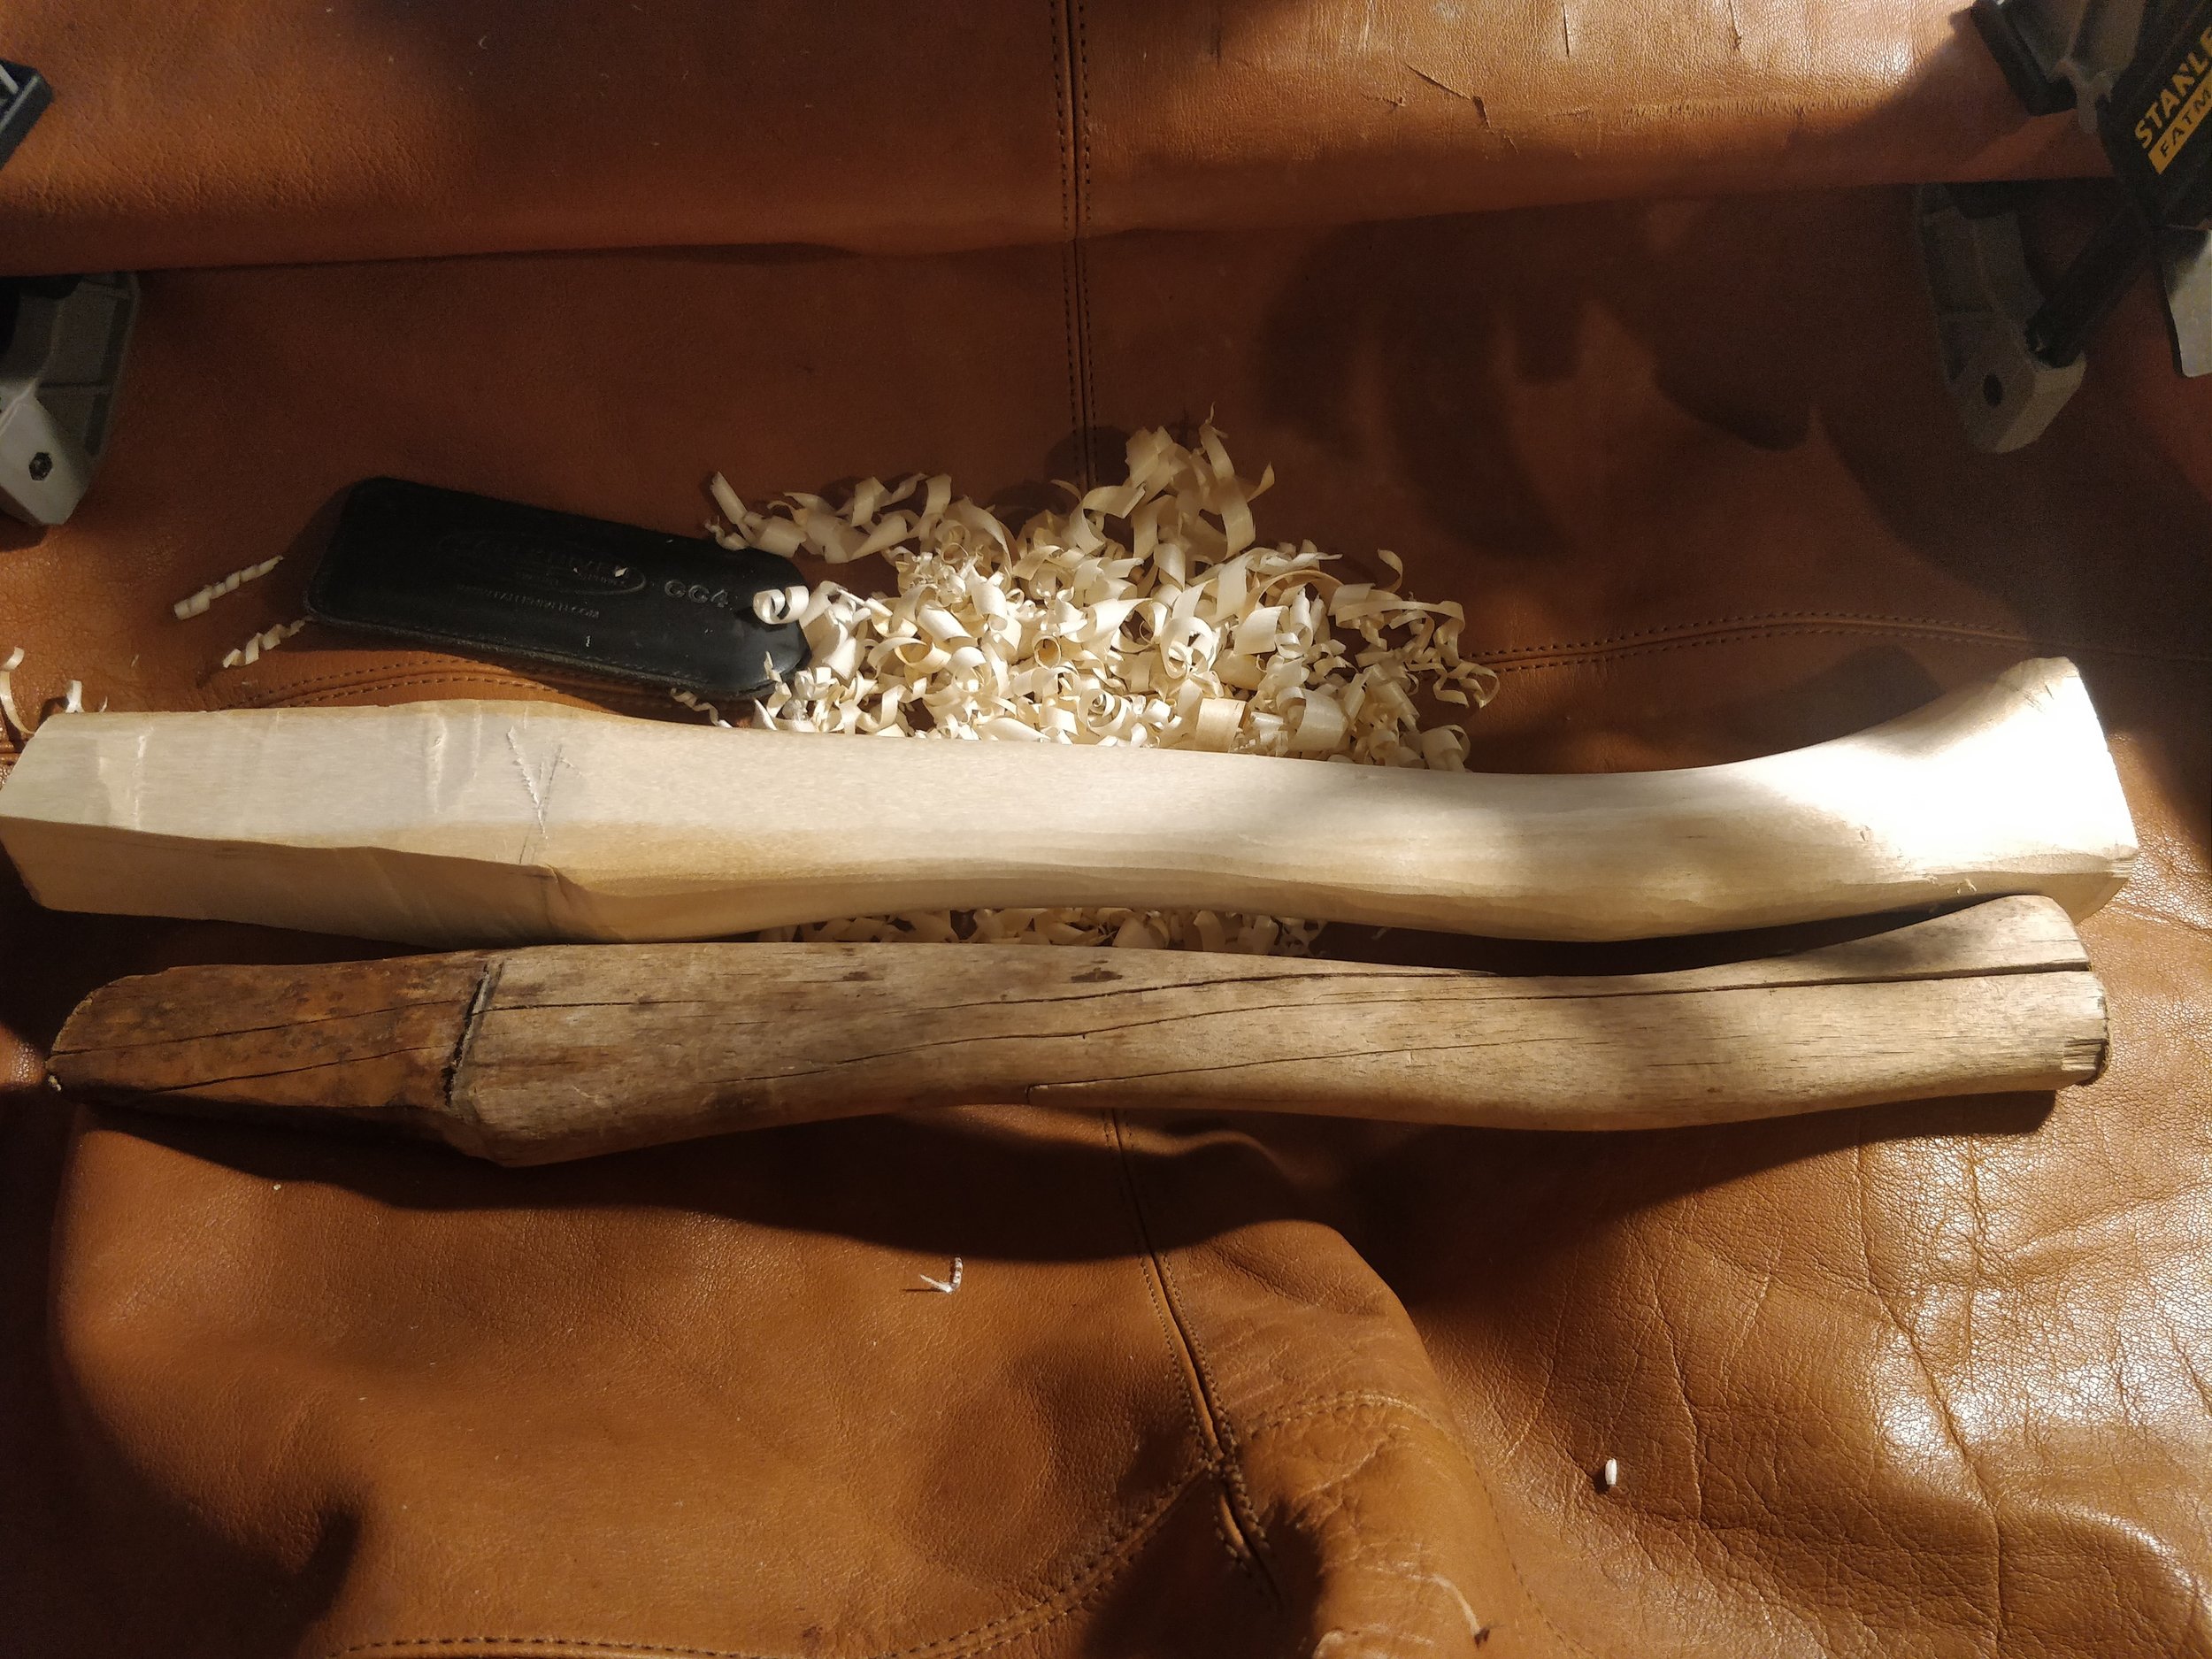
The handle was rougly axed, roughly carved, then dried and finally carved to the final shape. No sandpaper was used but only thin, thin shavings taken off with a sharp knife. After I had finished carving the handle I polished it with some of it’s shavings.
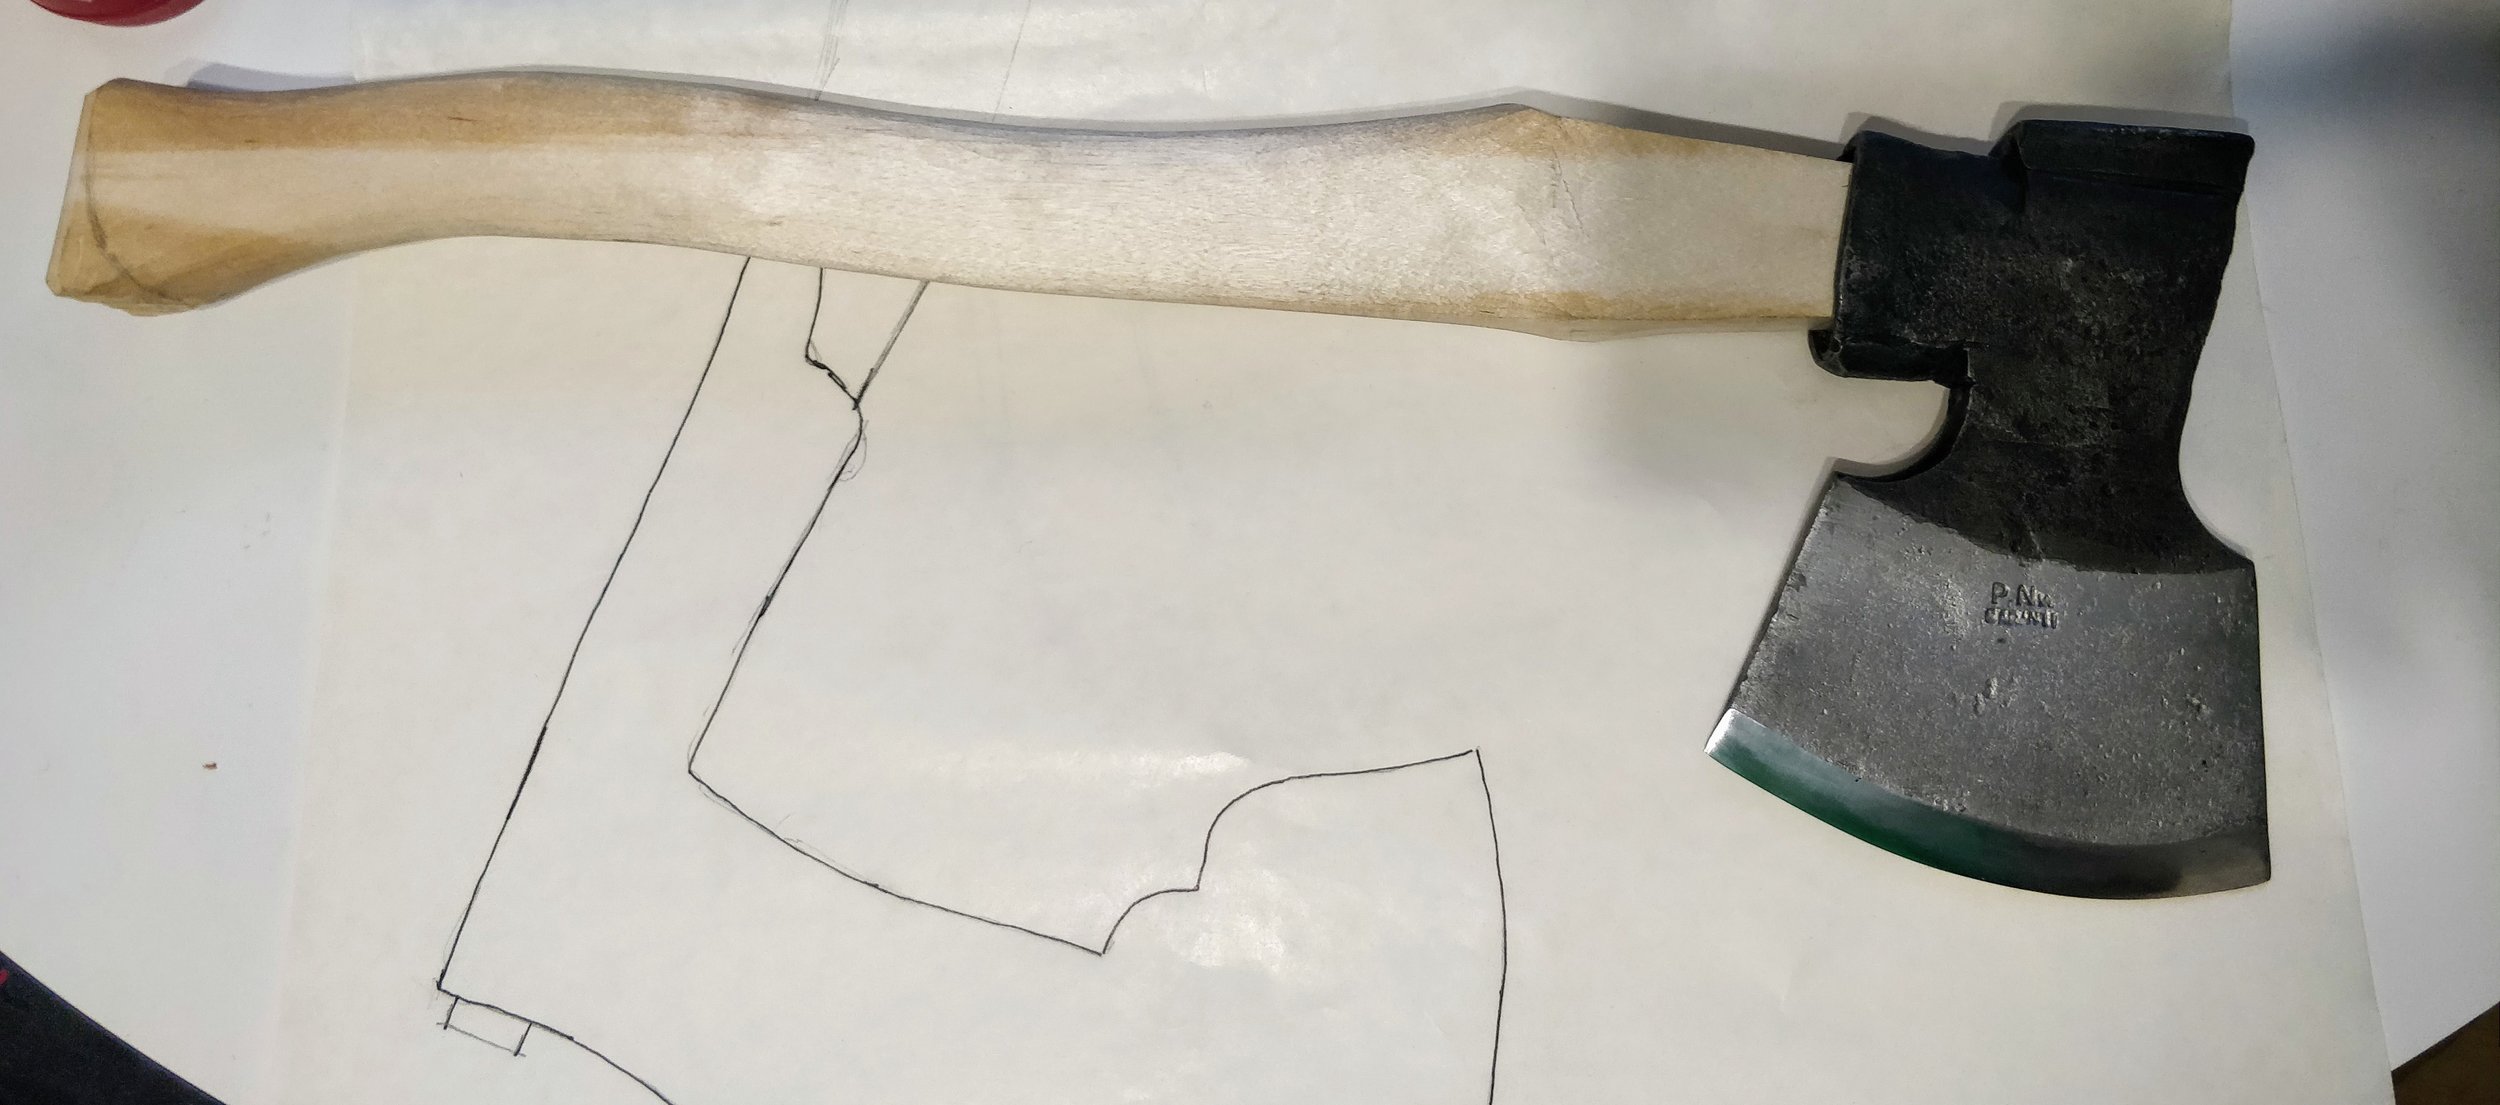
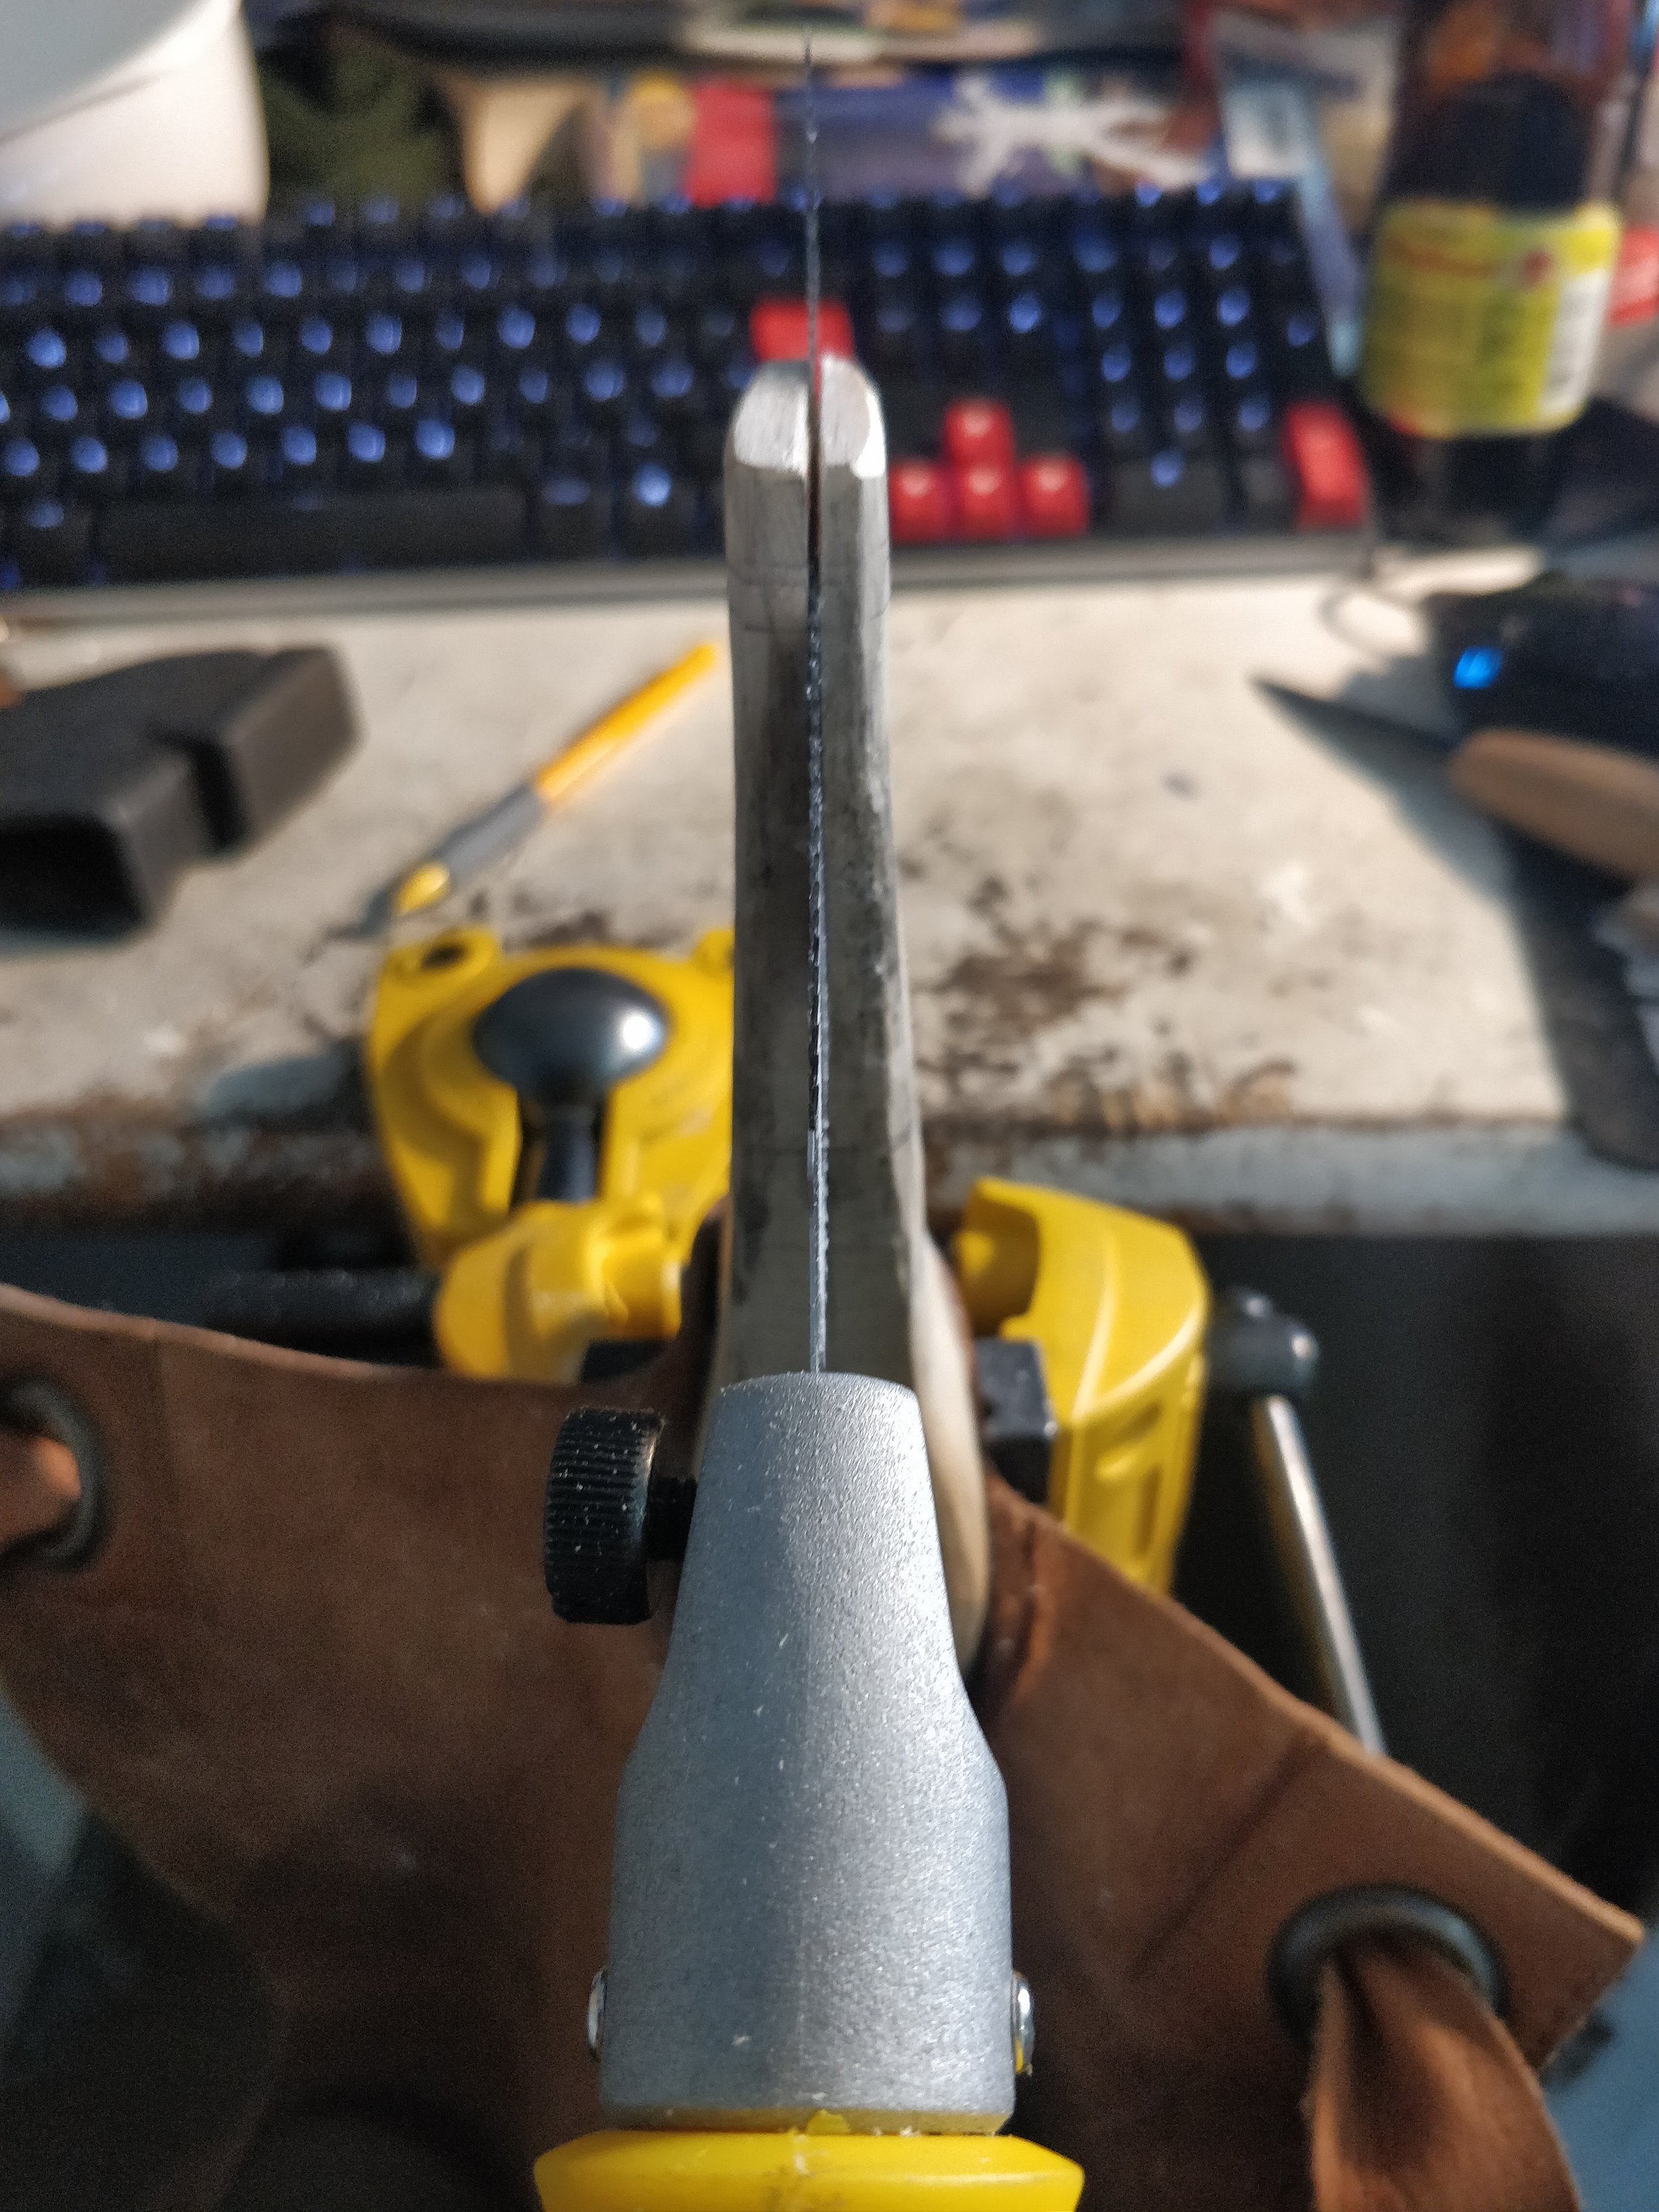
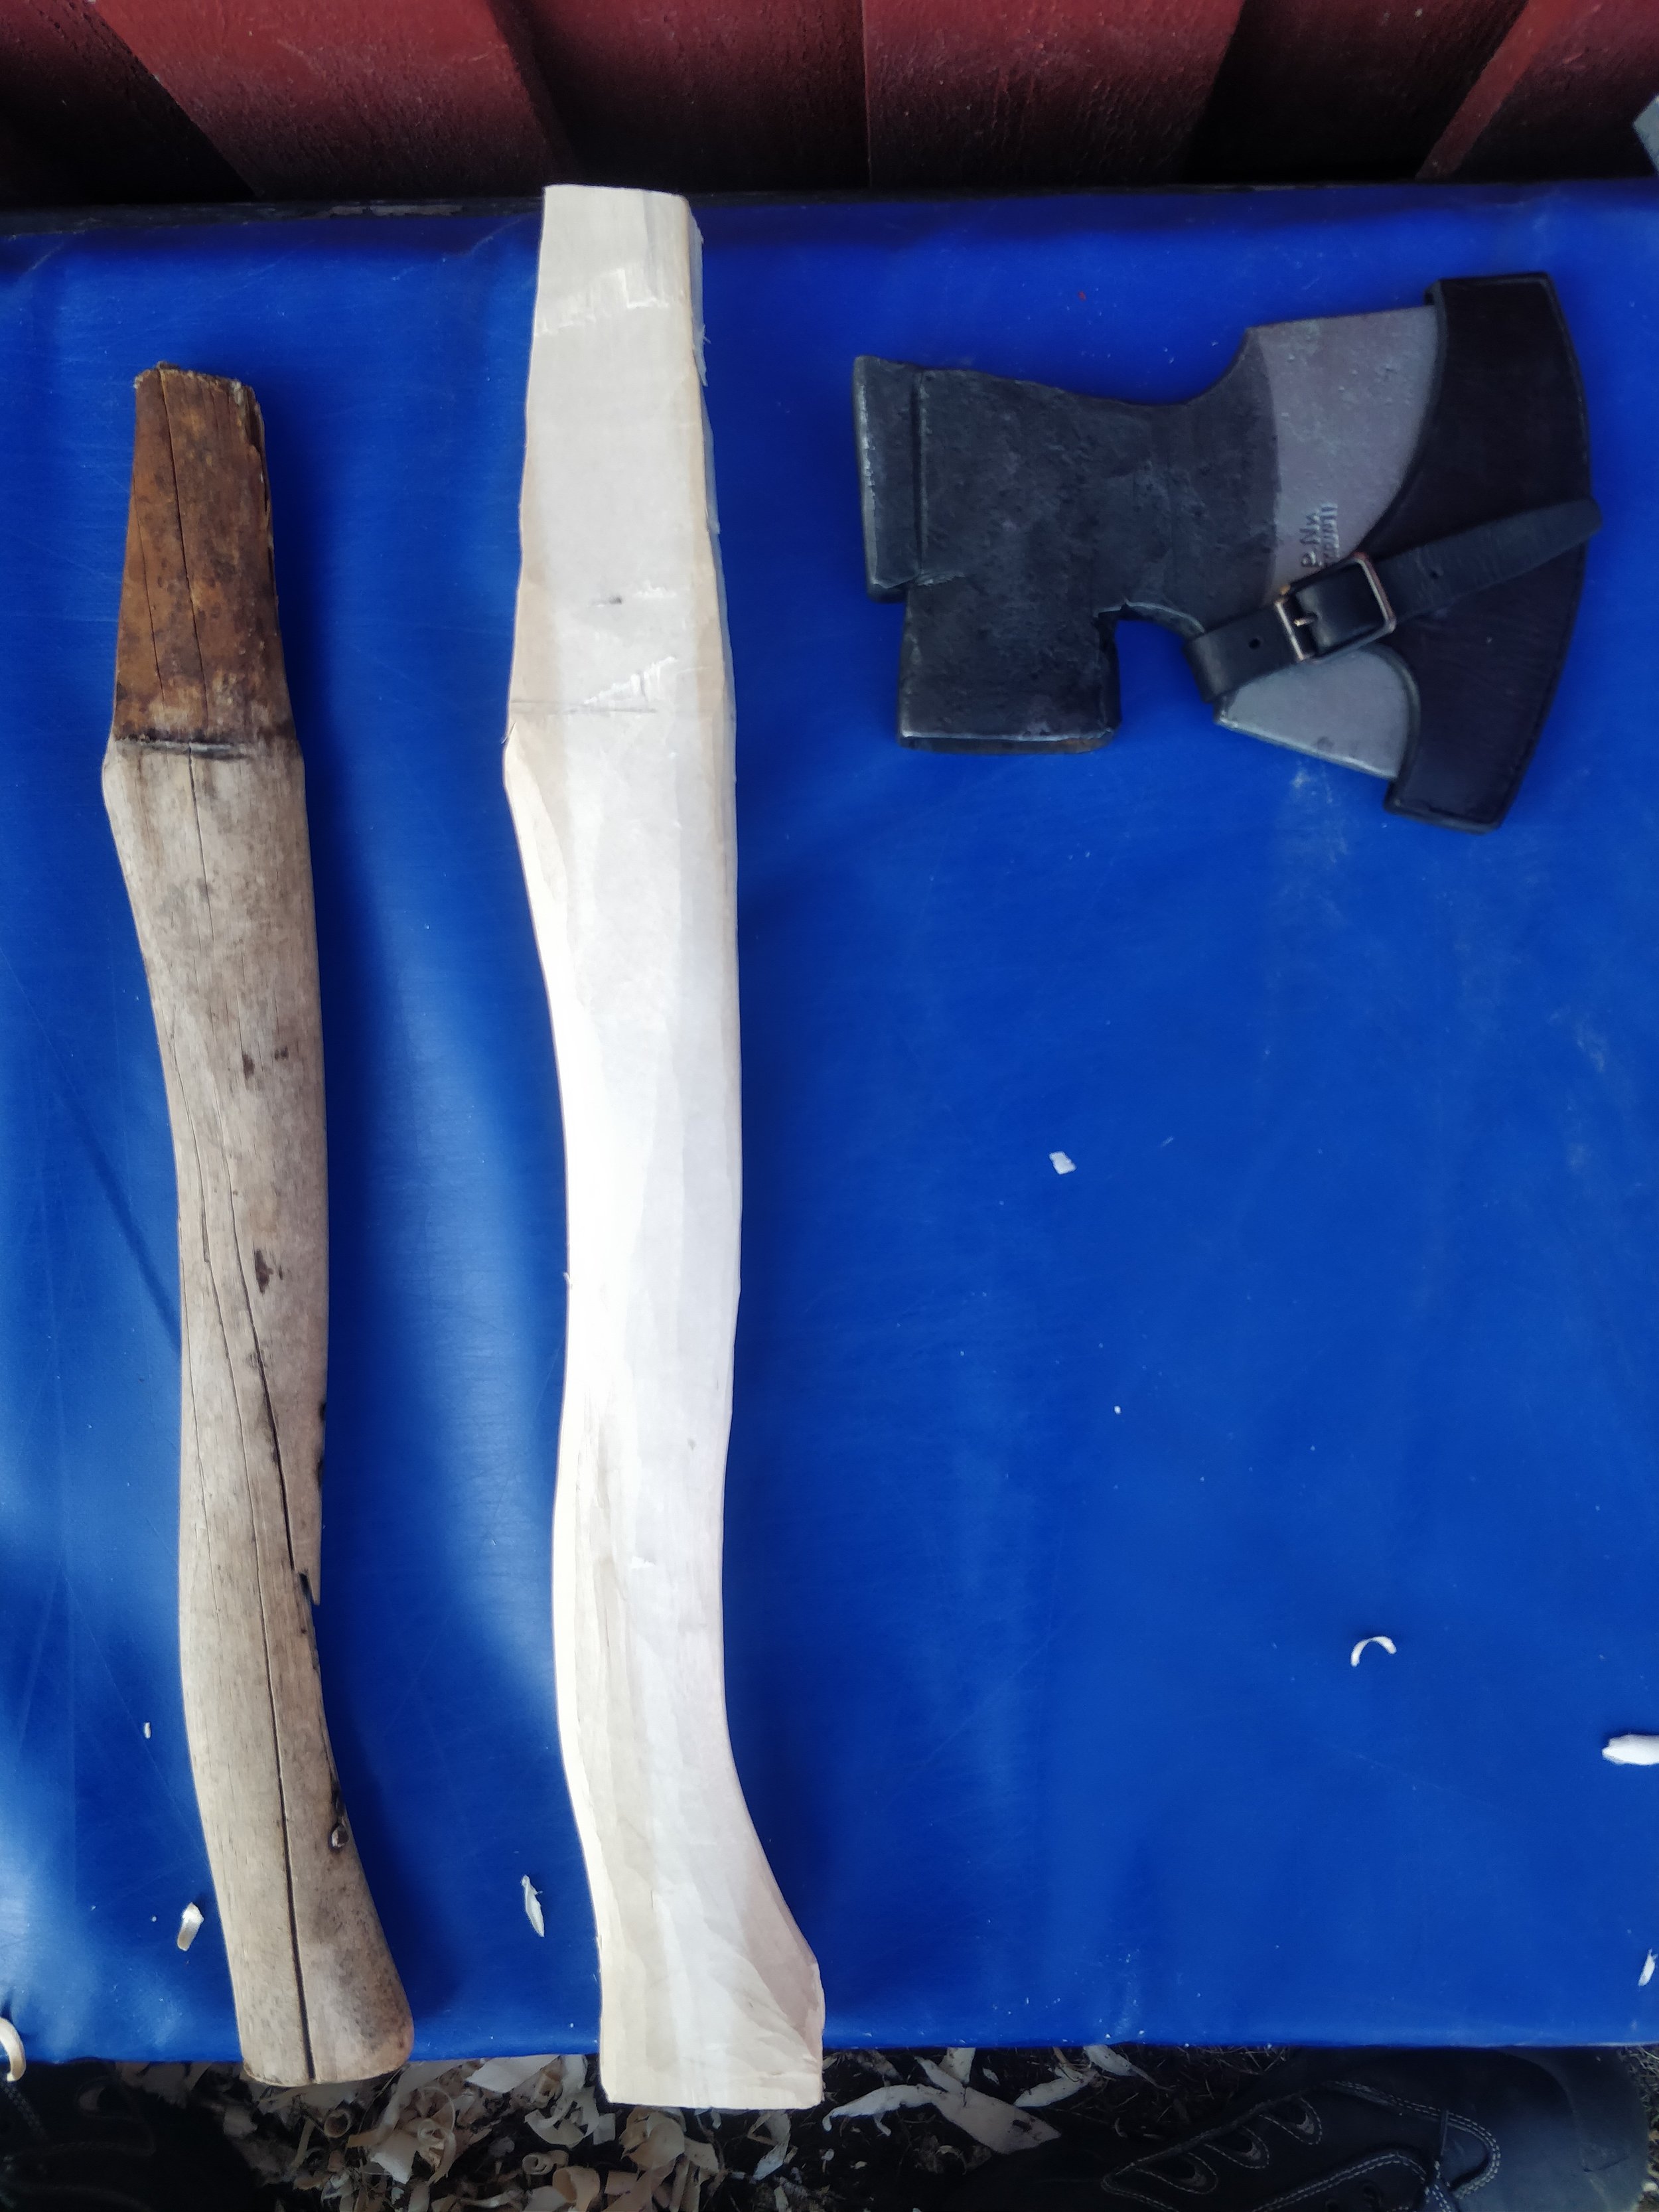
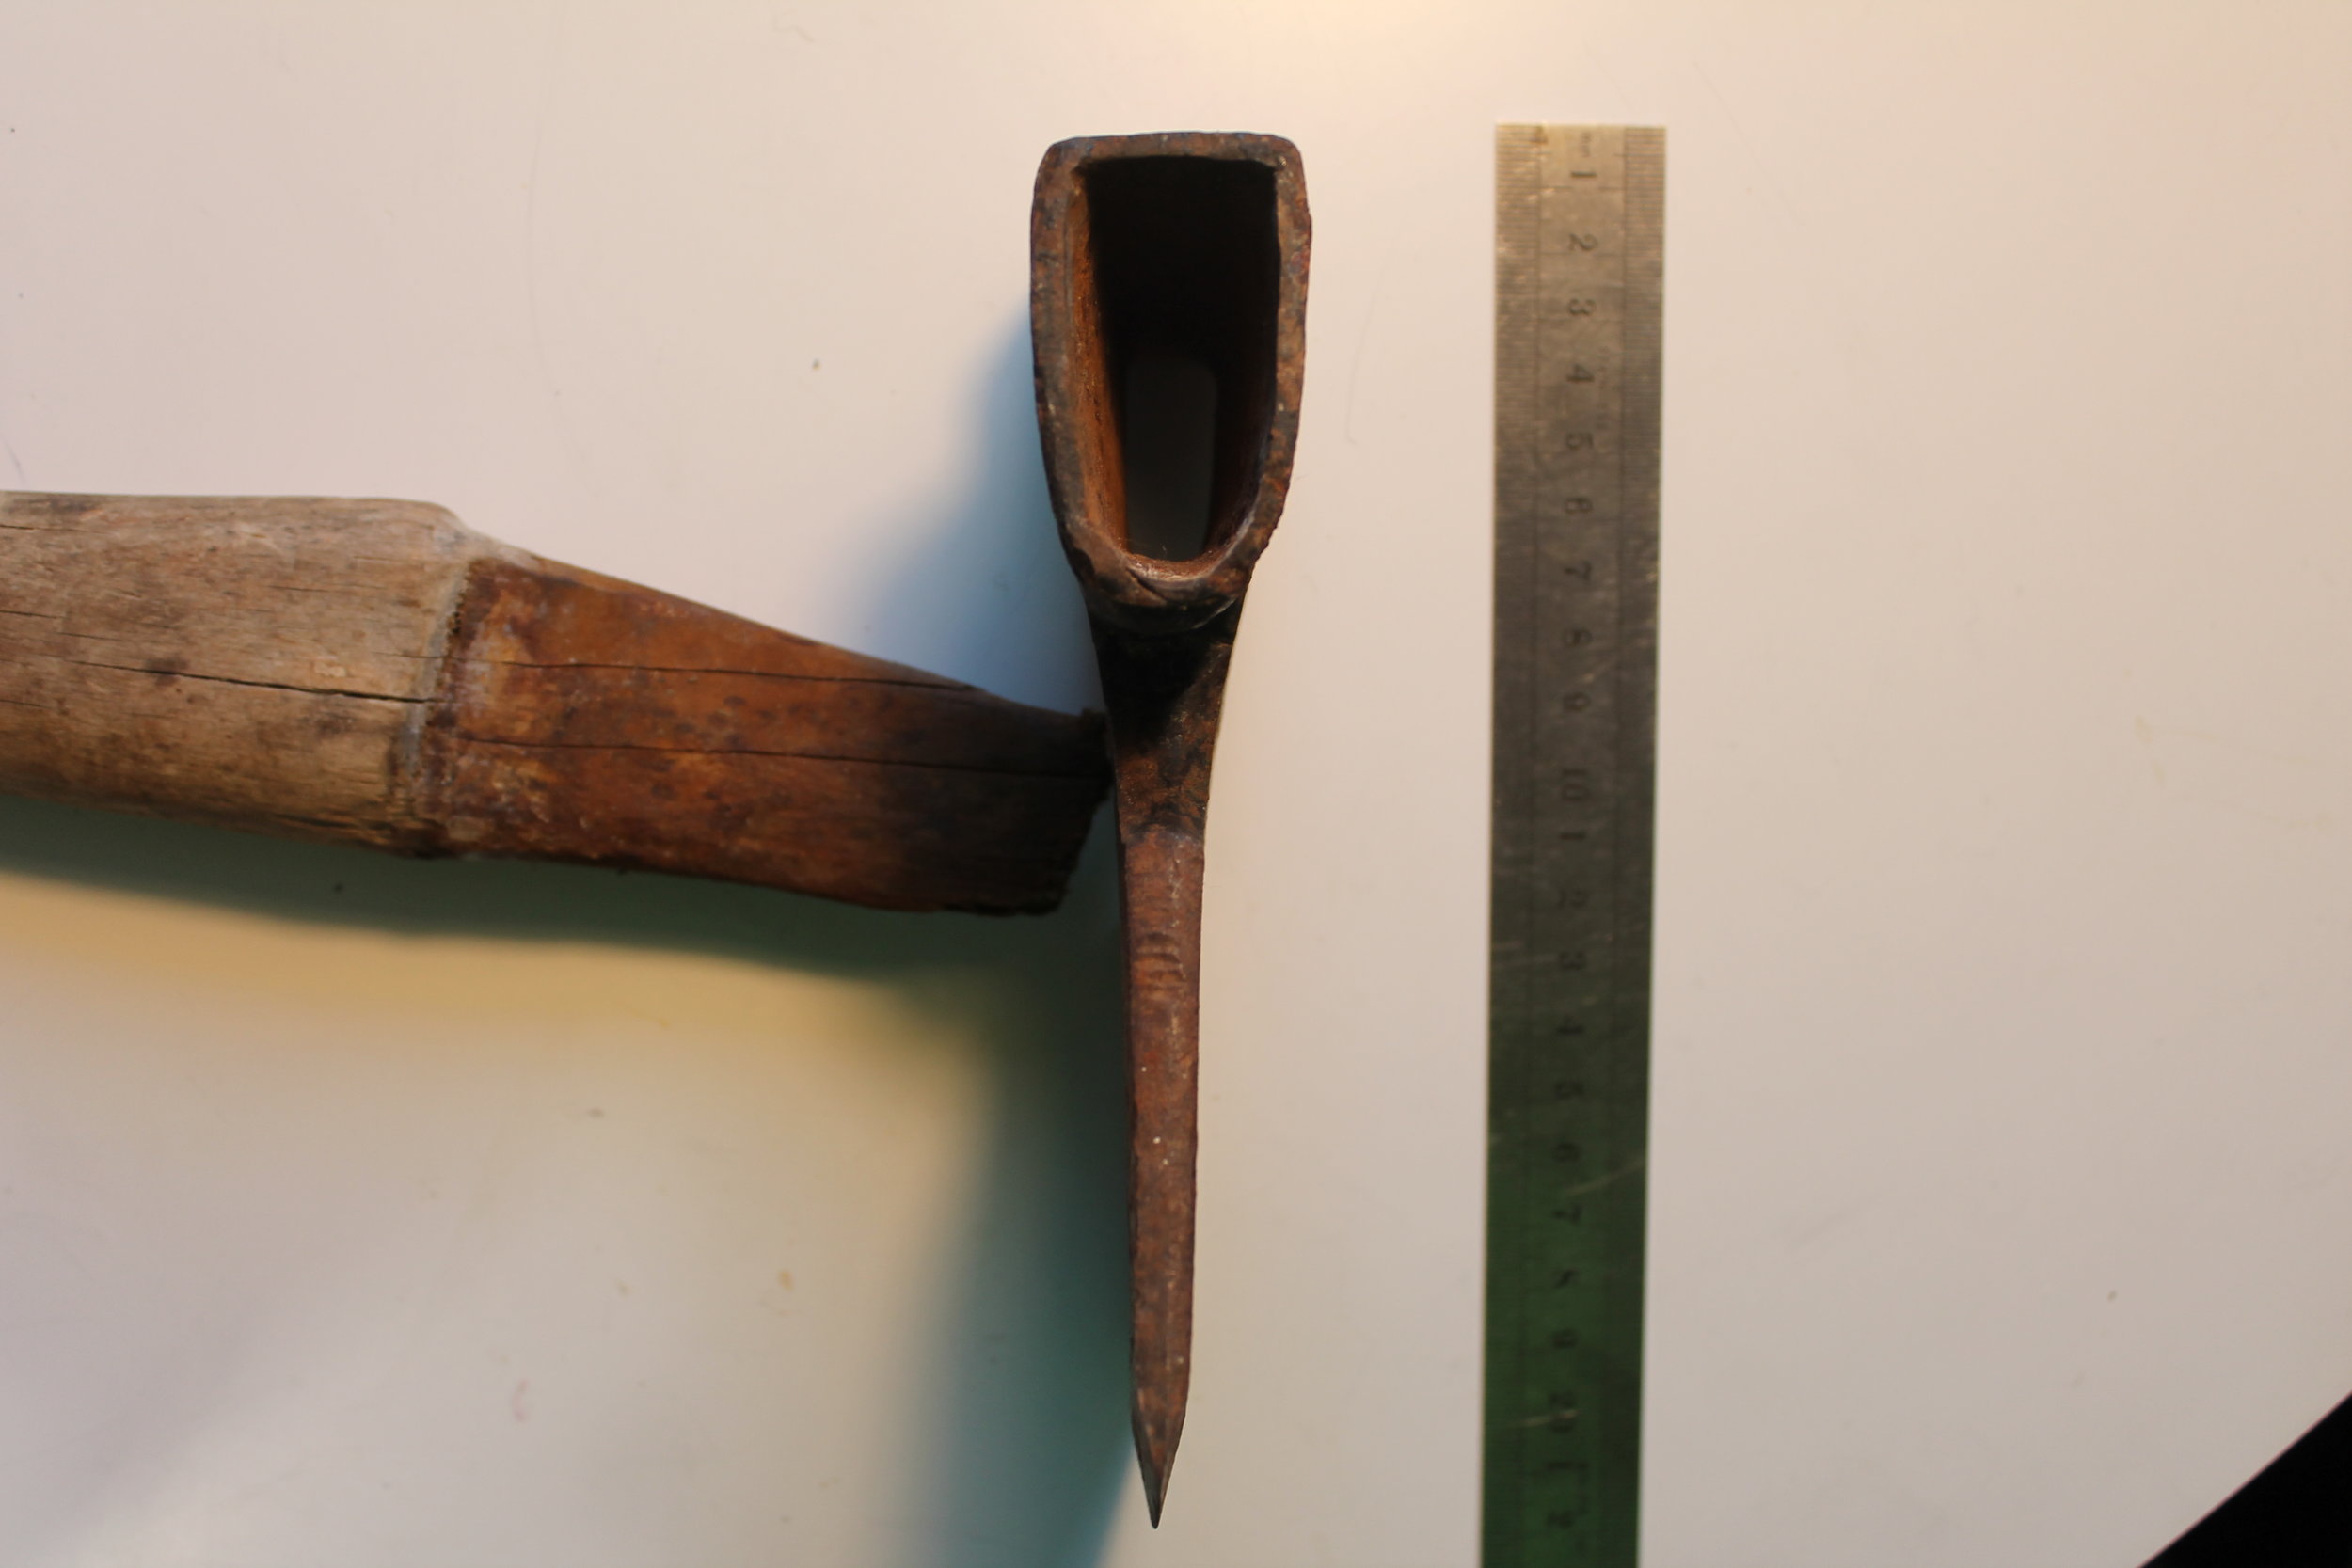
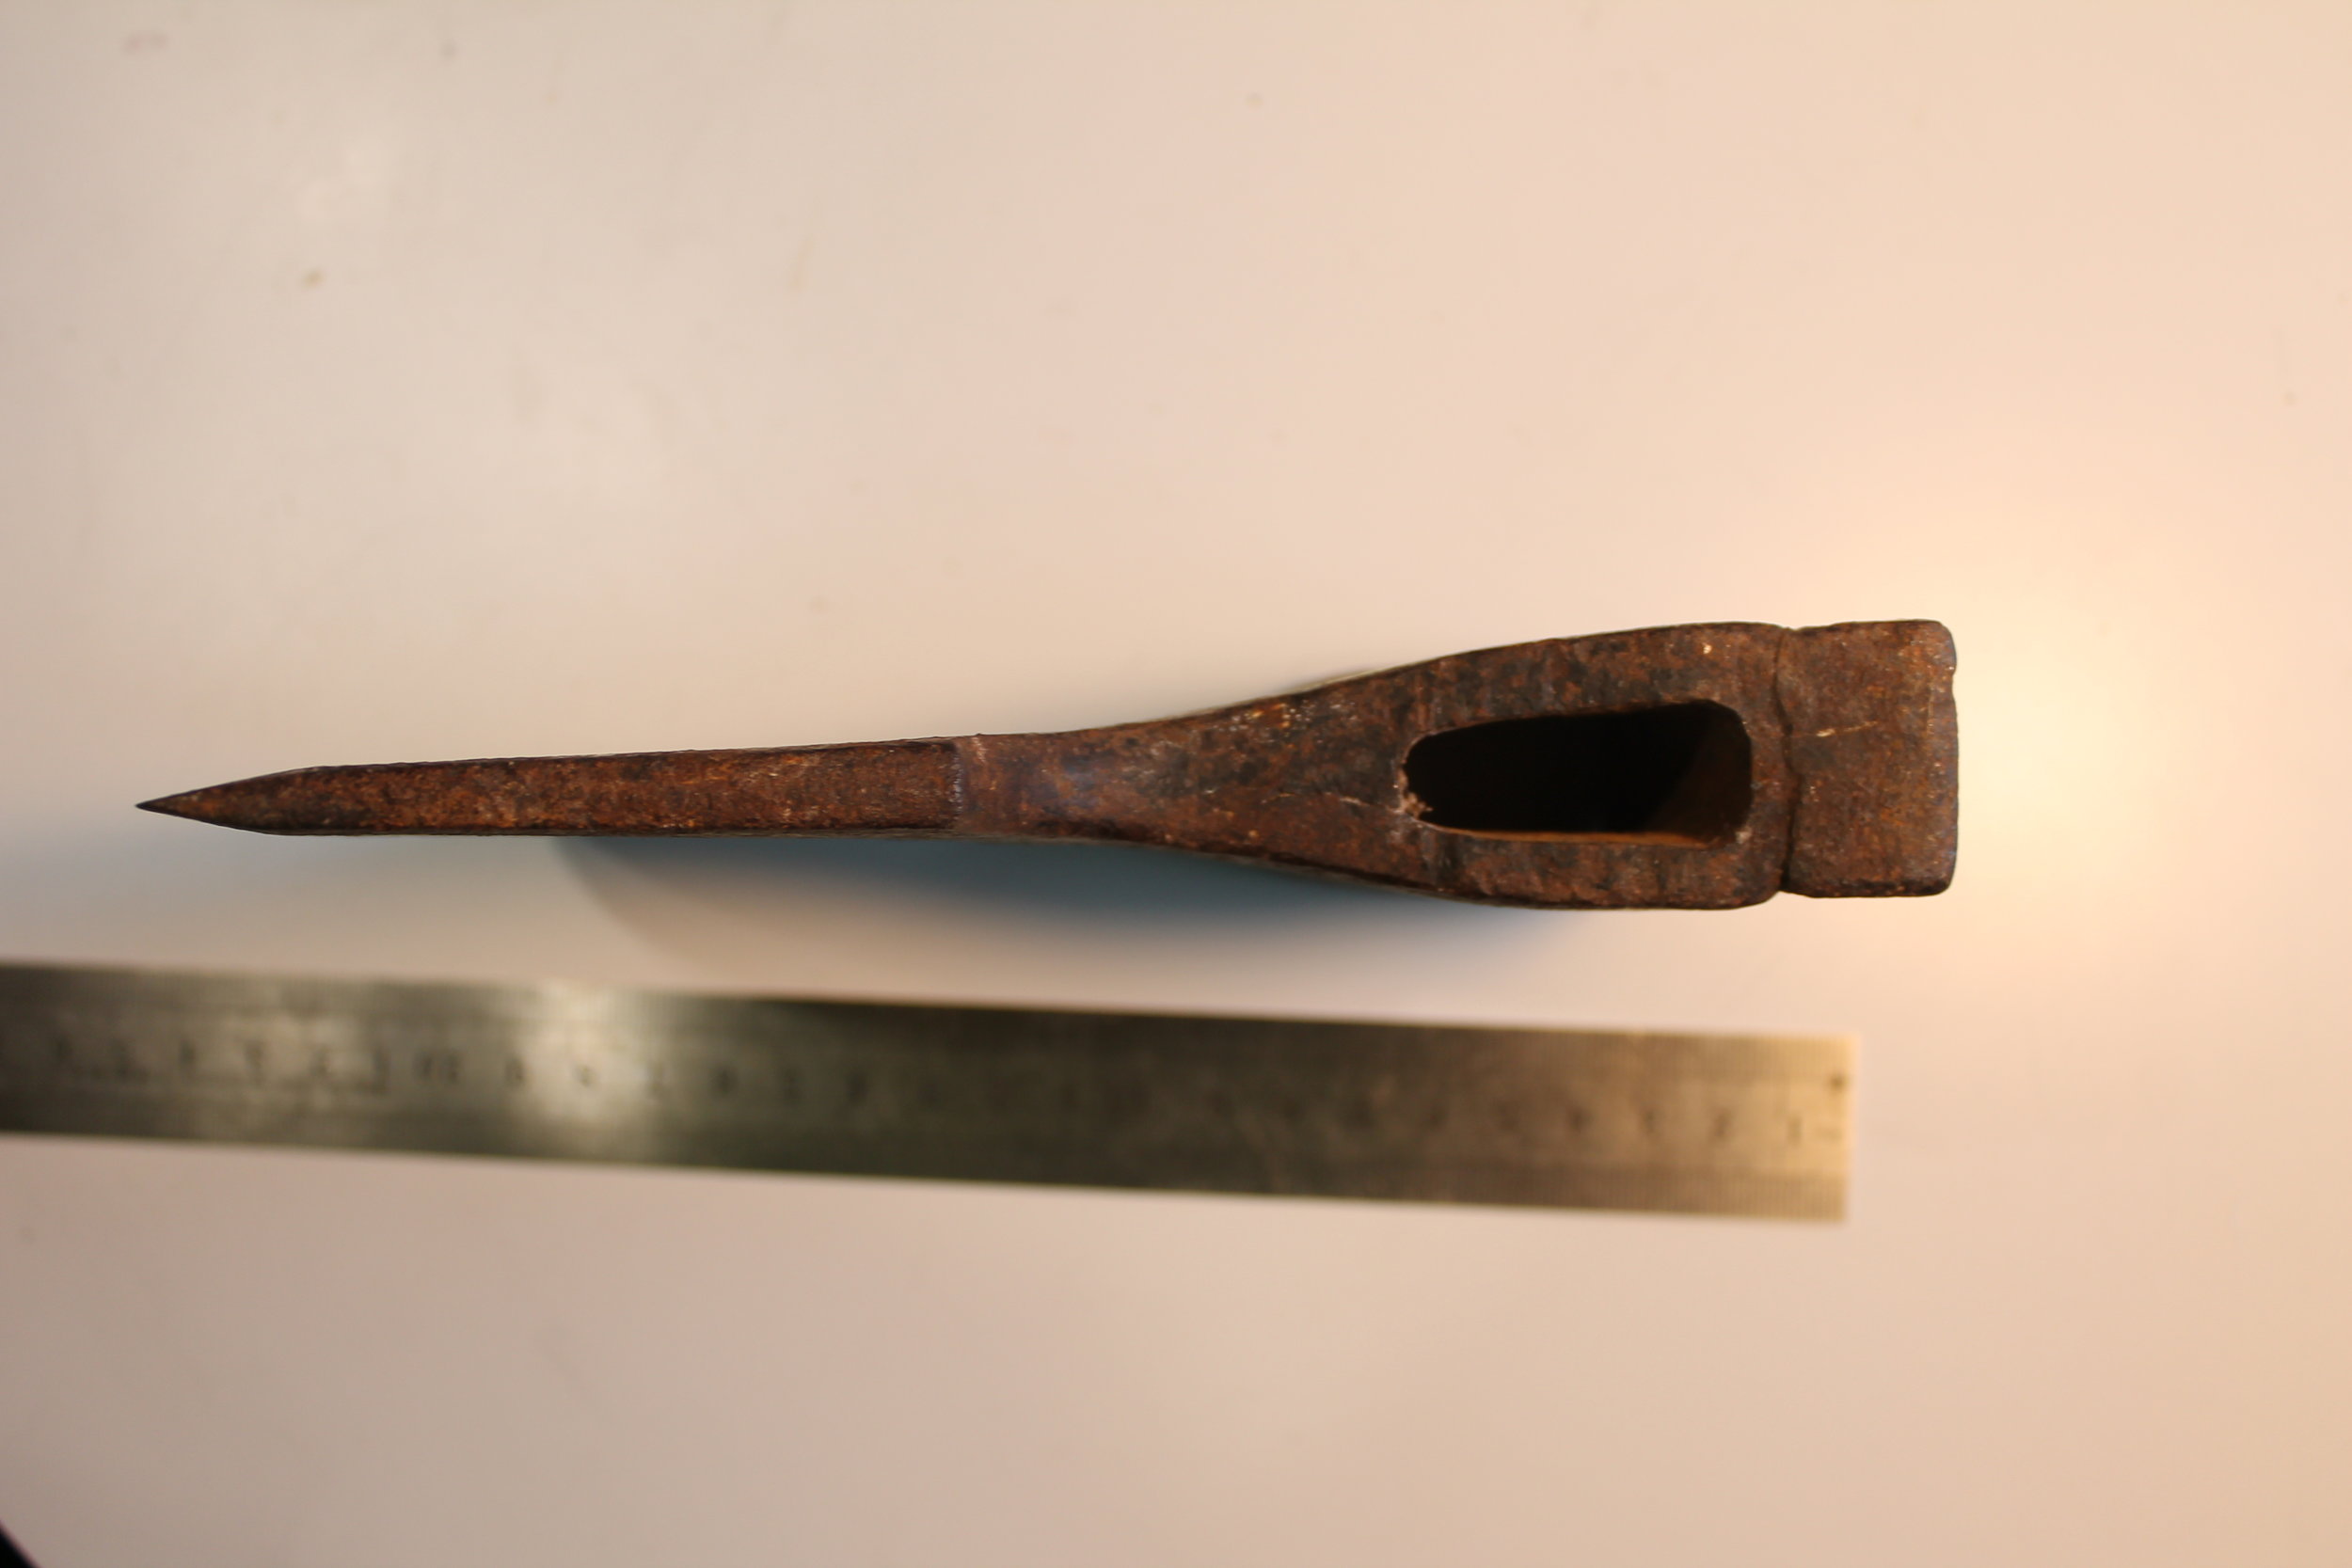
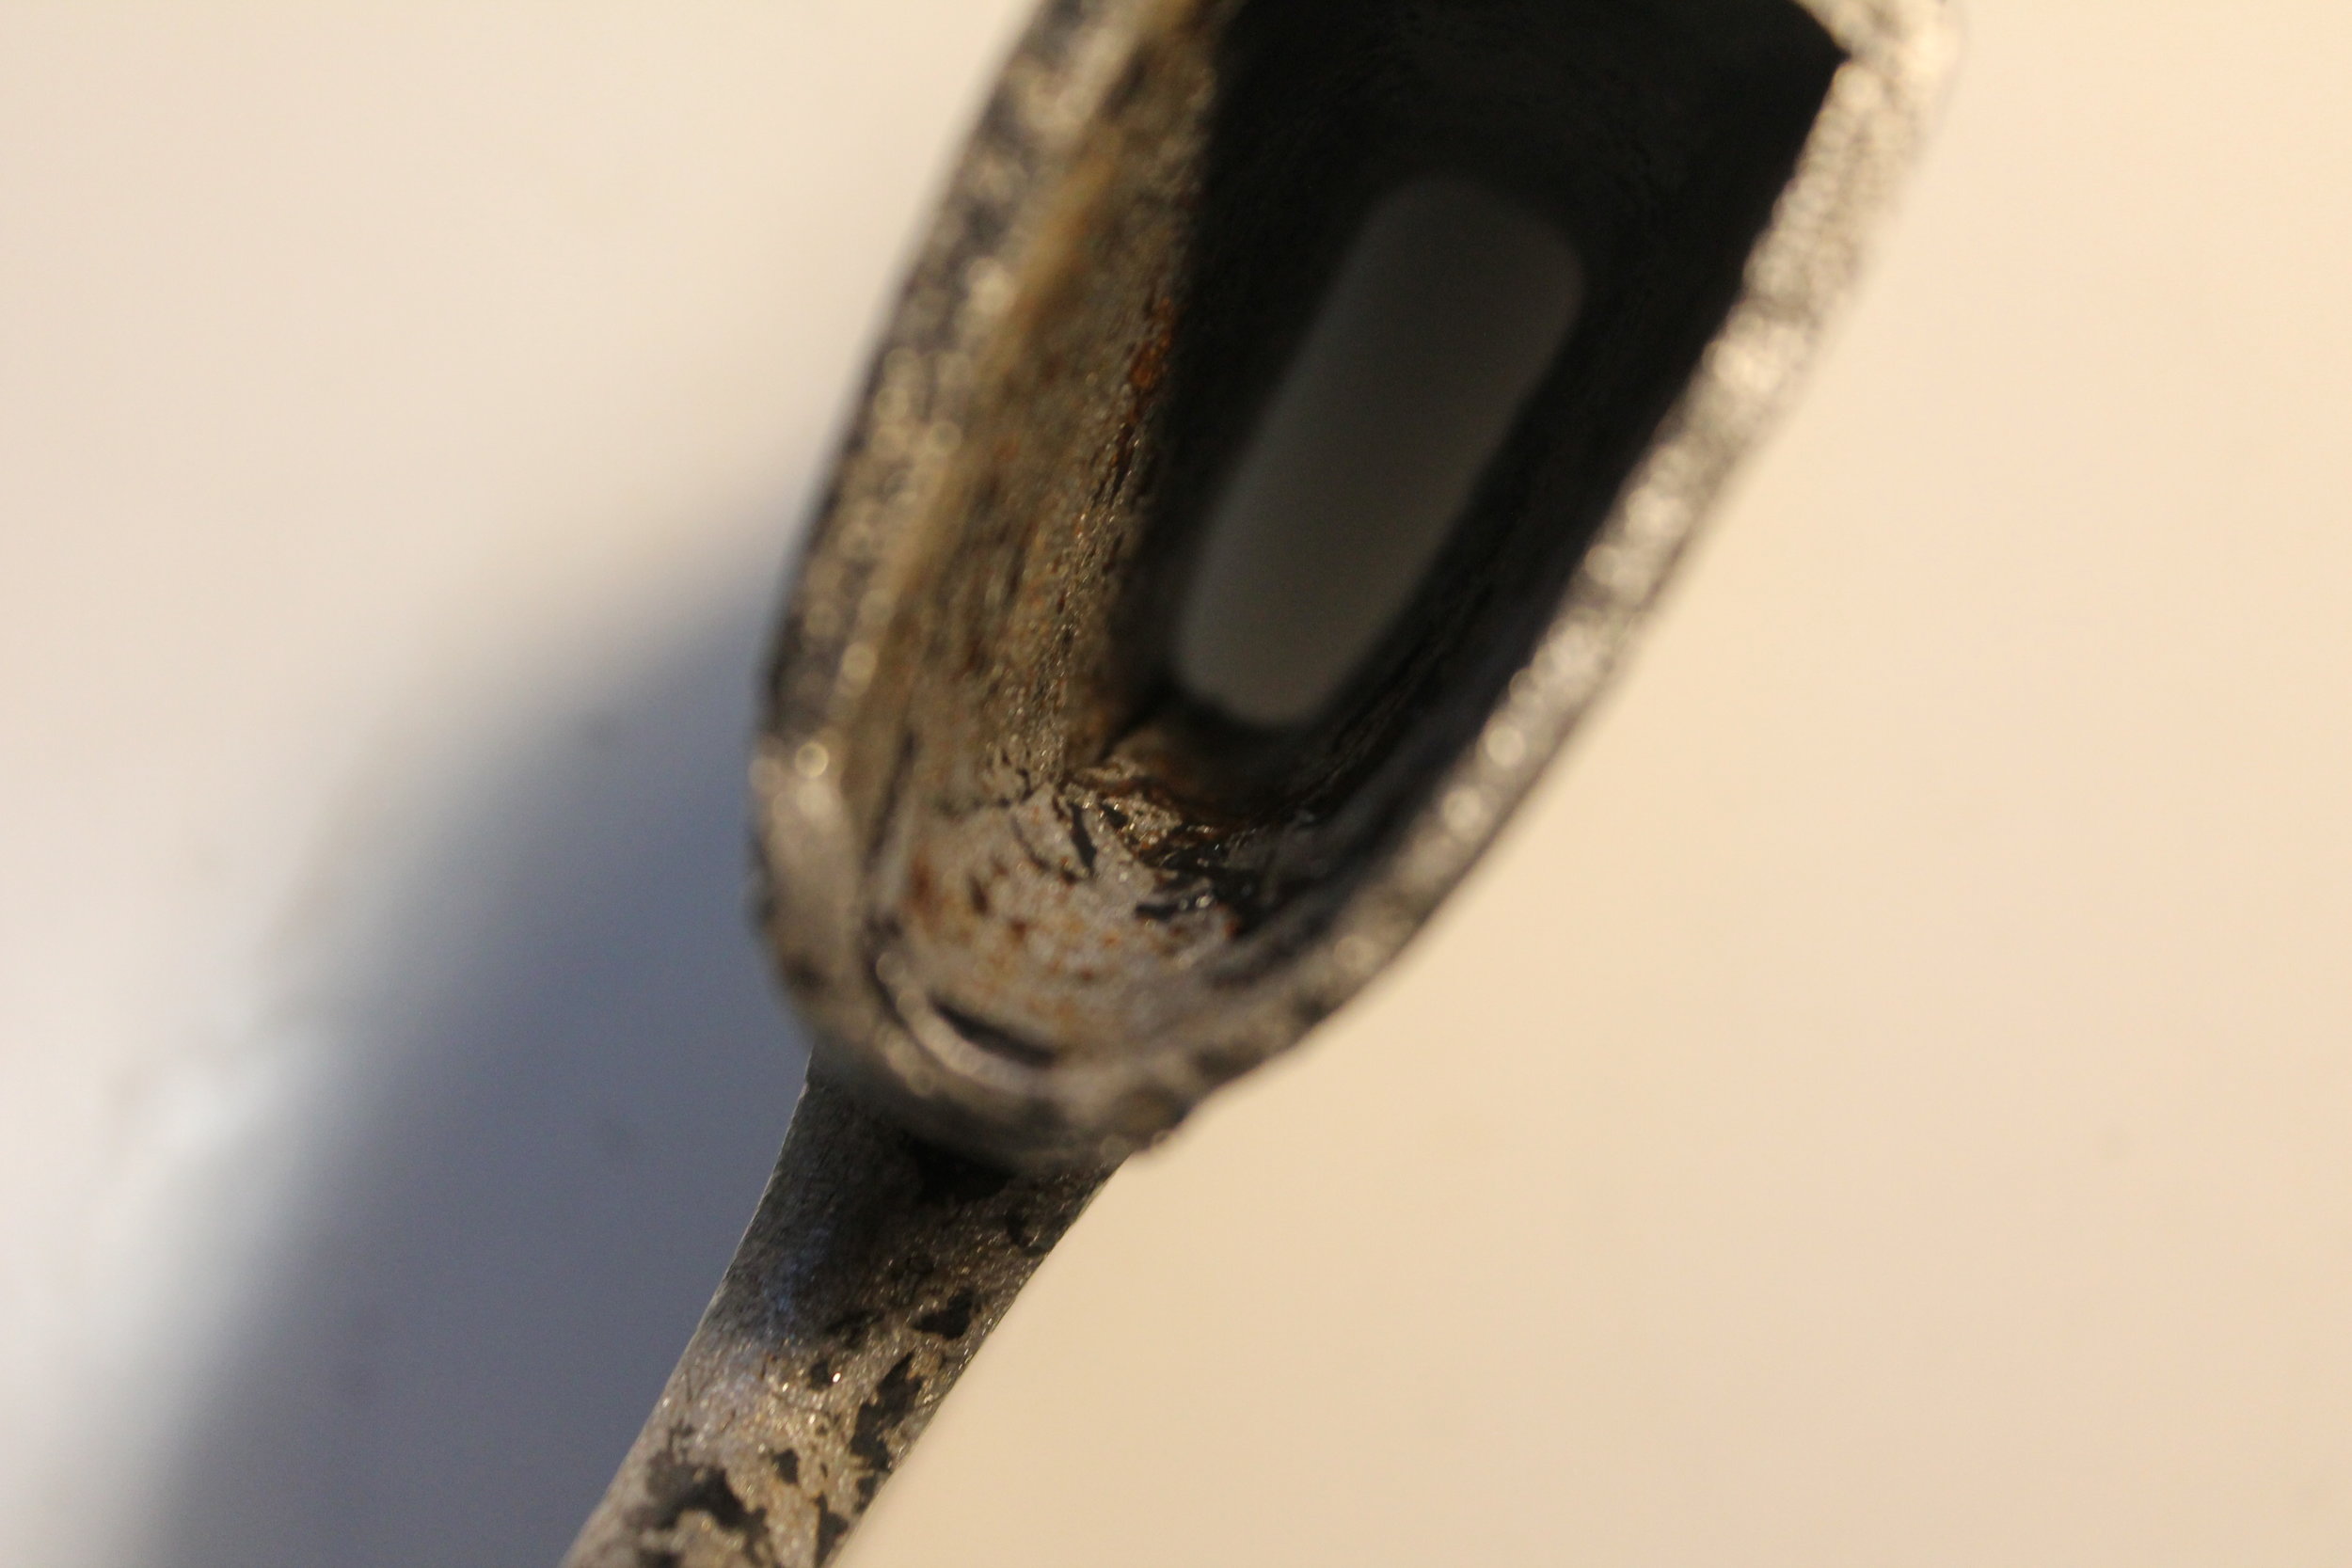
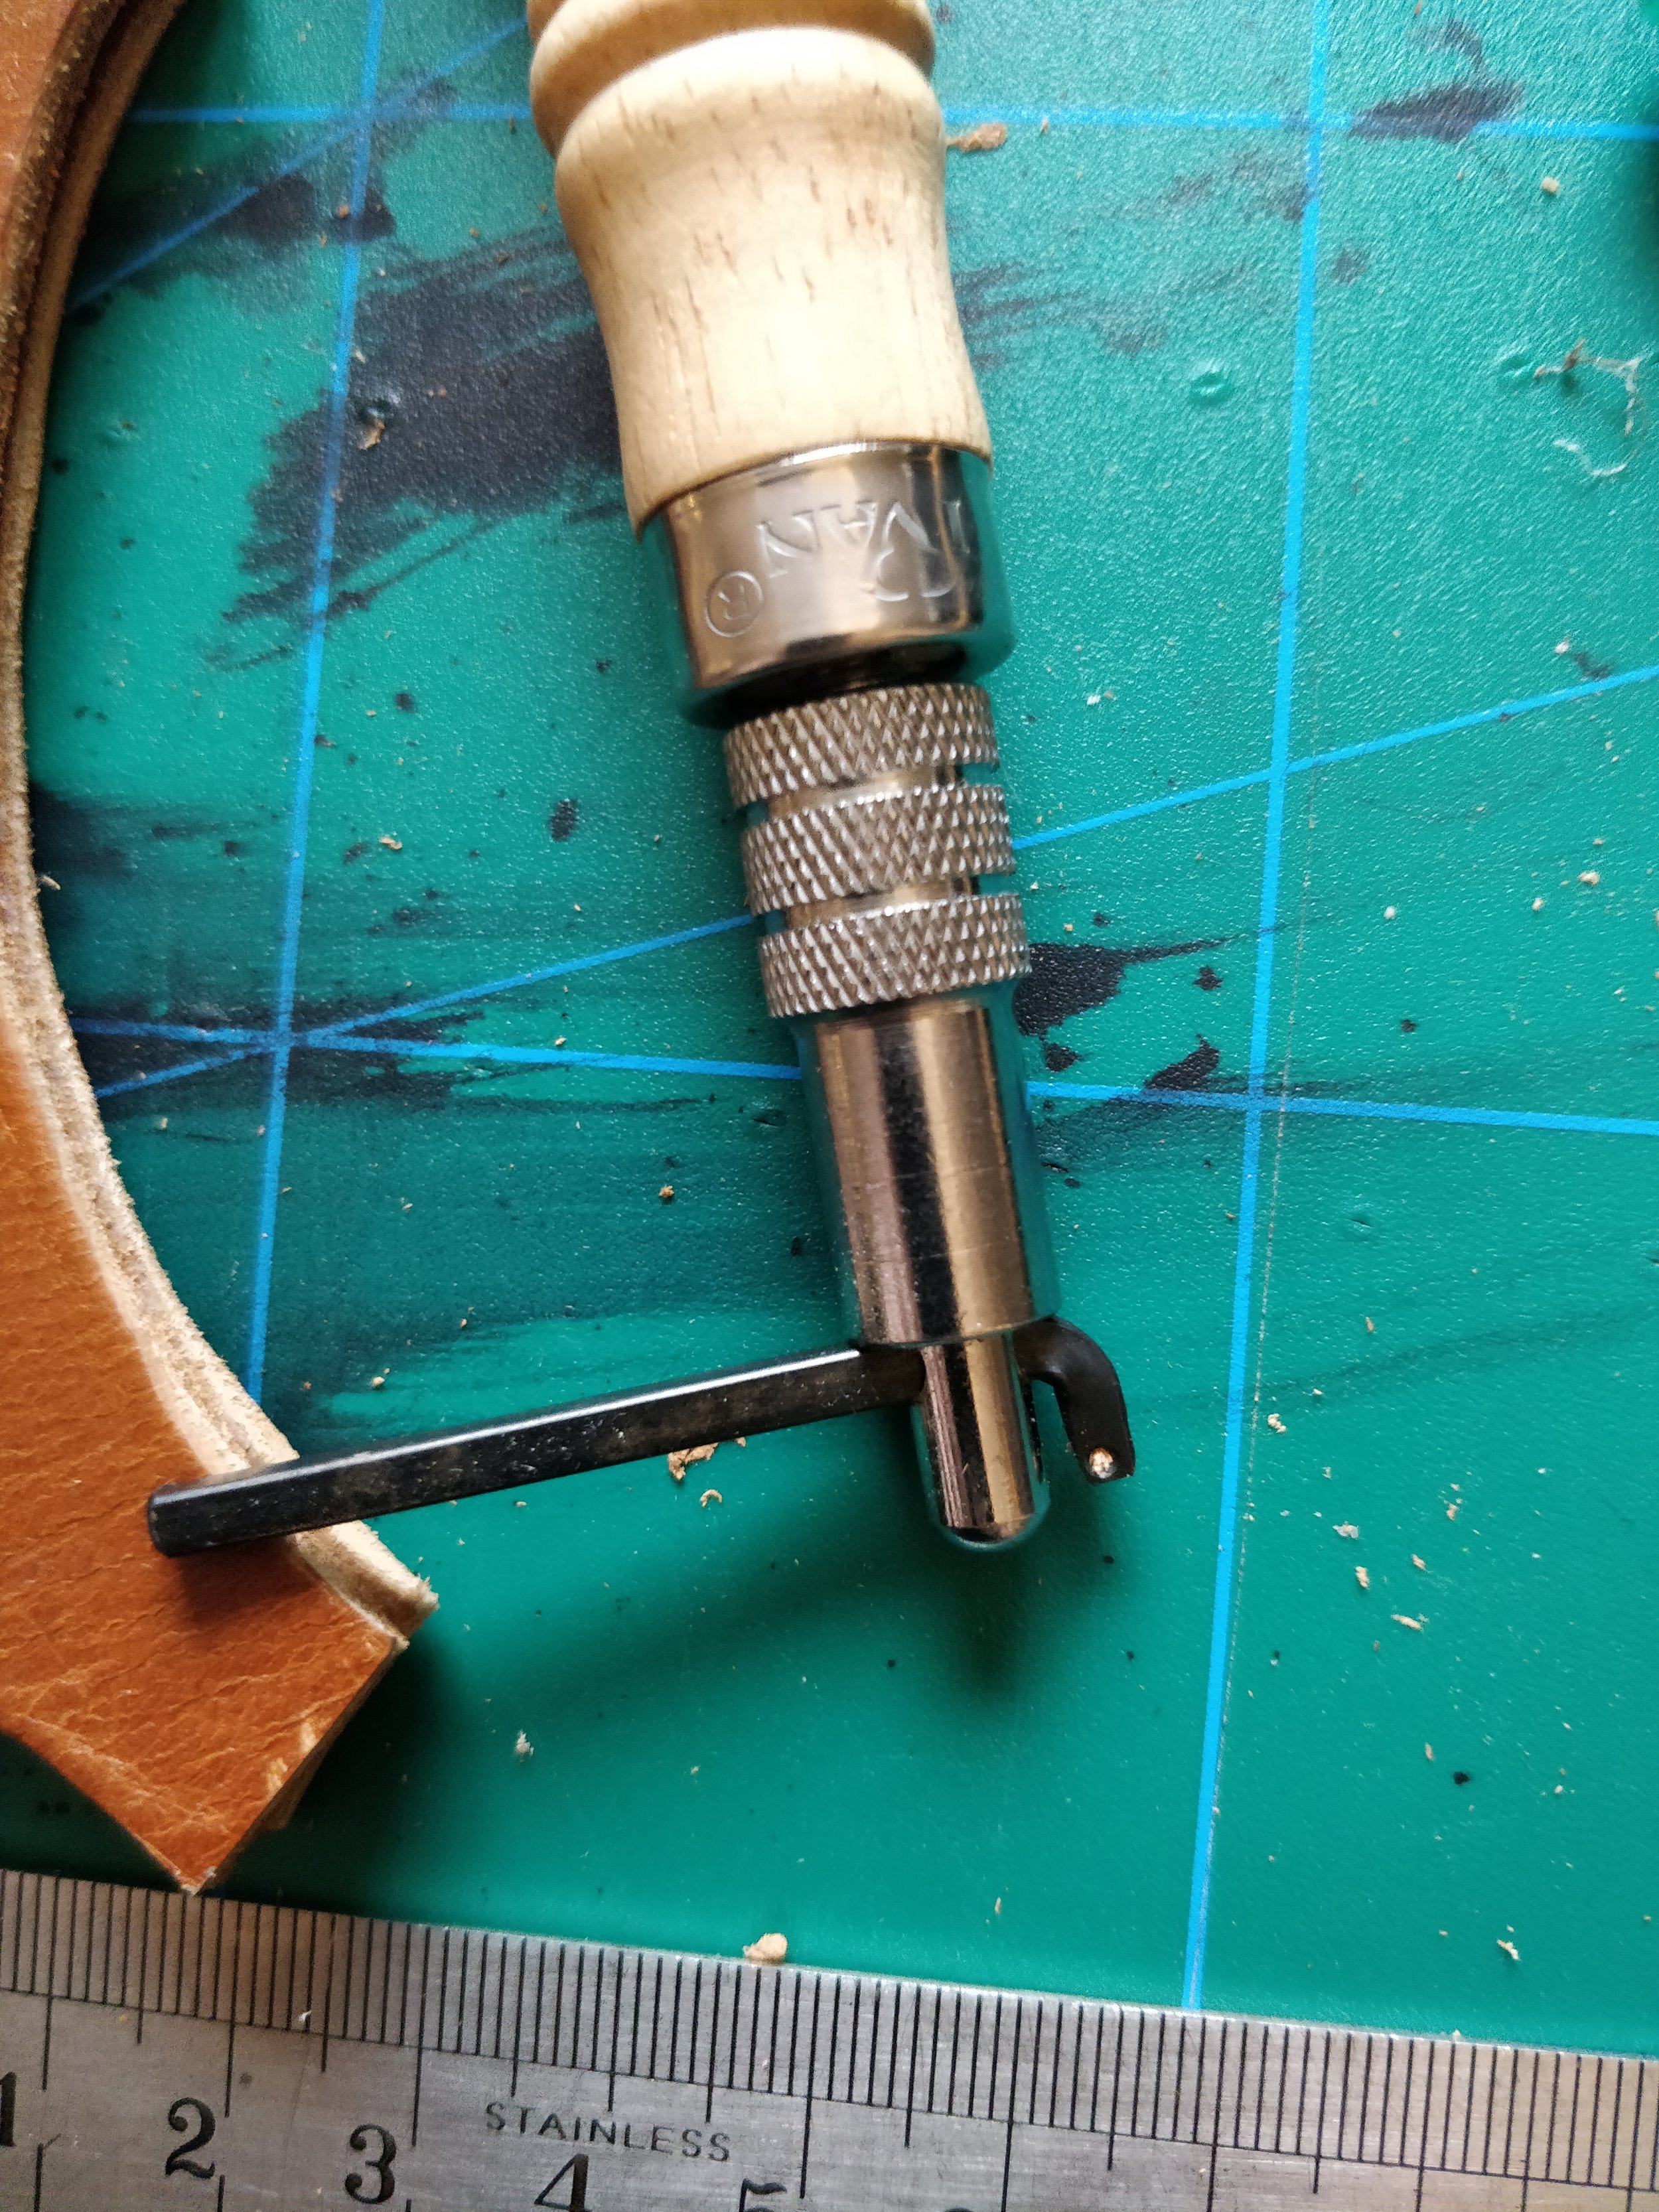
Then I started the rather long process of fitting handle. It is always a small gamble as old axes with sockets are not always so predictable as to how they want to sit on their handles. Here I also discovered the problem that after my rust removal, the inside of the shaft was so clean that I could no longer see the marks after where the handle ended at after each fit. To solve this, I had to "dirty" the inside with pencil a bit sometimes during the process.
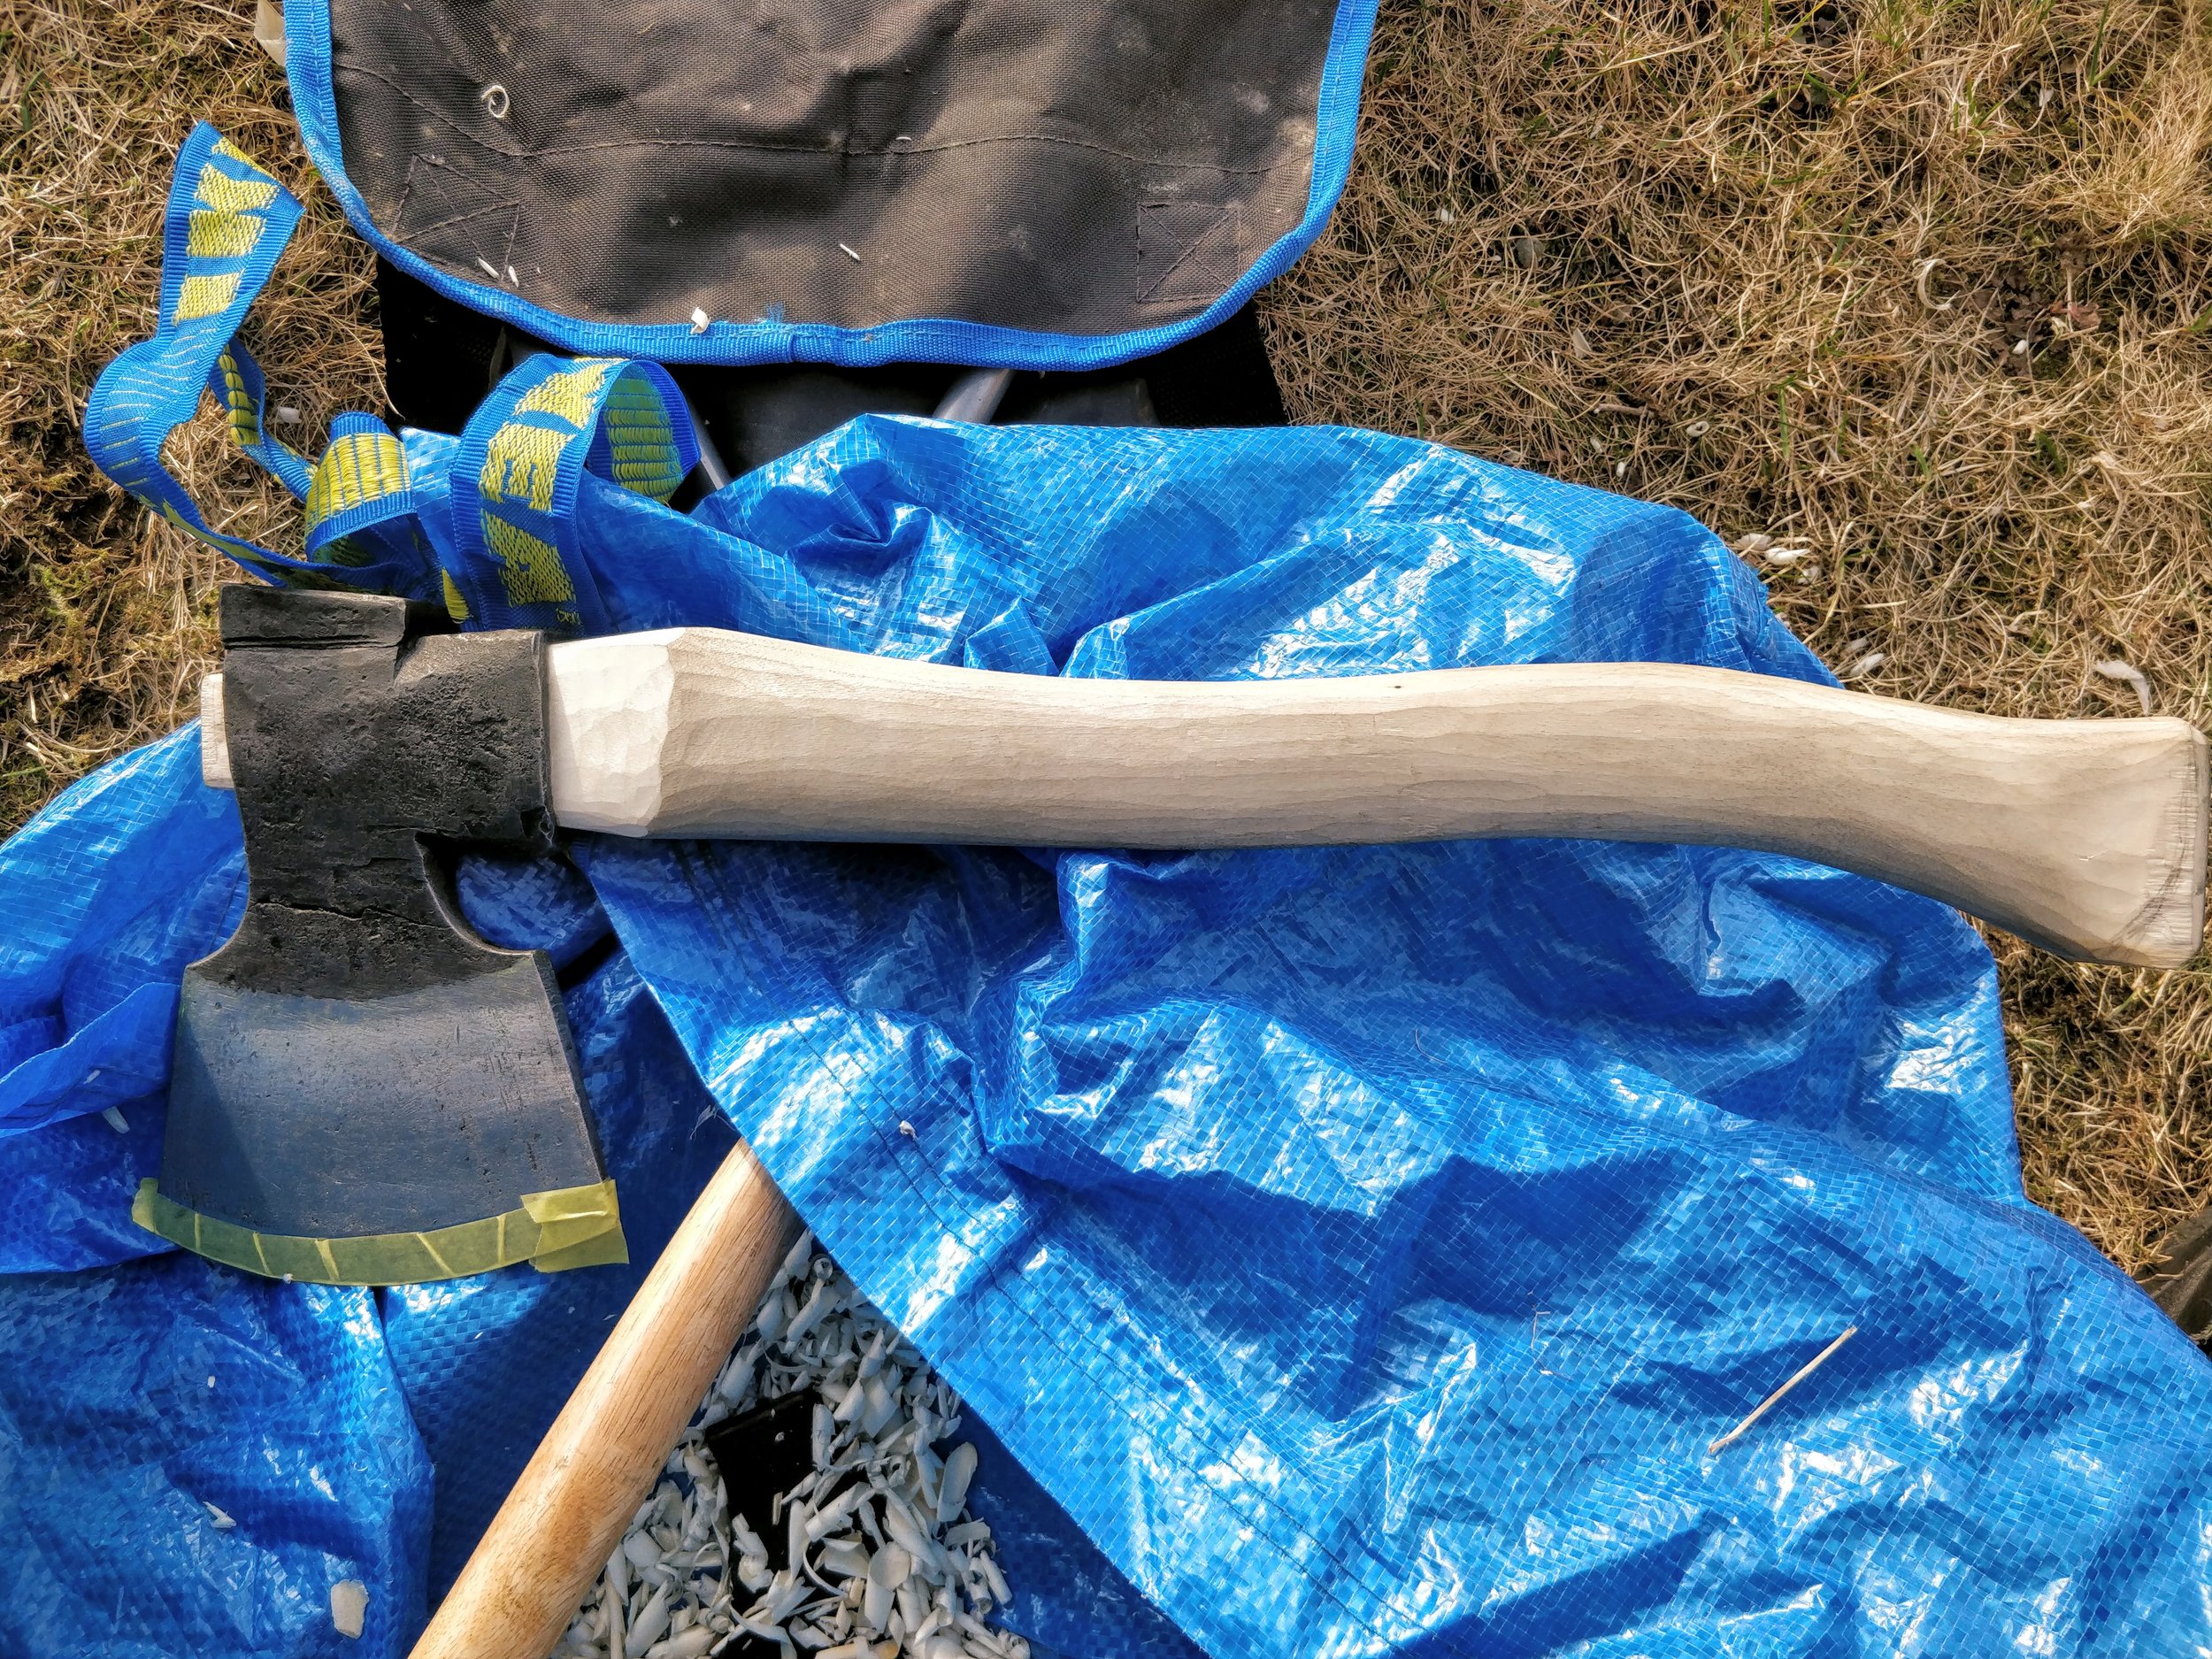
When the handle was done I sawed the kerf for the wedge with a thin Japanese saw, then I made sure to oil the part of the handle that would be inserted into the socket properly, as this becomes a little hard to reach after the handle has been fitted. I then fitted the head to the handle, and wedged it in place (which I also oiled in with roslagsmahogny). After I assured myself that the head was on correctly, I cut off and carved the end of the handle to the shape I wanted. I had waited with this so as not to crack any part of the handle during the rather violent process of fitting the head, where you hit the handle-end with a mallet to seat the head.
After I had finished carving the handle-end, I oiled the entire shaft with roslagsmahogny. It of course draws more into the endgrain of the handle, than the sides of the handle which makes the ends of the handle become noticeably darker.